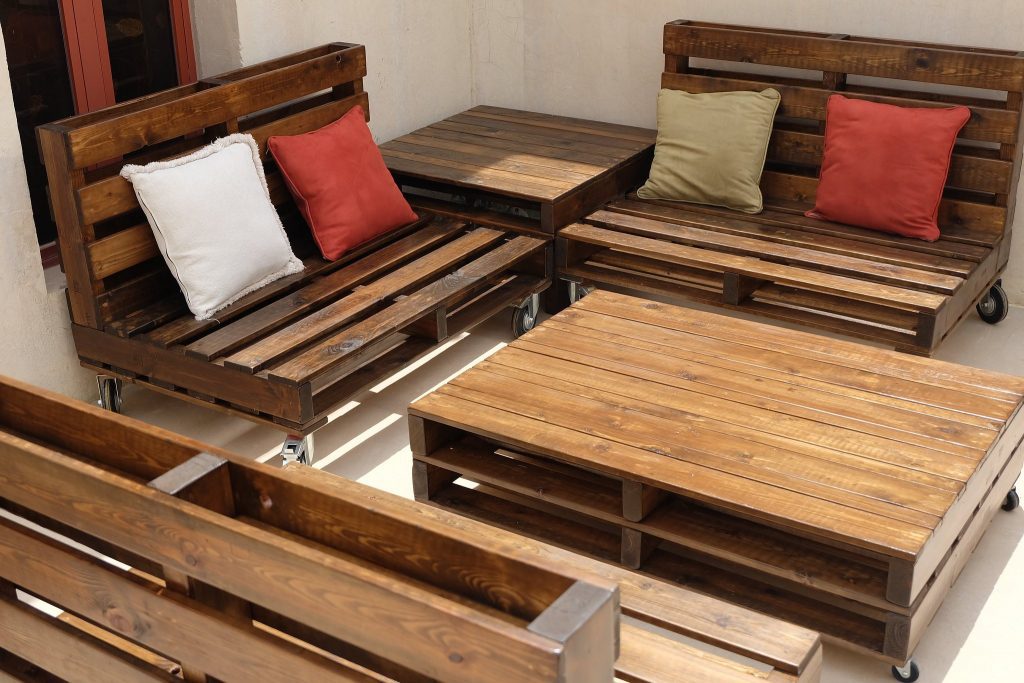
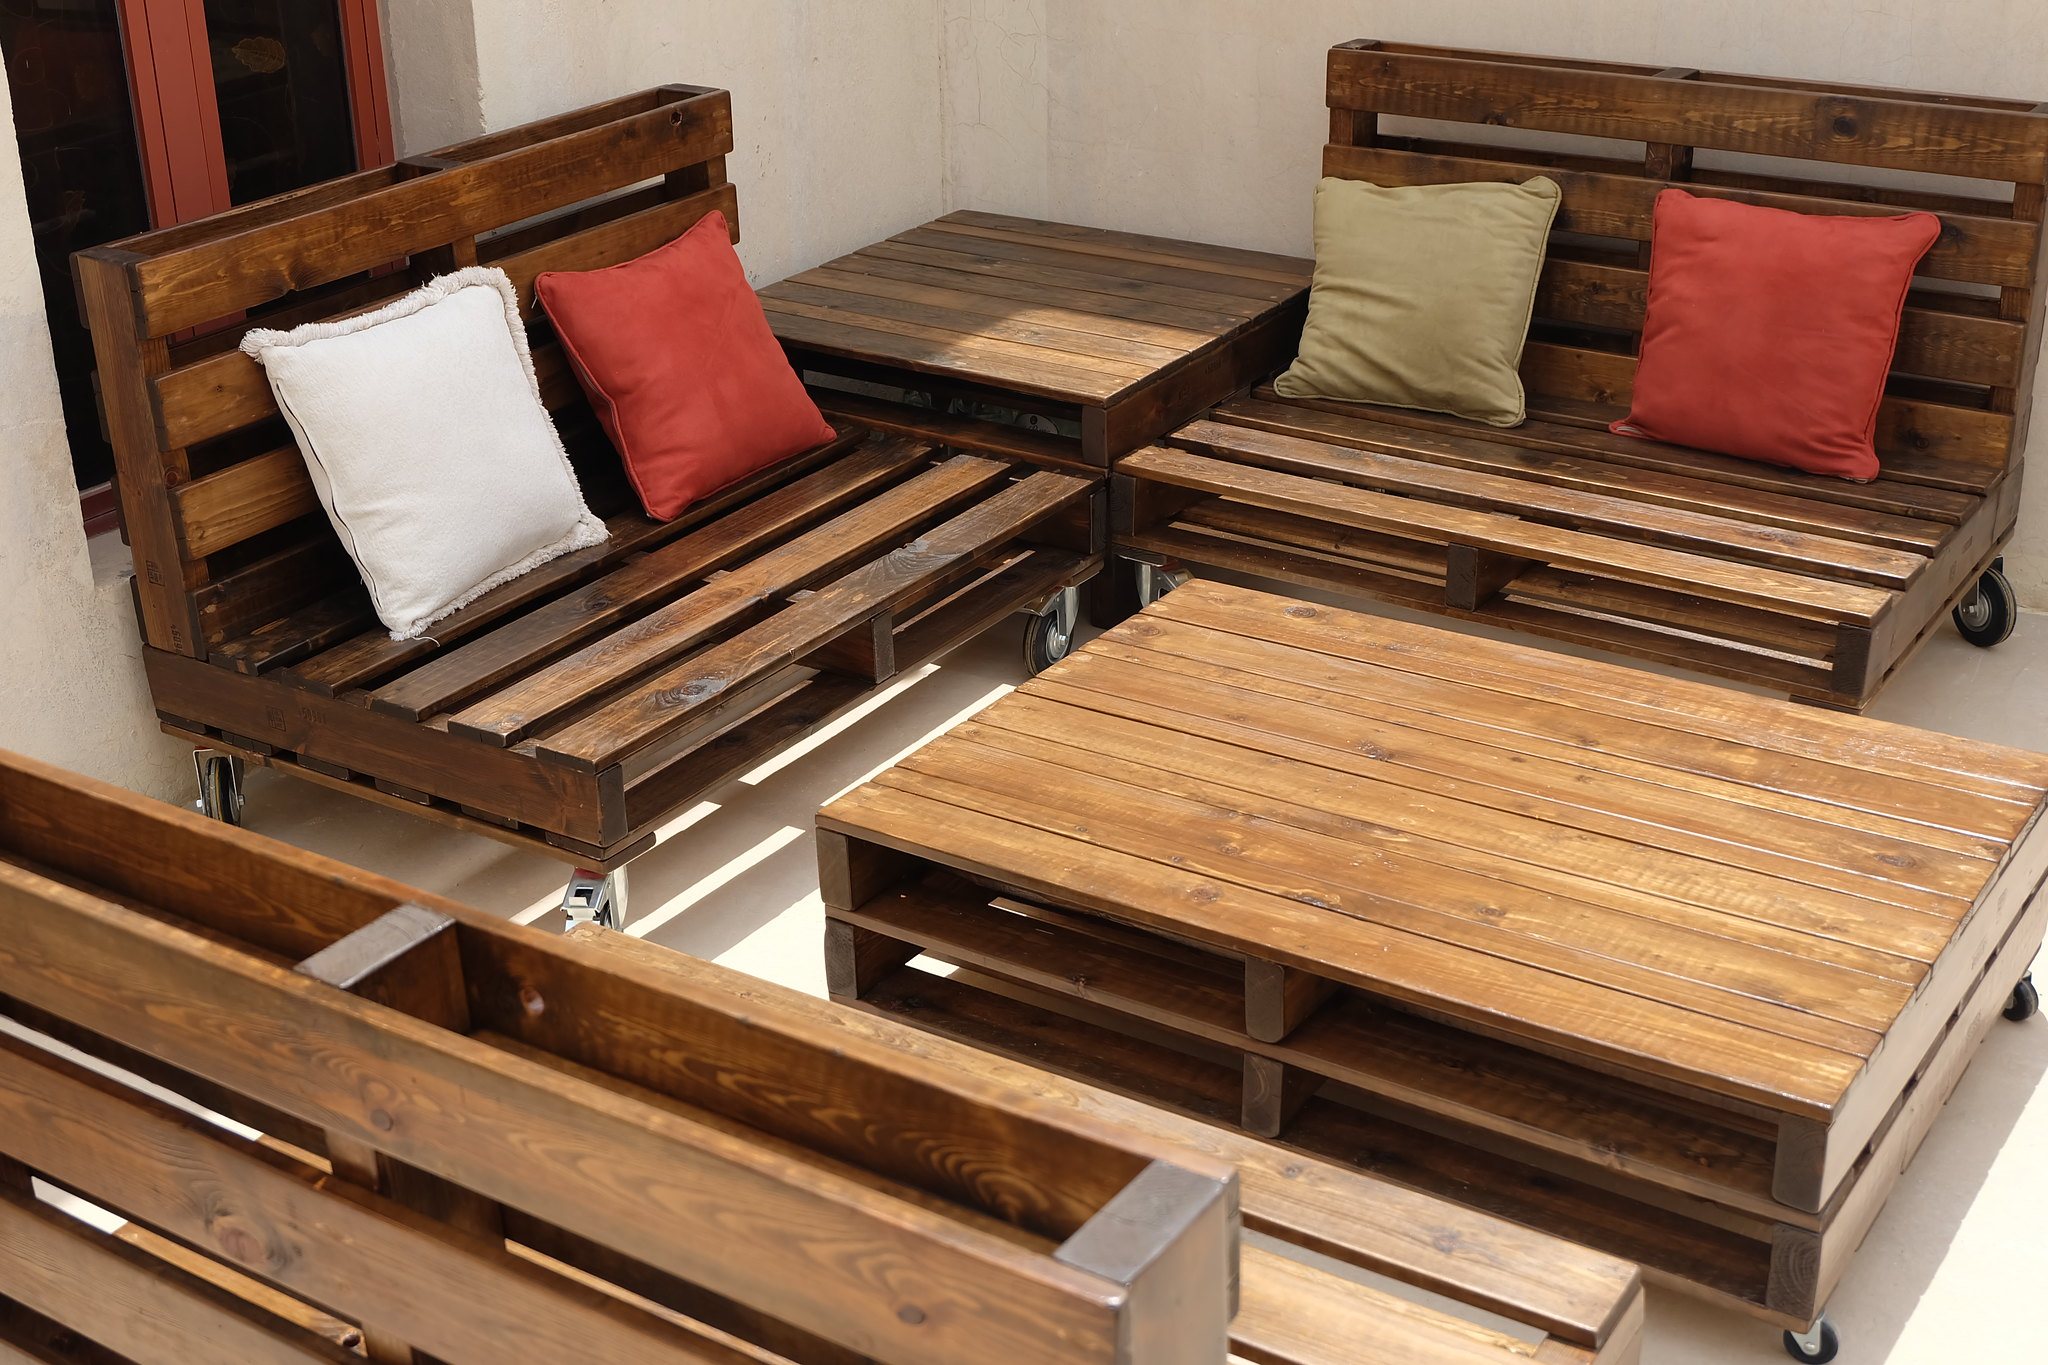
Wood pallets have become a common project material, with people making everything from patio furniture to coffee tables from them. Pallets have been used for smaller craft projects, raised bed planters and for wall covering. The only limiting factors for this versatile material is finding the pallets and one’s own imagination.
Most pallets are made of either yellow pine or oak. Pine is much more common, as oak pallets are considerably more expensive. Still, it is possible to find oak pallets from time to time if one keeps their eyes open.
Not all pallets are constructed the same, although the standard pallet size is 48” x 40”. Two other sizes 42” x 42” and 48” x 48” are fairly easy to find. In addition, both smaller and larger pallets are made, mostly for use in very specific applications, where equipment is going to be bolted to the pallet. Such pallets can actually be quite large.
The other way that pallets can vary is in their construction. While most pallets follow the same basic pattern, those which are designed for mounting heavy equipment to will often be made to be more durable. This can include the use of more crossbars on the bottom side of the pallet, as well as different fasteners. I have found pallets which were screwed together, rather than nailed, as well as ones in which coated ring-shank nails were used to hold the pallet together. Those were all but impossible to remove.
Where to Find Pallets
The starting point for any project involving pallets is finding pallets to use. Ordering materials that are delivered on pallets are one way of getting pallets for free. That’s not a very easy way to get pallets though, as few of us purchase enough of any material in bulk to warrant it being shipped on pallets. I’ve only been able to make a few purchases of housing and gardening materials which came that way.
Most companies recycle their pallets, especially the larger companies that do a lot of shipping. In such a case, picking up pallets out back, by the loading dock, would probably be considered stealing and anyone caught doing so would probably be prosecuted.
But that is not the case with all businesses. Many smaller businesses also receive palletized shipments, whether those are retail companies or smaller wholealers. Other than keeping a few pallets around for their own use, these companies usually don’t have much use for them and are willing to allow people to take them. Even so, we should always check at the desk before taking those pallets. Some such companies might include:
- Motorcycle dealerships
- Pet supply stores
- Gardening and landscaping businesses
- Any lumberyard
- Construction sites
- Small warehouse/office operations
While those sources may be free, it takes time to visit them and round up enough pallets. For the woodworker that’s in more of a hurry, it might be a good idea to find the local used pallet dealer. These dealers seem to exist in pretty much every city. They buy pallets from companies that don’t reuse them and sell those pallets to companies that need them.
One nice thing about buying pallets from a used pallet dealer is that they will often have damaged pallets. Sometimes they fix those, but not always. Some pallets are severely damaged enough that it’s not worth the effort to repair them. Those end up in the scrap pile along with broken pieces that have been removed from pallets that they were repairing. Of all the pallets they have on site, the ones which will be the cheapest, and may even be free, are the ones in the scrap pile.
Keep in mind that our intent is probably going to be to take the pallets apart anyway, so it doesn’t really matter if we get damaged pallets or new pallets. All that matters is that we can get entire pieces of decking off of the pallets. Even a pallet which only provides a few pieces of decking can be useful.
Be sure to look out for pallets which are marked with the letters “MB” stamped on them. This stamp is rather rare, but refers to “methyl bromide” which is used as pesticide to help protect the wood. Any pallet so marked should not be used in the home, as the pesticides are not healthy for humans either.
While looking for that, check the pallet for stains. I’m not referring to streaks of grease or other dirt here, but something that might have soaked into the wood. Those could indicate that chemicals have been spilled on the pallet. The problem here is that we don’t know what chemical was spilled on the pallet, so we don’t know if the pallet is safe or not. It is best to avoid such pallets, as they might contain toxic chemicals which have soaked into the wood.
Finally, avoid painted pallets as those are generally the property of pallet rental companies. These companies rent the pallets to shippers, with the idea that they will get them back. But that doesn’t always happen. The danger is if a representative of the company finds the pallet later, as they can claim ownership, charging whoever has the pallet for its use. It would be a real bummer if they found the wood from their pallets used in a project that was already finished. They could charge literally anything.
Cleaning the Pallets
Pallets don’t require a lot of pre-treatment before use, but it is a good idea to clean them off, in order to remove dirt, grease and oil. This can be done fairly easily by scrubbing them down with soapy water. Adding a little bleach may help to remove any staining of the wood, as well as disinfecting the pallets.
The use of a scrub brush can be useful, especially with pallets which are made from rough-sawn wood. A pressure ash or Jet-X works well too. Take some care when doing this, so as to not change the color of the pallets too much or lose the patina that comes from aging and use.
Once the pallets are cleaned, they are ready for disassembly. This is most often accomplished with a crowbar and hammer, although some can be harder than others to disassemble. I’ve come across a few pallets which were surprisingly assembled with screw. Those can be difficult, as the screws usually bend during assembly, making it hard to remove them. While this is not an operation that requires a lot of care, there is no sense in causing more damage to the wood than necessary.
A couple of other tools that might help with pallet disassembly are a nail set punch on oscillating multi-tool. The nail set can be used to drive nail heads down, such as in the case of ring shank nails, when they won’t come up. It’s not a perfect solution, but works well in some cases. The oscillating multi-tool can be used to cut through nails or screw that can’t be removed. The big advantage of this is that the nail heads can be left in the wood, where they can add to the “used” patina of the wood.
Working with Pallet Pieces
No pallet is going to be perfect, especially if it came from the scrap pile. That just means that a bit more discretion needs to be used in selecting the pieces for use. Don’t expect to be able to use every piece, as that will probably be impossible. Rather, try to procure more pallets than necessary, so that the best pieces can be selected for the project.
The wood slats that make up the pallet decking (the part most used in projects) may not be of the same, consistent size. It is quite possible that the slats will need to be ripped to a uniform width, especially if they are going to be used for something like a slatwall, where any variance in board width is likely to end up showing up as gaps between the boards. Even if the slats from one pallet manufacturer are of a consistent width, they will most likely vary from manufacturer to manufacturer.
Likewise, we really can’t count on the boards being of a uniform thickness. While the slats coming off of each pallet will probably be uniform, that’s about all that can be counted on. Even the slats on the bottom side of the pallet are likely to be of a different thickness. It will likely be necessary to plane all the slats to a uniform thickness before use.
Extreme care must be taken when ripping or planning these boards, as any nails in the boards can damage blades. Worse, they can be torn out of the boards by the blades and sent through the air as a ballistic object. Be sure to give all the boards a final inspection, before doing any cutting or other machining operations.
Some people also choose to sand the surface of the boards before use. This depends a lot on the condition of the boards, the project that is to be made, and the appearance desired. Some pallets are made from rough-sawn boards, while others are made from standard S4S lumber. Rough-sawn boards can give an attractive, rustic appearance, but they are also more likely to have splinters, something to be avoided around small children. Of course, the more the boards are sanded, the more of the patina that comes with age and use will be eliminated from them.

Finishing Pallet Wood for Use
The wood that is gleaned from the pallets can be used just like any other boards; it’s only limited by its size. But other than the low cost of the pallet wood, the main reason for using it is its appearance. The natural patina that the wood has gained from use is attractive in and of itself and the damage the wood has received gives any project a nice, rustic look.
In most cases, pallet wood is used in its natural color, taking advantage of how the various boards are already different colors. In that case, the wood should be varnished to provide it with some protect, especially if it is going to be used outdoors where the weather may cause additional damage.
But what if the wood doesn’t provide enough variety of color for the desired project? Then it can be stained with standard wood stains. pallet wood is usually extremely dry, so will soak up the coloration from wood stains very quickly. Take care though, as this isn’t the type of staining where the excess is wiped off. There probably won’t be any excess to wipe off.
When using pallets to make a slat wall, it may be desirable to stain them like this or even to provide some coloration other than wood colors to the wood. In that case, an acrylic stain should be used to tint the wood to the desired color.
Pretty much any acrylic-latex paint can be used as a stain. All that’s required is to mix the paint with water at a ratio somewhere between 1:1 and 2:1. A thicker stain will cover more of the grain and existing patina, so for most projects, 1:1 will probably be better. Mix up the stain and apply it to some scraps of the pallet wood to see how it looks, before applying it to all the boards. For a slat wall, mixing up two or three different, but related colors is even better. Remember that interior paints will not be UV stabilized, so don’t use them to stain a project that will be left outdoors.
Always varnish over any stained wood, especially if it is to be used outdoors. The varnish not only provides a nice sheen to the wood, but will help protect it from moisture. Take special care to apply a heavy coat of varnish on the end grain, as it will soak in more there.


