Transforming your attic into a functional space begins with strategic flooring choices that balance practicality and safety. Whether you’re aiming to create additional storage, a home office, or a cozy retreat, understanding the nuances of attic flooring is essential. This guide provides expert tips and advice to help you navigate common challenges such as structural integrity, insulation considerations, and access to utilities.
From selecting suitable materials like plywood or OSB to ensuring proper installation techniques, each step is designed to maximize your attic’s potential while maintaining safety standards. Explore optimizing ventilation, addressing uneven surfaces, and enhancing fire safety measures to create a durable and comfortable attic flooring solution.
Assessing Your Attic Space
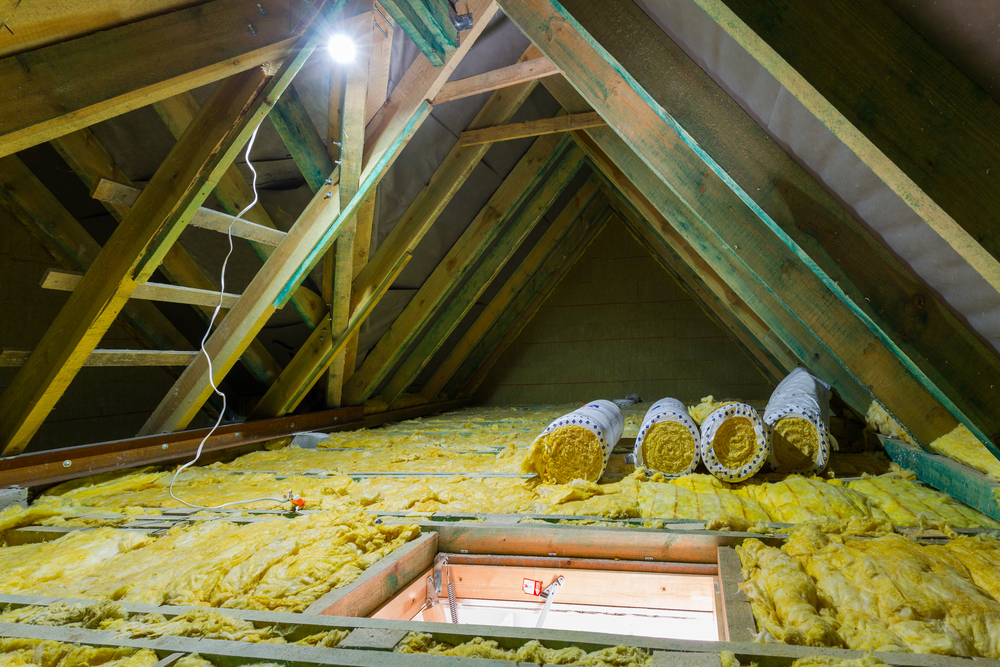
Assessing your attic space involves several vital steps to ensure its functionality and safety. Start by inspecting for any signs of water damage, such as stains or mold, which could indicate leaks in the roof. Evaluate the insulation levels to determine if they meet current energy efficiency standards and consider upgrading if necessary. Check for adequate ventilation to prevent moisture buildup, which can lead to structural issues and mold growth. Lastly, the overall structural integrity of the attic floor and roof framing must be assessed to ensure they can support storage or other intended uses. Regular inspections help maintain a healthy and efficient attic space.
beautiful modern attic interior with hanging sofa. 3d design concept.
Consider the size and spacing of joists to determine if your attic can support flooring
Check if your attic has a pull-down ladder and blown-in insulation
Evaluate the headroom in the attic to determine how much usable floor space is available
Consider the insulation factor and how it may impact your attic flooring decision
Think about the type of storage you need, such as extra storage space for seasonal decorations or seasonal items
Attic Flooring Options
When choosing attic flooring, consider options that balance functionality with structural integrity. Plywood is a popular choice due to its durability and ability to support weight effectively. OSB (oriented strand board) is another economical option known for its strength and suitability for attic floors. Consider attic floor decking panels explicitly made for attic environments for lighter use or insulation purposes. It’s essential to ensure the attic floor can support the intended load, whether for storage or occasional use. Lastly, proper installation should be prioritized to maintain the safety and longevity of the attic flooring.
Choosing the Right Flooring System
Consider using half-inch plywood or OSB over existing joists for light storage
Think about using thicker plywood for joists spaced 24 inches OC to prevent sagging
Look into raised attic flooring solutions that are strong, light, and easy to install
Research attic flooring systems that are designed for DIY installation or
Installation and Design Considerations for Attic Flooring
Walk-in closet with only male clothes. Nobody inside
When installing attic flooring, begin by evaluating the load-bearing capacity of the attic structure to ensure it can support the chosen flooring material and intended use. Consider the insulation needs and ensure that any flooring installation does not compromise insulation effectiveness or ventilation. Design the layout to maximize usable space while maintaining accessibility to utilities and structural elements like roof trusses or beams. Use lightweight yet durable materials, such as plywood or oriented strand board (OSB), and ensure they are appropriately secured to prevent shifting or damage. Lastly, access panels or pathways should be incorporated if necessary for maintenance or future upgrades in the attic space.
Add plywood or OSB over existing joists to create a floored attic for storage
Install an insulated cover over the pull-down ladder to prevent heat loss
Be careful not to compress any blown-in insulation during installation
Consider using a wood screw in the four corners of the sheet of plywood
Empty attic in the house with mineral wool insulation
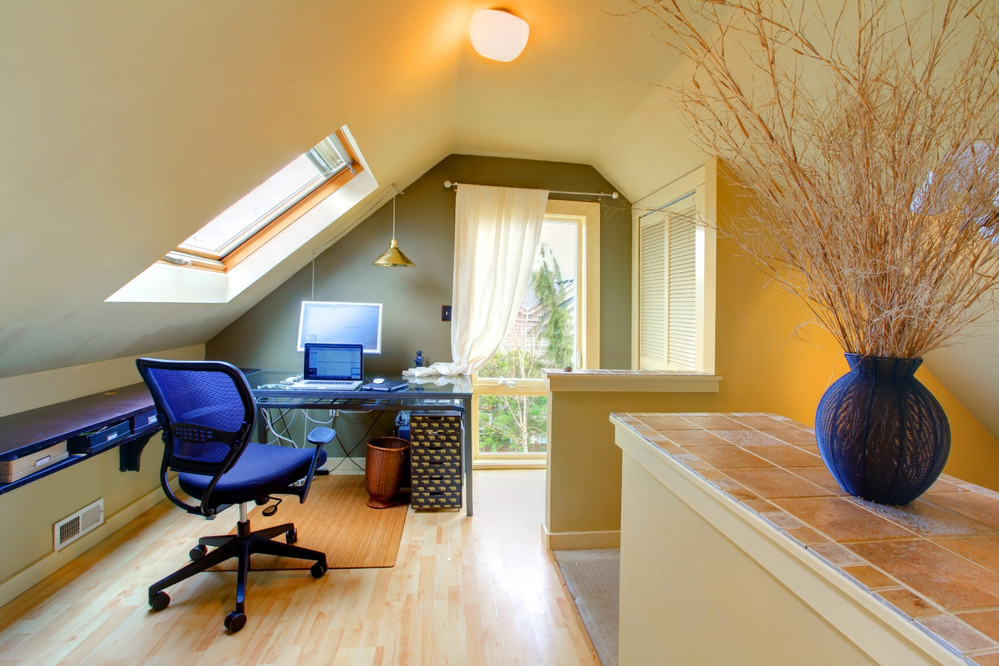
Converting an Attic into a Living Space
Ensure that the attic flooring is installed in compliance with building codes
Use accepted floor decking for a living space, such as ¾-inch tongue-and-groove subflooring
Consider hiring a professional for a complex project like converting an attic into living space
beautiful modern attic interior with hanging sofa. 3d design concept.
Overcoming Common Challenges
When installing, several common challenges require careful consideration. First, ensure the attic floor is adequately reinforced and can support the weight of the flooring material and any intended loads, such as storage items or furniture. Addressing uneven surfaces or joist spacing may be necessary to create a stable foundation for flooring installation. Maintaining proper insulation levels and ventilation pathways to prevent moisture buildup and maintain energy efficiency is crucial. Additionally, accessibility to utilities like wiring or plumbing should be maintained using removable panels or leaving clear pathways. Finally, consider fire safety by choosing fire-resistant flooring materials or installing fire barriers to comply with building codes and ensure safety in the attic space.
Expert Tips for Maximizing Your Attic’s Potential
Consider the roof system and roof trusses when designing your attic flooring
Make sure to store items that can tolerate temperature swings in your attic storage
Think about adding more insulation to your attic and air-sealing any penetration in the ceiling