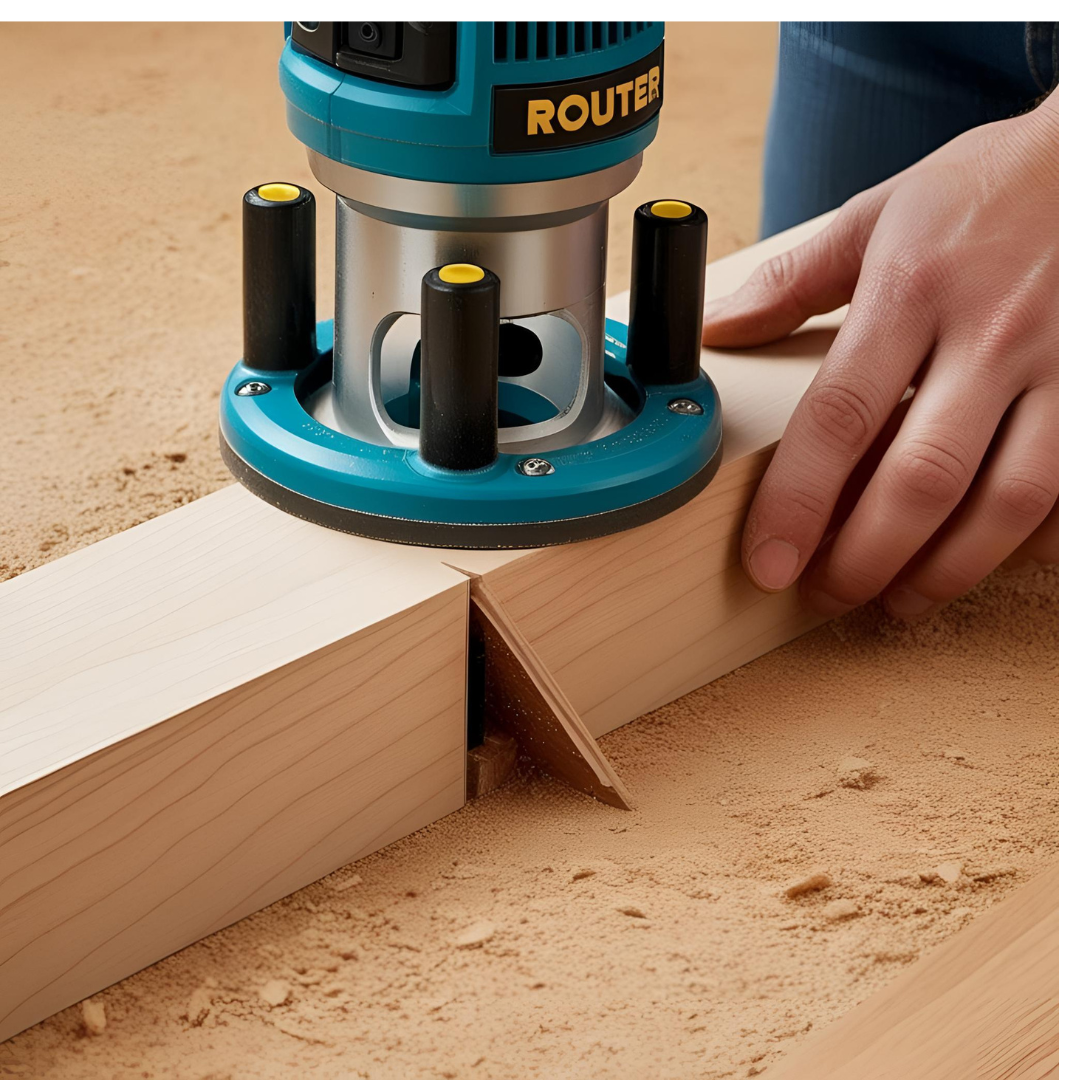
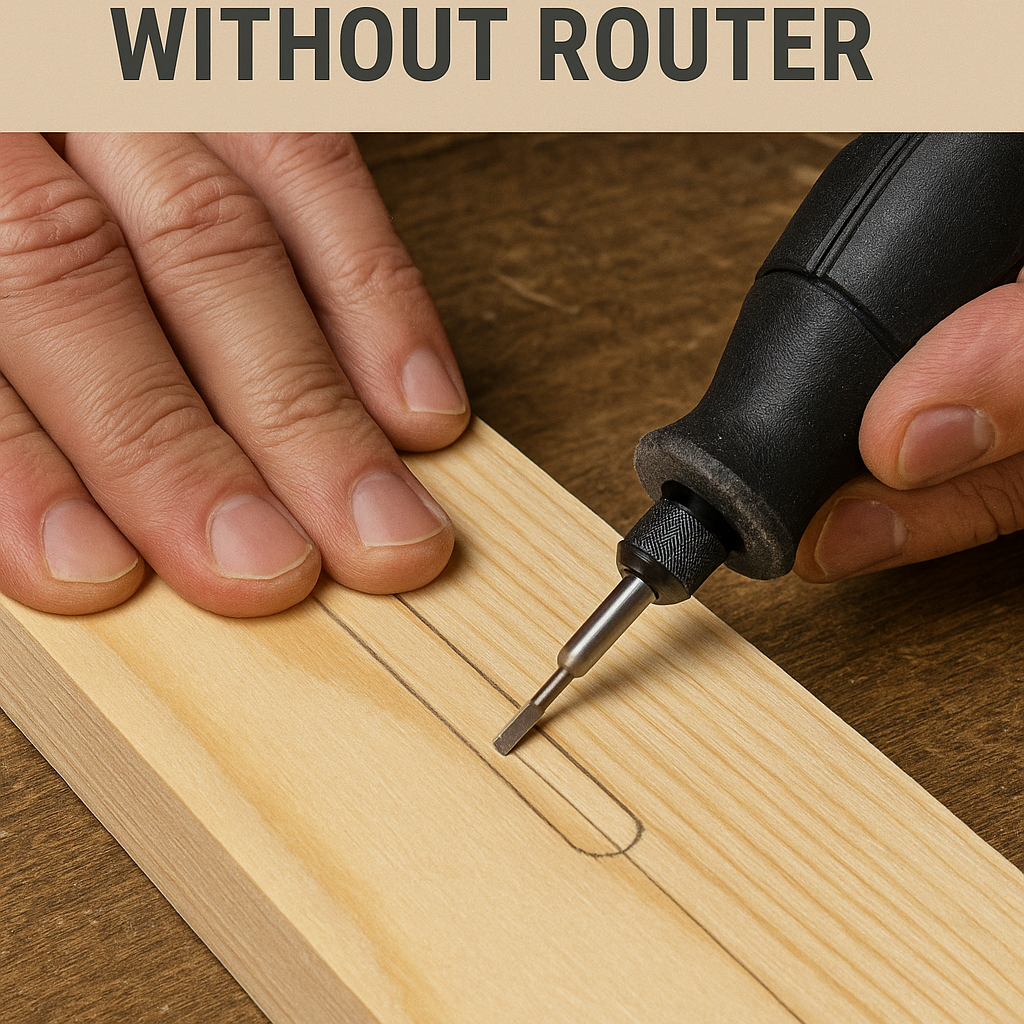
Woodworking is all about shaping wood, and one of the most essential shaping techniques is cutting grooves or channels. Whether you’re building a cabinet, installing shelves, or making joinery cuts, a router is often the go-to tool. But what if you don’t have one? In this guide, we’ll show you how to cut a groove or channel without a router, using classic techniques and affordable tools.
Why Learn to Cut Grooves Without a Router?
Routers are versatile and powerful tools, but they’re not always available, affordable, or necessary. Learning alternative methods to cut grooves helps you:
Save money on expensive tools
Use what you already have
Improve your skills with hand tools
Work in places without electricity
Knowing router-free methods also comes in handy for repairs, on-site adjustments, and small projects.
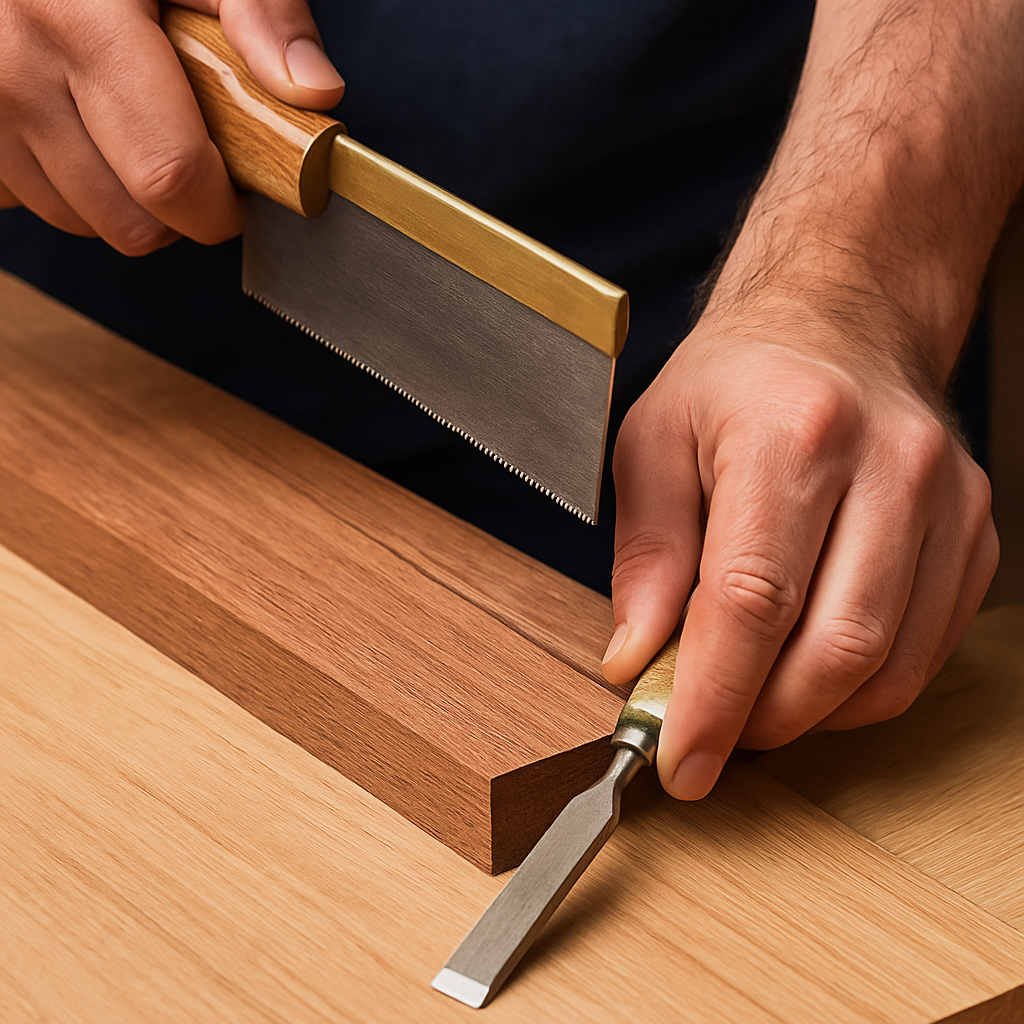
How to Cut a Groove or Channel Without a Router
Looking for the right tools? Here are some highly rated options on Amazon to help you get the job done without a router:
These resources will help you sharpen your skills and
Practice on scrap wood first
Keep your tools sharp
Always clamp your workpiece
Take your time—precision matters
Invest in one tool at a time and learn it well
Final Thoughts
Learning how to cut a groove or channel without a router gives you more freedom, flexibility, and skill as a woodworker. Whether you’re working in a power-free environment or just want to challenge yourself with traditional methods, these techniques open up new possibilities for joinery, decorative detailing, and craftsmanship.
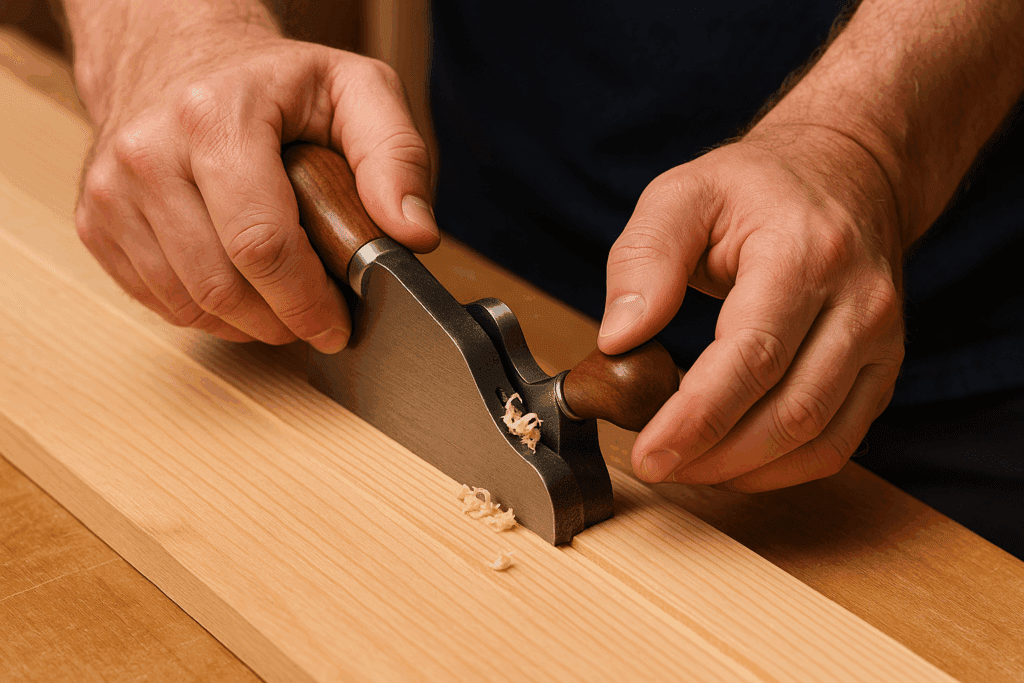
So next time your router is out of reach, grab a saw, chisel, or plane, and groove on.
Sharpening and Maintenance Tips for Router-Free Groove Tools
Your success with hand tools depends heavily on how well they’re maintained. A dull chisel or poorly set plane can ruin a piece of hardwood or tear out delicate grain. Start by learning the basics of tool sharpening. A simple sharpening system with water stones or diamond plates and a honing guide can keep your chisels and plane blades razor-sharp. For saws, invest in a small triangular file and learn to sharpen your backsaw teeth—there are countless tutorials online
. Keep your Dremel bits and jigsaw blades clean and replace them when they get dull or start to burn the wood. Maintaining a small tool care station in your shop not only improves your cuts but also extends the life of your gear. Regular honing and stropping can save time in the long run by reducing the need for frequent sharpening.
Choosing the Right Wood for Groove Cuts Without a Router
The species and grain direction of your wood can significantly impact how easy it is to cut a clean groove. For beginners, softwoods like pine or poplar are forgiving and easy to work with using hand tools. Hardwoods like oak and maple require sharper tools and more effort, but offer stronger joinery and cleaner lines. Be mindful of grain direction—cutting with the grain reduces the chances of tear-out, while cutting across it requires special care and sharp blades.
For plywood, make sure to use a fresh blade and always score the top veneer to prevent chipping. When planning a project that requires groove joinery, test your tools on a scrap of the same material before cutting into your workpiece. This will reveal how the wood reacts and how your tool setup may need to be adjusted.
DIY Guide to Tongue and Groove Plywood Floors by Admin November 10, 2025 Hardwood The first time I stepped on a subfloor made with tongue-and-groove plywood, I immediately noticed the difference. The boards didn’t creak, flex, or shift underfoot—they…


")

")

