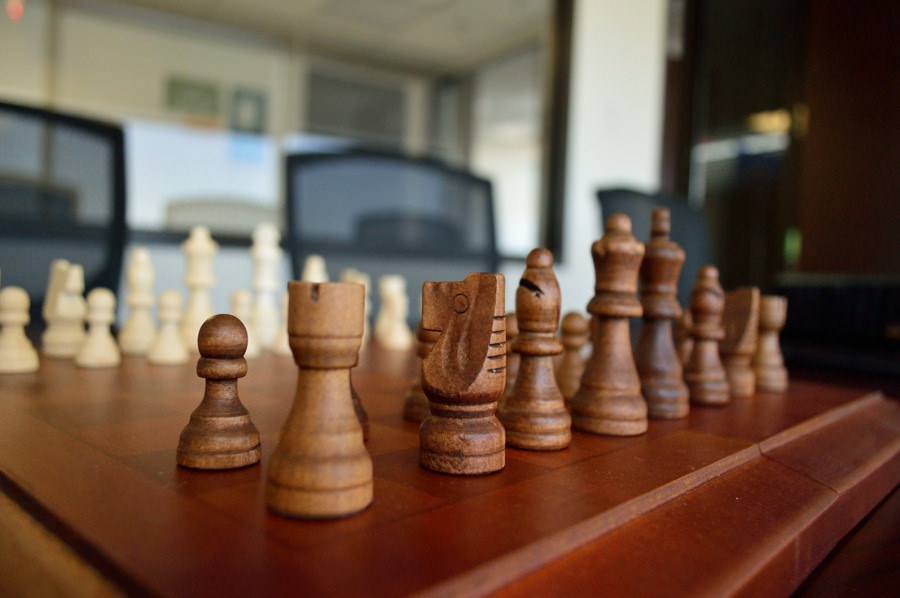
DIY chess boards are far more exciting than most commercial designs, and with a few basic supplies and less effort than you might imagine, it’s surprisingly easy to build a chessboard. Once you’re finished, you’ll be able to put your opponents in check while impressing them with your woodworking skills.
Essential Tools
You don’t need many tools to build a chessboard, but you do need to be proficient with those tools. If it has been a while since you spent time in the shop, you might want to practice with wood that doesn’t matter before you get started on your project!
Table saw for ripping boards
Miter gauge and stop for table saw (you can make one yourself if needed)
4 clamps for securing plywood backing to finished chess board (Irwin Quick Grip clamps or similar are ideal)
Router with a ¼” round-over bit (This is optional since it’s possible to purchase rounded trim – but it’s nice to have a completely handcrafted chessboard with components you made on your own!)
Brad gun
DIY Chessboard Materials
Before you start building a chessboard, you’ll want to assemble all the necessary materials. Start by deciding which wood types to use. Begin with a lighter wood such as aspen, white oak, maple, pine, and then choose a darker contrast wood such as walnut, rosewood, teak, cedar, or mahogany. You can use any combination you like, but be aware that hardwood and softwood don’t sand at the same rate and you might end up with a slightly wavy surface if you mix hardwood and softwood together on this project.
8-foot 1×4 board in dark color
8-foot 1×4 board in light color
½” plywood of your choice, 2 feet square – a nice hardwood plywood is ideal
Wood glue
Wood filler in a color that matches the lighter wood
Depending on where you obtain your materials, you can expect to pay around $40 for everything, at most. You might already have some of the necessary materials on hand.
How long does it take to build a chessboard? Just like the cost of materials, there are some variables. We recommend that you focus on precision and enjoy the process rather than worrying about taking too much time! If you are highly proficient, you can expect to spend less than four hours in the shop, minus drying time for the glue and finishes. Drying time depends on what kind of finish you use and how many coats you decide to apply.
Cutting Chessboard Pieces, Part I
Every chessboard has 64 squares. You might imagine that you need to cut each one individually, but there’s an easier way. You’ll be making strips, gluing them together, and cutting them again to reveal “checked” strips of contrasting wood that lie side by side and form the surface of your chessboard.
To cut the chessboard pieces, use the table saw to rip the 1×4 boards into 1 ½” wide strips.
Next, attach a stop to your miter saw, a rough 16 inches from the blade.
With the miter saw, cut four rough 16” pieces of light wood.
Use the miter saw and stop to repeat the cutting process for the chessboard’s contrast wood.
Assembling the Chessboard Squares, Part I
Open the bar clamps to just over 16 inches and lay all eight pieces of wood on edge, alternating colors.
Apply wood glue to each exposed edge.
Lay the wood strips down and press them together, lining them up carefully to ensure that the ends are even. This step calls for a great deal of precision – don’t rush!
Once all the glued edges have been aligned, carefully close the clamps onto the wood strips. Adjust the tightness gradually, first tightening one clamp and then tightening the next. Stop tightening when you have achieved firm, even pressure and you can see glue seeping up between the edges.
Leave the squares to dry completely. Some glue brands dry very quickly, but this is a project you don’t want to mess up! We recommend leaving the clamps alone for 24 hours before moving on to the next step.
Cutting Chessboard Squares, Part II
Release the wood from the clamps. Treat it to a quick sanding on both sides. This removes the excess glue and smooths out any uneven edges. Your project should now resemble a striped cutting board!
Next, set up your table saw with a miter gauge to ensure that the coming cuts are precise.
Trim the rough edge off one end of the striped board.
Set up a stop on your miter gauge, 1 ½” inches from the blade.
Crosscut eight strips from your striped board.
Assembling the Chessboard Squares, Part II
Again, open the bar clamps to just over 16 inches. lay your wood strips on edge, carefully ensuring that you alternate between light and dark colors.
Apply wood glue to each exposed edge.
Lay the strips down in their checkerboard pattern. Be very careful with alignment, as even a small slip can prevent the crisp, clean checks you’re aiming for.
Once all edges have been aligned, again carefully close the clamps, alternating from one clamp to the next as you adjust tightness. Take a very close look at the checkerboard pattern before leaving your project to dry.
Leave the chessboard to dry completely. Again, 24 hours is ideal.
After the glue has dried, remove the chessboard from the clamps. Treat both sides to another sanding, paying careful attention to the side you choose for the board’s face.
Measure the completed chessboard. Don’t be disappointed if it is not a perfect square! The glue increases the overall size just a bit and it’s rarely perfectly even.
Use the measurements to rip and crosscut the plywood to match the finished size of the chessboard. Ensure that the measurements match the back side of the chessboard since this is where it will be attached.
Apply glue to the chessboard’s back and the plywood. Carefully bond them together. Use four quick – grip style clamps to hold them together.
Once aligned, carefully fasten the plywood to the chessboard with the brad nails, keeping precision a priority. Alternate opposite edges to ensure that all components remain perfectly aligned.
Next, it’s time to build the frame. Lay the chessboard on its back (the plywood side) and measure its height. It’s a good idea to measure height in a few different spots. Using the shortest height as your guide, set the table saw and rip a “frame” strip of light-colored wood to the height you’ve decided on.
Lay the strip alongside the chessboard and scribe a line for one edge.
Use the miter saw to cut the wood strip to length. Repeat these two steps for the opposite end of the chessboard.
Glue the strips and use the bar clamps to secure them to the opposite ends of the chessboard.
Allow these ends to dry. It’s OK to go with a shorter drying time recommended by the glue’s manufacturer since you now have several layers of wood bonded together. Secure each end with a brad nail.
Lay the original frame strip along one of the sides of the chessboard. Line it up so that it encompasses the new frame strips you just added, and scribe a line.
Use the miter saw to cut the strip, and then repeat the process for the fourth side of the chessboard.
Glue the strips into place and use the bar clamps to secure them to the sides of the chessboard.
Allow these strips to dry. It’s fine to go with the shortest amount of time recommended by the glue’s manufacturer. Secure each end with a brad nail.
Framing the Chessboard, Part II
Check for any gaps in the top of the chessboard and apply a generous amount of filler. Don’t worry about mistakes – any extra will be sanded away in the next step.
When you are confident that all glue and filler has dried, use high-grit sandpaper to sand the chessboard. Sand the entire thing until the top is completely flush with the frame you just completed. Finish sanding with 320 grit or higher sandpaper to achieve a fine surface, and then wipe clean with mineral spirits.
You can stop here if you like, or you can make your chessboard even more attractive by adding a mitered, rounded frame on the outer edge. You can use pre-fabricated ¾” round molding, or you can make your own using a strip of the dark-colored wood.
With a router and a ¼” round over bit, round one edge of a strip of dark wood.
Rip the rounded piece of wood to ¾” width on the table saw.
Miter a 45 degree angle onto the molding. Line the mitered angle up with the corner of the chessboard’s frame and scribe the other side to obtain the length of the board’s edge. Repeat the process for each edge of the board. Remember, they will not be exactly the same!
Apply glue to the mitered trim pieces and clamp them into place. You should notice that the inner frames rise above the lower/outer frame by about ¼” creating an impressive effect.
This time, let the glue cure for 24 hours. You want to achieve a tight bond! If you are concerned that the glue might not be enough, you can apply one brad nail in each end of the each trim piece, preferably in a low, discreet position.
If you like, you can draw up plans for a storage box and drawer to fit right underneath your chessboard, or you can use it as the centerpiece for a chess table. Let your imagination be your guide!
Finishing the Chessboard
You might be tempted to create a shiny, reflective surface for the chessboard, but a nice satin finish is preferable.
Start with an oil finish such as tung oil or Danish oil. Apply two coats and give them about 48 hours to sink in. You can skip the oil finish if you want to, but it will give the board a rich, beautiful appearance.
Choose an oil-based, clear satin finish such as Minwax® fast-drying polyurethane. This particular product requires 4 hours between coats, with two coats being the recommended amount. It comes in a convenient aerosol spray can and it is compatible with hardwood and softwood alike.
Whichever finish you choose, ensure that you follow the manufacturer’s exact recommendations for application, drying time, sanding, and cleanup.
Start with the chessboard’s back. Apply the first coat of finish and carefully wipe away any runs with mineral spirits. Allow the back to dry for 24 hours.
Flip the chessboard over and apply the first coat of finish to the front and the sides. Allow it to dry for 24 hours.
Take your board outside or into a different area than the space where you are applying finish. Use very fine grit sandpaper (320 or higher) to sand the first coat very lightly. Use a soft cloth to wipe away the polyurethane.
Wipe again with a tack cloth to remove any remaining dust particles.
Apply the second coat of varnish, beginning with the chessboard’s back. Clean up any drips and allow the finish to dry for 24 hours. Double check for any surface imperfections and then apply the second coat of finish to the board’s front and sides.
Allow the chessboard to dry for another 24 hours.
If you are satisfied with the finish you can stop here. If you prefer a thicker finish, repeat the sanding and finishing process one more time. Be sure though, that you follow the manufacturer’s recommendations for maximum number of coats. Applying too much finish can be just as bad as not applying enough – and it can ruin the look of your project.
For a final finishing touch, consider waiting about two weeks for the finish to completely cure, and then apply a very light coat of carnuba wax with a soft cloth. That’s it! Your new chessboard is ready to provide you with many years of enjoyment.
Related Posts:
How to Make Barn Quilts by Admin June 3, 2025 DIY Walk through rural America and you’ll start noticing a charming trend on barns, sheds, and even garages—large, colorful quilt block patterns painted right onto the…
How to Make Cornhole Boards by Admin March 25, 2025 DIY I’ve built a few cornhole boards over the years — mostly for family barbecues and neighborhood game nights. It’s one of those backyard projects that’s…
How to Make a Bucket Toilet by Admin August 2, 2023 DIY Anyone who enjoys hunting or fishing has probably seen a bucket toilet sometimes. More and more campers are using them as well. Instead of buying…