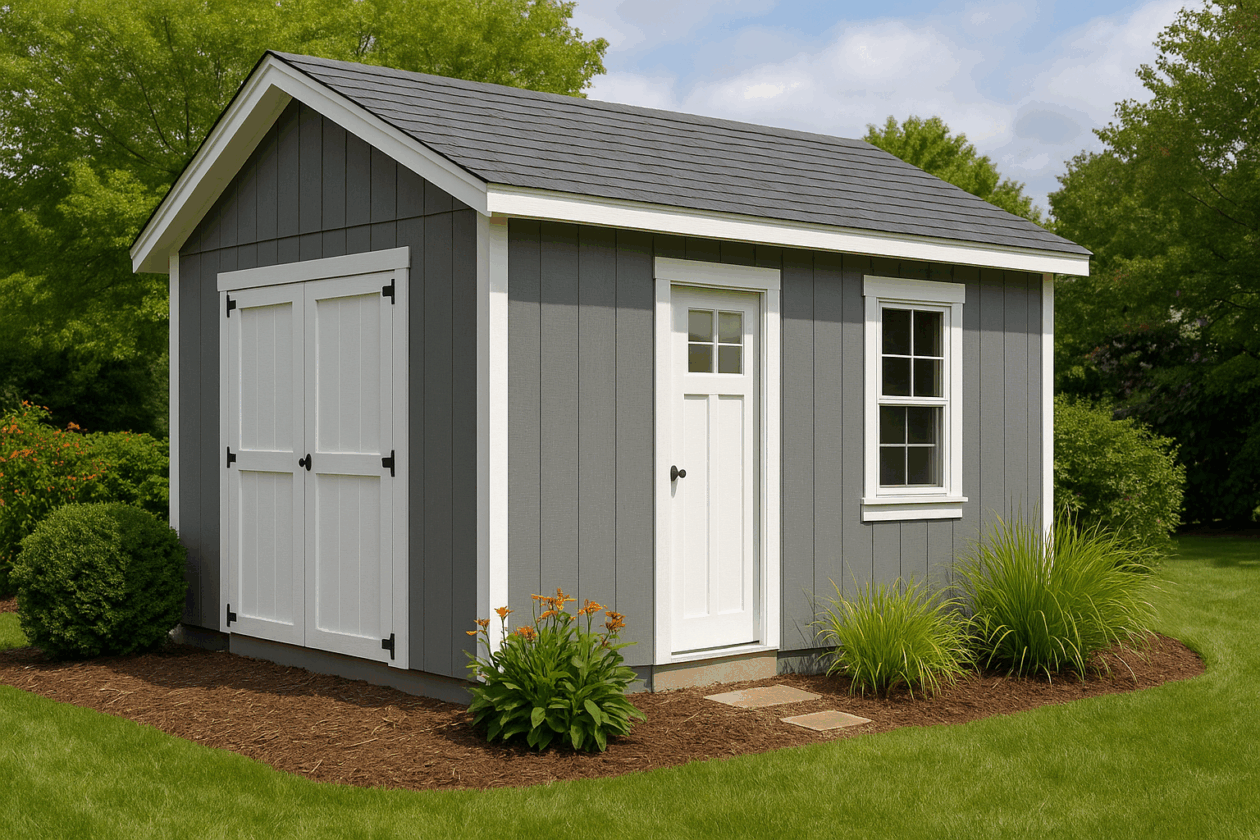
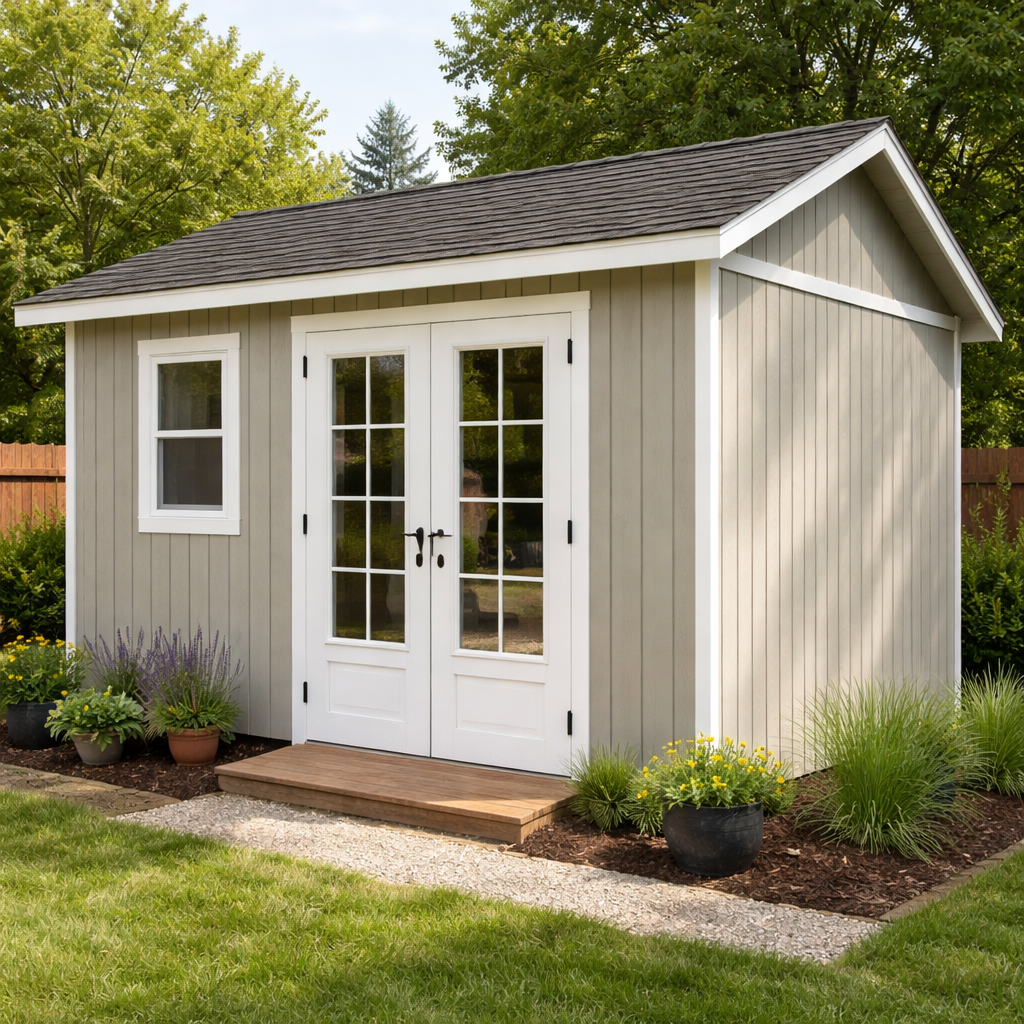
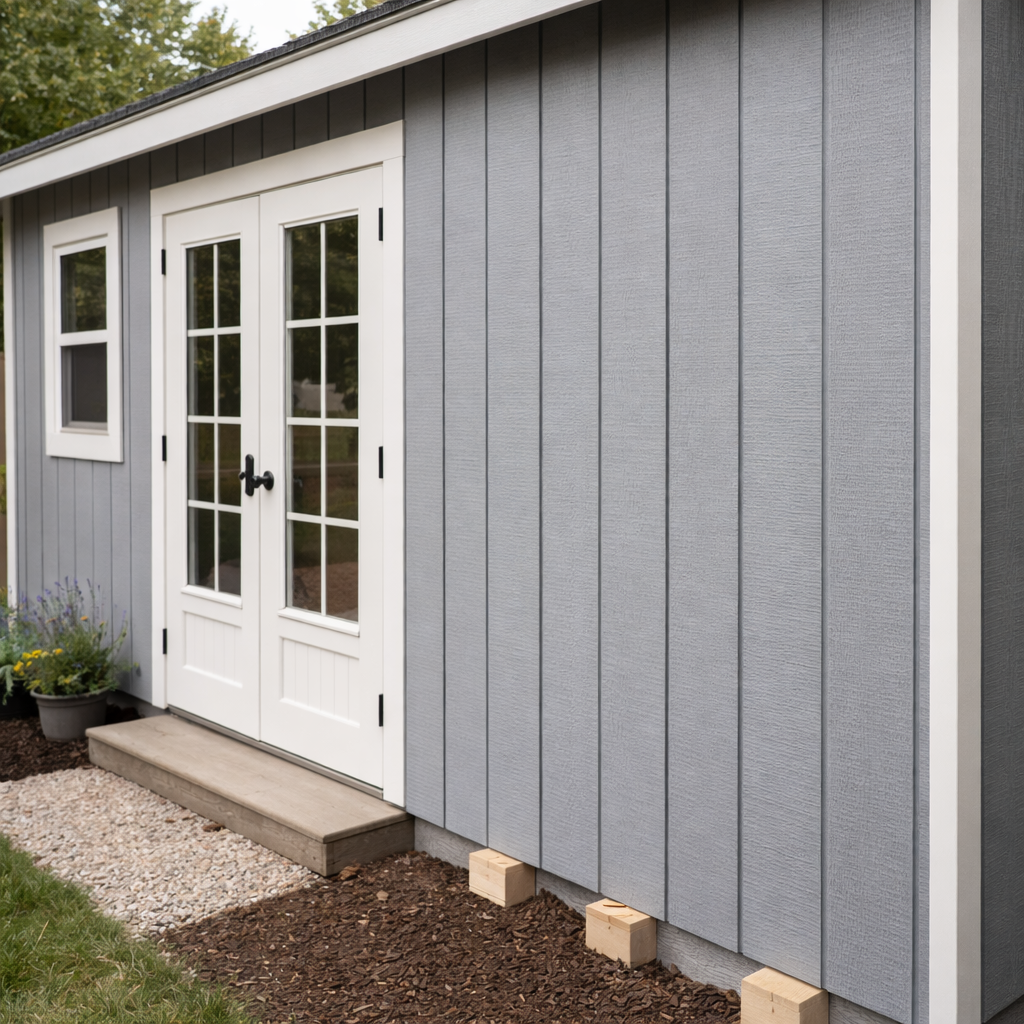
T1-11 siding is one of the few exterior materials you can realistically install by yourself—but only if you approach it the right way.
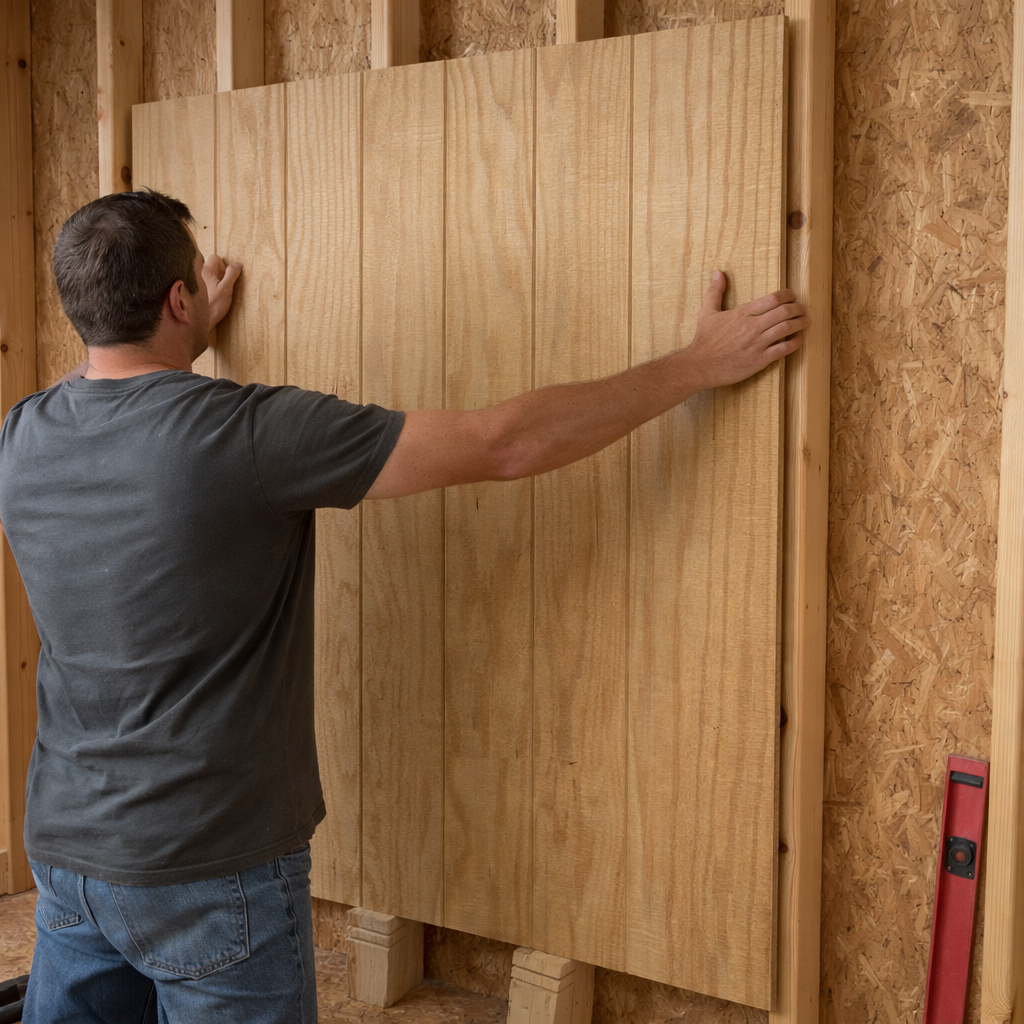
On paper, it looks simple. Large 4×8 panels, vertical grooves, and fast coverage compared to traditional siding boards. But once you’re actually standing at a wall holding one of those panels alone, trying to line it up with studs while keeping it level and preventing it from slipping, it becomes clear why so many DIY installs go wrong.
The reality is this: installing T1-11 isn’t technically complicated—but it is physically awkward. Most mistakes don’t come from cutting or fastening. They stem from panel movement, poor early alignment, and moisture issues that surface weeks or months later.
I’ve used T1-11 on sheds, detached garages, and workshop builds, and I’ve seen both outcomes—projects that still look clean years later and projects that began to swell and peel within a season. The difference always comes down to a handful of details: how the wall is prepped, how the panels are controlled during install, and how well every edge is sealed.
This guide walks you through exactly how to install T1-11 siding on your own, based on what actually works in real-world builds—not just ideal conditions.
🔧 Best Tools & Materials for T1-11 Siding (Quick Picks)
When you’re working solo, your tools aren’t just about speed—they’re about control. The faster you can secure a panel, the less chance it has to shift out of alignment.
Here’s what makes the biggest difference:
Framing Nailer– This is the single biggest upgrade for solo installs. You can “tack” a panel in place in seconds before it moves.
T1-11 siding is a grooved wood panel made from either plywood or OSB. It’s been widely used for decades on sheds, barns, garages, and cabins because it’s affordable, relatively durable, and fast to install.
The name breaks down like this:
T = Textured surface
1 = One grooved side
11 = Groove spacing (typically 11 inches apart)
Each panel is usually 4×8 feet, which allows you to cover large wall sections quickly. That’s one of the main reasons it’s still popular—especially for solo builds where minimizing handling is important.
Plywood vs OSB T1-11 (Critical Decision)
This decision directly affects how your siding performs over time.
Plywood T1-11
More stable under changing weather conditions
Better resistance to moisture intrusion
Holds paint and finishes more evenly
Less prone to edge swelling
OSB T1-11
Lower upfront cost
Heavier panels (noticeably harder to handle alone)
Edges absorb water quickly
Requires near-perfect sealing to avoid early failure
👉 If your siding will be exposed to weather, plywood is the better long-term option—even if it costs more upfront.
Why T1-11 Still Makes Sense for DIY Projects
Even with newer siding materials available, T1-11 remains one of the most practical choices for solo builders.
💰 Fast Coverage = Fewer Mistakes
Each sheet covers 32 square feet. That reduces:
total install time
number of seams
opportunities for alignment errors
When you’re working alone, fewer panels mean less repositioning and less fatigue.
🛠 Straightforward Installation
T1-11 doesn’t require specialized systems or complex layouts. You’re essentially:
cutting panels
aligning them to studs
fastening them in place
That simplicity is what makes it approachable for DIY work.
🧱 Dual Function (Siding + Sheathing)
With plywood T1-11, you can often skip installing separate sheathing underneath. The panel itself provides both structural support and exterior finish.
This reduces:
cost
labor
build time
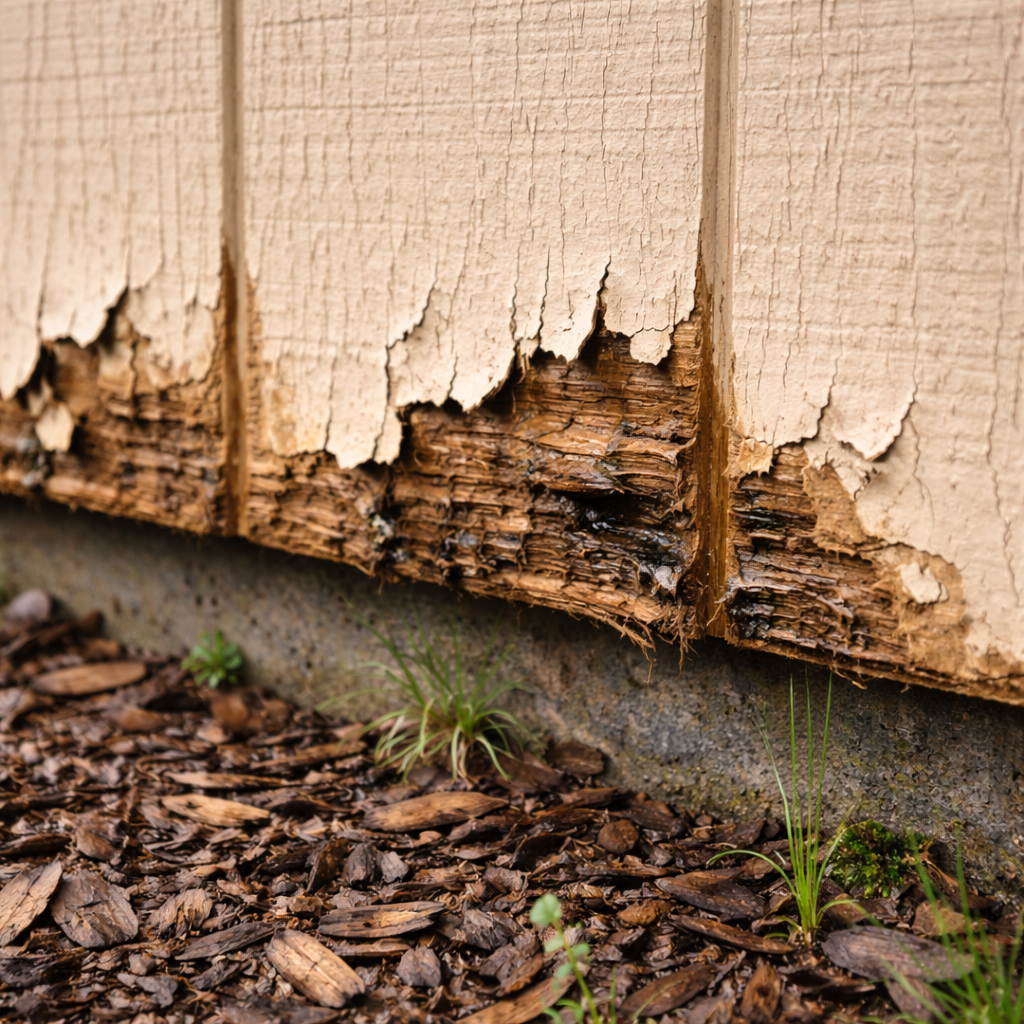
⚠️ The Real Weakness: Moisture
T1-11 performs well structurally, but moisture is its biggest vulnerability.
Water typically enters through:
unsealed cut edges
poorly sealed seams
bottom edges near the ground
Once moisture gets inside:
the panel swells
fibers begin to break down
paint loses adhesion
rot develops over time
The key isn’t avoiding moisture entirely—it’s sealing every entry point.
⚠️ Installing T1-11 Alone: What Actually Makes It Difficult
The biggest challenge is controlling a large, flexible panel without help.
A full sheet:
flexes slightly when lifted
shifts before fastening
can lose alignment quickly
Even being off by a small amount on the first panel can throw off the entire wall.
💡 Techniques That Make Solo Installs Work
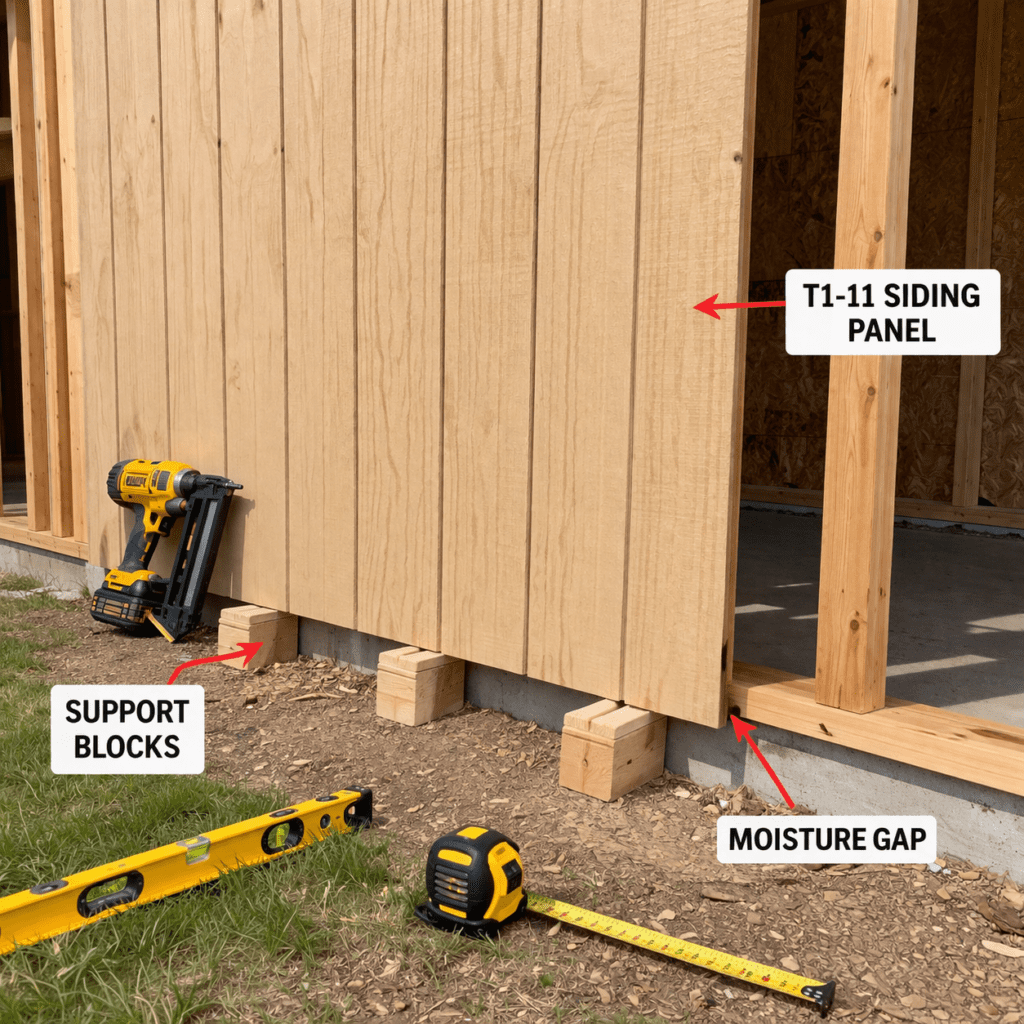
1. Use Bottom Support Blocks
Place small wood blocks at the base of the wall to hold the panel at the correct height. This eliminates the need to support the full weight during alignment.
2. Pre-Mark Stud Locations
Mark studs clearly with a chalk line or pencil before lifting the panel. This allows you to fasten quickly without searching.
3. Tack First, Then Adjust
Drive one nail in the center to hold the panel, then adjust alignment before fully fastening.
4. Work in Sections
If possible, install one wall at a time rather than switching between sides. This helps maintain consistent alignment.
5. Avoid Wind
Even light wind can shift a panel enough to cause misalignment. Calm conditions make a noticeable difference.
Having everything ready reduces the time spent holding panels in place.
Step-by-Step: How to Install T1-11 Siding Alone
1. Prepare the Wall
Check your framing thoroughly.
studs should be straight
spacing should be consistent (usually 16″ on center)
replace any warped or damaged wood
Even small inconsistencies will show once panels are installed.
2. Measure Carefully
Measure the wall at:
top
middle
bottom
Walls are rarely perfectly square, so use the smallest measurement to ensure a proper fit.
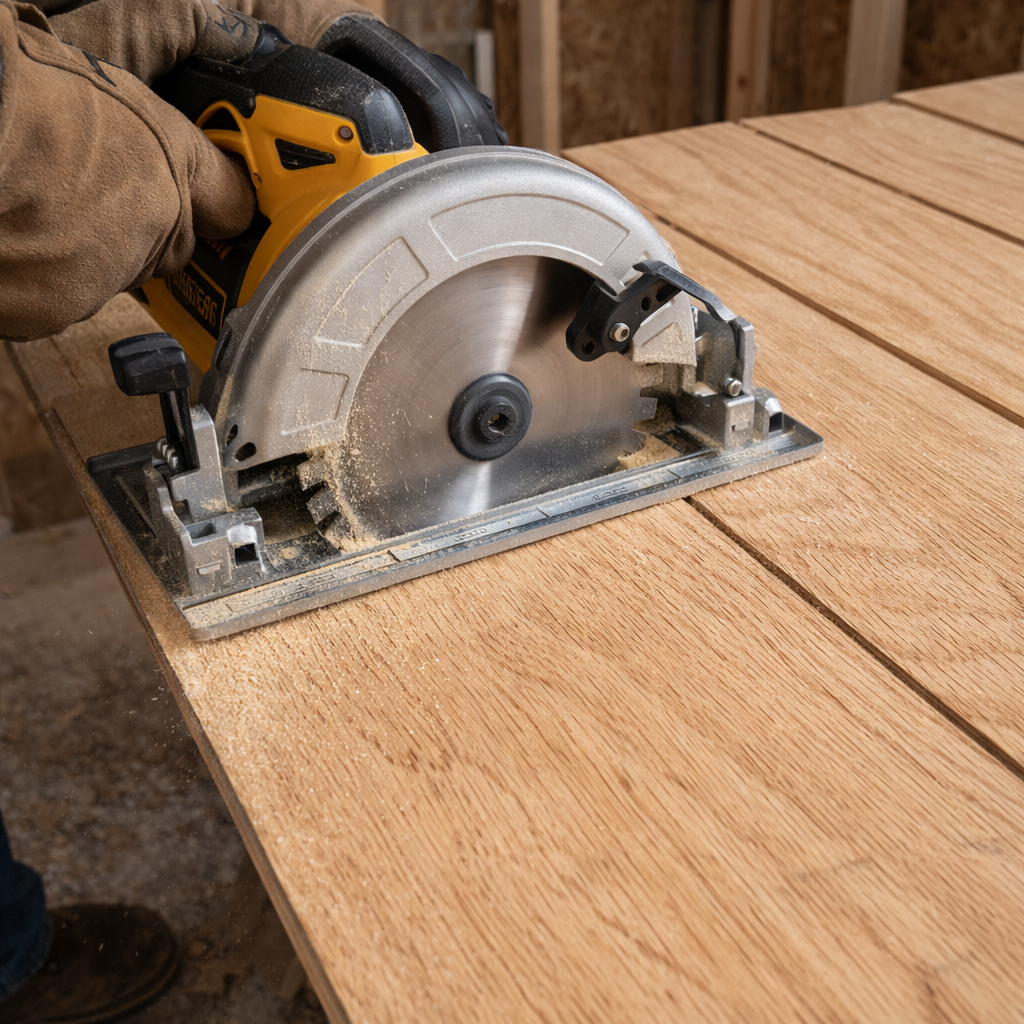
3. Cut Panels Cleanly
Use a fine-tooth blade to reduce splintering.
A clean edge:
seals better
absorbs less moisture
looks more professional
4. Position the First Panel
The first panel sets the entire wall alignment.
use a level to keep it straight
align grooves carefully
leave a slight gap at the bottom (prevents water wicking)
Take extra time here—this is the foundation for everything else.
5. Fasten the Panel Properly
Follow a consistent pattern:
every 8 inches along edges
every 12 inches across studs
Use galvanized nails or exterior screws to prevent corrosion over time.
6. Continue Panel Installation
As you move across the wall:
check alignment frequently
keep seams consistent
avoid forcing panels into place
If a panel doesn’t fit easily, recheck your measurements.
7. Stagger Vertical Seams
Never align seams directly above each other.
Staggering improves:
strength
visual consistency
long-term durability
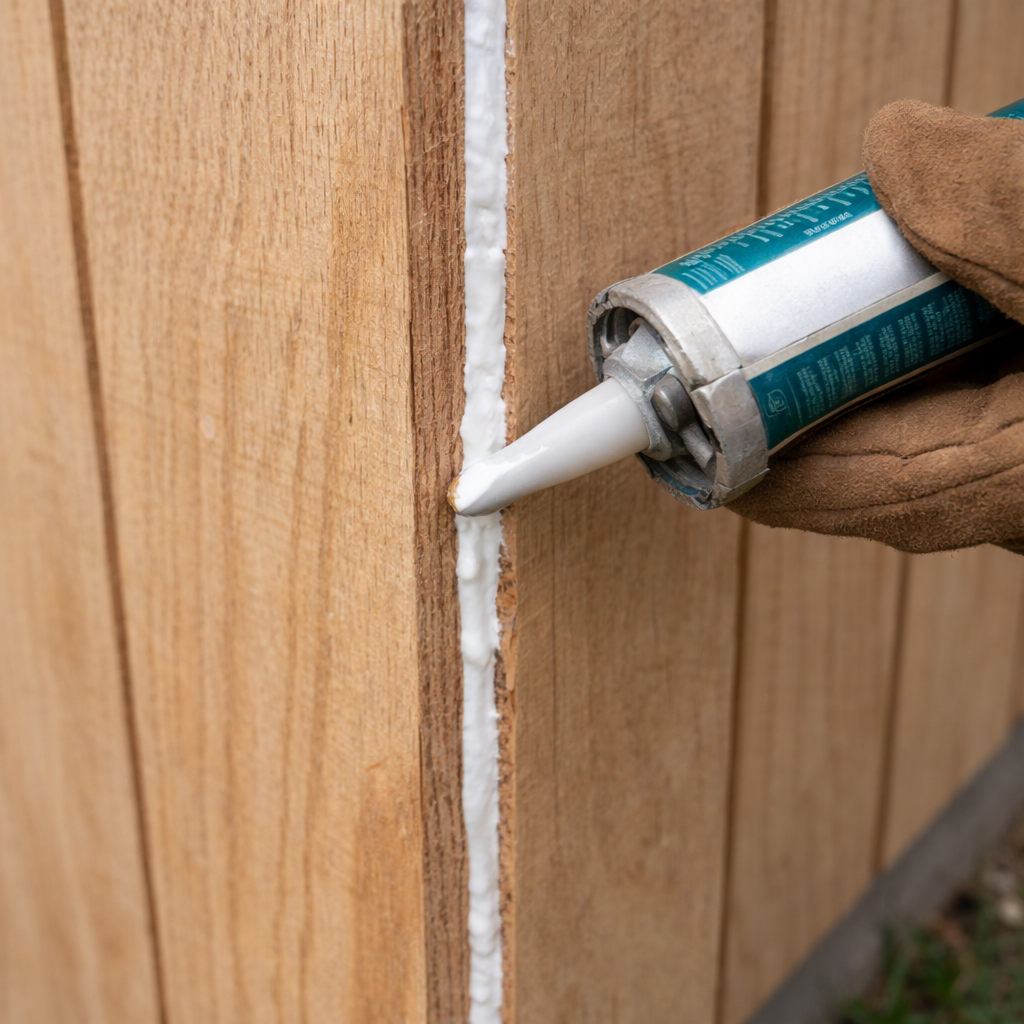
8. Seal All Edges and Seams
This is the most important step.
Seal:
all cut edges
seams between panels
joints around windows and doors
This prevents water from entering the material.
9. Prime and Paint Immediately
Do not leave T1-11 exposed.
Apply primer first
Followed by two coats of exterior paint
This protects the siding from both moisture and UV damage.
❌ The Biggest Mistake That Ruins T1-11 Siding
The most common failure is the omission of edge sealing.
Paint alone is not enough. Cut edges absorb water quickly, and once moisture gets inside the panel, it spreads.
This leads to:
swelling
paint failure
rot
What You Should Do Instead
seal edges before installation
caulk all seams thoroughly
apply primer to all exposed surfaces
This single step dramatically increases lifespan.
Common Problems (And Real Fixes)
Warping Panels
Usually caused by uneven moisture exposure.
Fix:
improve drainage
replace severely warped panels
Rotting Edges
The most common issue.
Fix:
cut out damaged sections
reseal edges
Peeling Paint
Often from poor prep or moisture.
Fix:
sand surface
apply primer
repaint
Loose Panels
Caused by improper fastening.
Fix:
re-secure panels
add fasteners where needed
Long-Term Maintenance Tips
To extend the life of T1-11 siding:
inspect annually for damage
reseal edges when needed
repaint every 5–7 years
keep water away from the base of walls
Maintenance is what determines whether the siding lasts 5 years or 20.
Cost Breakdown
Typical pricing:
Plywood T1-11: $40–$55 per sheet
OSB T1-11: $30–$40 per sheet
Small shed project:
$400–$600 total
Installing it yourself is where most of the savings come from.
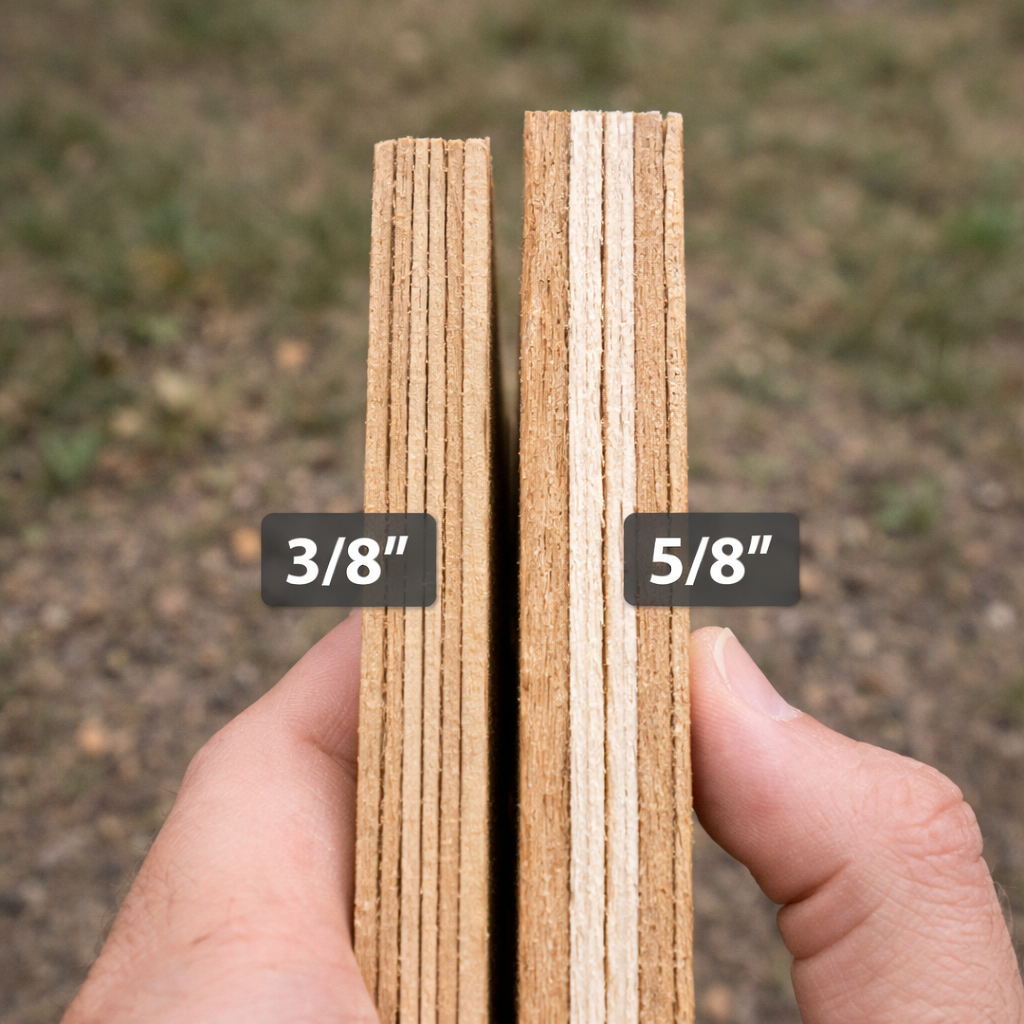
📏 Best T1-11 Siding Thickness (And What I Actually Use)
One detail that doesn’t get talked about enough is thickness—and it has a bigger impact on performance than most people expect.
T1-11 siding typically comes in two common thicknesses:
3/8 inch
5/8 inch
At first, the cheaper 3/8″ panels seem like an easy choice. They’re lighter, easier to cut, and noticeably less expensive. But after working with both, the differences show up quickly once you’re actually installing them—especially if you’re doing it alone.
3/8″ T1-11 (Budget Option)
This works, but it comes with trade-offs:
Flexes more while lifting and positioning
Easier to misalign during installation
Less resistant to impact and warping
Requires tighter stud spacing for best results
If you’re building a small shed or a temporary structure, it can be fine—but you’ll notice the lack of rigidity immediately when trying to hold a full panel by yourself.
5/8″ T1-11 (What I Recommend)
This is what I use on most builds now.
Much stiffer and easier to control during installation
Holds nails better and feels more solid overall
Less prone to warping over time
Performs better in changing weather conditions
The biggest advantage when working alone is control. A stiffer panel doesn’t flex as much, which makes it easier to line up with studs and keep everything straight while fastening.
What I Actually Do on Most Projects
If the structure matters (garage, workshop, or anything long-term), I go with 5/8″ plywood T1-11 every time.
The upfront cost is higher, but it saves time during installation and reduces problems later. You spend less time fighting the panel, and the finished result looks noticeably cleaner.
For smaller builds where budget matters more than longevity, 3/8″ can still work—but you’ll need to be more careful during installation and more consistent with sealing.
T1-11 siding is one of the most practical options for DIY builders working alone.
It’s fast, efficient, and doesn’t require specialized tools. But it does require attention to detail—especially when it comes to sealing and moisture control.
If you:
prep properly
install carefully
seal every edge
maintain it over time
You’ll end up with siding that lasts for years.
If you skip those steps, problems show up quickly.
That’s the difference between a clean, long-lasting build and one that needs repairs sooner than expected.

")

")
")

")