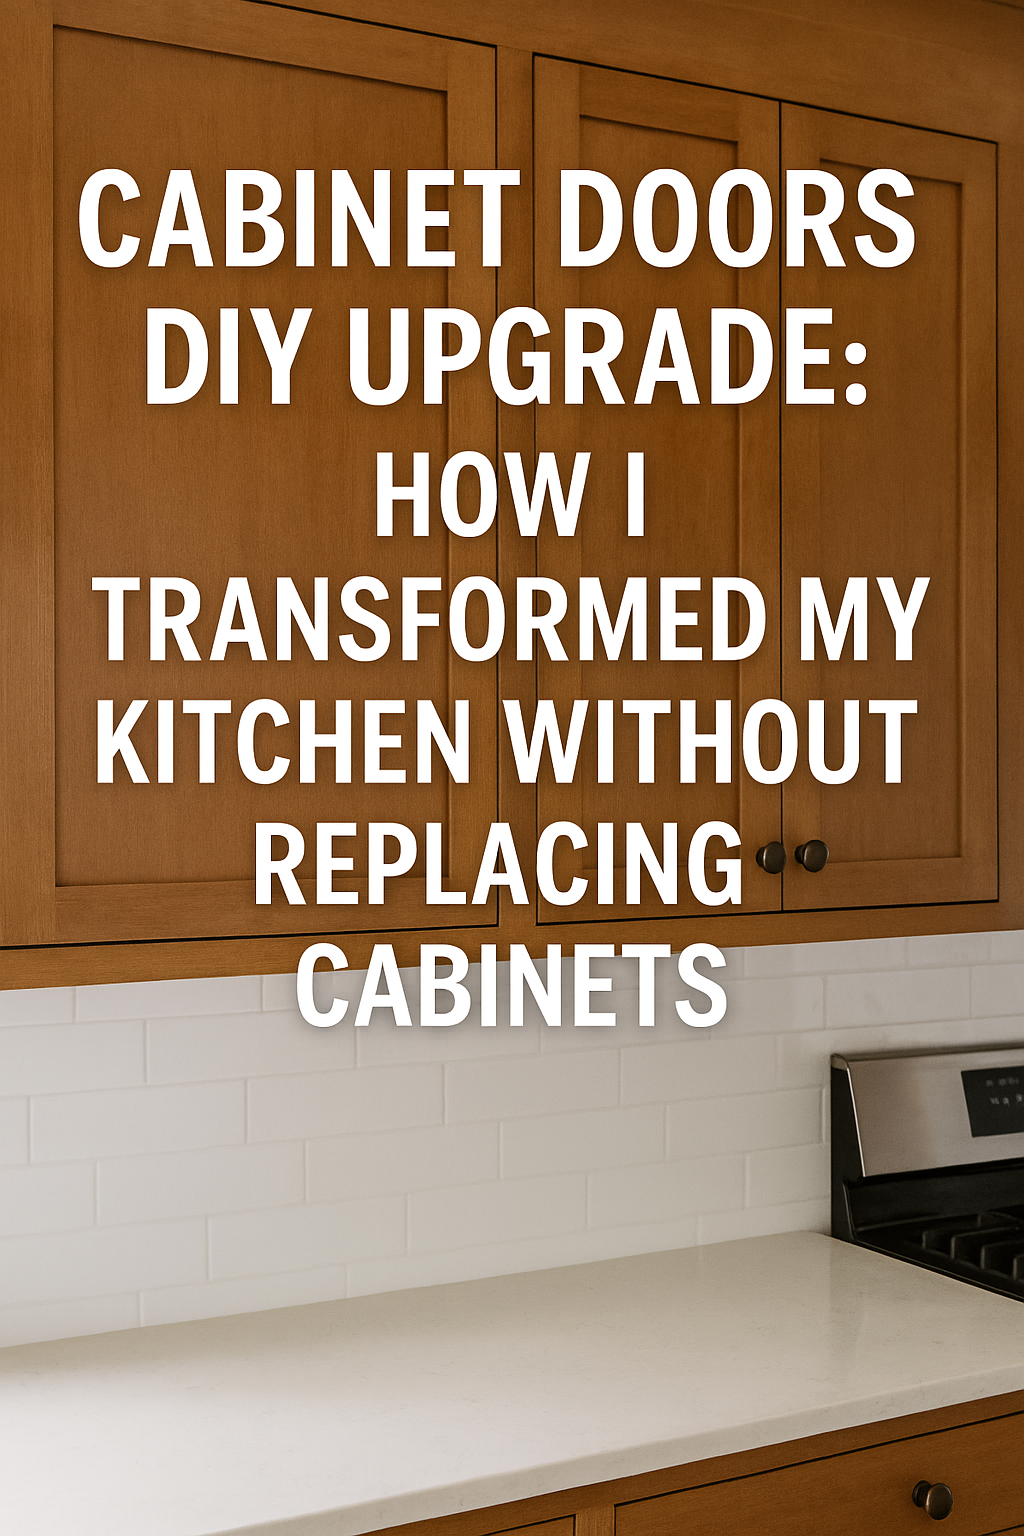
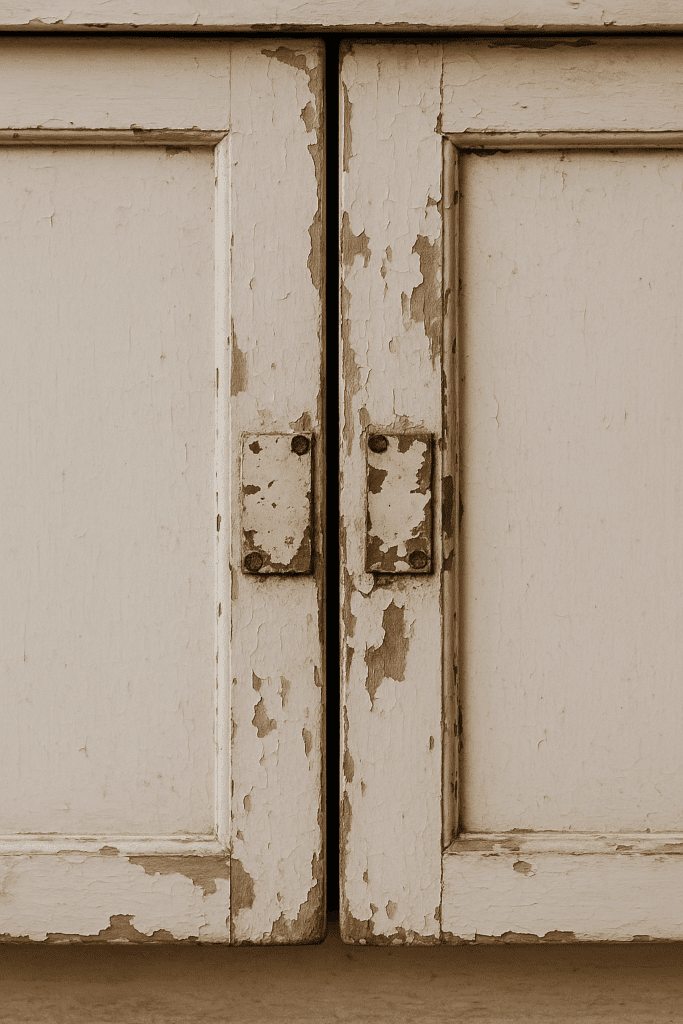
I used to hate walking into my kitchen. The cabinet doors were worn, the finish had turned a weird yellow-orange, and everything looked tired, even though the bones were still solid. I thought I needed a full remodel to make a change. I was wrong.
Replacing just the cabinet doors turned out to be one of the most affordable, impactful home updates I’ve ever done. No demo, no contractors, and no cabinet box removal—just new doors I made myself. And the results were way better than I expected.
💡 Why I Chose to Replace the Doors, Not the Cabinets
Let’s be real—cabinet boxes don’t wear out. They’re like the skeleton of your kitchen. Unless they’ve been water-damaged or poorly built, they’re usually still strong after 10, 20, even 30 years.
In my case, the boxes were rock solid. It was the doors that told the story of a million rushed breakfasts and sticky-handed toddlers. They were discolored, some sagged, and the finish had seen better decades. So instead of tearing everything out, I focused on the only part that really needed attention: the doors.
I didn’t expect such a massive change from such a simple upgrade.
What I ended up with:
A kitchen that finally felt mine
A $300 budget that actually stretched
The freedom to pick my own style and hardware
🛠️ Picking the Right Type of Cabinet Door for Your Style
Before I started cutting any wood, I had to decide on a style. This wasn’t just about looks—different types of doors require different tools and skills.
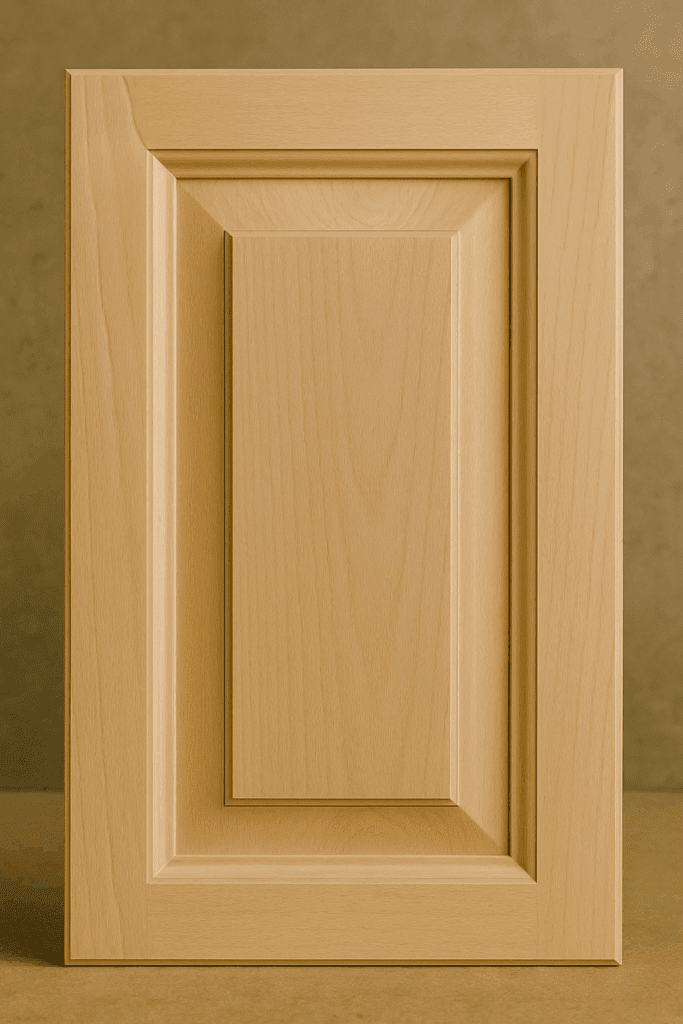
1. Panel (Framed) Doors
These are the classic ones you’ll see in most homes—think shaker, farmhouse, or traditional. They have a frame with a center panel that can be flat or raised. They take a bit more time to make, but I love the detail they add.
2. Frameless (Slab) Doors
These are clean, flat rectangles. No frame. No fuss. If you’re into modern design or want a fast win, this might be your style. They’re super easy to build from a single sheet of cabinet-grade plywood.
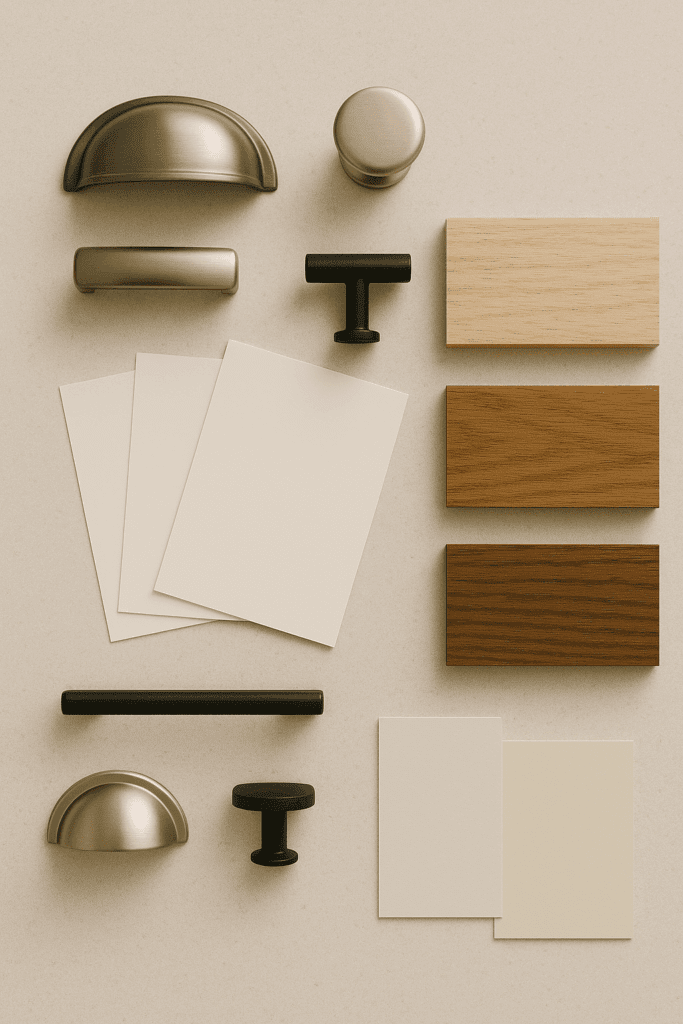
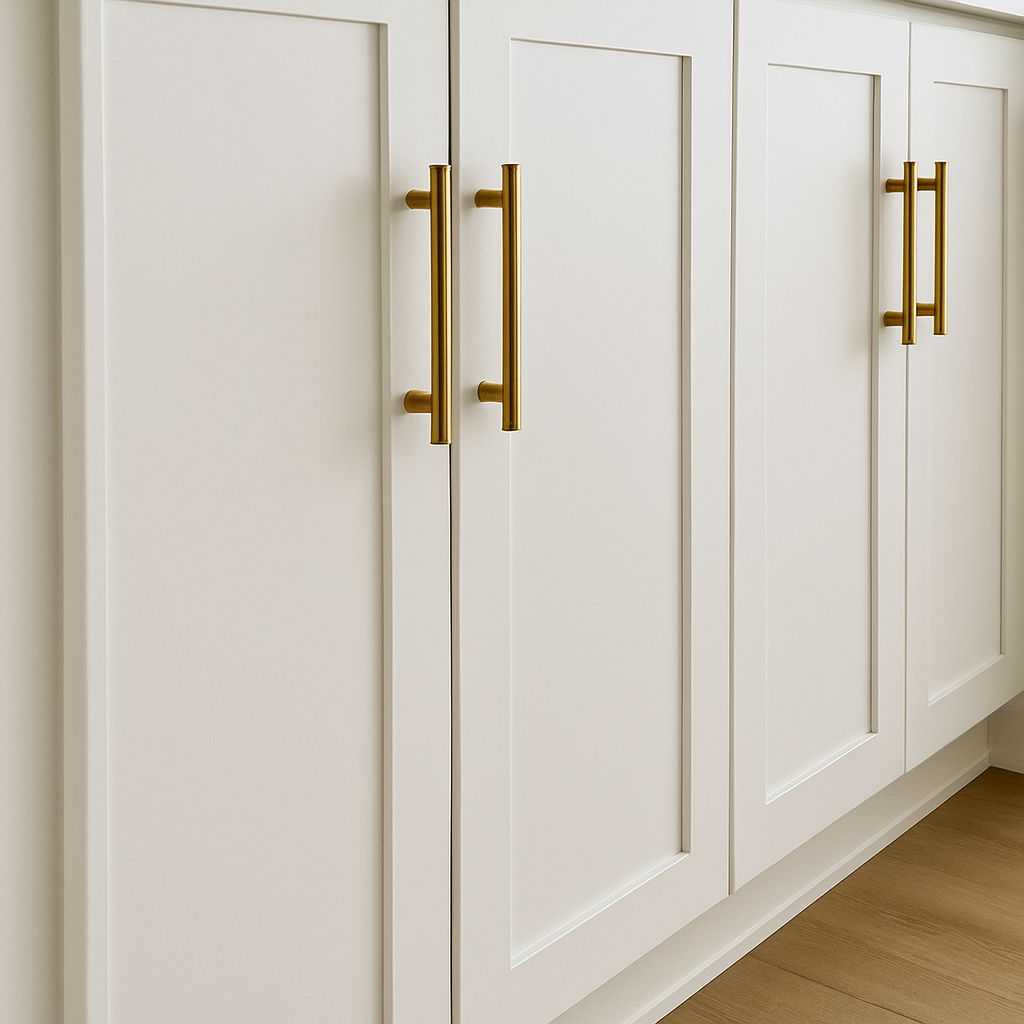
🎨 Settle on Finish and Hardware Before You Start
This part surprised me—deciding on your finish and hardware early makes everything else easier. Trust me.
Paint or Stain? I painted mine. It hides more mistakes and doesn’t require a perfect wood grain. But stained doors? Gorgeous. They just need more prep and better wood.
Laminate or Wood? Laminate is great for quick, clean looks (especially in rentals), but real wood adds soul. If you’re staining, skip the laminate.
Knobs or Pulls? Hardware affects where you drill, so pick early. I went with brushed gold pulls and don’t regret it.
📏 How I Measured for New Cabinet Doors (And Didn’t Mess It Up)
Measuring sounds simple, but I triple-checked everything before I cut. Here’s how I handled it:
Measured each existing door’s width and height.
Confirmed that my cabinets were overlay style (doors sit over the face frame).
Left a 1/8″ gap between doors and drawers to prevent binding.
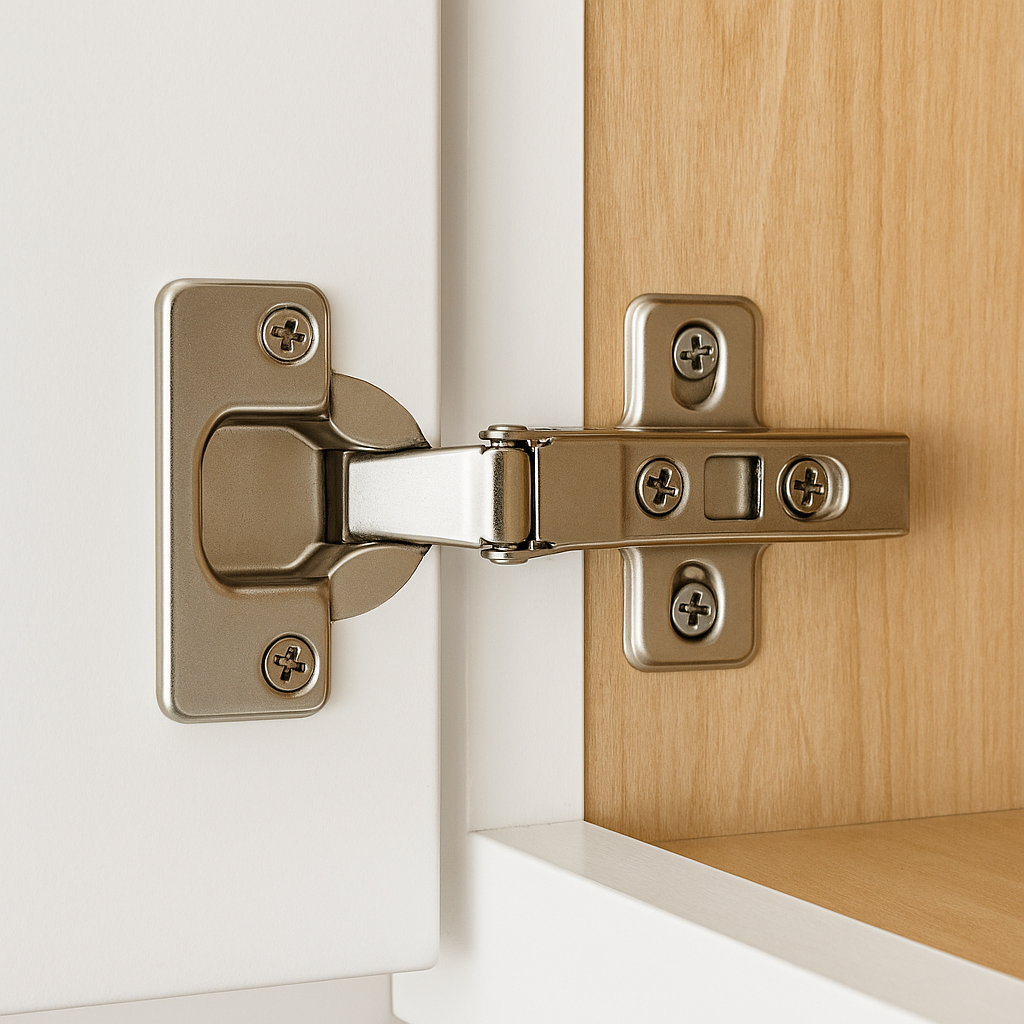
🧰 How I Installed the Hinges Without Losing My Mind
If you’re like me, the word “hinges” can trigger flashbacks to crooked cabinet doors and hours of adjusting. But once I learned how to install them properly—and which tools made the job easier—it became one of the most satisfying parts of the whole project.
Choosing the Right Hinge
There are a ton of hinge options, but I went with European-style concealed hinges for a clean, modern look. These mount inside the cabinet and allow for easy adjustments in three directions: up/down, left/right, and in/out.
You’ll need:
35mm Forstner bit (for drilling the cup holes)
A drill/driver with a depth stop
Hinge mounting plates (check for face frame or frameless compatibility)
Screws (often included with hinges)
Drilling the Hinge Cups
This was the part I was most nervous about—one wrong move and you’ve ruined the door. But it turned out to be easier than expected.
Here’s how I did it:
Measure 3″ from the top and bottom of the door to place each hinge.
Mark the centerline and tape off the drill bit at the correct depth to avoid going too deep.
Use a drill press or guide jig for perfect alignment (worth it).
Test fit the hinge in the cup before mounting.
If your drill press doesn’t reach, a handheld Forstner bit with a guide block works too—just go slow and steady.
Mounting and Adjusting
Once the hinge was installed in the door, I mounted the plate inside the cabinet. I used a self-centering Vix bit to pre-drill the screw holes, which really helped prevent slippage.
After mounting, I adjusted the hinges until each door sat flush and opened smoothly.
Pro tip: Adjust all your doors in one session after installation. Don’t try to tweak each one as you go—it’s easier to line them up when everything’s in place.
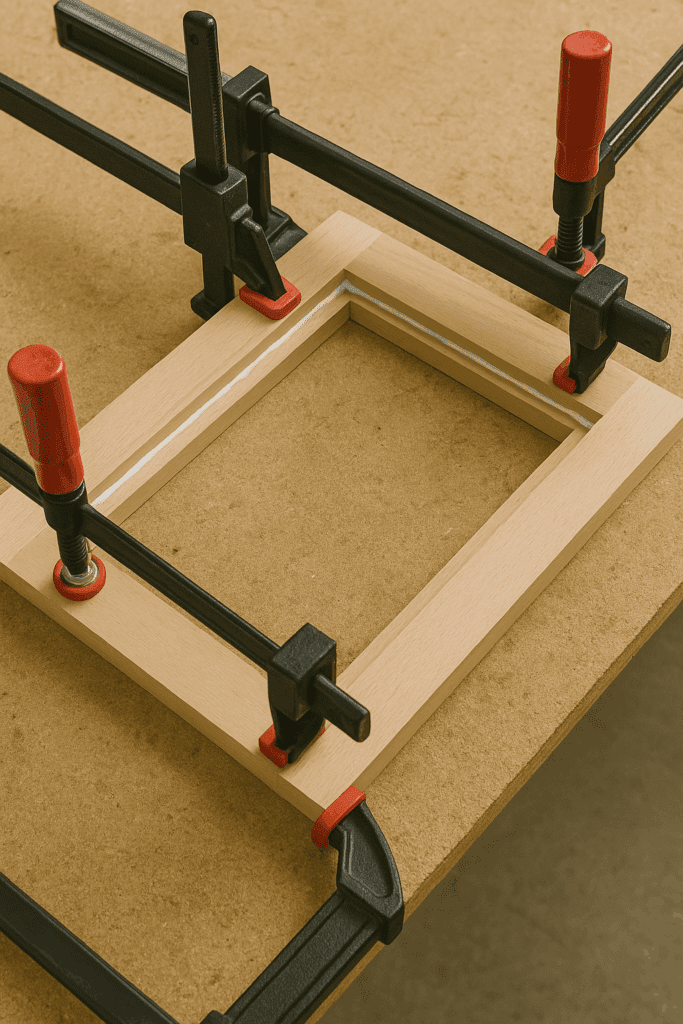
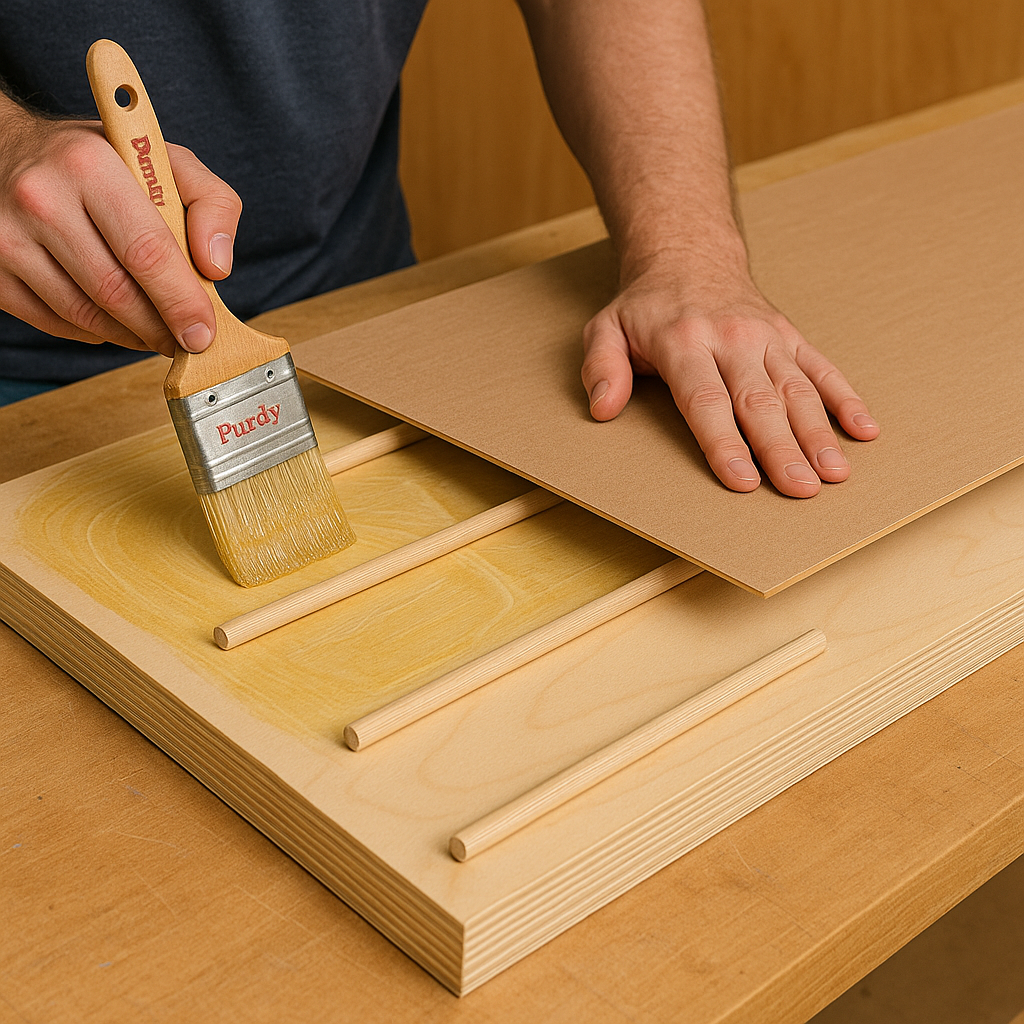
🔨 Building My Flat Panel Doors—Step by Step
Here’s where the fun (and sawdust) started. I went with flat-panel doors using poplar for the frame and luan plywood for the center panel. Affordable and forgiving.
Step 1: Cut the Frame
I cut stiles and rails from ¾” poplar. It’s easy to work with and great for paint.
Step 2: Groove the Frame
Using my table saw, I cut a centered groove 9/16″ deep along each stile and rail to hold the panel. I tested the fit with scrap until it slid in smoothly.
Step 3: Cut the Tongues
I used a dado blade to cut ½” tongues on each end of the rails so they’d slot into the stiles.
Step 4: Cut the Panel
¼” luan plywood for painted doors (or birch if you’re staining). I left a 1/16″ gap all around the panel to let it breathe.
🌟 Want That Fancy Look? Raised Panel Doors Are Gorgeous
If you’re up for a challenge and want a high-end look, try raised panels. You’ll need a router or shaper and a panel-raising bit. They take longer, but they look incredible.
I didn’t go this route, but if I ever redo the bathroom cabinets, I just might.
🧠 My Hard-Earned Tips From the Build
Dry-fit everything before gluing. I learned that one the hard way.
Sand before glue-up. Getting into corners afterward is a pain.
If you’re staining, pre-finish your panels—glue mess is nearly impossible to fix.
Titebond III was my go-to glue for strength.
Clamp everything square and let it sit overnight. No shortcuts here.
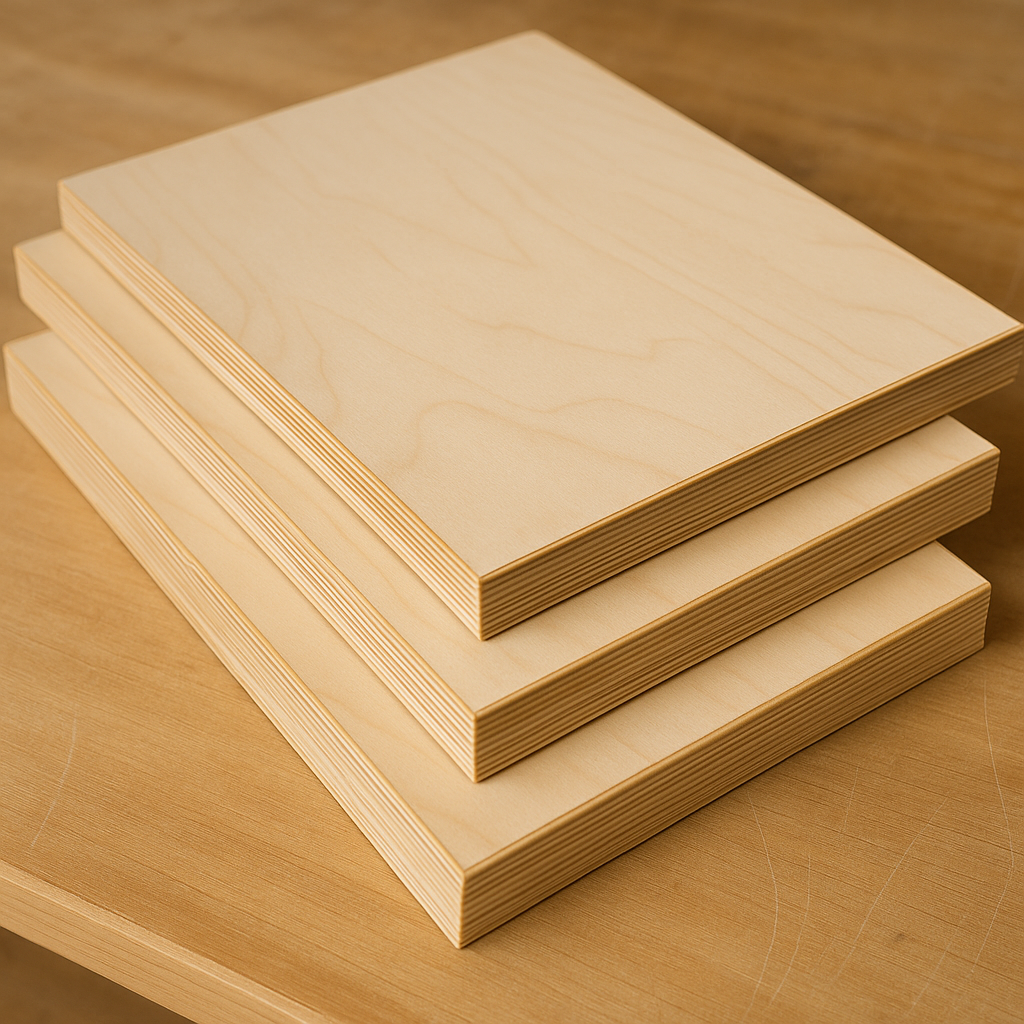
🪚 Quick Build Option: Frameless Cabinet Doors
Making slab doors was ridiculously fast. I made a few for the laundry room and rental unit, and here’s what I used:
¾” cabinet-grade plywood
A 35mm Forstner bit for hinge cups
Iron-on edge banding
Clear coat for durability
🖌️ How I Painted My Cabinet Doors for a Smooth, Durable Finish
I’ve painted a lot of things—walls, fences, even floors—but painting cabinet doors taught me that prep work is everything. Done right, painted cabinet doors can look factory-finished. Done wrong, and they’ll peel, bubble, or chip the second you clean them.
Here’s how I painted mine to last.
Step 1: Sanding and Cleaning
I started by lightly sanding every surface with 120-grit, then 220-grit sandpaper. This helps the primer grip and knocks down any imperfections from cutting or handling.
After sanding, I wiped everything with a tack cloth, then followed up with a damp microfiber to remove fine dust.
Step 2: Priming with the Right Product
For my plywood and poplar combo, I used Zinsser BIN shellac-based primer. It dries fast, blocks tannin bleed, and gives a nice bonding surface for paint.
I applied it using a foam roller for the flat surfaces and a brush for corners and edges. One coat was plenty.
Let it dry overnight and then lightly sand with 220-grit again to knock down any raised grain.
Step 3: Applying the Paint
I chose a satin-finish cabinet enamel (Behr and Benjamin Moore both make great options). It’s self-leveling, which means fewer brush strokes.
I used:
A foam roller for smooth surfaces
A high-quality angled brush for edges and panel details
Each door got two coats, with a light sanding in between.
Let the doors cure for at least 2–3 days before attaching hardware or hanging.
Step 4: Sealing (Optional but Smart)
For extra durability—especially in a busy kitchen—I added a coat of clear polyurethane (water-based, satin finish) on the lower cabinets. It resists scuffs and helps with cleaning.
If you rush the drying time, even great paint won’t save you. Give it time and your cabinet doors will look (and stay) beautiful.
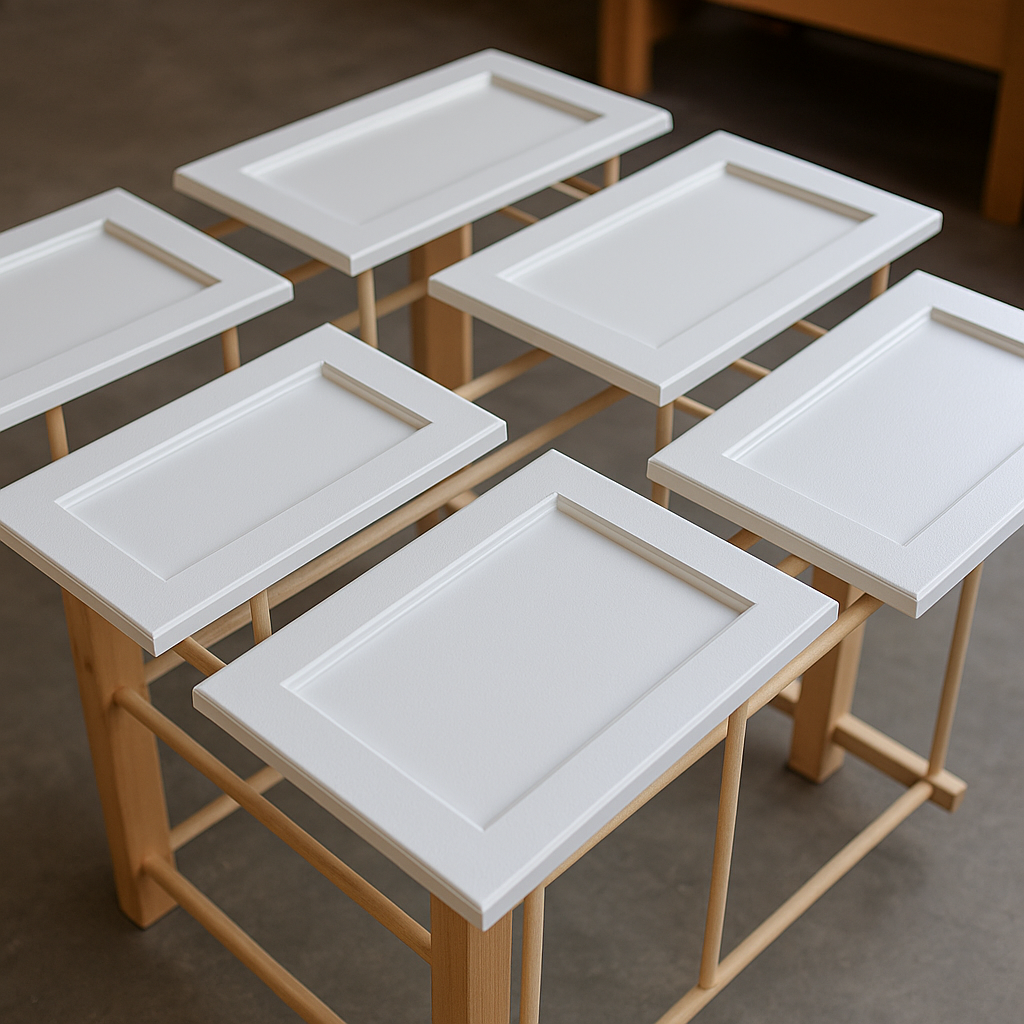
🧴 Applying Laminate: What Worked for Me
For a couple of utility cabinets, I went with laminate. It’s not as scary as it sounds.
Once the glue was dry and everything was sanded smooth, I painted the doors in a soft satin white. After that, I drilled pilot holes, added the hardware, and mounted them up.
💬 Would I Do It Again?
Absolutely. It wasn’t perfect—I messed up a few hinge holes and had to recut one panel—but it was worth every minute. My kitchen now feels modern, clean, and customized… and I didn’t have to touch a single cabinet box.
If your kitchen layout works and your cabinets are sound, try this first. A weekend with a few tools and some plywood might be all it takes to love your space again.
Sliding Cabinet Doors, Easy Guide by Admin June 7, 2023 DIY Sliding cabinet doors aren't used much in modern cabinetry, but they were a big part of mid-century modern furniture and cabinetry. With the resurgence of…