There are times when a ramp just makes more sense than stairs—especially if you’re moving heavy tools, lawn mowers, or even a wheelchair. For something like a gardening shed or raised porch, hauling equipment up stairs is both awkward and unsafe. That’s when a concrete ramp becomes the smart, long-term solution.
How to Pour a Concrete Ramp (DIY Guide for Sheds, Wheelchairs & More)
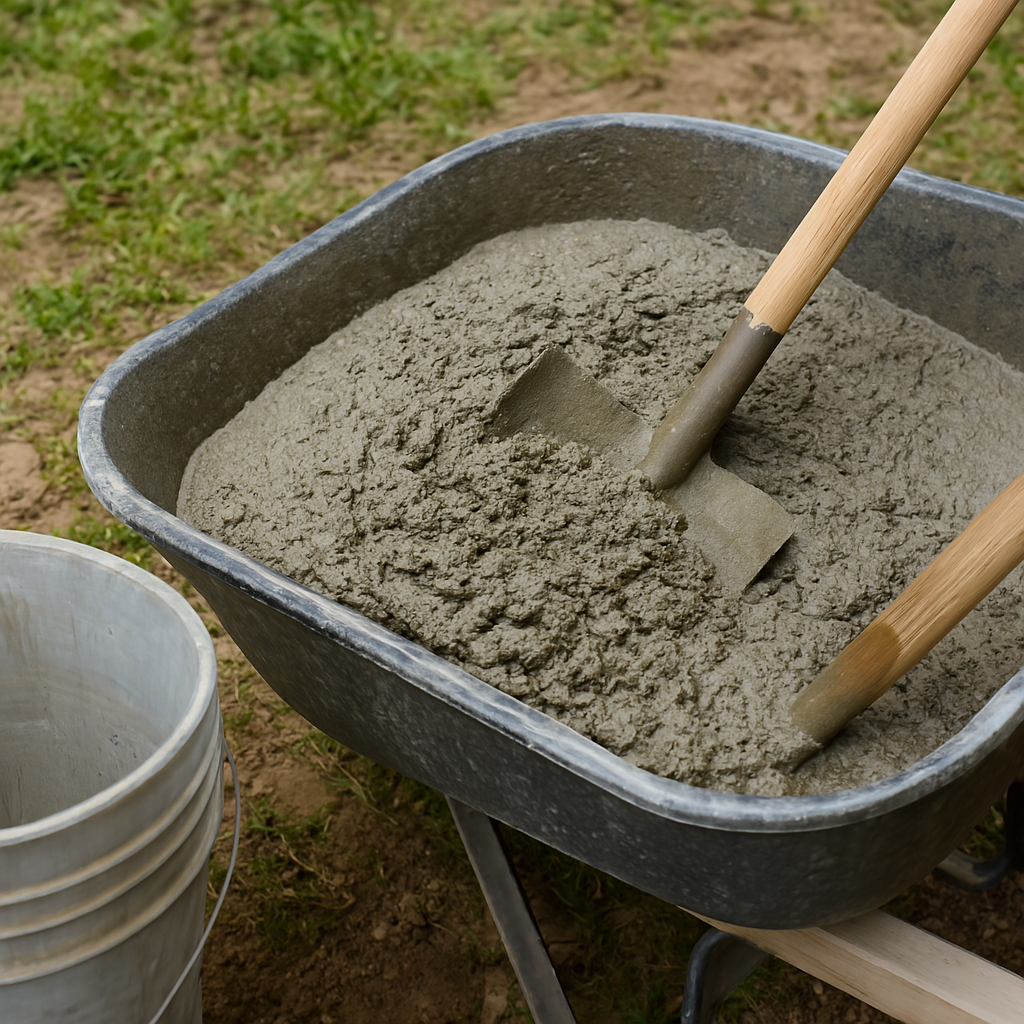
I’ve built wood ramps before, and while pressure-treated wood holds up better than regular lumber, it still won’t last forever. Concrete, on the other hand, is permanent—strong, weatherproof, and low-maintenance. And here’s the good news: even if you’ve never poured concrete before, it’s absolutely doable. You’ll get a solid workout, but it’s a project worth tackling.
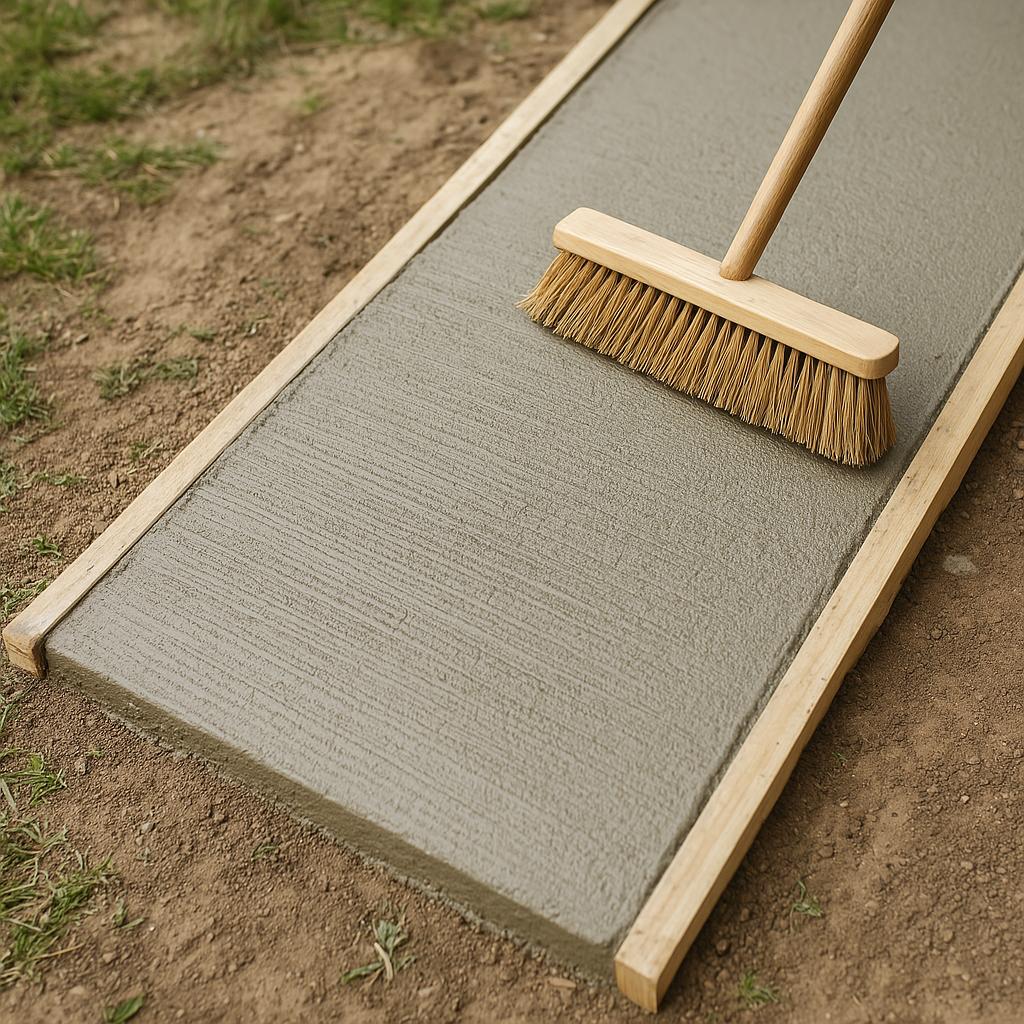
Let’s walk through everything you need to know to build a smooth, safe, and durable concrete ramp—from planning and materials to form-building, pouring, and finishing.
Planning Your Concrete Ramp
Before you break ground, you need a plan. Unlike wood projects, concrete doesn’t allow do-overs. Once it’s poured, it’s set—literally.
Slope & Accessibility
The maximum safe slope is 1 inch of rise per 12 inches of run (1:12). This is the ADA standard and makes your ramp safe even when wet or icy.
For steep elevations, extend the ramp further rather than making it too steep.
Dimensions
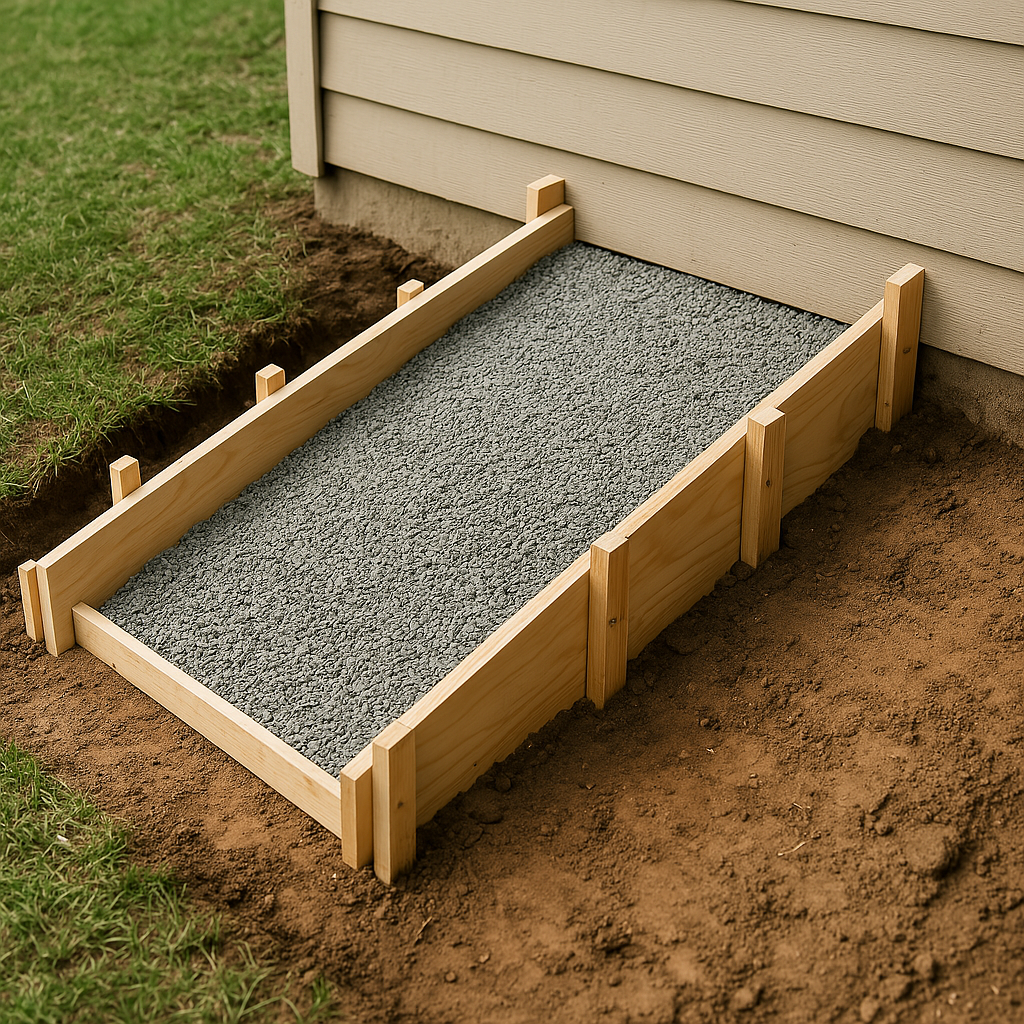
Thickness: Minimum 4″ thick for durability. Light-use ramps can be 2″ thick in some cases.
If the top of your ramp ends up more than 12″ high, fill the bottom with compacted dirt or gravel to avoid wasting concrete.
How to Calculate How Much Concrete You’ll Need
Use this simple formula:
Treat your ramp like a rectangular slab: Length × Width × Height
Divide by 2 (since ramps are triangular in profile)
Convert to cubic feet (divide by 1,728 if using inches)
Convert to cubic yards (divide cubic feet by 27)
Pro tip: Always buy 10–15% more concrete than your estimate to account for spills and overfill.
Q: What slope is safe for walking or wheeling? A: Follow the 1:12 rule for safety and accessibility.
Q: Can I pour concrete over old stairs? A: Yes, but the ramp must follow its own slope—not the stairs’ angle.
Q: How long before I can use the ramp? A: Light foot traffic is OK after 24–48 hours; wait 7 days for heavy loads.
Final Thoughts
A concrete ramp is one of those DIY projects that’s challenging but absolutely worth the effort. Once it’s done, it’s done for decades. Whether you’re wheeling tools into a shed or making your property more accessible, a concrete ramp delivers safety and convenience in one smooth pour.
How to Install Plywood Flooring Over Concrete Guide by Admin July 1, 2025 Installing If your home is built on a concrete slab and you’re dreaming of installing real hardwood floors, you’ll need a sturdy plywood subfloor in place…
Precast Concrete Steps: Costs, Benefits & Installation Guide by Amy Reed March 21, 2025 More About Precast concrete steps are ready-made cement stairs, staircases, or hollow cement steps that can be installed outside existing staircases on a property or business premise.…