The miter saw table has become one of the most useful power tools in many workshops, replacing the radial arm saw, which has all but faded into the dustbins of history, if not the dustbins of our workshops.
The miter saw blade is more versatile than a radial arm saw blade, but it is also easier to work with, and the ones with rails provide almost as much capacity.
But miter saws have one major limitation, their size. No matter how good a miter saw you buy, it’s got a small table and fence. Table extenders help somewhat with this but don’t make up for the small table size.
Of course, there’s a good reason for the small table; miter saws are intended to be portable. The larger the table, the harder it would be to take a mobile miter saw station to a remote job site.
The tables stands, and fences on these saws are carefully designed to give you enough space to ensure your cuts come out as they should. With care, you can make every cut perfect.
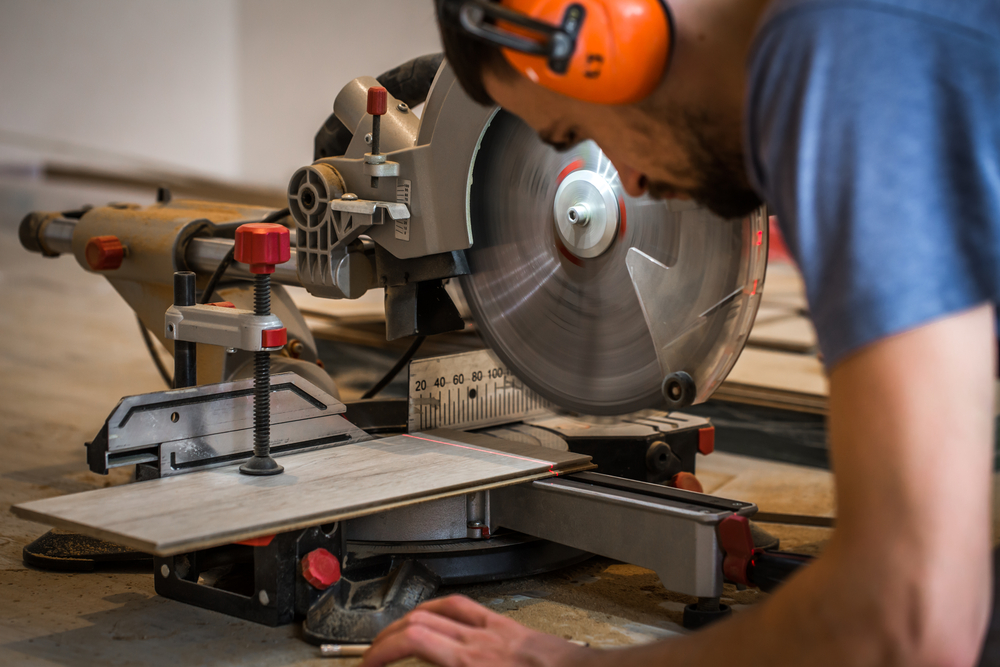
a man working with a miter saw closeup, concept building, and repair
But if you’re not careful enough, you will either have sloppy joints or waste a lot of material. That’s enough reason to purchase a bigger table, even if you can only have it in your garage or workshop.
For this reason, it only makes sense to mount any miter saw to a table extending the same length as the saw’s table and fence. You can buy commercial ones, including commercially made ones that are collapsible but expensive.
Also, while they provide a tale for the miter saw table, they don’t provide much else. However, if you make your DIY miter saw table and stand, you can increase the miter saw table and fence size and add extra storage for other tools or materials.
Basic Miter Saw Stand Design
As you probably gathered from my introduction, I have very specific ideas about what makes a good miter saw stand. Without getting into any extras, the stand must provide for an extension of the miter saw’s table and fence. It’s not a miter saw stand if it doesn’t do that. It’s just another workbench with a miter saw sitting on it.
Notice that I say the table and fence need to be extended. There are many miters on sliding miter saw stands, including commercial ones, which only extend the same length as the table without extending the fence. While this does support the material while cutting it, it does not provide adequate support for cutting miters on molding materials, especially crown molding. That’s the biggest reason to have a long fence on a sliding miter saw.
Any miter saw station or stand needs to be built in three sections; a lower center section for the saw station to sit in and two wings at the same height above the center section as the saw’s table. This difference is essential, and the dimensions must be exact for the saws station table to accomplish what it needs to, supporting the material. Even a slight difference in this height will affect the angle of the cuts you make, so measure at least three times, not just twice. Overall, you probably want to make it about six feet wide.
The center section will have to be slightly wider than the length of the miter or table saw itself. Don’t try to make a snug fit because that much thickness won’t allow you any room to adjust the position of the table saw itself. Rather, gives yourself about an extra inch. That’s not so much as to cause a gap in the table saw or fence board that will cause problems while still allowing you some flexibility for adjusting the position.
Before attaching the fence, bold the miter saw in place. If you want your saw to be removable for off-site use, make stop blocks for holes in the saw’s base to sit and screw or slide it into and clamp it into place. Just be sure you have a positive location for the miter saw tabletop, so you can repeatedly return it to the same place.
They can be made of just about any material as long as it won’t break, rip, or warp. I would make an angle out of two pieces cut out of 1″ x 4″ hardwood or one piece of 1″ x 4″ and one piece of 1″ x 2″. In either case, the face of the fence should be made straight, without any seams, holes, screws, holes, or joints.
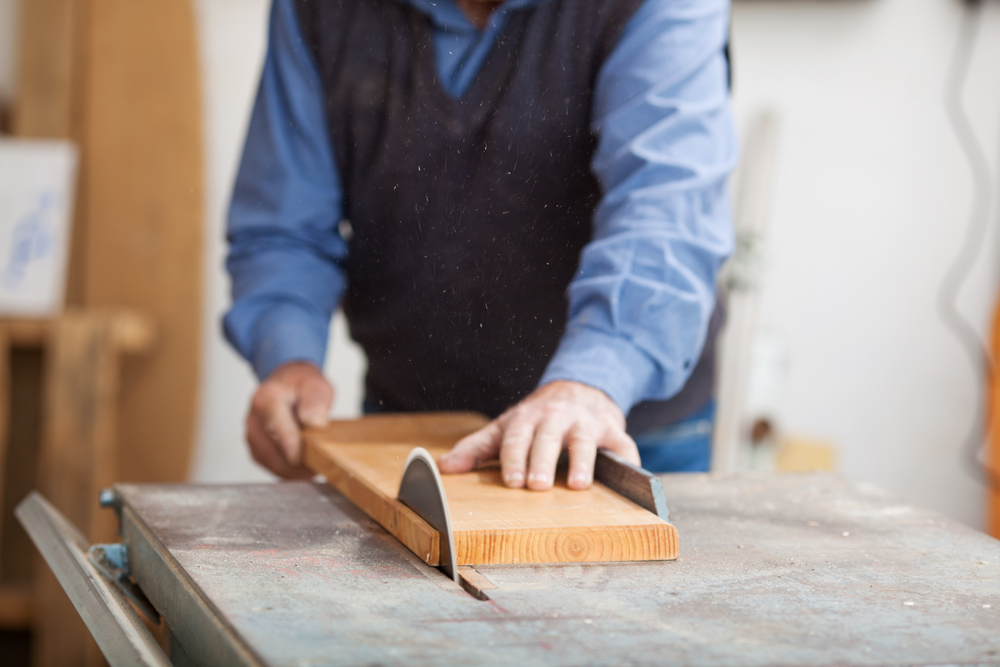
Closeup of senior male carpenter using table saw for cutting wood at workshop
Attach a straight edge, unbent steel angle, or a good straight piece of dimensional lumber to the front of the saw’s integral fence to install the fence. You can attach your two fence extensions to this straight edge with clamps or screws and then mount or screw it to the top of the stand’s wings. Be sure to go into a solid material with the mounting screws or bolts so the hardware can’t strip out, allowing the fence to move.
If you need a portable miter saw stand, you can make the same basic design but only put the legs and a base under the lower center section. The wings can then be hinged, with supports, so that they lay against the sides of the base for movement or when not using them. Add casters under the legs of the stands and the base to improve mobility even more.
When you make those wings or table extensions, you want more than just a sheet of plywood. A single sheet of plywood is flexible, so that won’t give you a solid table extension. Rather, you want to frame them and hinge the frame to the base’s center section, not the benchtop’s left or right sides. Supports can be as simple as sticks that go into sockets mounted to the bottom of the table extensions and mounted to the sides of the base.
Remember that you have to keep your height accurate on this. Extension boards, legs, or wings that don’t align with the table’s height will cause you problems with cutting. Keep the old rule of measuring three times and cutting once in mind. Dry fit the board and screw it together several times before screwing the hinges.
Options to Consider
The basic DIY miter table saw stand is rather simple. But a lot of space is not being used in it. I don’t know about you, but I don’t have any space to spare in my workshop; I especially don’t have any space to waste. I like to get the most out of every bit of space I can.
One way I do this is to turn everything I can into storage space. Any space under tool stands and workbenches is valuable storage space in my book. It’s just a matter of how that space will be utilized and what will be stored there. Here are some ideas for you:
Built-in dust collection
Any power tool is to create a lot of dust, and your miter saw is no exception. A well-organized and put-together workshop can reduce the problems of dust by making use of dust collection. Specifically, in this case, you can mount a small shop vac in the cabinet under the circular saw itself, attaching its hose directly to the circular saw’s dust collection port, allowing the sawdust to be collected each time you use the saw.
To make this more efficient, connect the saw and shop vac to an electrical box with a single switch to control them both. That way, when you turn your saw on, your shop vac will also be on.
Building in other power tools
If you’re building a mobile workbench for your miter, saw, chances are you have other power tools that could use someplace to mount them. One such possibility would be to mount a router table on one end of the stand, and a portable table saw into the other, increasing the table area for both tools. Of course, this would require making your fences movable, but it would be worth it.
Another possibility, without moving the stands or cutting the wood to make movable fences, would be to use the space on the wood floor on the back side of the miter saw stand behind the fence boards. This would be the ideal area for mounting a belt sander, grinder, or drill press, once again increasing the utility of your workbench space.
Tool storage
If you have portable power tools (and who doesn’t?), you probably have trouble finding enough space to store them while keeping them accessible. The space under your miter saws and stand could easily be converted to cubbyholes the right size for these tools.
I don’t have a miter saw stand like this, but I have a rolling wood workbench that I have converted in this way, giving me a place to have all my power tools readily accessible right where I use them.
Adding a power strip to this same bench, you could easily have a charging station for all your cordless power tool batteries or have the bench with someplace to plug the powered tools in when you use them.
Probably the most accessible additional cost of way to use this space is to make it into material storage. You could create a series of lines of cubbyholes running the length of the stand to be used for long pieces of molding, tubing, and wood.
Smaller cubbyholes in the front could be used for small pieces of plywood wood screws or useful scraps. You could create a wall in any configuration you want, making it possible to get the most out of your space and keep your materials readily available.
Drawers
Another good idea is to add a couple of drawers for extra saw blades, drill bits, wood screws, clamps, and other small tools. You can never have too much space for keeping track of your tools.
Related Posts:
Table Saw Push Stick by Admin July 8, 2023 DIY Power tools can be dangerous but easy to use. People get injured all the time doing seemingly effortless, normal work on their power tools; often…
Miter Clamps: Perfect Corners Made Easy by Admin March 3, 2025 Joints One of the first lessons every woodworker learns is that miter clamps turn good corners into great ones. These specialized tools squeeze freshly cut angles…