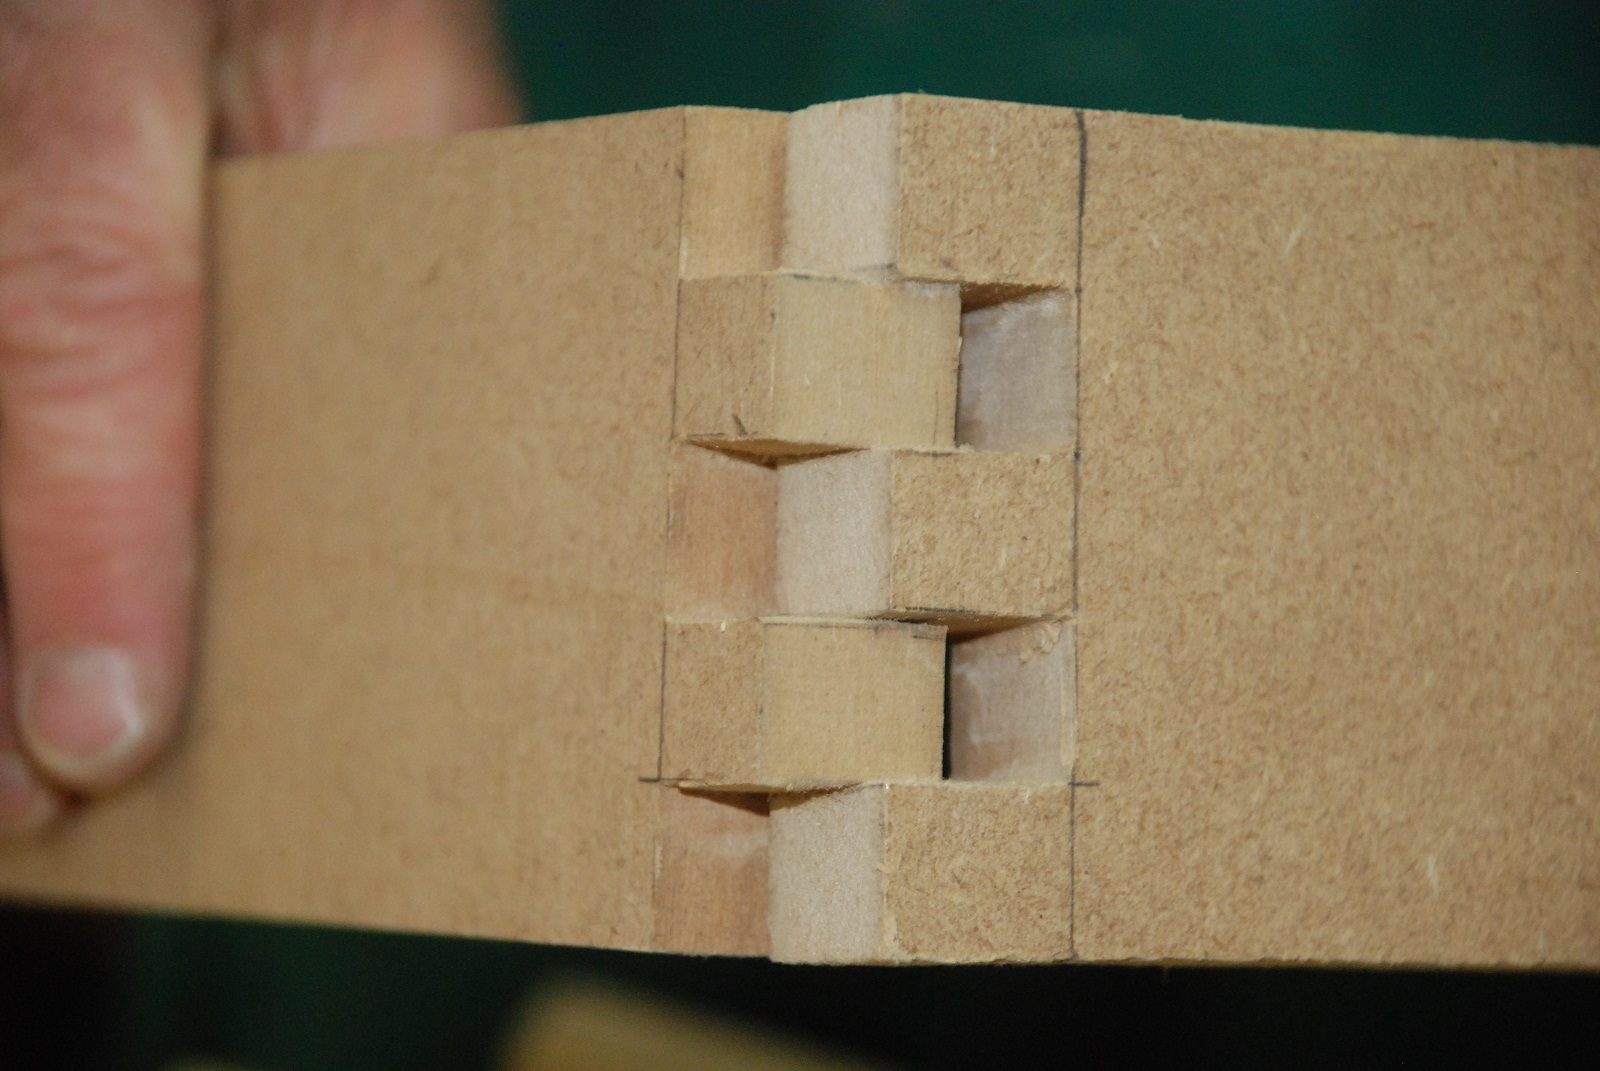
When clamping box joints, or any complex gluing setup, there are only a few simple rules to follow. First, verify that all the parts fit correctly before gluing. Second, check that you have sufficient clamps available. Third, be sure to use a suitable glue for your circumstances.
For large jobs with multiple pieces to be glued at the same time, or complex joints that may take more than a few moments to assemble, you will need to choose a glue with an extended or at least sufficient open-time. The glue must dry slowly enough to remain workable before tacking up and setting.
You don’t want to break the tack on one side of a complex assembly while you are clamping the other. On a complicated construction with multiple parts, this will be very important. On a simple piece, simply moving quickly may be sufficient, providing that you have everything in place and ready.
Before Gluing
Before gluing, it is common practice to use a “dry run” to prepare everything prior to actual gluing. This means to completely assemble a piece, with all the clamps in place and tightened, before using any glue. This allows the wood worker to verify that all the various clamps needed are available and at hand, that all the various parts of a project fit together correctly, (problems may only be apparent when the piece is under pressure and clamped) and that once all the various parts of a project are fitted together, the construction lays flat, square and straight.
It may be necessary to use blocks and straight edges, as well as clamps, to keep elements of the construction in place once clamped. The parts must not move while the glue sets up. Finally, the worker will disassemble the piece, noting the best order for deconstructing, which will reverse the order used when assembling the piece prior to gluing.
How to Clamp
Clamping a box joint for gluing is not in essence different from any other joint. Effective clamping requires holding the pieces together in a firm and stable fashion while the glue sets up. The glued surfaces need to be held together tight enough to squeeze excess glue from the joint, but not so tight that all the glue is lost. Also, remember that most glues will shrink a little during setup.
Once clamped, it is important that the joint not be stressed or shocked during the setup. A very complex assembly, might require several workers, working together, to glue and assemble parts as quickly as needed. Note: Dry is not the same as hard. Normal carpenter’s glue is usually dry in a matter of minutes but will only be fully hard after several hours or even a few days, depending on conditions.

Which Glue?
The choice of glue will be important, apart from the setup time, another factor to consider will be the ease or difficulty of reactivating the glue once dry. If a piece should glue badly and be out of true once dry, pulling the piece apart in order to re-glue might be necessary. If you can reactive the glue, this task will be much simpler. This is one reason that ‘hide glue’ is still used today, despite other disadvantages.
Note: Normal carpenter’s glue, or yellow glue, can be reactivated with water or steam during the first day or so after drying, and even after several months, if you are willing to wait long enough for the water to take effect. Preferences for applying glue vary, from those that prefer to over apply and then wipe clean any excess, to those that find this to be too messy and prefer to be more economical in the first place.
Either way, it should be noted that the most common reason for a glued joint to fail is an insufficient application of glue. The second reason would be parts changing position during clamping or setup. And finally, a glued joint can fail because of water based glues reacting to damp or humid conditions, which will over time soften the glue.
After Gluing
After gluing and clamping is complete, wipe away as much excess glue as possible. In the case of water based glues, use a damp cloth. For petroleum based glues, rubbing alcohol works well. Once the joint is hard and dry, use a sanding block, (hard and flat) to clean up edges and surfaces.


