The first time I tiled a bathroom, I was so focused on picking the perfect tile that I barely thought about what was underneath it. I wiped the plywood “clean,” slapped down some thinset, and hoped for the best. And for a few weeks, it looked great. Then the problems started: a hollow sound near the doorway, grout cracking around the tub, and a single tile that lifted at one corner… all because I didn’t properly prepare the plywood subfloor.
Since that disaster, I’ve prepped dozens of plywood subfloors the right way—for vinyl, ceramic, porcelain, travertine, and even stone tile. And every time, I’m reminded of one simple truth:
👉 Your tile floor is only as strong as the subfloor beneath it.
This guide shows you exactly how to prepare a plywood subfloor for tile, based on the type of tile you’re using. I’ll cover both modern vinyl installations and the more demanding ceramic/porcelain method that professionals rely on today.
This article includes my real-world tips, mistakes I’ve made, updated 2025 materials, and clear steps any DIYer can follow.
🧰 Why Preparing a Plywood Subfloor for Tile Matters
Tile and plywood behave differently:
Tile is rigid and brittle.
Plywood is firm but flexible.
Every tiny bit of movement in plywood gets magnified through grout lines and tile joints. Even a 1/32” dip or a hairline seam can eventually show through tile—especially vinyl tiles, which telegraph imperfections instantly.
Proper subfloor preparation:
✔ prevents tile cracking ✔ prevents lifting and hollow spots ✔ stops squeaks and flexing ✔ protects against moisture ✔ creates an entirely flat, stable foundation
If you’re a DIYer, you’ll save thousands on future repairs. If you’re a contractor, it reduces callbacks—the number one profit killer.
Helpful Plywood Resources to Review First
When you’re getting ready to lay tile over plywood, it’s helpful to understand a bit more about the material itself. For example, if you’ve ever wondered why some plywood feels rock solid and some feels a little “soft,” take a look at our piece on the Best Plywood for Cabinets—it explains how construction and grade affect the way plywood behaves under load.
I also recommend skimming Plywood Grades Explained, because once you understand how grades are assigned, it becomes much easier to avoid sheets that might flex or cause problems under tile. If you’re not sure whether your floor needs another layer or just a bit of leveling, the breakdown in Subfloor clears up the difference in plain language. And before you make any cuts, you might appreciate the tricks in How to Cut Plywood Without Tearout—it’s a short read, but the techniques save a lot of frustration (and wasted material).
🧰How to Prepare a Plywood Subfloor for Tile (Step-by-Step)
Before you mix thinset or open a single box of tile, it helps to understand that subfloor preparation isn’t just a “prep step” — it’s the foundation that determines whether your installation lasts five years or twenty. I’ve learned this the hard way more than once, and now I treat subfloor work as the most important part of the entire project. A perfectly flat, well-secured plywood base eliminates movement, and movement is the number-one enemy of tile.
Start by thinking in layers. Your finished floor is only the visible surface; underneath, you’re building strength, stability, and moisture protection. That means tightening loose plywood, correcting dips, and creating a consistent plane before any decorative work begins. Even a slight ridge or seam that feels minor under your hand can become a cracked grout line later. I always tell DIYers that tile doesn’t fail suddenly — it slowly reveals mistakes made underneath.
It’s also important to adjust your prep based on the tile type. Vinyl tile can tolerate minor imperfections but still requires a smooth, clean surface for adhesion. Ceramic, porcelain, and natural stone demand a rigid, uncoupled base, which is why cement backerboard or a proper underlayment is considered industry standard. Taking an extra hour or two here saves days of repair later.
In the sections below, I’ll walk you through both methods step by step so you can confidently prepare your plywood subfloor the right way — whether you’re tackling a small bathroom, a laundry room, or a full kitchen renovation.
⭐ Method 1: Preparing a Plywood Subfloor for Vinyl Tile (Peel-and-Stick or Glue-Down)
Vinyl tile is the simplest option. It doesn’t require cement board or thinset, but you still need a smooth and secure plywood surface.
Below is the exact step-by-step process I use for clients when prepping plywood for vinyl tile.
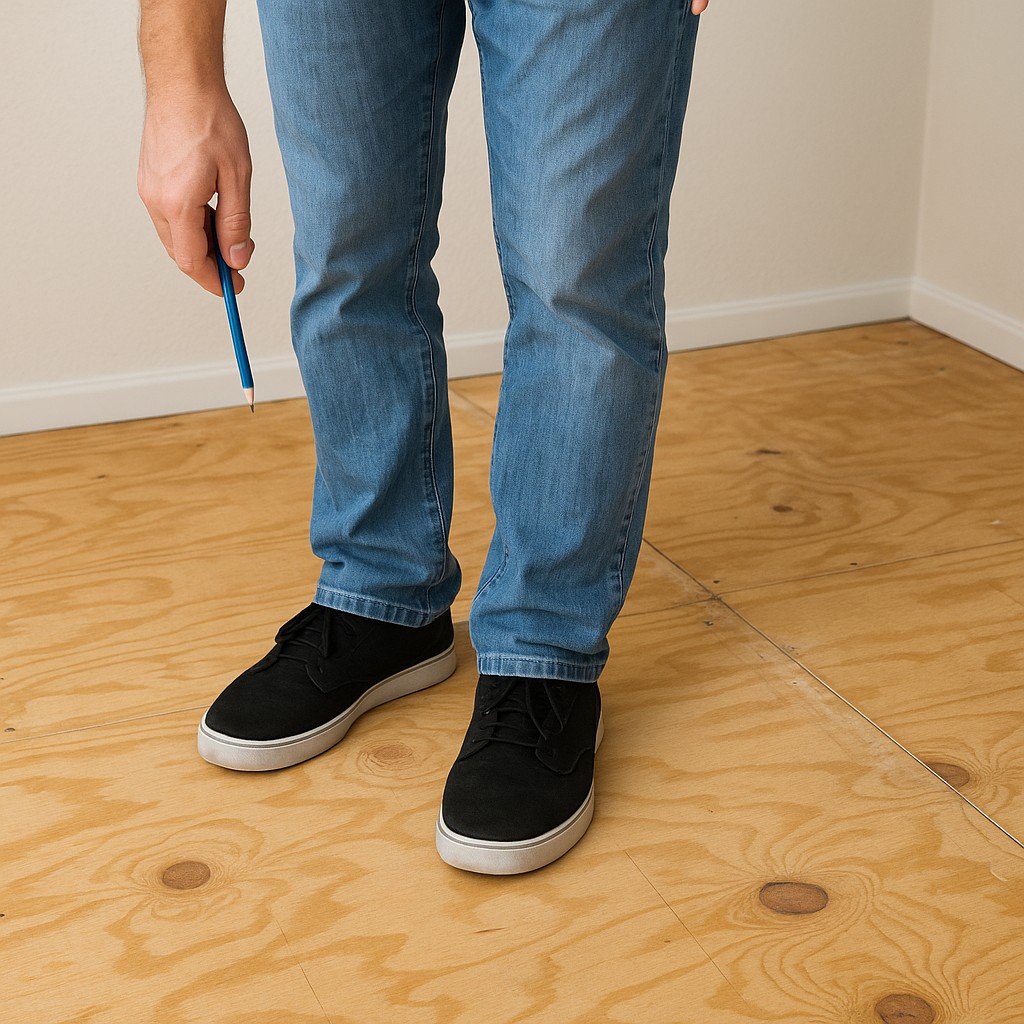
Step 1 — Walk the Entire Floor and Mark Every Problem Spot
Put weight into your steps. I move slowly across the room in a grid-like pattern, pressing my heel firmly as if I’m trying to “wake up” the floor.
Mark anything that:
squeaks
flexes
sinks slightly
feels hollow
sounds different when stepped on
Most homeowners skip this, and months later, they wonder why tiles make noise or shift.
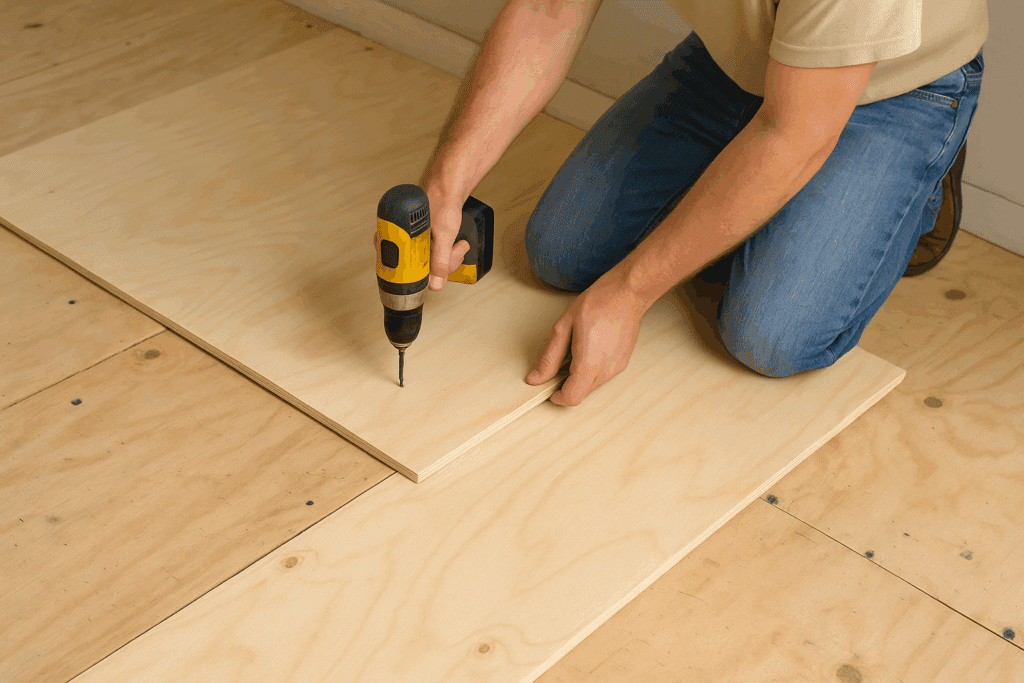
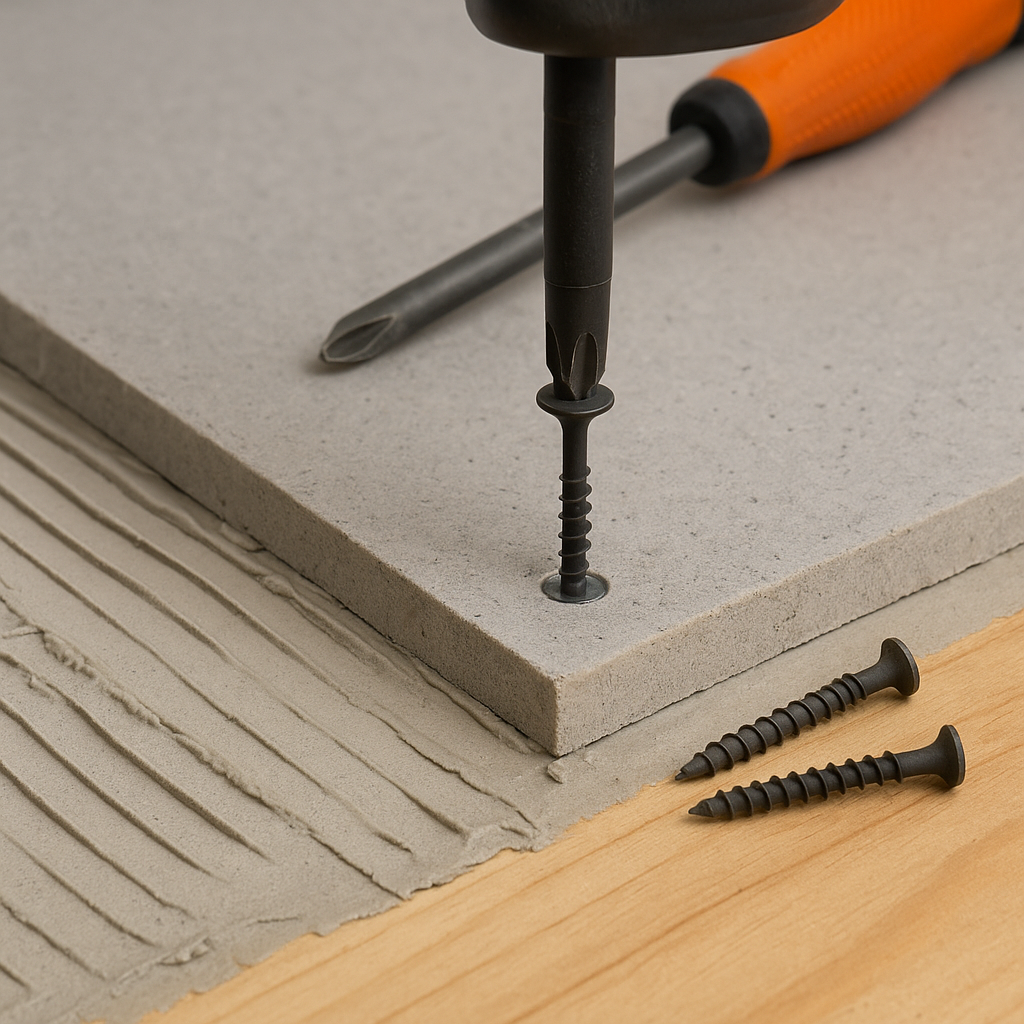
Step 2 — Reinforce Loose Areas With Screws
Use 1⅝-inch wood screws (never drywall screws).
Drive screws into joists or directly into the plywood seams. My rule of thumb: if in doubt, add one more screw.
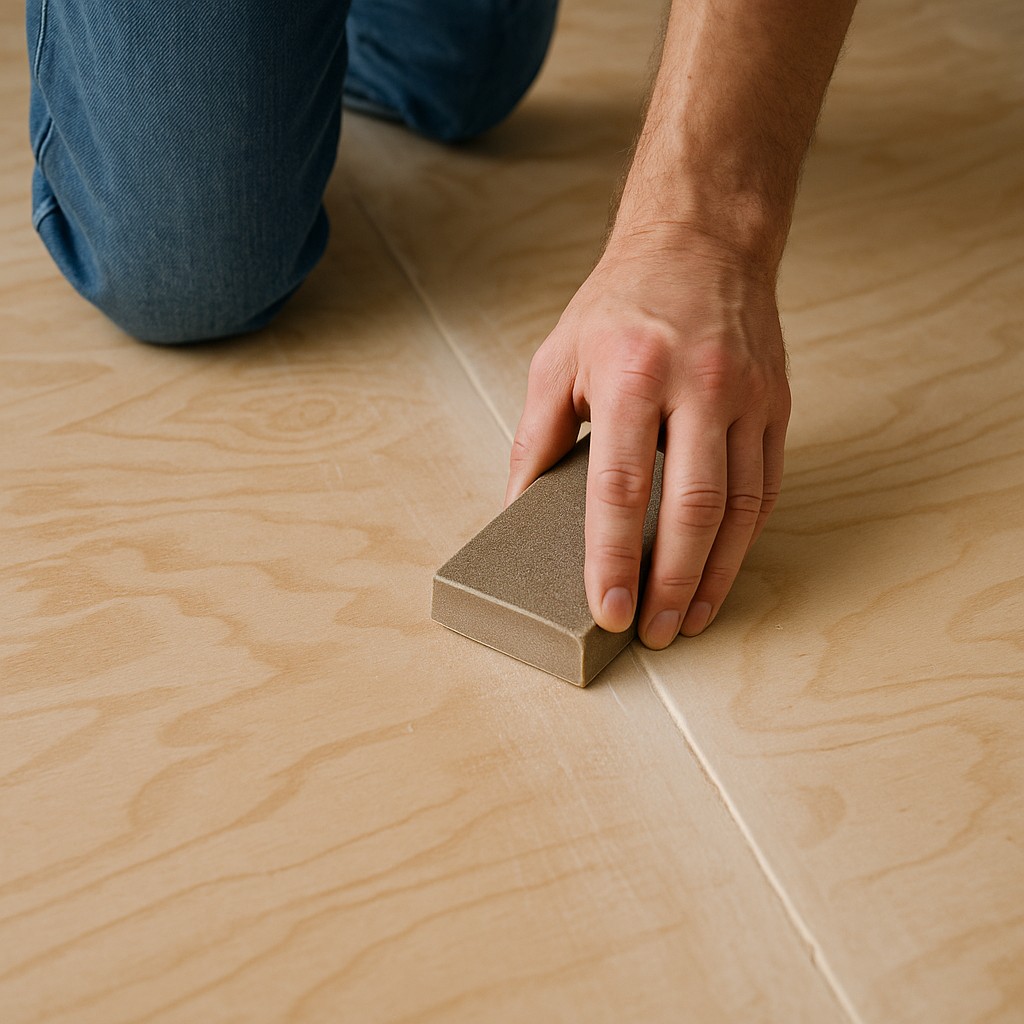
I sand until the plywood feels like one continuous sheet—no edges, humps, or dips.
Step 5 — Vacuum and Keep the Area Clean
Vinyl adhesive hates dirt. I vacuum twice:
rough pass
detailed edge-to-edge pass
Remove shoes or wear covers. Even one grain of sand under a vinyl tile can create a permanent bump.
Now your plywood is vinyl-ready.
⭐ Method 2: Preparing a Plywood Subfloor for Ceramic or Porcelain Tile
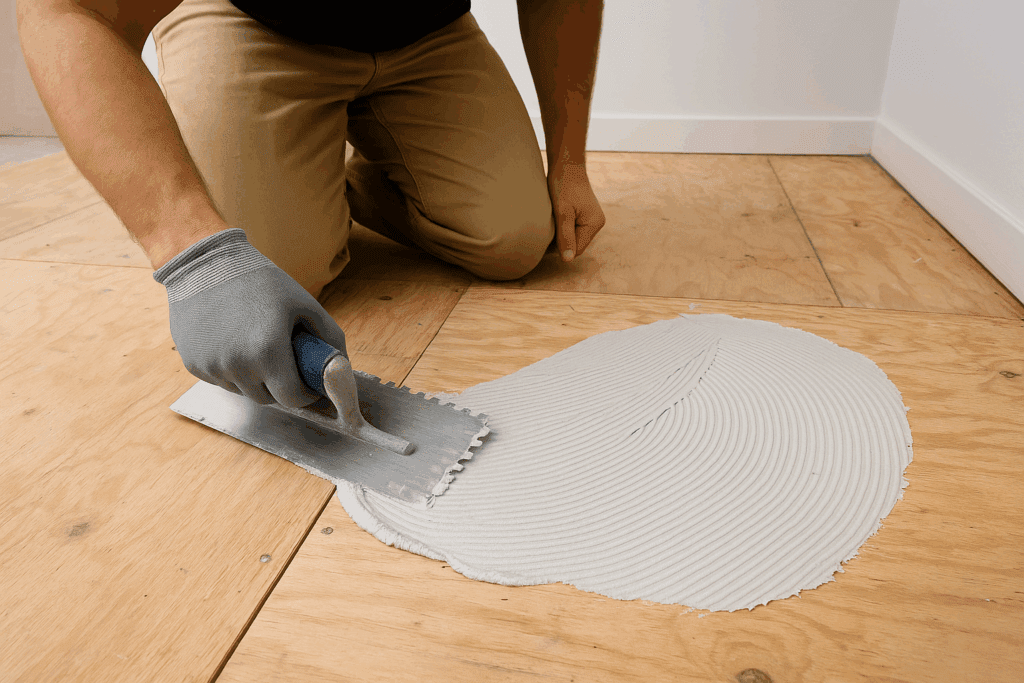
This is where things get serious. Ceramic and porcelain tile must go over a rigid, moisture-stable, absolutely flat surface. Plywood alone isn’t enough, which is where cement backerboard or fiberboard comes in.
Most pros use cement board because it is:
mold resistant
dimensionally stable
thinset-friendly
inexpensive
This is the modern industry-standard method.
Step 1 — Add a Layer of ½” Plywood (Only if Needed)
If your home is older or you’re down to the original subfloor, you may need to add ½-inch exterior-grade plywood.
Skipping thinset under cement board This causes hollow sounds and eventual cracking.
Not staggering plywood or backerboard seams Creates weak structural lines.
Not leveling the floor first. Even ⅛” dips telegraph through tile.
Using drywall screws They snap and fail under load.
Laying tile directly over plywood High failure rate, especially in kitchens and bathrooms.
Not leaving expansion gaps Leads to tenting or cracked tiles at the edges.
Avoid these, and your tile job will last decades.
⭐ FAQs: Preparing Plywood Subfloor for Tile
Can you tile directly over plywood?
Not recommended. Use cement board or an uncoupling membrane. Even if the plywood feels solid, it expands and contracts too much for the tile to remain bonded over the long term.
What thickness of plywood is needed under tile?
At least 1 ⅛ inches total thickness between layers. This combined thickness helps prevent flexing, which is the number-one cause of cracked grout and loose tiles.
Do you need thinset under the backerboard?
Yes—always. The thinset fills tiny voids beneath the board and locks everything together, ensuring the tile sits on a perfectly supported surface.
Can vinyl tile go directly on plywood?
Yes, as long as the plywood is smooth and secure. Vinyl is more forgiving than ceramic tile, but it still needs a clean, flat surface to avoid bumps or visible seams.
Related Posts:
How to Prepare Subfloor for Tile (Step-by-Step DIY Guide) by Admin February 19, 2026 DIY To prepare a subfloor for tile installation, inspect the surface for damage, secure loose panels, test for moisture, level uneven areas, install cement board or…
Hanging Bed- Full Guide How to Make It by Admin August 18, 2025 DIY Have you ever climbed into a hammock and thought, “This is great, but man, I wish I had more room to stretch”? That’s pretty much…
Wooden Katana( Full Guide) by Admin May 10, 2024 DIY A wooden katana is a practice sword made of wood, typically designed to resemble a traditional Japanese katana but without a sharp edge. It's commonly…


")

")

")