I’ll be straight with you—building a shuffleboard table wasn’t some dream project. I didn’t grow up playing it. Didn’t even know the rules, to be honest.
One night, I was avoiding real work, scrolling through YouTube, and this guy showed up in my feed. He’s in a clean garage, sliding a puck across a table he built himself, just cool as can be. I paused the video and thought, hold up… people actually make those? It looked fun, a little ridiculous, and for some reason, that combination always gets me.
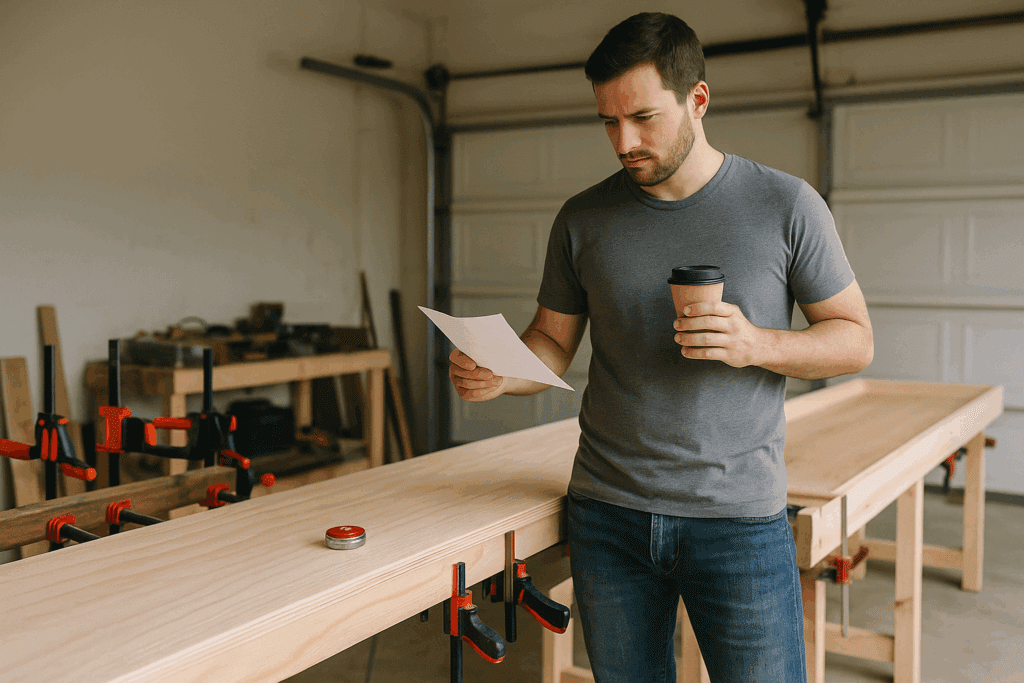
Next thing I know, I’m at the lumber yard two days later, holding a half-empty coffee and a receipt I’d scribbled a few numbers on—calling it “the plan.” It wasn’t. I just stood there for a minute pretending I knew what grade of plywood I needed. Ended up grabbing whatever looked smooth enough and cheap enough to fit in the cart.
Back home, the garage turned into chaos. Sawdust everywhere, clamps on every surface, and me realizing halfway through that twelve feet of plywood feels a lot longer when you’re working alone. At some point, the project stopped being about the game and became about proving I could actually pull it off.
That’s how it started. No grand vision—just curiosity, caffeine, and a bad habit of saying “how hard can it be?” before finding out the answer the hard way.
Choosing the Right Shuffleboard Table Size
Before you buy a single piece of plywood, decide how much space you’re willing to give up. A regulation-size shuffleboard table measures 22 feet long and 20 inches wide—practically a bowling alley. Unless you live in a converted warehouse, you’ll want something smaller.
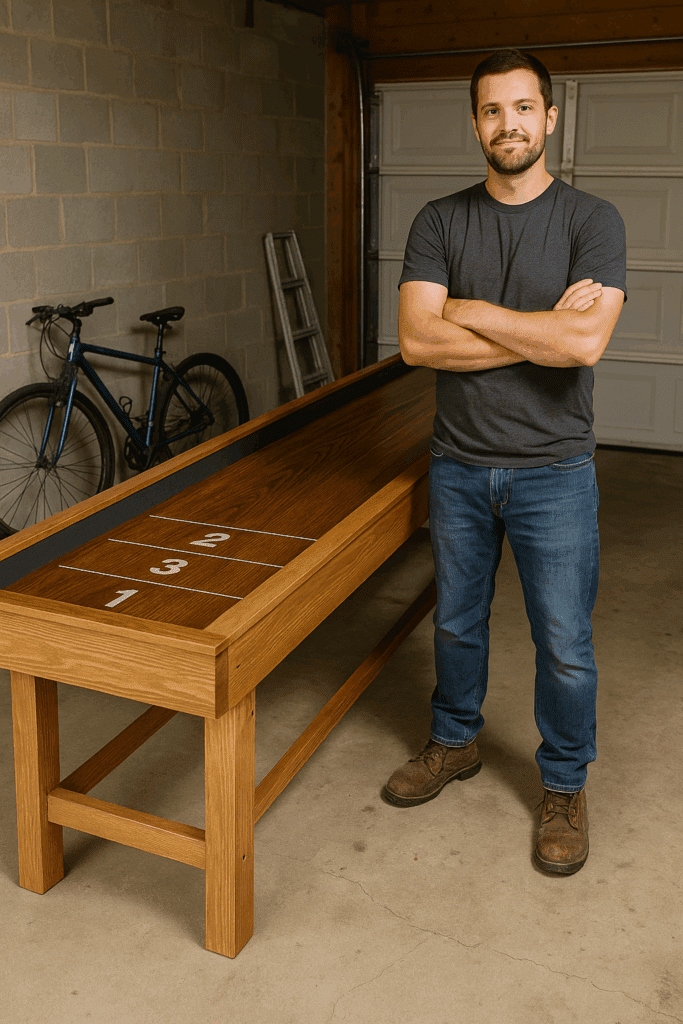
I settled on a 12-foot table, which still feels official enough for real games but fits comfortably in a garage or basement. For most DIYers, anywhere between 9–14 feet is the sweet spot.
Pro tip: Leave at least two feet of walking space on each end so players can shoot without hitting a wall.
Materials and Tools You’ll Need
A great shuffleboard starts with a smooth, stable playing surface. Here’s what I used—and what I’d do differently next time.
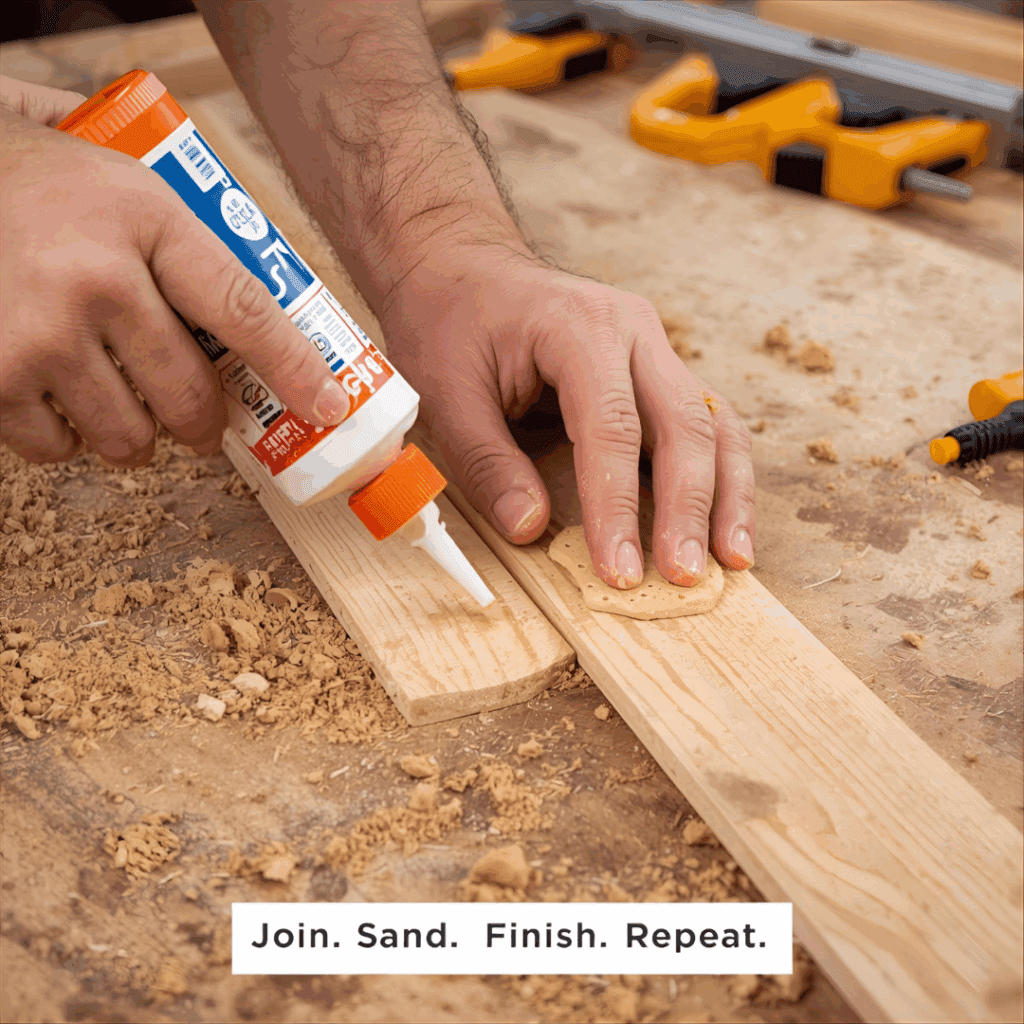
Cut your plywood sheets to the desired length—mine were trimmed to 12 feet long and 20 inches wide. Apply wood glue and align them using biscuits to ensure a tight joint. Clamp them firmly until the glue dries overnight.
Once cured, sand the entire surface smooth. Start with 120-grit, move to 180, and finish with 220 for a buttery feel. Your forearms might hate you, but this step determines how well the puck glides.
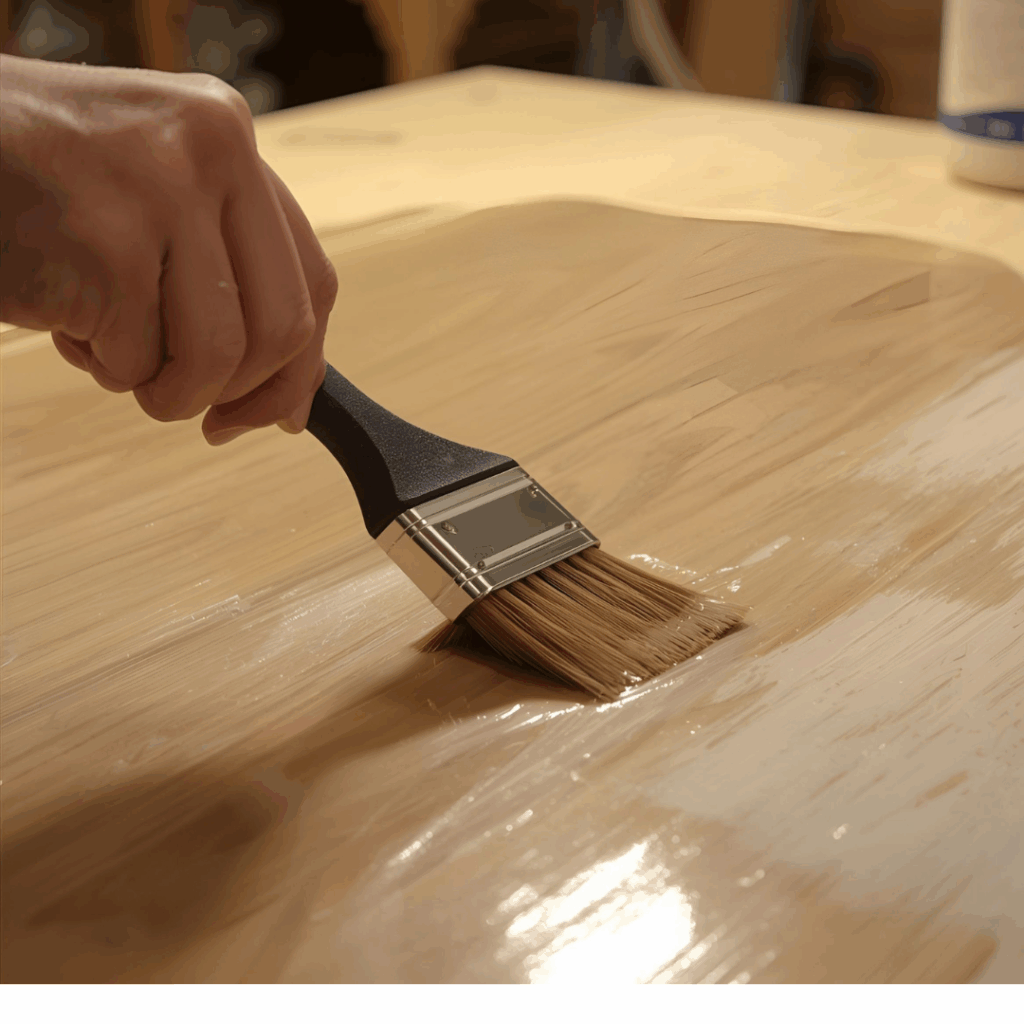
After sanding, apply your stain. I went with Dark Walnut because the name alone sounded confident. Once dry, seal with four coats of satin polyurethane, sanding lightly between each coat for a glassy finish.
Choosing the Right Finish for a Smooth, Fast Shuffleboard
The finish either makes or ruins the table. I didn’t believe that at first—until my puck started wobbling halfway down the board. It turns out that no amount of luck can fix a rough surface. You don’t need those expensive epoxy kits people brag about online. A few layers done right will get you there.
I used a wood stain that made the plywood look a little classier—almost like hardwood. Dark Walnut was my pick, mostly because I already had it, and it ended up giving the board that bar-room look. If you want something brighter, Golden Oak works fine too. After staining, I brushed on satin polyurethane, let it dry, then sanded and repeated. I didn’t count the coats—three, maybe four—but you’ll know it’s ready when it feels smooth under your fingertips.
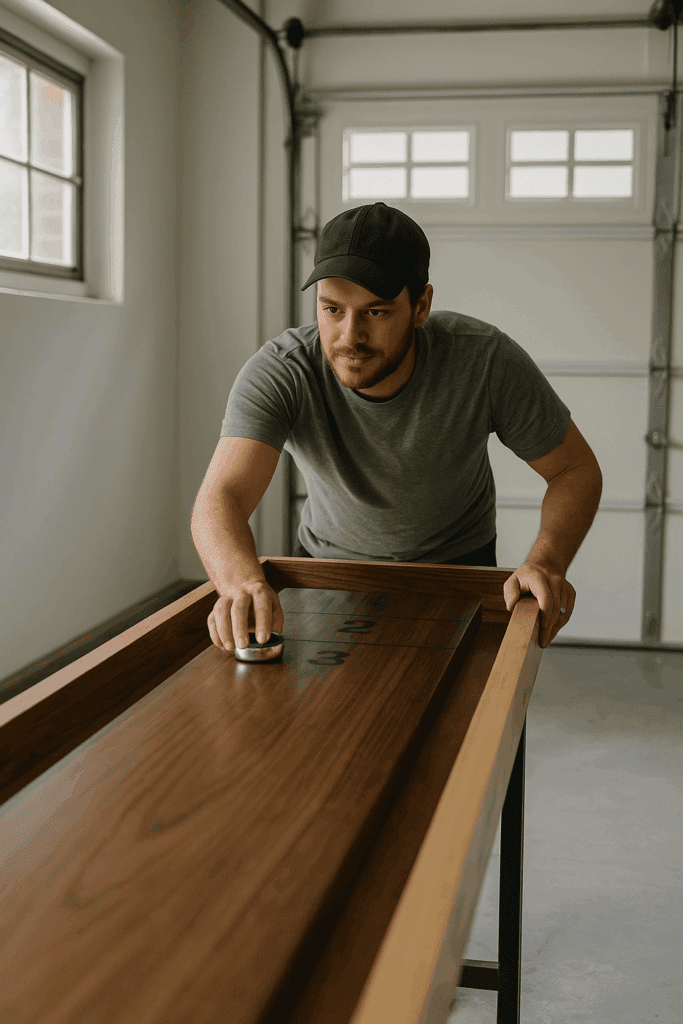
Once it was cured, I sprinkled some shuffleboard wax across the surface. It looks like powdered sugar, but it makes the puck fly. The first time I tried it, I laughed—it slid like butter on glass. Medium-speed wax feels right to start with; it’s quick, but not so fast you lose the puck halfway to the end.
Step 2: Adding Scoring Zones
For scoring lines, I cut a stencil from a cereal box—high tech, I know. Trace the zones using a permanent marker or a paint pen. A typical shuffleboard layout uses three sections worth 1, 2, and 3 points.
If you want a polished look, consider printable templates or a vinyl stencil set. Just make sure the lines are straight before sealing everything under your final polyurethane coat.
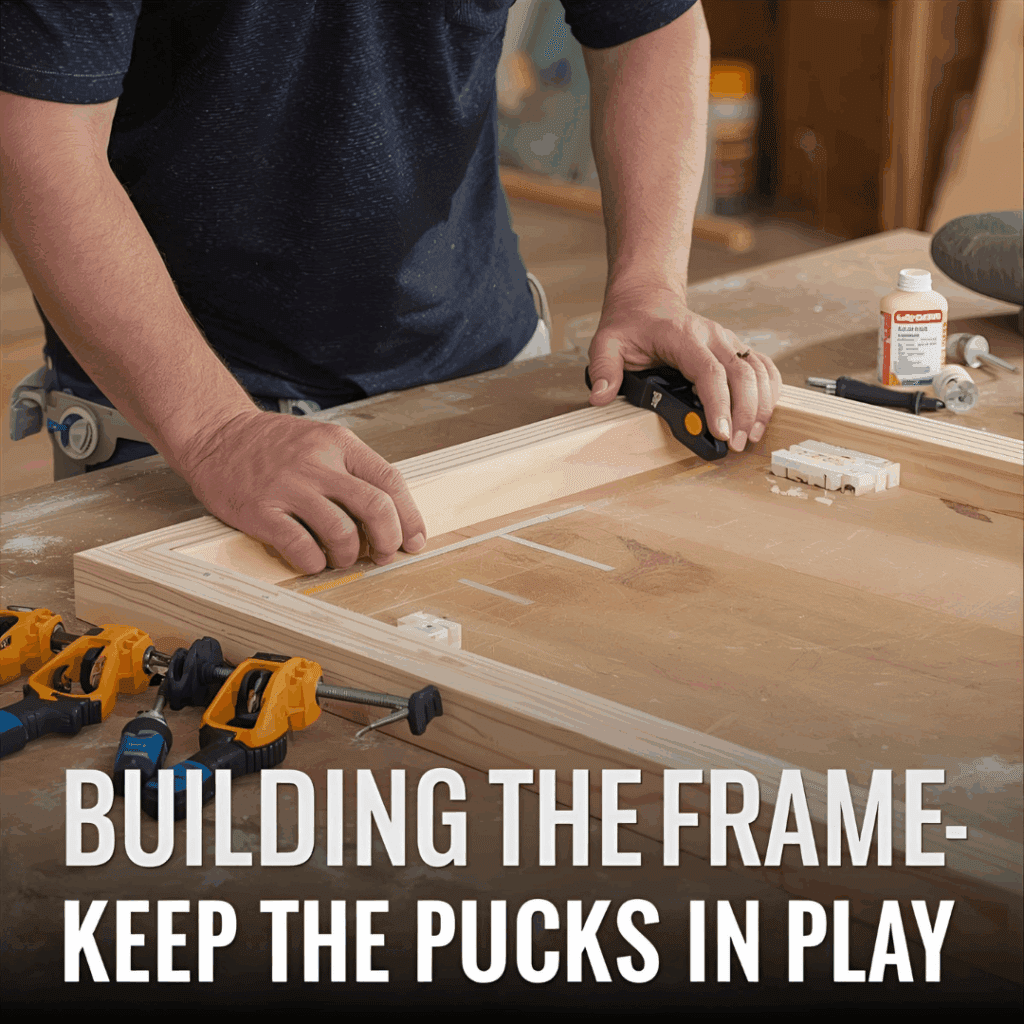
Step 3: Framing the Table
Use 1×6 boards for the outer frame and 1×2 trim pieces for the top edge. The frame keeps pucks contained and adds visual weight to your table.
Glue and screw the boards around the playing surface, leaving at least a ¼-inch gap between the surface and frame sides—this becomes your gutter area.
Line the inside of the gutters with felt or carpet. I used leftover garage carpet, which gave my table a “vintage oil-shop vibe.” If you’re classier than I am, go with green felt.
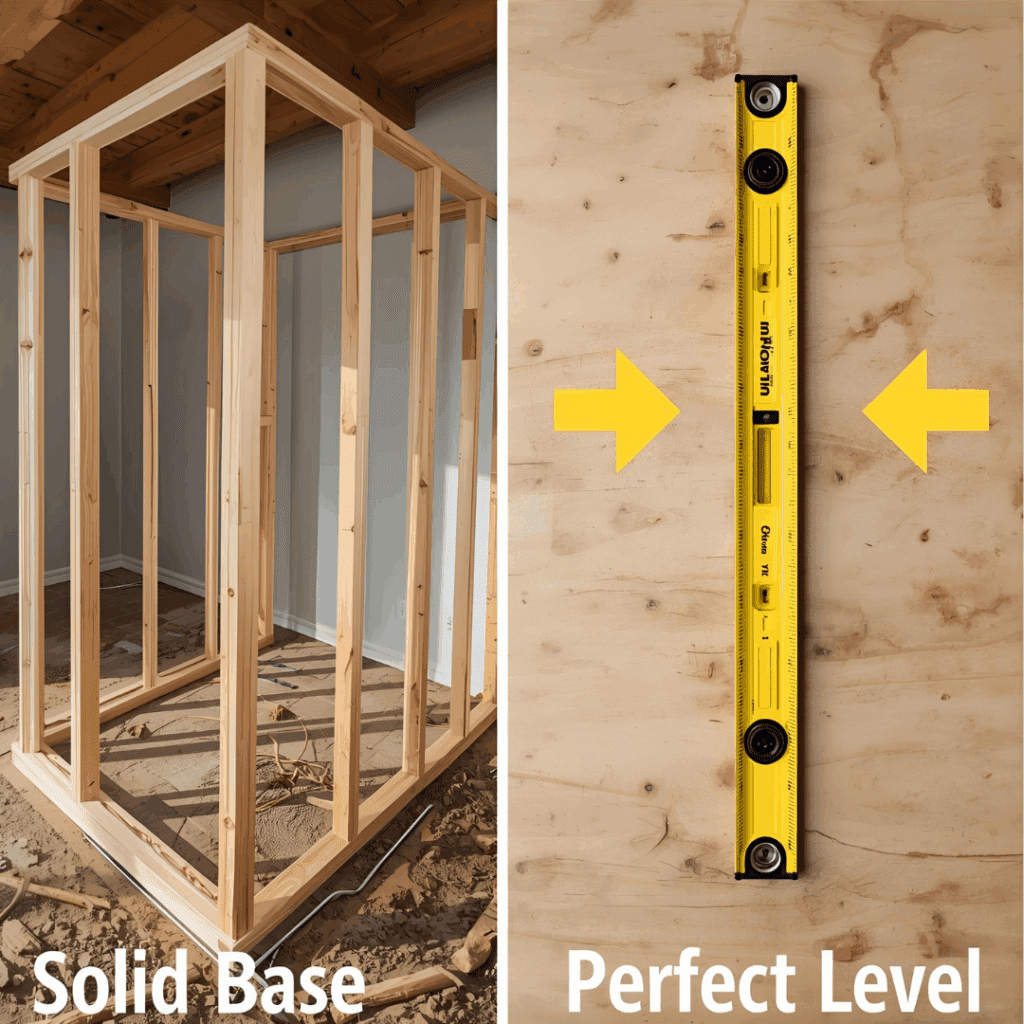
Step 4: Building a Solid Base
My first version sat on sawhorses—terrible idea. The table wobbled like a carnival ride. So I built a base from 2×4 lumber: two long rails joined by cross supports every three feet.
Each leg was secured with pocket screws and corner braces for extra strength. Add leveling feet to the bottom of each leg so you can fine-tune the balance on uneven floors.
If you live in a humid area, install climatic adjusters—metal rods that prevent the surface from warping over time. They’re simple to add: mount them under the board using screws and tighten gently.
Step 5: Level and Test
This step separates “good enough” from “professional.” Place a carpenter’s level across the table in several directions and adjust the feet until the bubble centers perfectly.
Drop a puck at one end—if it consistently drifts left or right, tweak your adjusters or recheck leg height. Once level, sprinkle a light coat of shuffleboard wax (speed powder) across the surface. That’s what gives the puck its satisfying glide.
Step 6: The Finishing Touches
Now comes the fun part—making it yours. Add cup holders, LED strip lighting under the rails, or even a scoreboard. I skipped the cup holders and instantly regretted it.
For extra flair, you can engrave initials or stencil “The Plywood Lounge” on the side. Don’t be afraid to get creative—this is the moment your garage becomes a social club.
My Budget Breakdown
Item
Cost
Cabinet-Grade Plywood (2 sheets)
$80
Wood Glue & Biscuits
$15
Stain & Polyurethane
$30
2×4 Lumber for Base
$25
Screws & Hardware
$20
Climatic Adjusters
$40
Leveling Feet
$6
Carpet Liner (scrap)
Free
Total
≈ $216
A store-bought shuffleboard table can easily hit $2,000–$3,000. Mine cost a tenth of that and came with bragging rights.
What I’d Do Differently
Plan your build space first. Moving a 12-foot board through a doorway is a nightmare.
Use real felt. My garage carpet smelled like motor oil for weeks.
Buy good pucks. Mine came from a random auction, and they’re slightly chipped—just like my pride.
Add casters. Moving this thing alone nearly destroyed my back.
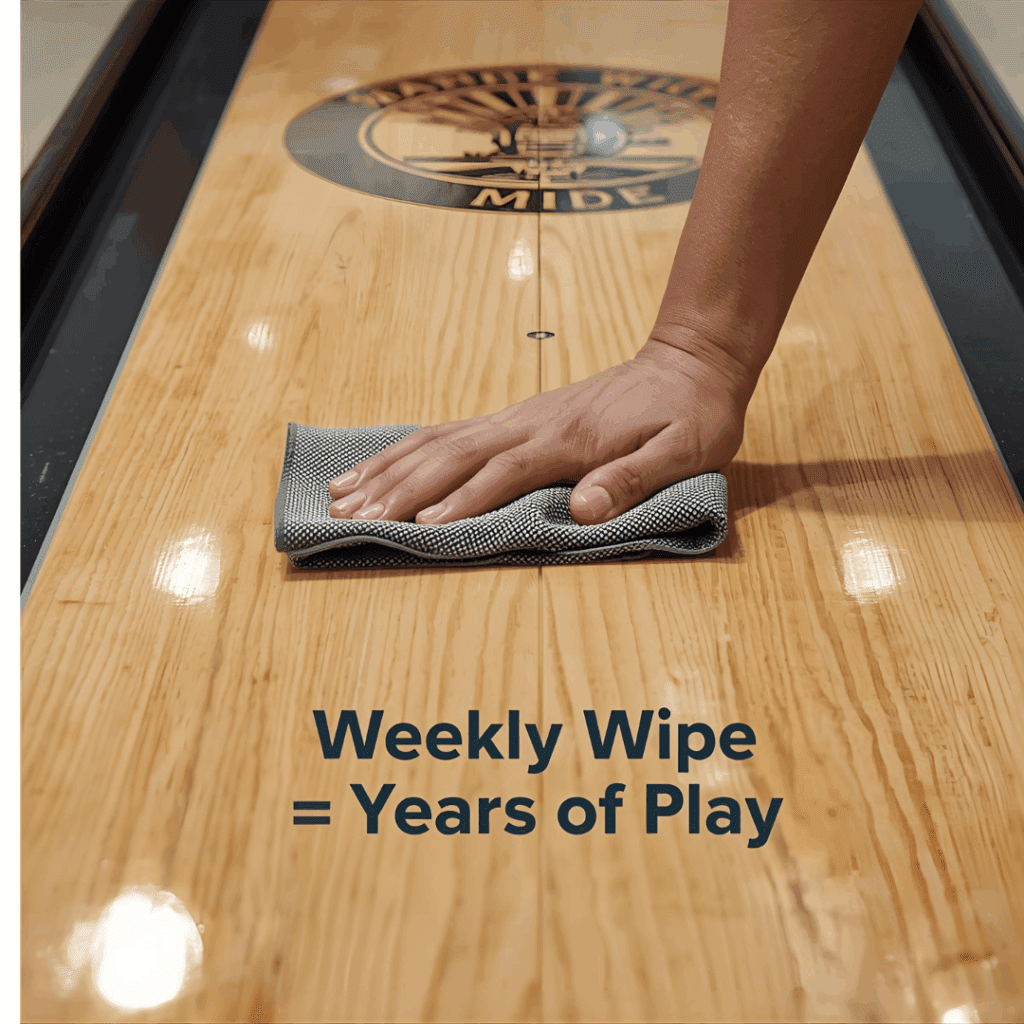
Maintenance Tips to Keep Your Shuffleboard Table Looking Its Best
After the sawdust settles and the first few games are out of the way, you’ll notice the table starts to change a little. That’s normal. Wood reacts to whatever’s going on in your garage—heat, cold, humidity, all of it. If you ignore it too long, you’ll start seeing the pucks drift or slow down halfway across the board.
I wipe mine down every week or two with a soft cloth—nothing fancy, just enough to pick up dust and old wax. Don’t use cleaners meant for kitchen counters; they’ll dull the finish. A light touch of furniture polish is plenty.
Once a month, I check the level. Sometimes all it takes is a quick turn on one of the adjustable feet to bring it back to center. If you installed climatic adjusters, give them a little tweak when the weather changes.
Scratches? They’ll happen. Don’t sweat them. A light sanding with fine paper and a thin coat of satin polyurethane will get the surface back in shape. It’s the kind of quick fix that keeps your table smooth and makes the whole project feel worth it again.
Lessons Learned from Building Big Projects Solo
Building a shuffleboard table alone is part woodworking, part patience training. You’ll discover creative uses for random objects—like paint cans or dog food bags to prop up boards while the glue dries.
But there’s something special about finishing a big build by yourself. It’s not about perfection; it’s about persistence. Every uneven edge, every scratch, tells your story.
If you’ve got the space, tools, and a weekend to spare—absolutely. You’ll learn more than you expect and end up with a one-of-a-kind game table that brings people together.
It’s far from perfect, but when guests walk in, grab a puck, and say, “Wait—you built this?”—that moment makes every blister and sanding hour worth it.
So grab your plywood, dust off the sander, and start building your own shuffleboard table. Just don’t forget the cup holders.


")