Laminate flooring is a top choice for homeowners who want the look of hardwood without the high cost or difficult maintenance. But one major weakness separates laminate from solid wood: moisture. Water is the #1 threat to laminate flooring, and once moisture reaches the core, the flooring can swell, buckle, or permanently deform. This is why sealing laminate floors has become one of the smartest preventative steps homeowners can take—especially in kitchens, bathrooms, laundry rooms, and any area exposed to spills.
In this detailed guide, you’ll learn exactly why sealing laminate floors matters, the best sealants to use, which parts of the floor should never be sealed, and a complete DIY process that protects your flooring for years. You’ll also find image placements, alt text, internal links, outbound references, and helpful tips from real-world flooring installations.
Why Sealing Laminate Floors Is Essential
Laminate flooring is made from a photographic layer bonded to a dense fiberboard core. While the protective wear layer on top resists scratches and everyday wear, it is not watertight. The edges and seams are particularly vulnerable. When water gets underneath the laminate—even a small amount—it can cause:
swelling of plank edges
soft, sponge-like texture
warping and bubbling
mold beneath the boards
lifting or separation between planks
Unlike hardwood, laminate cannot be sanded and refinished. Once the core swells, the affected planks must be replaced. Because of this, sealing laminate floors is an inexpensive insurance policy that dramatically extends your floor’s lifespan.
Should You Seal Laminate Floors? Pros & Cons
✔ Benefits of Sealing Laminate Floors
1. Helps Keep Water Out
Laminate looks tough, but the edges really aren’t. They swell fast if water gets in. A thin bead of sealant around the outside of the room blocks most of that. It’s not fancy — it just works.
2. Adds a Little More Life to the Floor
These floors can go bad from one unlucky spill. Sealing the weak spots gives you some breathing room and usually saves a few boards from being replaced later—simple prevention.
3. Gives You Extra Time When Accidents Happen
Dishwashers leak. Kids spill. Someone leaves ice on the floor and forgets about it. When the perimeter is sealed, the water doesn’t rush underneath right away. You get a chance to clean it before it causes trouble.
4. Cheap, Quick, and Not a Big Project
You don’t need to hire anyone or block off a whole day. A tube of silicone, a caulk gun, maybe an hour of your time — that’s about it.
✘ Drawbacks of Sealing Laminate Floors
1. Not All Manufacturers Allow It
Some laminate products specify that sealing may void the warranty. Always check your installation guide.
2. Floors Can Become Slippery if Improperly Sealed
You should never coat the entire surface with polyurethane or wax. Only the perimeter and select seams should be sealed.
3. Wrong Sealant = Peeling
Sealants that don’t bond to the laminate’s wear layer will flake or discolor.
Where Sealing Laminate Floors Matters Most
Sealing laminate floors doesn’t mean covering the whole surface with a coating. In fact, manufacturers say not to do that. The vital part is sealing the places where water can sneak in — the spots that cause real damage.
1. Around the Room Perimeter (This Is the Big One)
Every laminate floor has a small expansion gap around the edges. It’s supposed to be there, but it’s also the easiest way for water to get underneath the boards.
You’ll want to seal the areas where the flooring meets things like:
walls
cabinets
tubs and showers
toilets
exterior doors
laundry and pantry entry points
A quick bead of sealant here keeps spills from sliding into that hidden gap and soaking the subfloor. Most water problems actually start in this exact area.
2. Spots Where Spills Happen Often
This isn’t required everywhere, but it definitely helps in rooms where water frequently appears. Think:
around the kitchen sink
near the dishwasher
the space in front of the fridge (especially if it has a water line)
laundry machines
mudroom or garage entrances
wherever your pets drink water
It only takes a little water to work its way between boards. Sealing these seams gives you extra protection, especially during the “oops” moments.
3. Floor Vent Cutouts
These openings get overlooked a lot. The edges around vents are raw cuts, which makes them even more sensitive to moisture. A small amount of sealant around the cutout helps close off another easy pathway for water.
What NOT to Seal
❌ Do NOT Seal the Entire Laminate Surface
Laminate is nonporous. No sealant—including polyurethane, acrylic, or epoxy—will bond properly to the surface. These coatings create:
a slippery surface
peeling or clouding
uneven shine
permanent streaks
Only the outer edges, expansion gaps, and selected seams should be sealed.
Best Products for Sealing Laminate Floors
✔ 100% Silicone Caulk
Best for:
seams
appliance zones
perimeter gaps
vent openings
Waterproof, flexible, and long-lasting.
✔ Polyurethane (For Hidden Edges Only)
Use only beneath baseboards and trim—not on the visible floor.
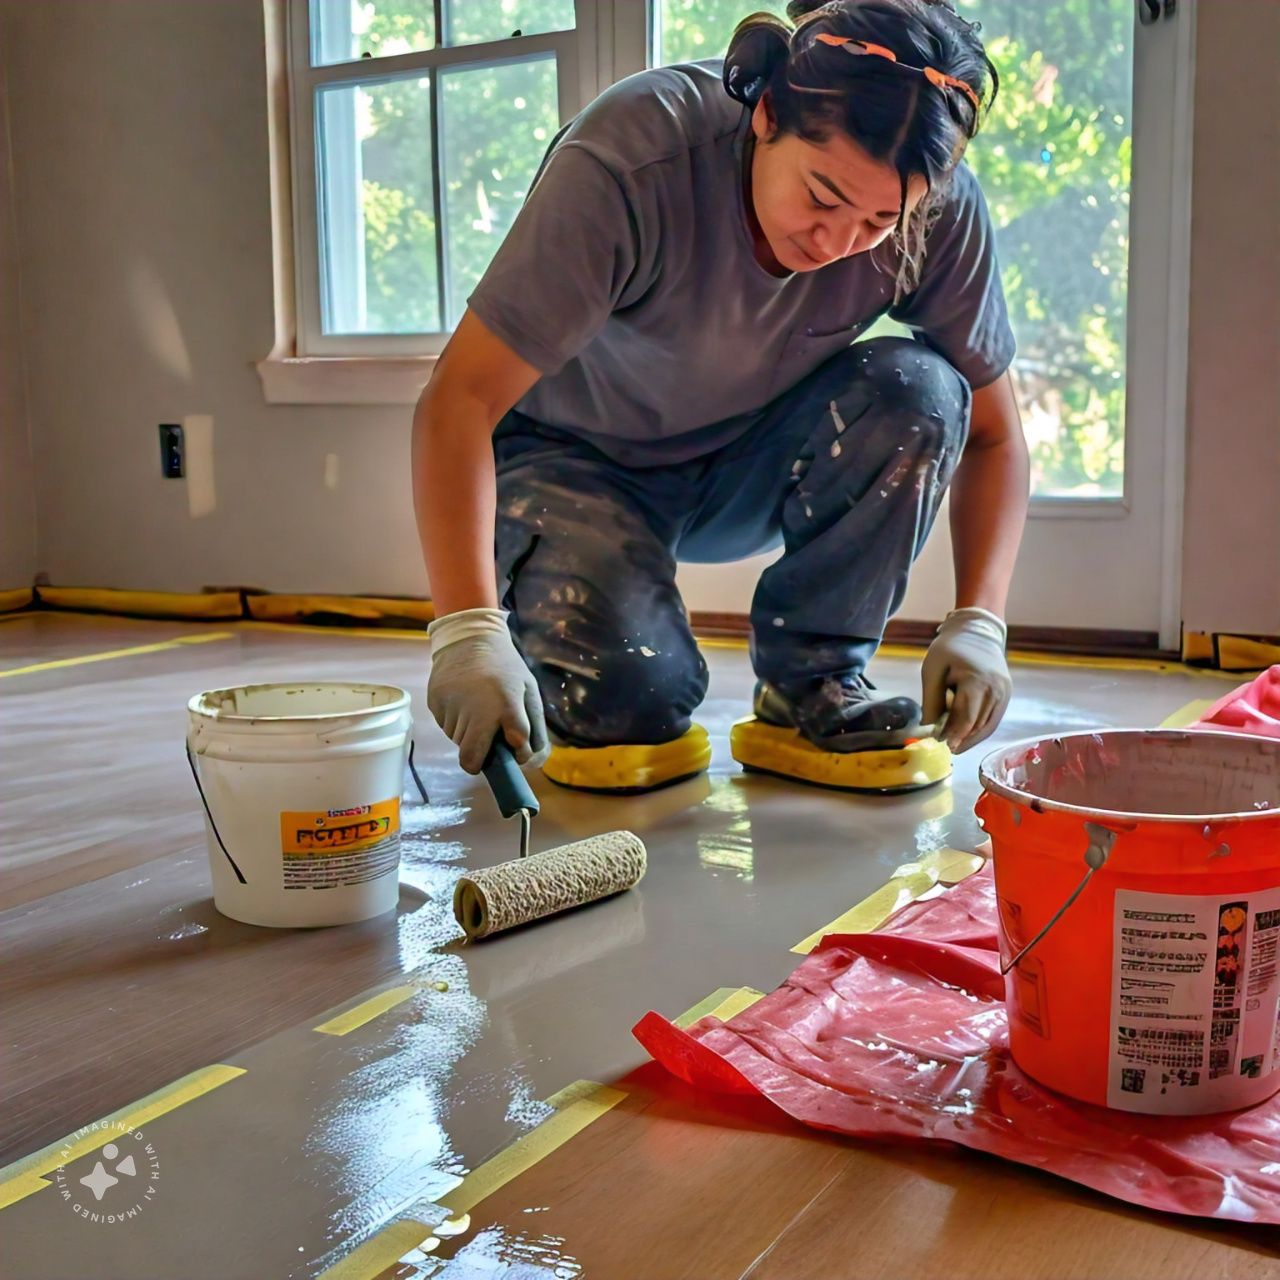
Before sealing laminate floors, remove any baseboards to expose the expansion gap. Cut along paint lines with a utility knife, then gently pry the baseboard free using a shim to protect the wall.
Label each piece so you can reinstall it in the same place.
If caulk from a previous installation holds the baseboard in place, work slowly to avoid cracking.
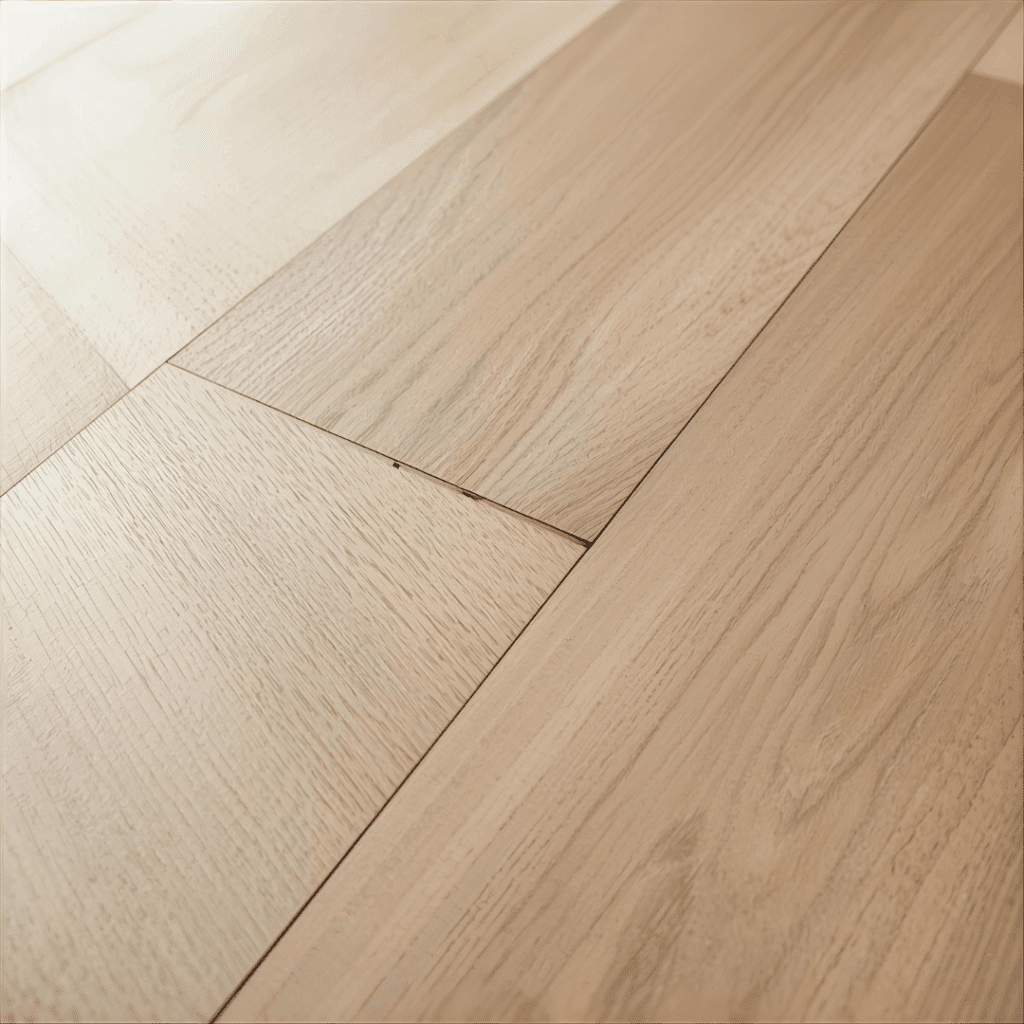
Step 2: Clean and Prep the Floor
Sealing laminate floors requires a clean, dry surface.
Expanded Cleaning Instructions
Use a microfiber mop to pick up fine dust.
Do NOT wet mop the laminate before sealing.
If wax was ever used, remove all residue with floor stripper.
Dry thoroughly for at least one hour.
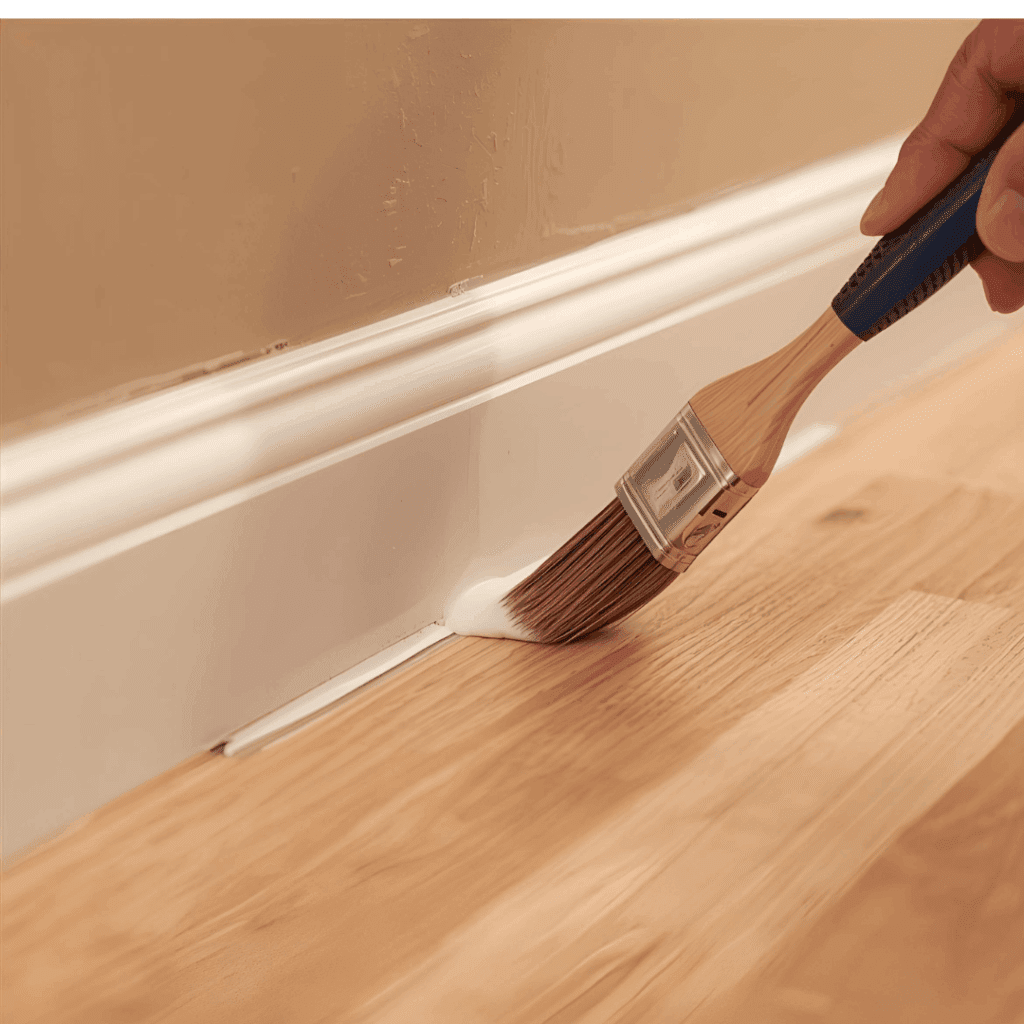
Step 3: Seal the Entire Perimeter of the Room
This is the most essential part of sealing laminate floors.
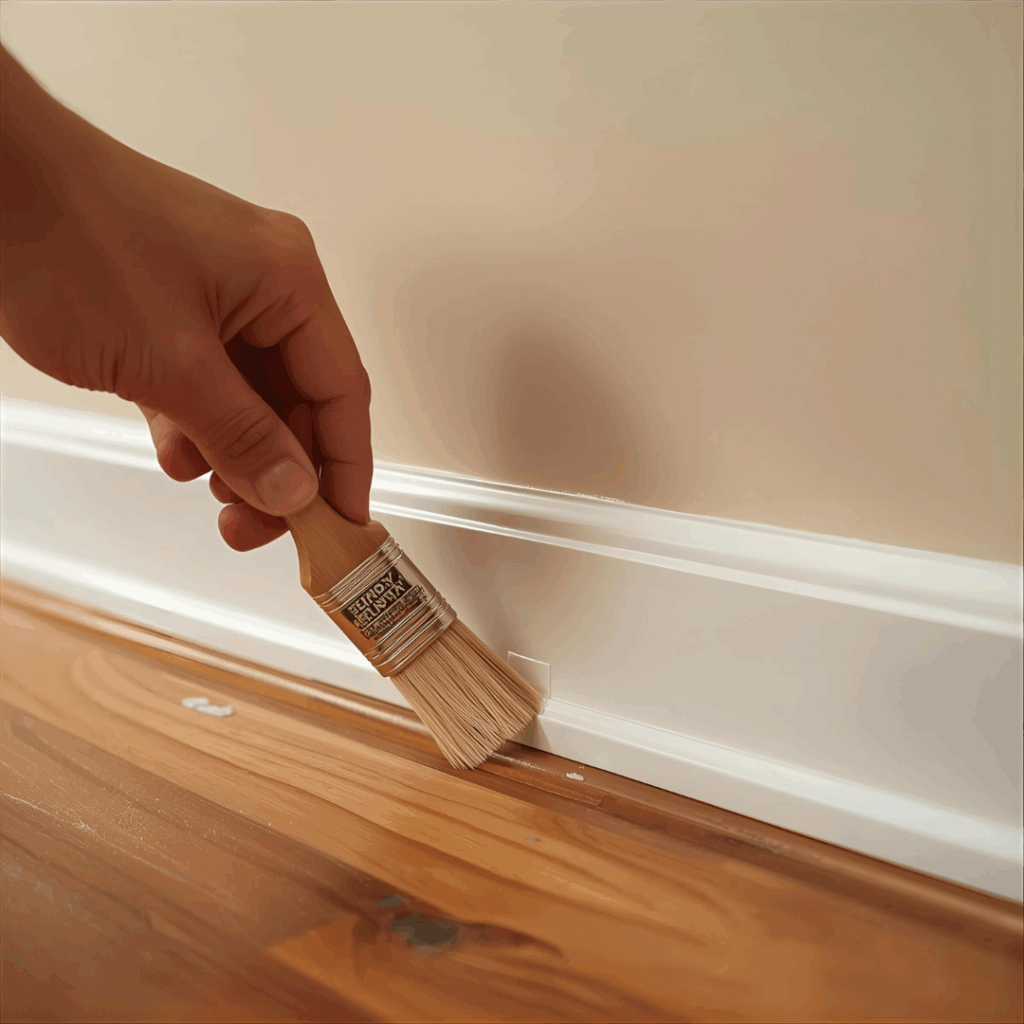
Using Polyurethane (Hidden Under Baseboards)
Apply a thin bead along the expansion gap.
Brush it on in a ¼-inch layer onto the laminate.
Apply two coats in bathrooms or laundry spaces.
Why This Step Matters
Most laminate failures begin at the perimeter—not the surface. Sealing these gaps prevents the most common damage scenarios.
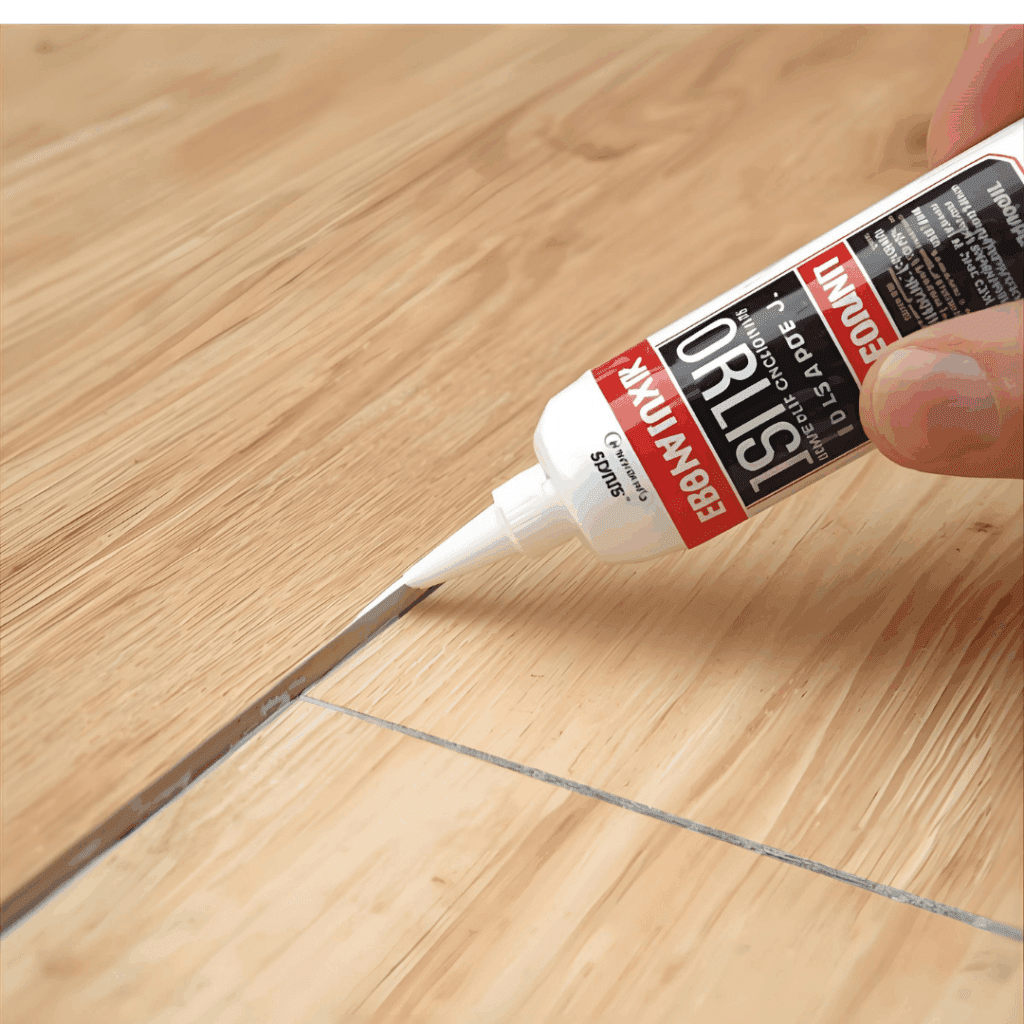
Step 4: Seal High-Risk Seams With Silicone Caulk
This is optional, but it significantly extends the life of your floors.
Expanded Seam-Sealing Instructions
Cut the caulk tube at a 45° angle with the smallest possible opening.
Apply a thin, even bead directly over the seam.
Smooth with a wet finger for a clean finish.
Wipe excess before it cures.
Allow 24 hours for complete cure in heavy-traffic areas.
Where to Apply Seam Caulking
In front of the sinks
Around dishwashers
Near tubs and toilets
Laundry machines
Glass door entrances
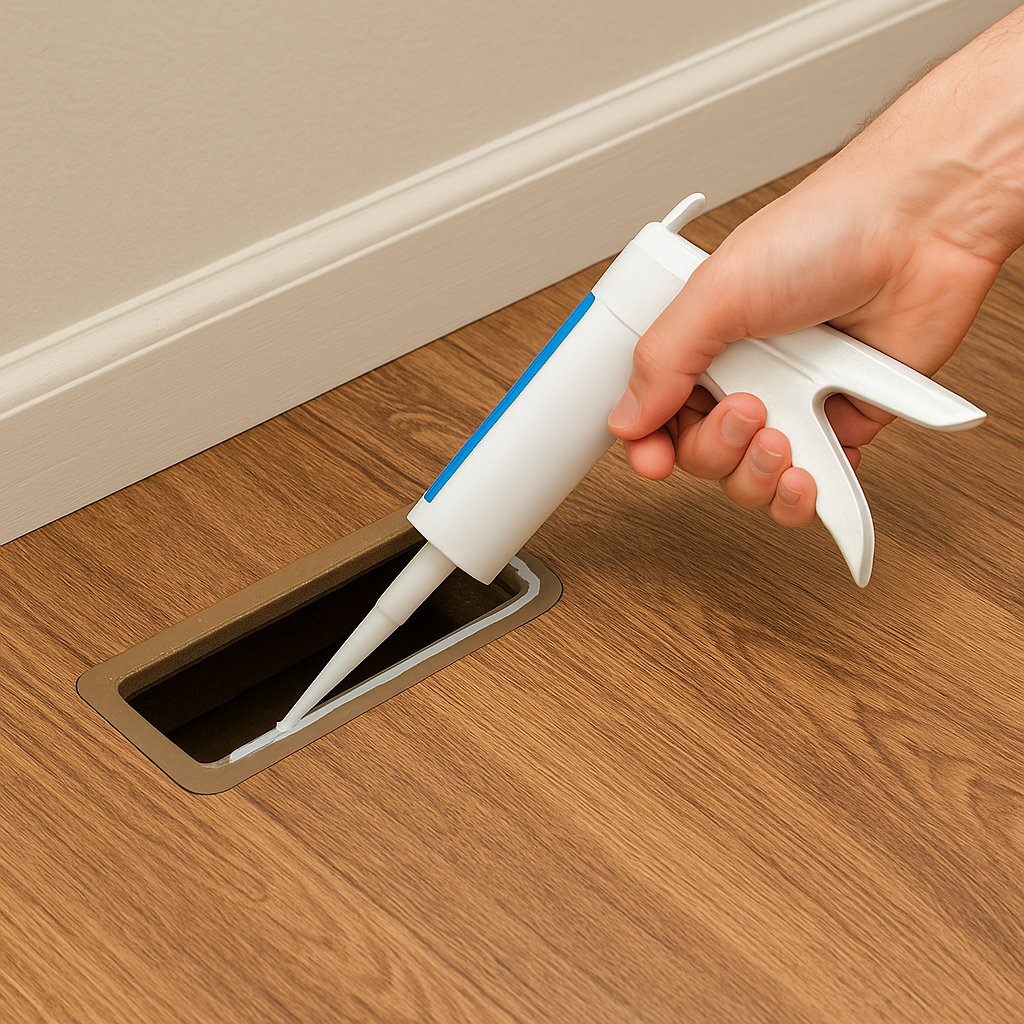
Step 5: Seal Vent Openings
Remove metal vent covers and seal the exposed laminate cut edges. This step is essential because vent cutouts are unprotected raw edges.
Step 6: Reinstall Baseboards
Use 18-gauge finish nails to reinstall. Fill nail holes, touch up paint, and ensure all edges sit flush.
How Long Does This Project Take?
Most sealing laminate floor projects take 1–3 hours, plus drying time.
How Much Does It Cost to Seal Laminate Floors?
Total cost typically runs:
Silicone caulk: $10–$20
Polyurethane: $10–$25
Misc supplies: $5–$10
Total: $25–$40
FAQ About Sealing Laminate Floors
1. Do laminate floors really need to be sealed?
Not always, but in rooms where spills happen often — like kitchens or bathrooms — sealing is honestly a brilliant idea. Laminate holds up well on the surface, but the seams and edges can absorb water quickly. I’ve seen floors bubble just from a dishwasher leak, so a little sealant goes a long way.
2. Can I put polyurethane on top of laminate?
No, not on the main walking surface. Polyurethane doesn’t stick to laminate the way it sticks to real wood. It ends up sitting on top like a film, and eventually it peels or gets slick. The only time polyurethane makes sense is under the baseboards, where you’re sealing the expansion gap.
3. What’s the best product for sealing the seams?
People have different preferences, but clear 100% silicone is the one that actually holds up. It stays flexible, doesn’t yellow, and it blocks water better than anything else I’ve used. It’s also easy to clean up if you make a mistake.
4. Will sealing my laminate floor make it waterproof?
Not completely. Laminate just isn’t built like that. But sealing the edges and a few trouble spots will buy you some time if something spills or a small leak happens. Think of it more like “damage control” than waterproofing.
5. Should I seal the entire laminate floor?
No. You’ll make the floor slippery, and the coating won’t bond anyway. Laminate already has a factory-sealed top layer. The parts that actually need attention are the edges, the seams near water, and any cutouts (like vents).
6. How long does this sealing project take?
Honestly? Not long. Most people can finish it in an hour or two unless they’re working in a vast room. Dry time varies by product, but the hands-on work is quick.
7. Can sealing void my flooring warranty?
It can. Some brands don’t want you adding anything to the planks besides the recommended glue. It’s worth checking the box or the manufacturer’s site before you seal anything.
8. How expensive is it to seal laminate floors?
It’s one of the cheapest home improvement jobs you can do. A tube of silicone is around 6–12 bucks, and even if you buy polyurethane, you’re still usually under $30 total.
9. Do I have to remove the baseboards?
You don’t have to, but the job turns out cleaner if you do. The expansion gap is hidden under the baseboard, and that’s one of the first places water can sneak in. If removing trim stresses you out, you can seal right along the top of the gap instead.
10. Can I use spray-on sealers like Flex Seal?
Nope. Those sprays cling to things like metal and rubber, but they don’t play well with laminate. They can trap moisture or create a sticky layer that dirt loves to cling to.
Silicone holds up for years—you won’t need to reseal every season. The only time you’d redo it is if you notice cracking or if you remodeled and had to remove trim again.
12. Is sealing laminate floors difficult for beginners?
Not at all. It’s one of the more forgiving DIY jobs. Even if your first bead of caulk looks messy, you can smooth it out with a damp finger. As long as you’re patient and don’t rush, you’ll do just fine.
13. Will sealing help protect the floor from pet accidents?
It helps, but it’s not magic. Sealing keeps urine from seeping under the edges, but if it sits on the laminate for too long, it can still stain or leave a smell. Quick clean-up is still your best friend.
14. Should I seal every single seam in the room?
Most people don’t. You mainly seal the seams in areas where water is more likely to accumulate — around sinks, dishwashers, laundry machines, and exterior doors. Sealing every seam in a big room isn’t necessary unless you live in a highly humid climate.
15. What if my laminate planks are already swollen?
Sadly, swollen laminate can’t be flattened or repaired. Once the core expands, it stays that way. The only fix is replacing the affected planks. Sealing helps prevent that from happening in the first place.
Related Posts:
The Ultimate Guide to Attic Flooring: Expert Tips and Advice by Admin June 27, 2024 Installing Transforming your attic into a functional space begins with strategic flooring choices that balance practicality and safety. Whether you're aiming to create additional storage, a…
How to Install Plywood Flooring Over Concrete Guide by Admin July 1, 2025 Installing If your home is built on a concrete slab and you’re dreaming of installing real hardwood floors, you’ll need a sturdy plywood subfloor in place…
DIY Guide to Tongue and Groove Plywood Floors by Admin November 10, 2025 Hardwood The first time I stepped on a subfloor made with tongue-and-groove plywood, I immediately noticed the difference. The boards didn’t creak, flex, or shift underfoot—they…