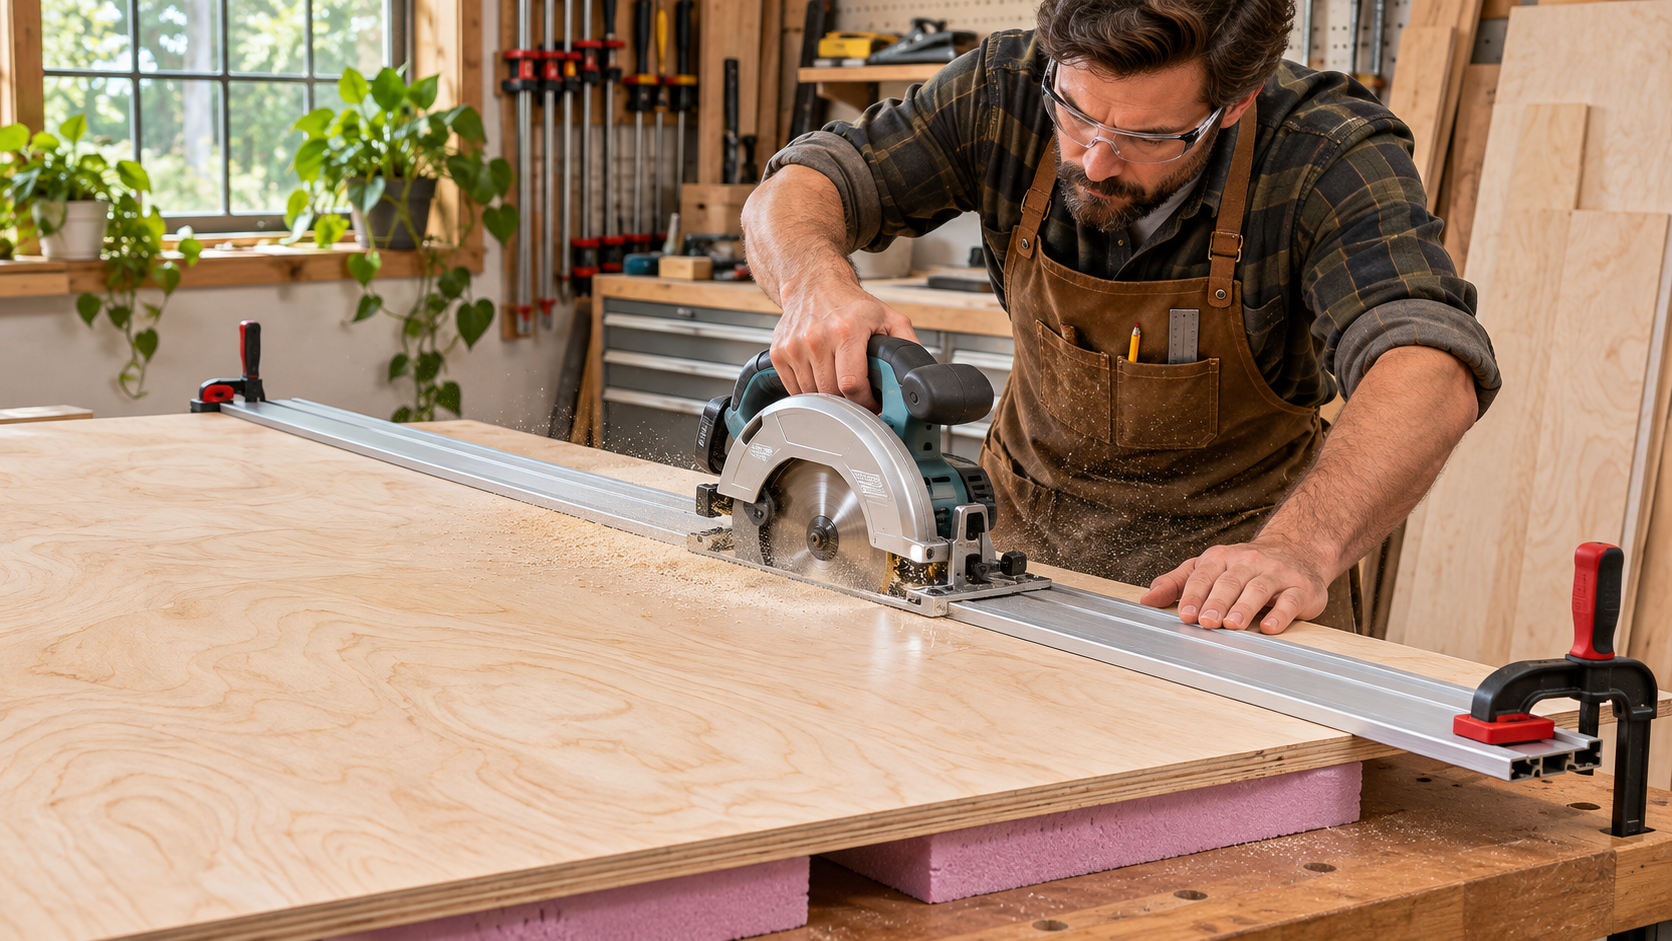
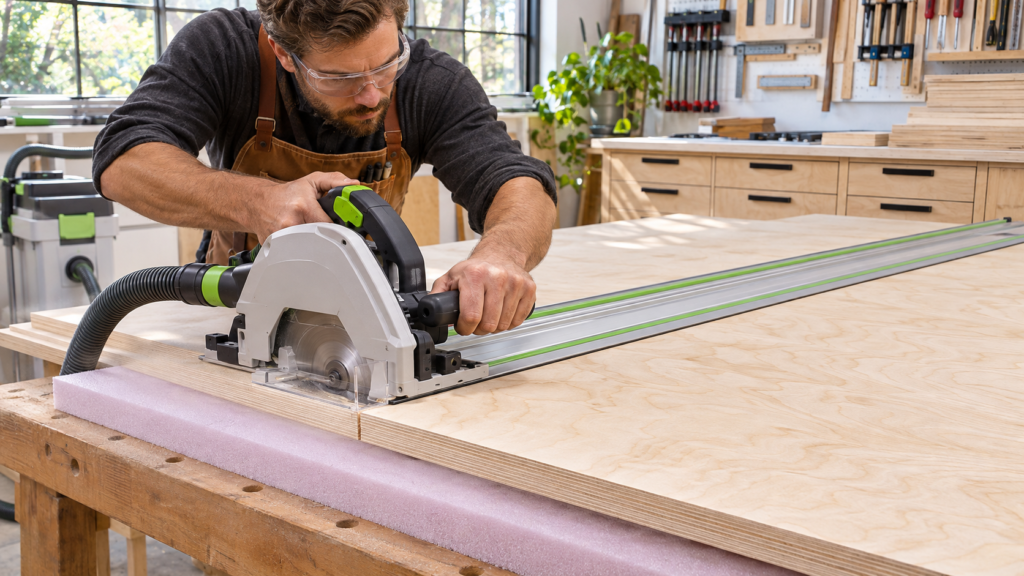
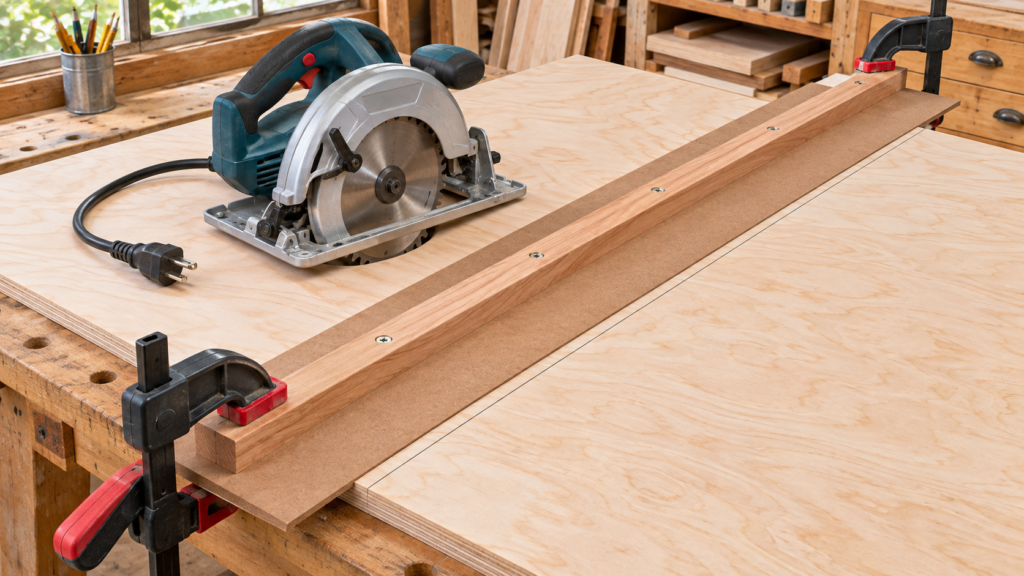
To cut plywood in a straight line, clamp a guide to the sheet and run your saw along it. The guide can be a factory-straight board, an aluminum straightedge or a track saw rail. Your hand can’t keep a circular saw straight over 8 feet, but a clamped guide can. Pair the guide with a fine-tooth plywood blade and full support under the sheet, and you’ll get edges that are straight and clean enough for cabinets.
As an Amazon Associate, ThePlywood.com earns from qualifying purchases. Links to Amazon below are affiliate links.
Quick answer
Best low-cost method: a circular saw riding against a clamped straightedge or a shop-made guide
Cleanest edge: a track saw. Its rail has an anti-splinter strip that holds the top veneer down.
Most repeatable for narrow strips: a table saw with a good fence, once the sheet is broken down
Biggest mistake: cutting with the good face up on a circular saw. Tearout shows on the top face, so put the good face down.
Straight-Cut Methods Compared
Method
Straightness
Edge quality on veneer
Setup time
Best for
Circular saw, freehand on a line
Poor over long cuts
Fair to poor
None
Rough cuts that get trimmed later
Circular saw + clamped straightedge
Good
Good with the right blade
Medium (you have to measure the offset)
Occasional full-sheet cuts
Circular saw + shop-made zero-offset guide
Very good
Good
Low once it’s built
DIYers who cut plywood regularly
Clamp-on rip guide (e.g. Kreg-style)
Very good
Good
Low
Repeat cuts on a budget
Track saw
Excellent
Excellent
Low
Cabinets, built-ins, furniture
Table saw + fence
Excellent, if the sheet is managed
Very good
Low
Final sizing of smaller parts
Cost difference: if you already own a circular saw, a good plywood blade and a straightedge cost only a small fraction of a track saw kit. Check current prices, but in most shops that’s the first upgrade worth making.
Why Plywood Cuts Wander
Most crooked cuts come from one of three things. Each one has a simple fix.
No guide. A circular saw has nothing to keep it on a pencil line. Small corrections add up to a wavy edge.
The guide moves. One clamp or a slick rail lets the guide creep partway through the cut.
The sheet sags or pinches. If the offcut drops, it closes the kerf on the blade. The saw binds, wanders, and can kick back.
Don’t assume the factory edge is straight, either. Check it against a straightedge before you register a guide or a fence off it.
How to Cut a Straight Line with a Circular Saw
Step 1: Support the whole sheet
Lay the sheet on a sheet of rigid foam insulation on the floor, or on four or more 2x4s across sawhorses. Place them so both sides of the cut stay supported. Neither piece should be able to drop or pinch the blade. A 3/4″ sheet is heavy and awkward to handle (see our plywood weight chart), so it’s often easier to break sheets down where they lie.
Step 2: Install a plywood blade and set the depth
Disconnect power or remove the battery before changing blades. Many circular saws ship with a coarse framing blade, and it will splinter plywood veneer. Swap it for a fine-tooth blade labeled for plywood or finish cuts.
Set the depth so the blade goes no more than about 1/8″ to 1/4″ below the bottom of the sheet. That’s the range the Power Tool Institute recommends. Less exposed blade means less tearout and less risk if the saw kicks back.
Step 3: Put the good face down
A circular saw’s teeth exit through the top of the sheet, so tearout shows on the top face. Cut with the show face down. (For a table saw or a track saw it’s the reverse: good face up.)
Step 4: Measure and mark, including the kerf
Mark the cut at both ends of the sheet, not just one. Decide which side of the line the blade goes on. The blade removes material (the kerf, roughly 1/8″ for many full-kerf blades; check your blade’s packaging). If you center the blade on the line, both pieces come out short.
With a straightedge: measure from the blade to the edge of the saw’s base plate on the guide side. Clamp the straightedge that distance from your cut line, and measure at both ends.
With a shop-made guide: lay the guide’s edge right on the cut line. There’s no offset to measure (see below).
Clamp both ends. Then measure again at both ends after clamping, because clamps can shift a guide as they tighten.
Step 6: Make the cut
Keep the power cord clear of the cutting path. Let the blade reach full speed before it touches the wood. Keep the base plate pressed against the guide and feed at a steady pace without forcing it. Stand to one side of the saw’s path, not directly behind it. Let the blade stop before you lift the saw.
⚠️ Warning: never wedge or tie back the lower blade guard to make guided cuts easier. Wear eye and hearing protection, and use dust collection or a mask. Plywood dust includes glue resin as well as wood.
Build a Zero-Offset Guide (the Best Low-Cost Upgrade)
A shop-made guide removes the offset math completely.
Glue and screw a straight strip of plywood with a factory edge (about 3–4″ wide) onto a wider base of 1/4″ plywood or hardboard. Let the base stick out past the strip on the blade side.
Run your circular saw along the strip, trimming off the excess base.
The trimmed edge of the base is now exactly where your blade cuts. Line it up with your pencil mark, clamp it, and cut.
Make one about 8 feet long for rips and a shorter one for crosscuts. Label each guide with the saw and blade you trimmed it with. After changing blades or saws, verify that the guide edge still matches the blade’s cutting path.
😬 Regret: switching blades and cutting a full set of parts without checking the guide first. Make a test cut on scrap. If the cut doesn’t land on the guide’s edge, every part on your cut list can come out slightly off.
Best Tools for Straight Plywood Cuts
Fine-tooth plywood blade for your circular saw. This is the cheapest improvement on this list. Check the price on Amazon
Clamp-on straightedge guide (50″–100″). It clamps to the sheet edges without separate clamps. Many are designed mainly for square (90°) cuts, but some models allow angled cuts. Check the specs of the model you’re considering if you need tapers or angles. Check the price on Amazon
Rip guide that attaches to your circular saw. It rides on the sheet edge and is good for repeated strips of the same width. Check the price on Amazon
Track saw kit. It gives the cleanest edges, and its rail can be set at any angle. Make sure you get, or add, enough rail for a full 8-foot rip. Many kits include only a short rail, enough for about a 4-foot crosscut. Check the price on Amazon
Long angled cuts. Whether an edge-clamping guide can cut angles depends on the model. Some are square-only and some adjust for angles. A track saw, or a straightedge clamped at both ends, handles tapers and angles on any sheet. Our guide to making long cuts in plywood covers straight and angled long cuts, and you can mark the angle first with our angle measuring guide.
Final dimensions for cabinet parts. Many builders rough-cut sheets about 1/2″ oversize with a circular saw, then size the parts on a table saw. A table saw fence that locks parallel is what makes those cuts repeat.
Panel saws at the store. Lumberyard and big-box panel saws are set up for straight, square cuts. They’re useful for breaking a sheet down to fit in your vehicle, but their accuracy depends on how well the machine is maintained. Cut a little oversize and do the final cut yourself.
Common Mistakes When Cutting Plywood Straight
❌ Cutting freehand on a pencil line.Consequence: a wavy edge that won’t glue tight or sit square in a cabinet.
Clamping only one end of the guide.Consequence: the guide pivots partway through and the cut ends up tapered.
Cutting with the good face up on a circular saw.Consequence: splintered veneer on the face everyone will see.
Supporting only one side of the cut.Consequence: the offcut drops, pinches the blade, tears the last few inches, and can cause kickback.
Forgetting the kerf.Consequence: every part comes out about 1/8″ short, and on a cut list with many parts that adds up fast.
Trusting the factory edge.Consequence: every cut registered off a slightly bowed edge copies the bow.
FAQ
What is the easiest way to cut plywood in a straight line?
Clamp a straightedge or a shop-made zero-offset guide to the sheet and run a circular saw along it. A shop-made guide is the easiest because its edge sits right on your cut line, so there’s nothing to measure.
Should plywood be cut face up or face down?
It depends on the saw and the blade. With a circular saw, cut face down, because the teeth exit through the top. With a jigsaw, most standard upward-cutting blades also favor placing the good face down, but reverse-tooth (down-cut) blades may require the opposite. With a table saw or track saw, cut face up.
How do I stop plywood from splintering when I cut it?
Use a fine-tooth plywood blade, set the blade only 1/8″ to 1/4″ deeper than the sheet, and put the good face on the correct side for your saw. Support both sides of the cut. Painter’s tape or scoring the line with a utility knife can help on fragile veneers. For corners and edges after the cut, see protecting plywood corners.
Do I need a track saw to cut plywood straight?
No. A circular saw with a good guide and blade cuts straight. A track saw’s advantages are a cleaner top edge, faster setup, and angled cuts anywhere on the sheet. Those matter most if you cut a lot of finish-grade plywood.
Can I cut a full 4×8 sheet straight without a table saw?
Yes. Breaking down full sheets with a circular saw or track saw on foam or sawhorses is often easier and safer than pushing a full sheet across a small table saw.
Bottom Line
The fix for crooked plywood cuts is a clamped guide, not a steadier hand. Start with a fine-tooth plywood blade and a shop-made zero-offset guide, support the whole sheet, and cut with the good face down. Upgrade to a track saw only if you’re regularly cutting finish plywood and want cleaner edges with less setup.
Related Posts:
How to Bend Plywood Without Breaking It (6 Proven Methods) by Admin March 4, 2026 DIY Plywood can be bent using several woodworking techniques, including kerf cutting, laminating thin sheets, steam bending, soaking, heat bending, and using flexible plywood (bendy ply).…
Best Budget Track Saw for Plywood: 5 Picks Compared by Admin October 13, 2026 DIY Affiliate disclosure: ThePlywood.com is reader-supported. As an Amazon Associate, we earn from qualifying purchases at no extra cost to you. Links to other retailers are…