Most people don’t give a second thought to drying wood in an oven until something goes wrong. I didn’t either. I slapped together a pine bench once, proud of how it looked fresh off the clamps. A week later, though, it betrayed me—hairline cracks across the top, joints that suddenly didn’t line up. That’s when I realized wood isn’t just wood. It’s full of water, and that water has a mind of its own.
Lumberyards solve this with giant kilns. Huge, humming machines that do nothing but bake boards all day until they’re stable enough for shelves. Me? I don’t have a kiln in my garage. What I do have is an oven. And, surprisingly, that’s enough if you’re only dealing with small pieces. Drying wood in the oven won’t replace kiln-dried lumber for a big table, but for blanks, strips, or a little project where time matters, it gets the job done.
So in this guide, I’ll explain why drying matters, show you exactly how I’ve used a regular kitchen oven to do it, and share a few of the dumb mistakes I’ve made so you can skip the frustration.
Why Bother Drying Wood Before Building?
If you’ve ever carried in freshly cut firewood, you know how heavy it feels compared to seasoned wood. That weight is water. Depending on the species, freshly cut wood can hold 30% to 200% of its weight in moisture.
When that water evaporates later—after you’ve already built something—the wood shrinks, warps, or cracks. I once glued up a butcher block without checking the moisture content, and within two weeks, the seams pulled apart. Not fun.
Oven-drying wood solves three big problems:
Stability: The piece won’t shrink and twist after you’ve finished your project.
Strength: Glues and finishes work best when the wood is dry.
Longevity: Cracks and warping are less likely.
For furniture or indoor projects, you want your wood to have around 6–9% moisture. Outdoor projects can handle a little more—around 10–15%.
Can You Really Use a Kitchen Oven?
Yes, with limits. You can’t throw a 2×8 board in your oven and expect to dry it safely. This method is only for small pieces of wood:
Turning blanks for the lathe
Strips for cutting boards
Thin boards for crafts
Small blocks for carving
Think of drying wood in an oven as a shortcut for pieces that would otherwise take weeks to air dry.
Safety First
Let’s be clear: wood is flammable. Before you try drying wood in the oven, keep these precautions in mind:
Low heat only. Stay at or below 200°F (93°C). For softwoods like pine, even 170°F (77°C) is plenty.
Never leave it unattended. Stay in the kitchen or nearby.
Use ventilation. Wood drying can release sap and smells you don’t want lingering.
Dedicated tray. Don’t reuse the same pan for food after baking wood on it.
Small batches only. Large boards belong in a kiln or air-dry setup, not your oven.
When I dried a batch of oak turning blanks, the smell filled my kitchen even with the windows open. It wasn’t dangerous, but it was strong enough that my family didn’t love it.
Drying Wood in the Oven — How I Actually Do It
Step 1: Prep the Wood Cut it small. Seriously. Anything bigger than a foot is a fight in the oven. If there’s bark, peel it off—every time I’ve left bark on, the wood comes out weirdly damp under it. A quick brushing keeps sap and sawdust from smoking up your kitchen later.
Step 2: Heat the Oven Low and slow wins. I keep it around 170–200°F (93°C max). Go hotter and you’re not drying wood, you’re making charcoal. I learned the hard way—my cedar smelled like a campfire for two days. If your oven lies about its temperature (mine does), stick a cheap thermometer inside. Worth it.
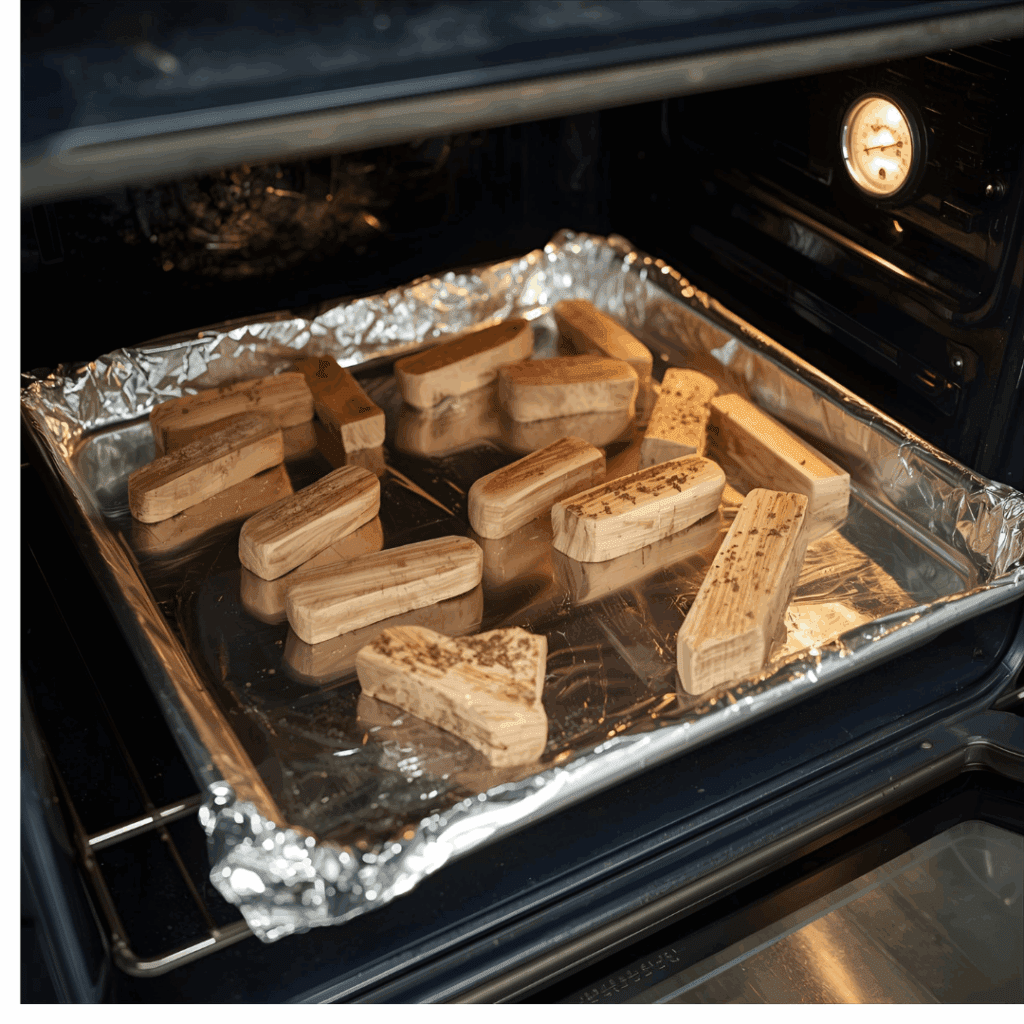
Step 3: Arrange the Pieces Spread them out. Don’t stack, don’t crowd. I usually use an old cookie sheet with foil. Once, I skipped the foil, and resin dripped all over the rack—scraping that off was a nightmare.
Step 4: Bake in Rounds
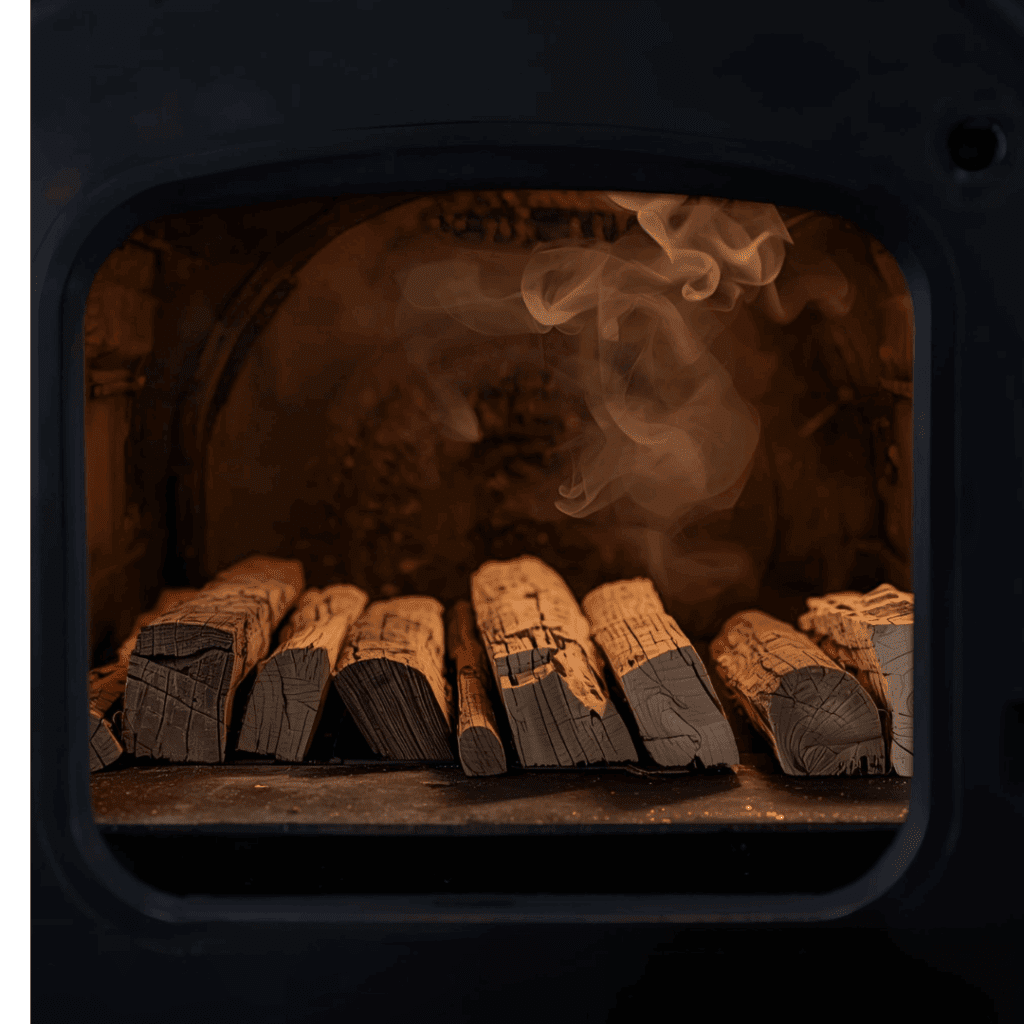
Half an hour, then rotate, flip, shuffle. Repeat. I sometimes crack the oven door in between to let steam out. You’ll smell it—kind of like a sauna mixed with a lumberyard. Not awful, but noticeable.
Step 5: Check Moisture Moisture meters are cheap, and they save projects. I poke mine every hour. For furniture, I want 6–9%. For outdoor stuff, 10–15% is fine. Once I thought wood was dry enough by eye—it was 18%. The table cracked in a week.
Step 6: Cool Down Turn off the oven, crack the door, and walk away. Let it ease back to room temp. If you yank hot wood out right away, the outside shrinks faster than the core. That’s when little splits appear, and there’s no fixing them.
That’s the question everyone asks, and the honest answer is: it varies. Still, here’s what I’ve seen in my own oven:
Craft sticks (¼ inch) – half an hour if they’re not too damp, maybe closer to an hour if they came straight from a fresh board.
Turning blanks (2–3 inches thick) – two to three hours on average, though I’ve had stubborn oak blanks take longer.
One-inch boards – anywhere from an hour to two, depending on the species and how wet they started.
Those numbers are only rough guesses. Pine dries fast, oak makes you wait, and if you crowd too many pieces together, it slows everything down. The back of my oven even runs hotter than the front, so pieces dry unevenly if I don’t rotate them. I once pulled out a batch of maple strips that looked dry, only to find the meter still read 15%. Since then, I don’t trust my eyes—time alone will fool you.
👉 Bottom line: don’t rely on time alone—when you’re oven-drying wood, always double-check with a moisture meter.
A Personal Example
One winter, I was working on a set of maple coasters as a holiday gift. The blanks were still damp from the mill, and I didn’t have weeks to wait. I tried the oven-drying method for wood, keeping the pieces at 190°F and checking every half hour. After about 90 minutes, they were down to 8% moisture.
The finish went on beautifully, and those coasters haven’t warped or split in years. It was the first time I realized just how practical drying wood in the oven can be for small woodworking projects.
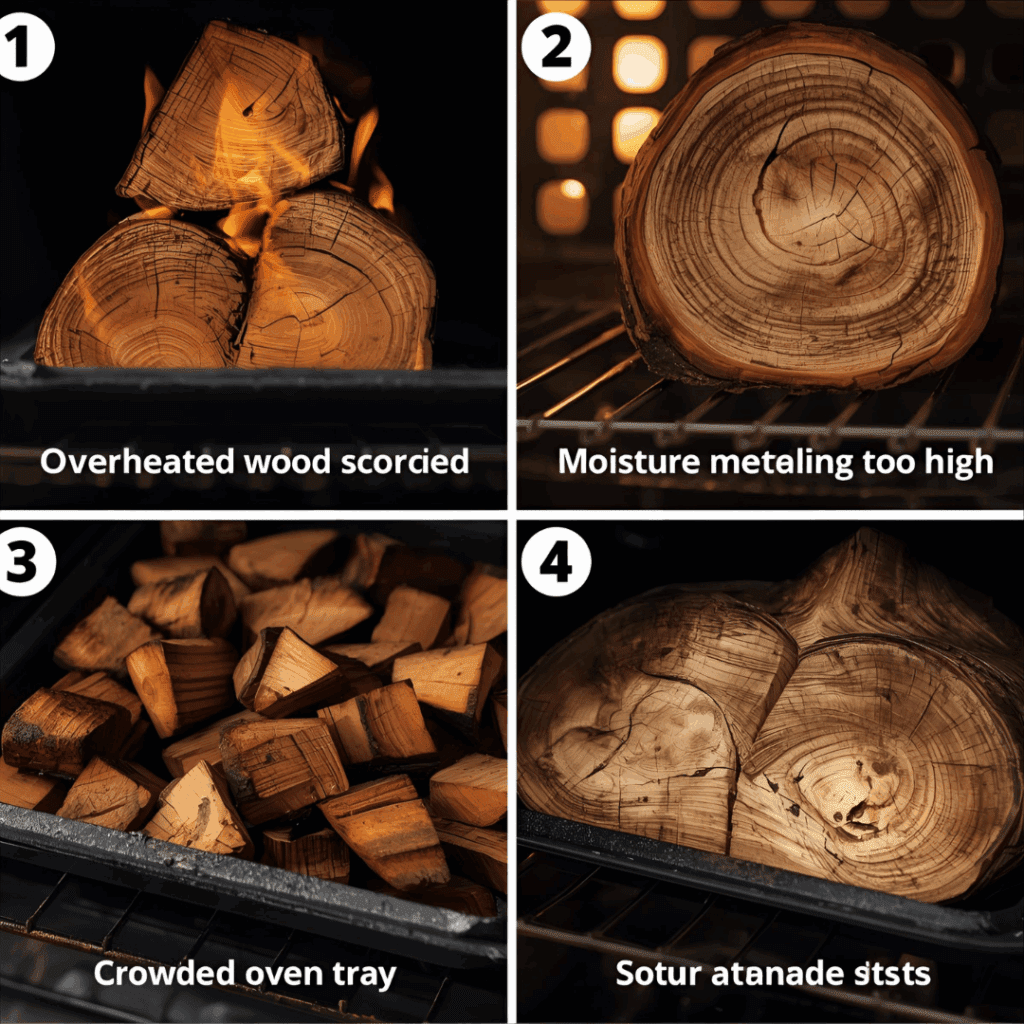
Common Mistakes to Avoid
Overheating – I once pushed a batch of cedar to 220°F to “speed things up.” The surface browned slightly, and the boards smelled burned. Lesson learned. Now I’d rather wait an extra hour than ruin the smell of my shop for a whole weekend.
Skipping the meter – Guessing doesn’t work. Some pieces look dry but are still wet inside. A $20 moisture meter saves projects that cost far more in time and materials.
Crowding the oven – Without airflow, some sides dry and others stay wet. I’ve ended up with boards that looked fine on one edge and were practically dripping on the other.
Rushing the cool down – Pulling hot wood straight into cold air can cause hairline cracks. It’s frustrating because the damage shows up hours later when you think you’re in the clear.
Alternatives to Oven Drying
Not every project suits drying wood in an oven. Here are other methods I’ve used:
Microwave Drying – For tiny blanks only. Use short bursts at low power.
Food Dehydrator – Surprisingly effective for thin craft wood.
Solar Kiln – A DIY setup with plywood and clear plastic. Slower but safer.
Air Drying – The classic method. Stack boards with spacers in a dry, airy place.
If you’re working on something bigger, like building a lean-to shed, air-dried or kiln-dried stock is the way to go.
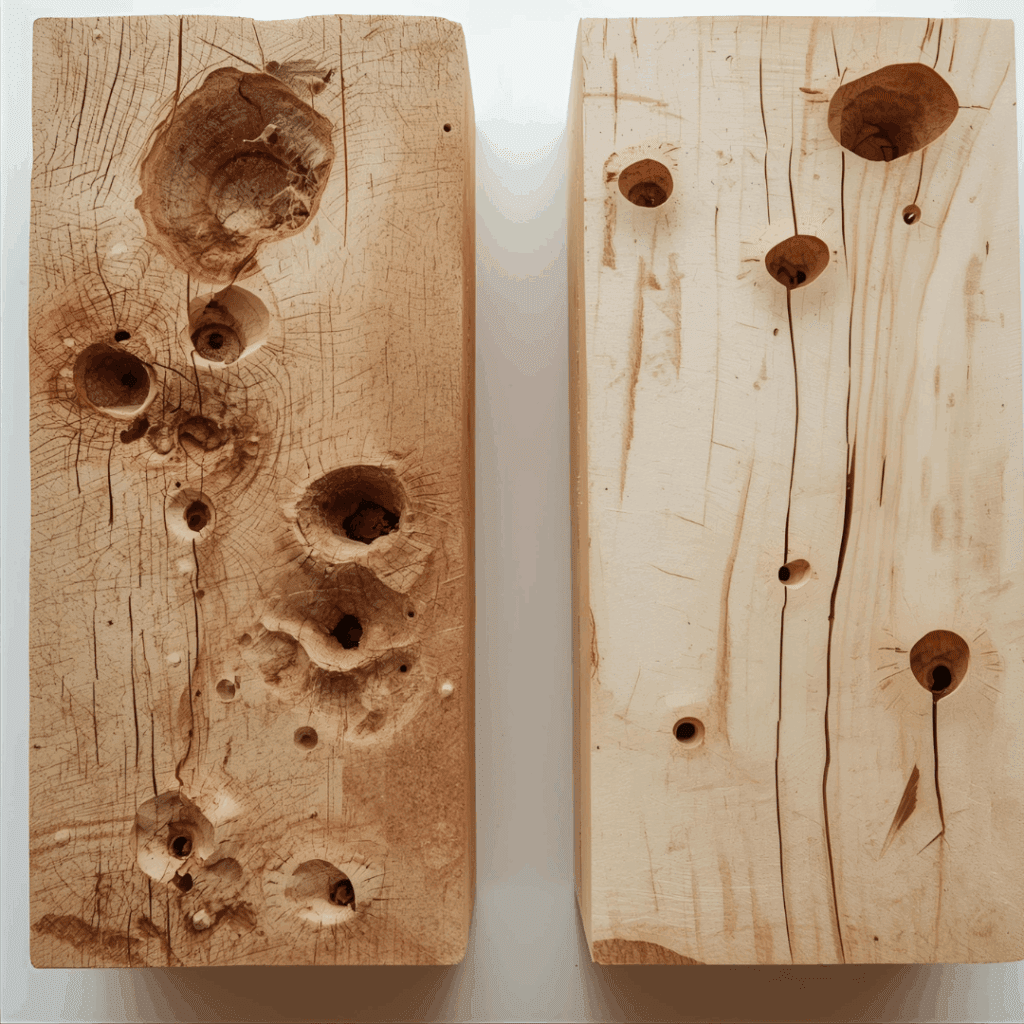
Does Oven Drying Kill Bugs?
In most cases, yes. Once the wood gets above about 130°F, bugs and larvae can’t really survive. I’ve thrown beetle-ridden logs into the oven before—after cutting them down into smaller pieces—and the chewing stopped for good. No more fresh dust piles under the boards, which was a relief.
The flip side? The whole house smelled like hot sap and smoke for a few hours. My family complained, but honestly, I preferred that over hearing bugs eating through my stockpile. Still, I wouldn’t bet my best lumber on it. Some eggs can be tucked so deep inside dense hardwood that the heat just doesn’t reach them. That’s why I always give the pieces a close look afterward and sometimes sand the surface just to be sure nothing is hiding out.
FAQs on Drying Wood in an Oven
Can you dry large lumber this way? No. Kitchen ovens aren’t safe for full-sized boards. Stick with small pieces.
How dry should the wood be? 6–9% for indoor projects, 10–15% for outdoor use.
Does it change the color of wood? If you keep the temperature low, no. At higher temps, resins may darken.
Can I cook food afterward? Yes, but don’t use the same trays or foil you used for wood. The oven itself cleans up fine after a self-clean cycle.
Drying wood in an oven won’t replace a lumberyard kiln, but for hobbyists, it’s a practical tool. I’ve used it for coasters, small boxes, turning blanks, and even craft sticks for my kids’ school projects. Each time, the key was patience: low heat, regular checks, and slow cooling.
If you ever find yourself staring at damp wood with a deadline looming, give the oven method a try. Just remember—it’s better suited for small batches than for big boards.
👉 Want to expand your woodworking know-how? Check out our guide on How to Bend Plywood for another technique that opens up creative possibilities.
How to Build a Cob Oven (Complete DIY Guide) by Admin May 12, 2025 DIY I was at a friend’s off-grid homestead a few summers back when I watched them pull a bubbling pizza from a dome of sculpted earth.…
Oven Base Cabinet: A Real DIY & Buying Guide by Admin September 23, 2025 Installing Why I Care About Oven Base Cabinets When I first decided to redo my kitchen, I figured cabinets were just boxes with doors. Easy, right?…


")
