If you’ve worked with plywood, you already know why it’s such a favorite in DIY projects. It’s tough, affordable, and surprisingly stable thanks to its layered construction. The alternating grain pattern in those layers helps balance out the stress from moisture, keeping it mostly flat and reliable.
That said, things can go sideways—especially when plywood gets soaked or stored in the wrong spot. Even though it’s built to resist warping, extreme moisture or long-term humidity differences can still make a good sheet go bad. Here’s how to handle it when that happens—and how to avoid it in the first place.
Before You Buy: Check the Wood
If you’re still at the store and you spot sheets that are bowed, cupped, or twisted, leave them behind. You’re paying for plywood’s famous dimensional stability—so don’t settle for less. Warped plywood at the store is a red flag.
Storing Plywood at Home
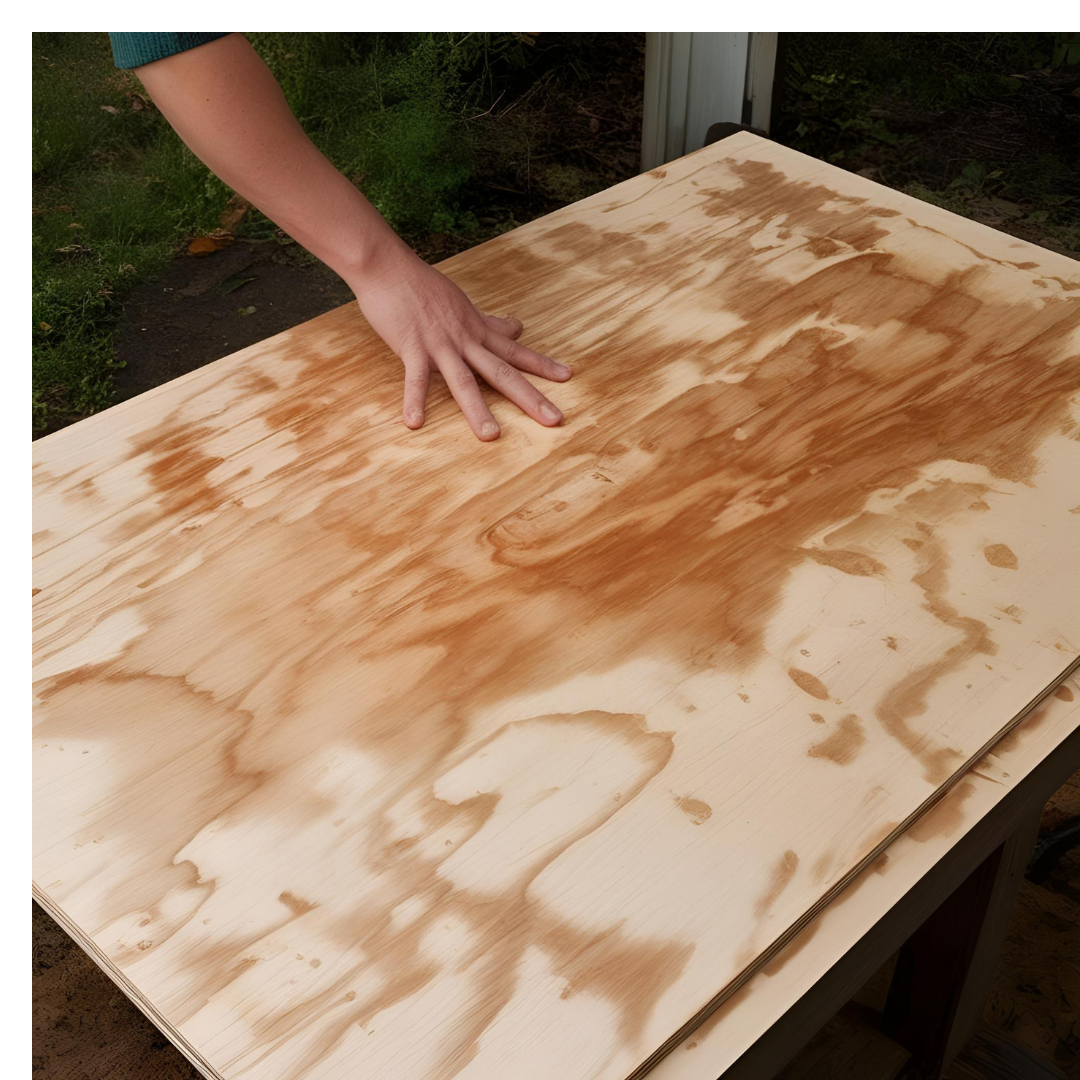
Now, let’s be real. We’ve all stored plywood in less-than-ideal spots—leaned against the garage wall, lying flat on the concrete floor, maybe even left it outside for “just a minute.” Next thing you know, one side is damp, the other is bone dry, and your nice flat sheet now has a curve to it.
To store plywood the right way:
Keep it off the floor—especially concrete.
If stacking multiple sheets, place thin spacers (called “stickers”) between each one to let air move around them.
If you have to store them vertically, make sure they’re elevated and supported evenly to prevent sagging or moisture damage.
Store it smart, and most minor warping will fix itself as the moisture levels even out.
How to Flatten Warped Plywood
So you’ve got a warped sheet already. Here’s what to do:
1. Dry It Out Slowly
Lay it flat in a shaded, dry area—not in direct sun. Put some weight on it—heavy boards, toolboxes, bricks, whatever you’ve got. This helps it flatten while it dries evenly.
2. Balance the Moisture
If one side is bowed out (convex) and the other side is dipped in (concave), that tells you something. The convex side soaked up too much moisture, and the concave side dried out. Mist the concave side lightly with water, then lay the board down with the convex side facing up so it can dry. Let nature (and a bit of patience) do the work.
3. Add Some Heat
If you’re in a rush, you can use heat to your advantage. Place a damp towel over the warped area and gently iron over it. The steam loosens the wood fibers, and the pressure helps flatten things out. Just go slow—too much heat or pressure can make things worse.
For small, stubborn pieces, clamping them down to a flat surface works wonders. Leave them clamped overnight, or even a full day or two if needed.
When Slight Warps Are OK
If you’re using full plywood sheets for subfloors, roofing, or wall sheathing, and you’re attaching them to joists or studs, a little cupping isn’t a big deal. The fasteners will pull the sheet flat as you go.
But if you’re cutting smaller pieces for something like a cabinet, drawer, or detailed trim work—get it flat first. Warped plywood won’t hold its shape after you cut it, and suddenly your piece won’t fit right.
Final Thoughts
Using slightly warped plywood isn’t always a deal-breaker. For big builds, it often straightens out on its own once it’s nailed or screwed down. But for smaller, precision work? Take the time to flatten it, or use a sheet that’s already good to go.
The key is knowing when it matters and when it doesn’t. With a little patience and the right storage habits, you can save both time and materials—and still end up with a great-looking result
🛠️ Quick Tips for Dealing with Wet and Warped Plywood Keep this handy when working with or storing plywood!
✅ What Causes Warping?
Uneven moisture on one side
Long-term exposure to humidity
Improper storage (especially on concrete)
🛒 Before You Buy
Inspect the plywood: Skip sheets that are bowed, cupped, or twisted.
Look for even grain and clean edges.
🏠 How to Store Plywood Properly
Store off the ground – use 2x4s or pallets.
Lay flat with spacers (“stickers”) between sheets to allow airflow.
If storing vertically, keep sheets upright and elevated, supported on the edge.
🧰 How to Fix Warped Plywood
1. Let It Dry Naturally
Lay flat in a dry, shaded place.
Put weight (like bricks or toolboxes) on top.
2. Rebalance the Moisture
Concave side = dry ➜ lightly mist with water.
Convex side = wet ➜ expose to air or dry environment.
Never leave one side exposed to moisture or sunlight.
Use sealant or primer if it will be exposed to the elements.
📎 Pro Tip: Don’t cut warped plywood for detailed work until it’s completely dry and flat—or your measurements will be off later.
Related Posts:
Can Plywood Get Wet? How to Dry Wet Plywood by Amy Reed March 30, 2023 Repairs Plywood is one of the most universal building materials on the market. It can be used for all kinds of construction – from roof building…