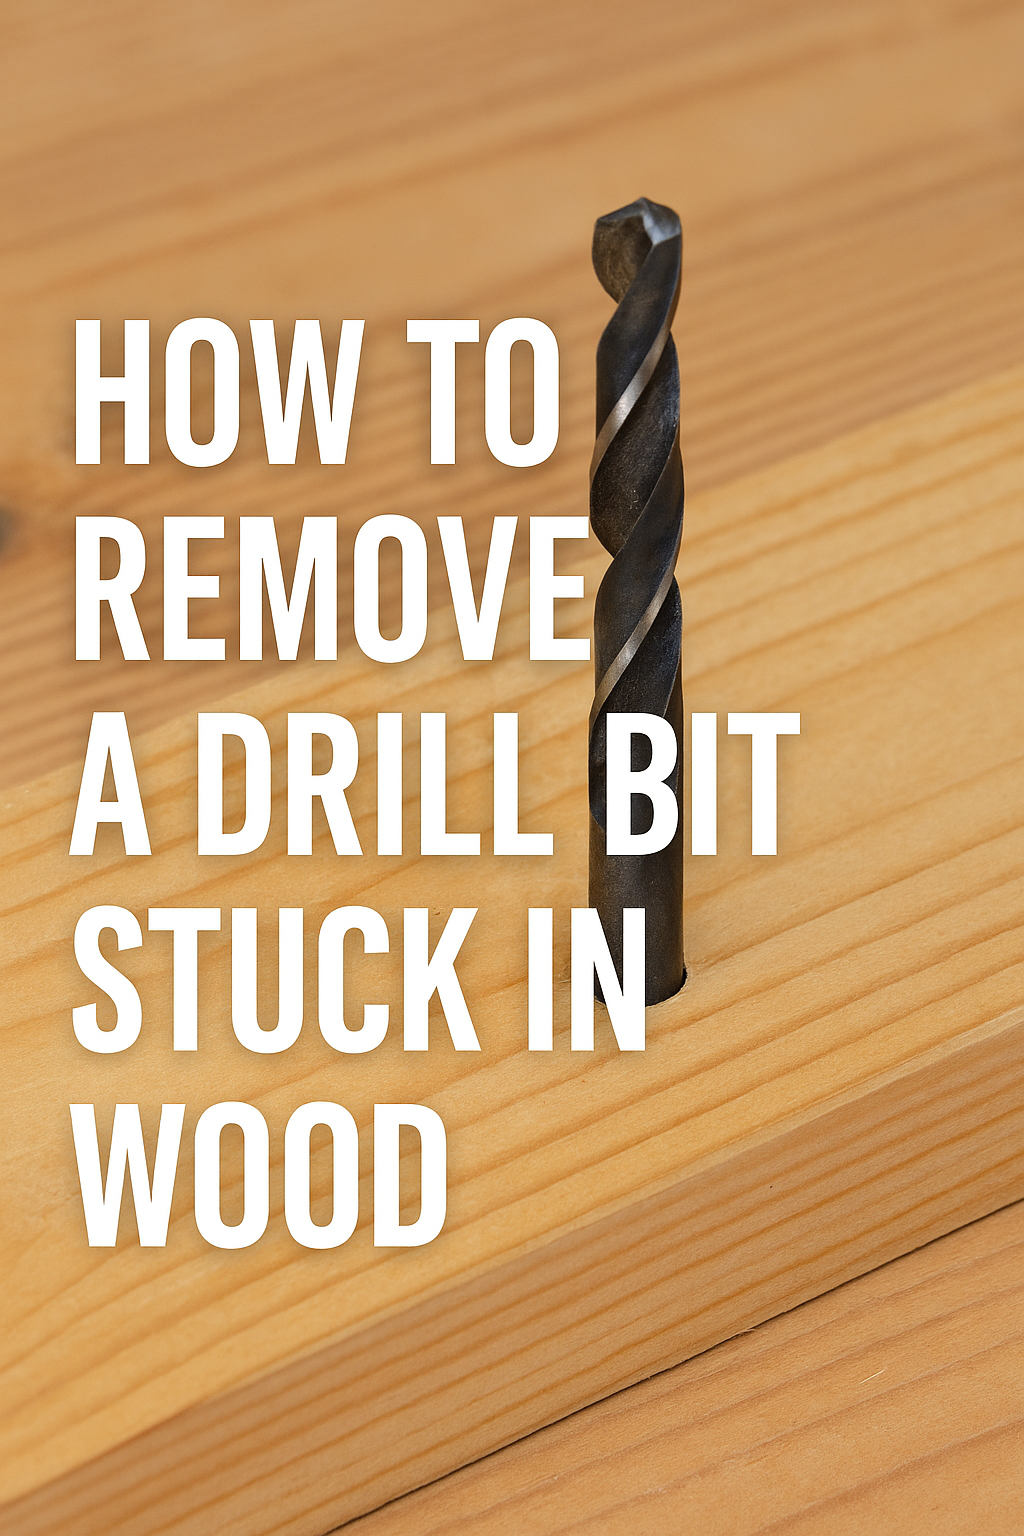
If you’ve ever drilled into a piece of wood only to feel that sickening “pop” as the bit jams and stays behind, you’re not alone. A stuck drill bit is frustrating, but there are safe ways to remove it without splintering your wood or wrecking your project.
In this hands-on guide, I’ll walk you through why drill bits get stuck, tools that make removal easier, and step-by-step methods I’ve personally used. Whether it’s a snapped bit, overheated bit, or one trapped by resin or pressure, this guide covers it all.
🧰 Common Causes of a Drill Bit Getting Stuck in Wood
Before jumping to solutions, let’s understand why bits get jammed in the first place:
Drilling too fast or with too much pressure
Hitting a knot or a hardwood pocket
A bit overheating and binding in resin-rich wood
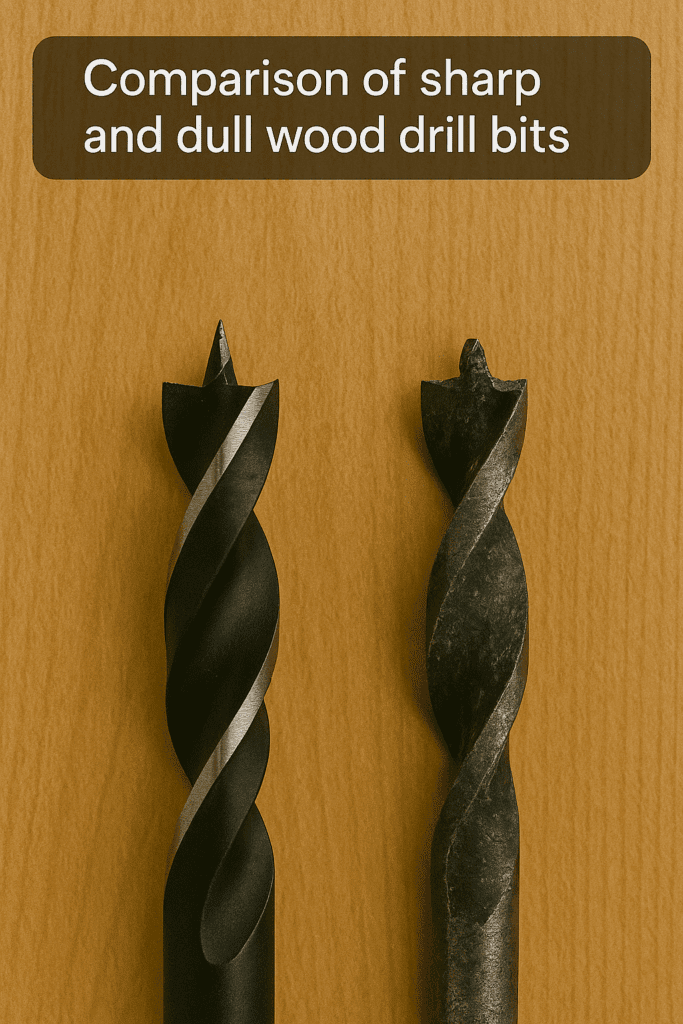
Using dull or incorrect bit types
Wood swelling or clamping the bit mid-drill
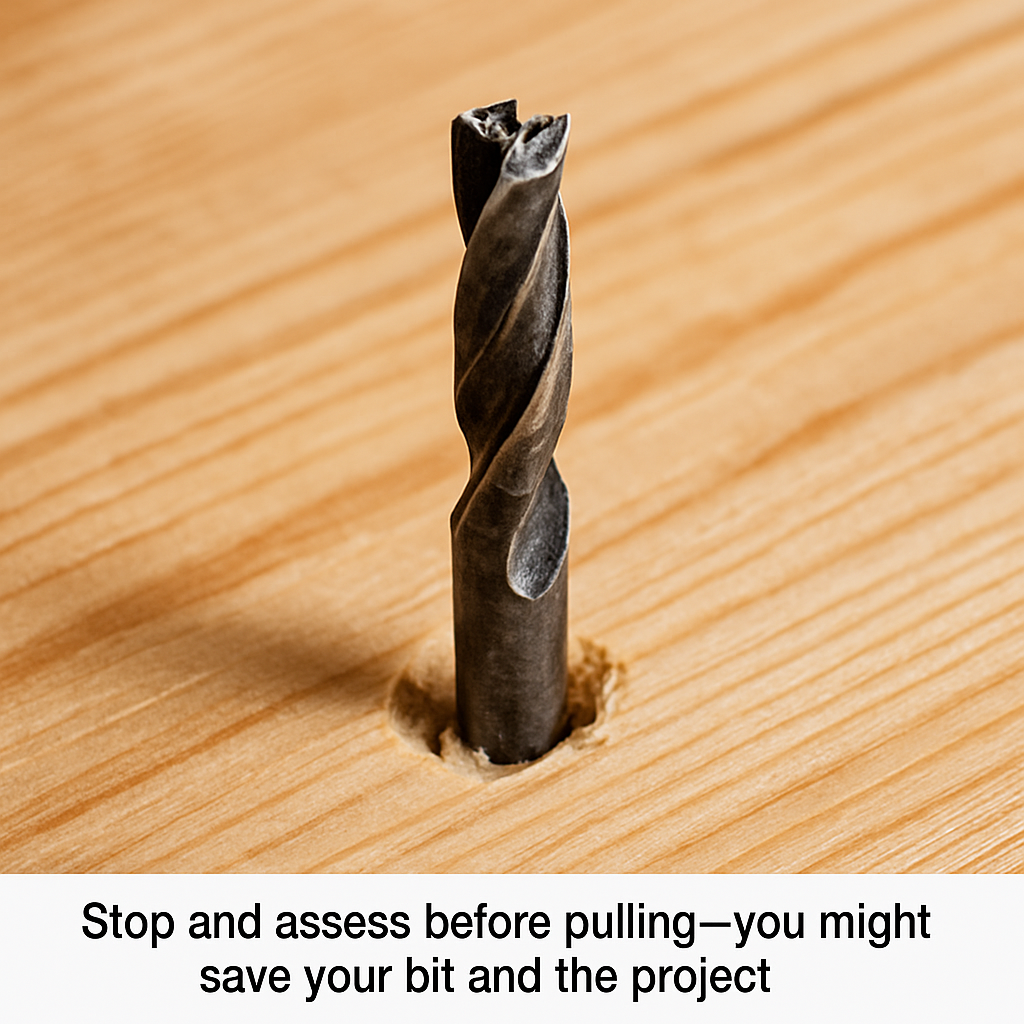
🔍 First, Assess the Situation
Before you grab pliers and yank, take a moment to check:
Is the bit snapped or whole?
Can you reverse the drill motor?
Is the wood project soft, hardwood, or resin-heavy?
Can you access the back side of the board?
Knowing the condition helps determine which removal method works best.
✅ Tools You Might Need (Affiliate Picks)
Here are the tools that have saved me on real job sites and weekend DIY projects:
🔧 What to Do If the Bit Snaps Off Below the Surface
One of the worst-case scenarios when drilling into wood is when the bit snaps off entirely and disappears below the surface. Now you can’t grab it with pliers, you can’t reverse it, and the wood looks perfectly fine on top—but inside, you’ve got a hardened steel wedge locked in place.
If this happens to you, don’t panic. I’ve dealt with this more than once, especially when drilling into old hardwood floor joists or resin-heavy woods like cedar. Here’s what’s worked for me:
Start with Visualization
Before grabbing tools, figure out exactly how deep and at what angle the bit is stuck. If you remember the original drilling angle, sketch it out. This helps with targeted extraction.
A small inspection mirror or flashlight can help you peek into the hole if the lighting isn’t ideal.
Use a Screw Extractor
This is your best friend when the bit is broken off inside. Here’s the process:
Choose a screw extractor smaller than the broken bit.
Use a nail punch or automatic center punch to make a dimple on the exposed end of the broken bit (if visible).
Drill a very shallow pilot hole into the center of the bit using a hardened bit—go slow!
Insert the extractor and turn counterclockwise by hand.
Most screw extractors have reverse threads that dig in as you turn. Eventually, they’ll catch and allow you to back the broken piece out.
Try the Glue Trick (Only for Shallow Bits)
If the bit snapped close to the surface and no extractor fits, try this surprisingly simple method:
Clean the hole with compressed air
Fill it with epoxy glue
Insert a thin metal rod or screw into the hole and let it cure
Gently twist the rod counterclockwise the next day
It’s not foolproof, but I’ve salvaged more than one piece this way, especially in softer woods like pine and fir.
Avoid Forcing It
This is key. Do not hammer, chisel, or pry at the wood. Doing so often causes splintering and damage far worse than the stuck bit. If the methods above don’t work, move to hole-saw extraction or consider patching and redrilling slightly offset.
This brings us to a final thought: sometimes, saving the project means sacrificing the bit. Drill bits are replaceable. Your cabinet face frame, custom tabletop, or joist isn’t. Choose your battles wisely.
🛠️Step-by-Step: How to Remove a Stuck Drill Bit
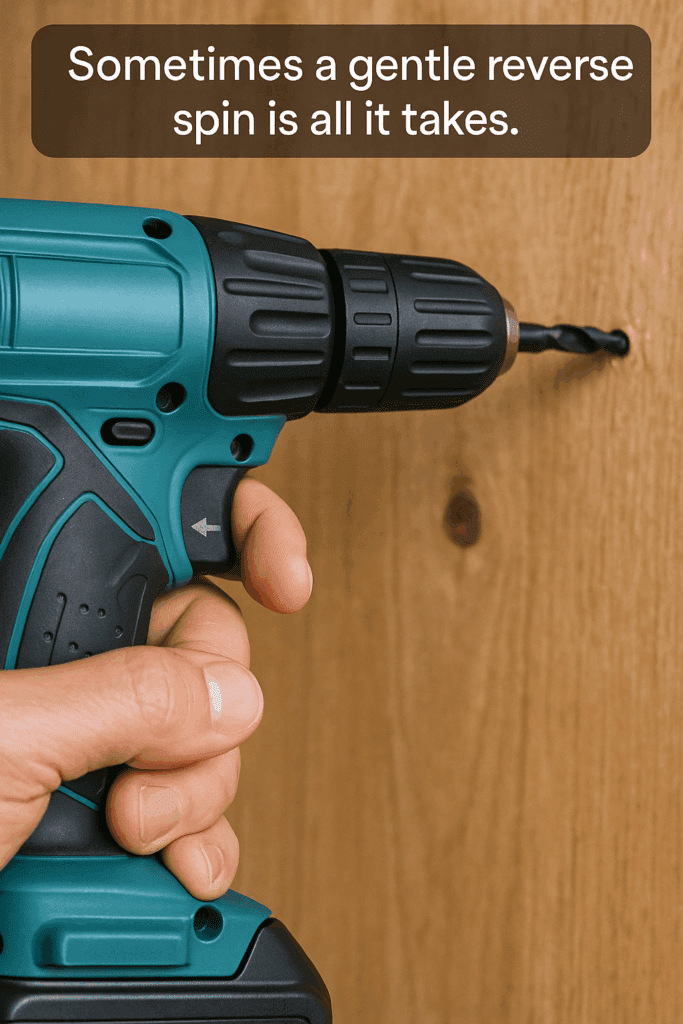
1. Try Reversing the Drill
Switch your drill to reverse and gently pulse the trigger. Avoid full speed—slow torque can release the bit without causing breakage.
Pro Tip: Apply light pressure inward while reversing to reduce vibration.
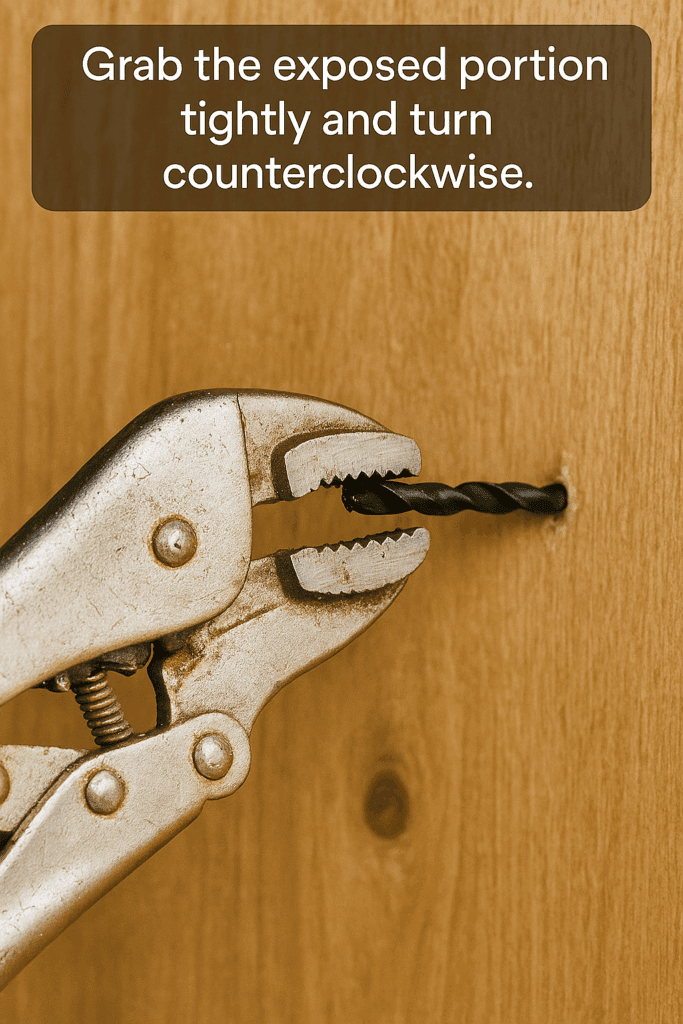
2. Grip It With Locking Pliers
If any portion of the bit is exposed, clamp locking pliers as close to the surface as possible. Slowly rotate the bit counterclockwise by hand.
Use a wood shim under the pliers to avoid damaging your work surface.
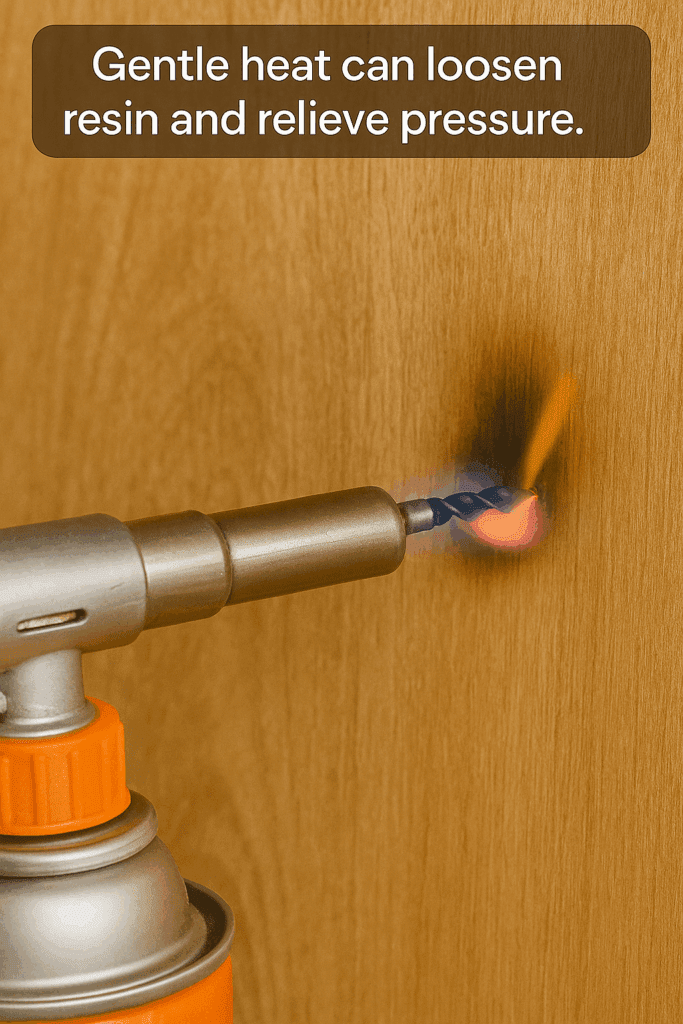
3. Heat the Surrounding Wood (Only if Safe)
Caution: Only use this method on scrap or non-flammable projects.
Lightly heat the area around the bit with a butane torch or heat gun. Resin softens, and trapped pressure may release the bit. Don’t burn the wood—30 seconds of indirect heat is usually enough.
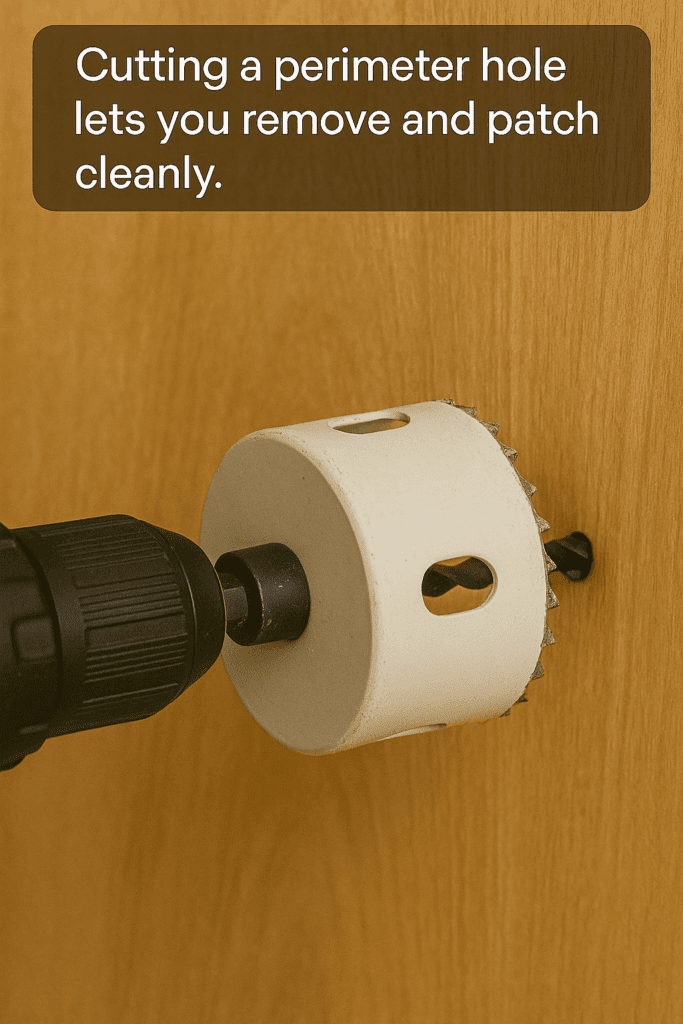
For deeply embedded bits, use a hole saw just wider than the bit diameter. Drill around the bit to remove a plug of wood, then extract the bit with pliers. Patch the hole afterward with a dowel or wood plug.
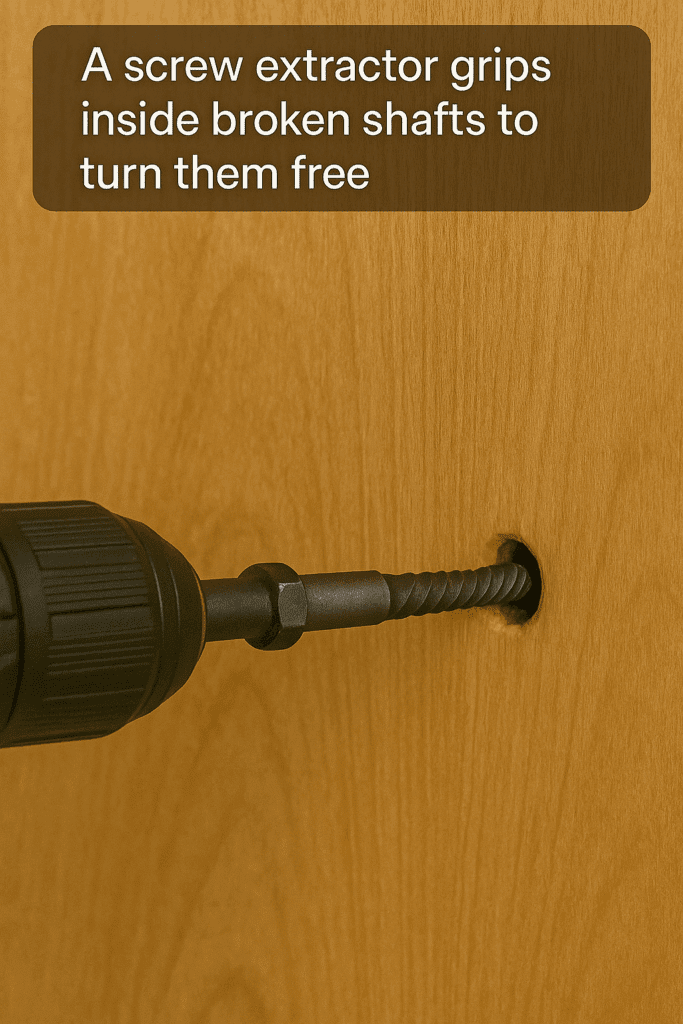
5. Use a Screw Extractor or Removal Tool
If the bit snapped below the surface, try a screw extractor.
Drill a small pilot hole into the stuck bit (if possible)
Insert the extractor and turn counterclockwise
Pull gently while turning
These tools are designed for a metal-on-metal grip and can usually back out even stubborn bits.
🪚 When to Walk Away and Redesign the Drill Point
Not every stuck drill bit has to be removed—sometimes the best solution is to walk away and rethink your approach. After all, your goal is a finished project, not revenge on a stubborn piece of steel.
This might sound counterintuitive, but hear me out. There are times when drilling another hole nearby, rerouting the fastener, or redesigning the joint is faster, cleaner, and less damaging than trying to dig out a deeply embedded bit.
Assess the Importance of the Hole
Ask yourself:
Is the hole structural or cosmetic?
Can it be moved slightly?
Is the bit in a location that will be covered by trim, hardware, or filler?
If the hole was meant for a dowel, pilot screw, or anchor and isn’t visible in the final build, a shifted hole ½” to the left won’t change anything—and might save the piece.
Use the Bit as a Built-in Anchor
Here’s a trick I’ve used on shop jigs and rustic builds: if the bit is stuck firmly and flush, you can leave it and glue over it. For example:
In fence posts or outdoor decks, the bit can act like rebar, adding strength.
In a hardwood dowel joint, I’ve drilled a second hole and driven the screw through both, treating the stuck bit as part of the hardware.
Just be sure to note where the metal is located so you don’t try to cut or drill through it later.
Fill and Re-drill Nearby
If you must move the hole, use wood glue, sawdust, or a dowel to fill the old one. Let it fully cure, then drill a fresh pilot hole nearby. This gives you a clean surface with no risk of the bit snapping again.
In cabinetry or decorative woodworking, where finish matters, patching with a dowel often hides better than putty.
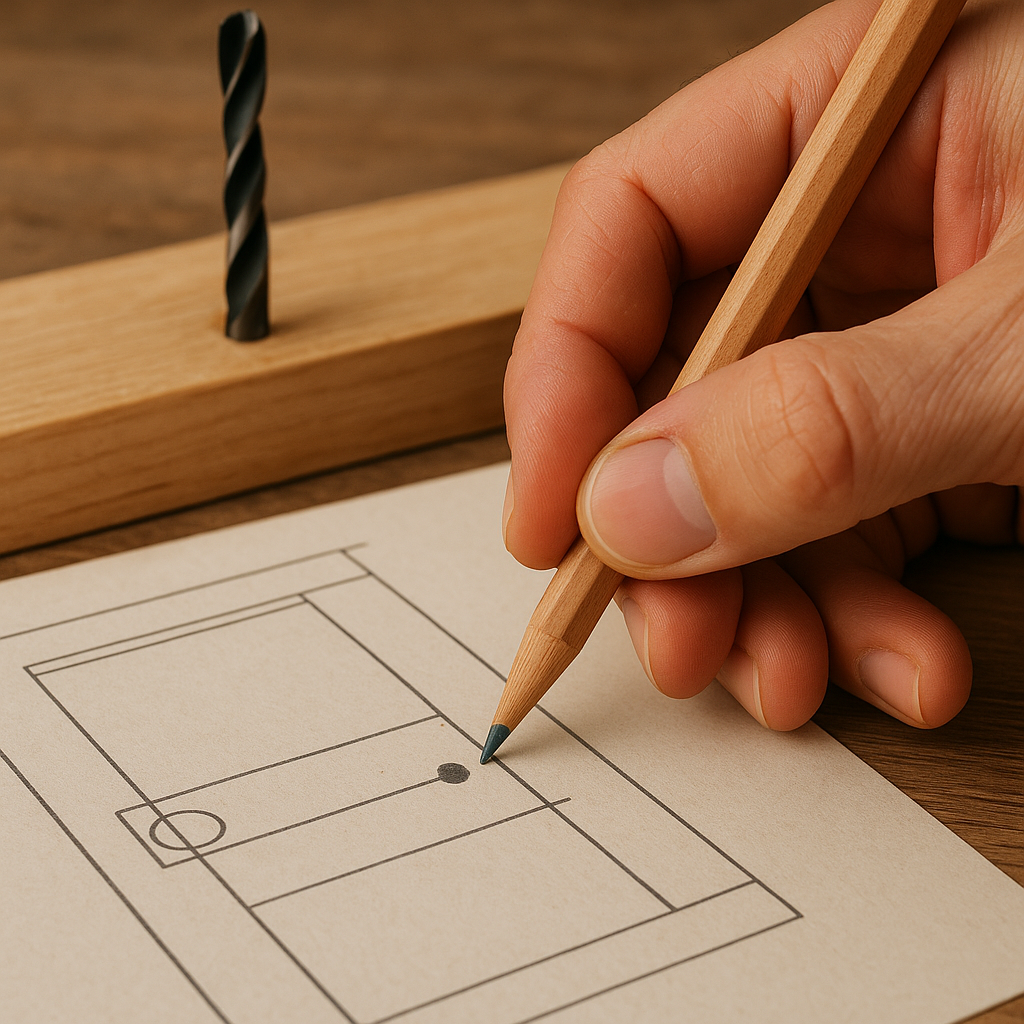
Final Tip: Mark the Trouble Spots
One habit I’ve picked up is marking wood that gives me trouble—knots, bits, cracks. A tiny dot of blue painter’s tape or pencil can prevent you from running into the same problem later in the build.
In short, know when to fight—and when to pivot. Woodworking is about working with the material, not forcing it to behave.
🧼 After Removal: Patch and Protect the Wood
Once you’ve got the bit out, inspect the damage. Depending on the depth and visibility:
No. Always turn off and unplug the drill before trying manual removal.
What if the bit is stuck in a wall stud?
Try hole-saw extraction, or access from the other side of the wall if possible. Then patch the drywall after.
🧱 Final Thoughts
Getting a drill bit stuck in wood isn’t a disaster—it’s a fixable frustration. With the right tools, steady hands, and a little patience, you can remove it without wrecking your project. And maybe even upgrade your toolkit while you’re at it.