Installing a shower pan is one of those jobs that looks intimidating at first but is absolutely doable if you take it step by step. A solid, well-installed shower pan keeps water where it belongs, protects your subfloor from rot, and gives your walls or tiles a stable base to rest on. In this guide, I’ll walk you through how to install a shower pan the right way—sharing the tools, techniques, and small tricks I’ve learned from real bathroom projects.
Whether you’re swapping out an old fiberglass base or starting a brand-new shower from scratch, these steps will help you get a professional, leak-free finish that will hold up for years.
Why Proper Shower Pan Installation Matters
Taking the time to install a shower pan correctly is the difference between a bathroom that lasts for decades and one that develops expensive problems down the road. A properly set pan does more than just hold water—it protects your entire bathroom structure. Here’s why it’s so important:
Stops Leaks Before They Start – A snug, well-sealed shower pan keeps water from sneaking into the subfloor or dripping down the walls.
Prevents Mold and Rot – Moisture trapped under your shower is a fast track to soft, rotting wood and unhealthy mold growth.
Gives Your Shower a Solid Base – Tile, stone, or acrylic walls all need a firm, level foundation to stay crack-free.
Keeps Water Flowing Where It Should – A correctly installed pan slopes toward the drain so water doesn’t pool or spill over.
Rushing through this step or skipping proper prep often ends with costly repairs, soggy subfloors, and mold remediation bills—issues that are much harder to fix than doing it right the first time.
Tools and Materials You’ll Need
Gather these items before you start. Most can be conveniently purchased on Amazon:
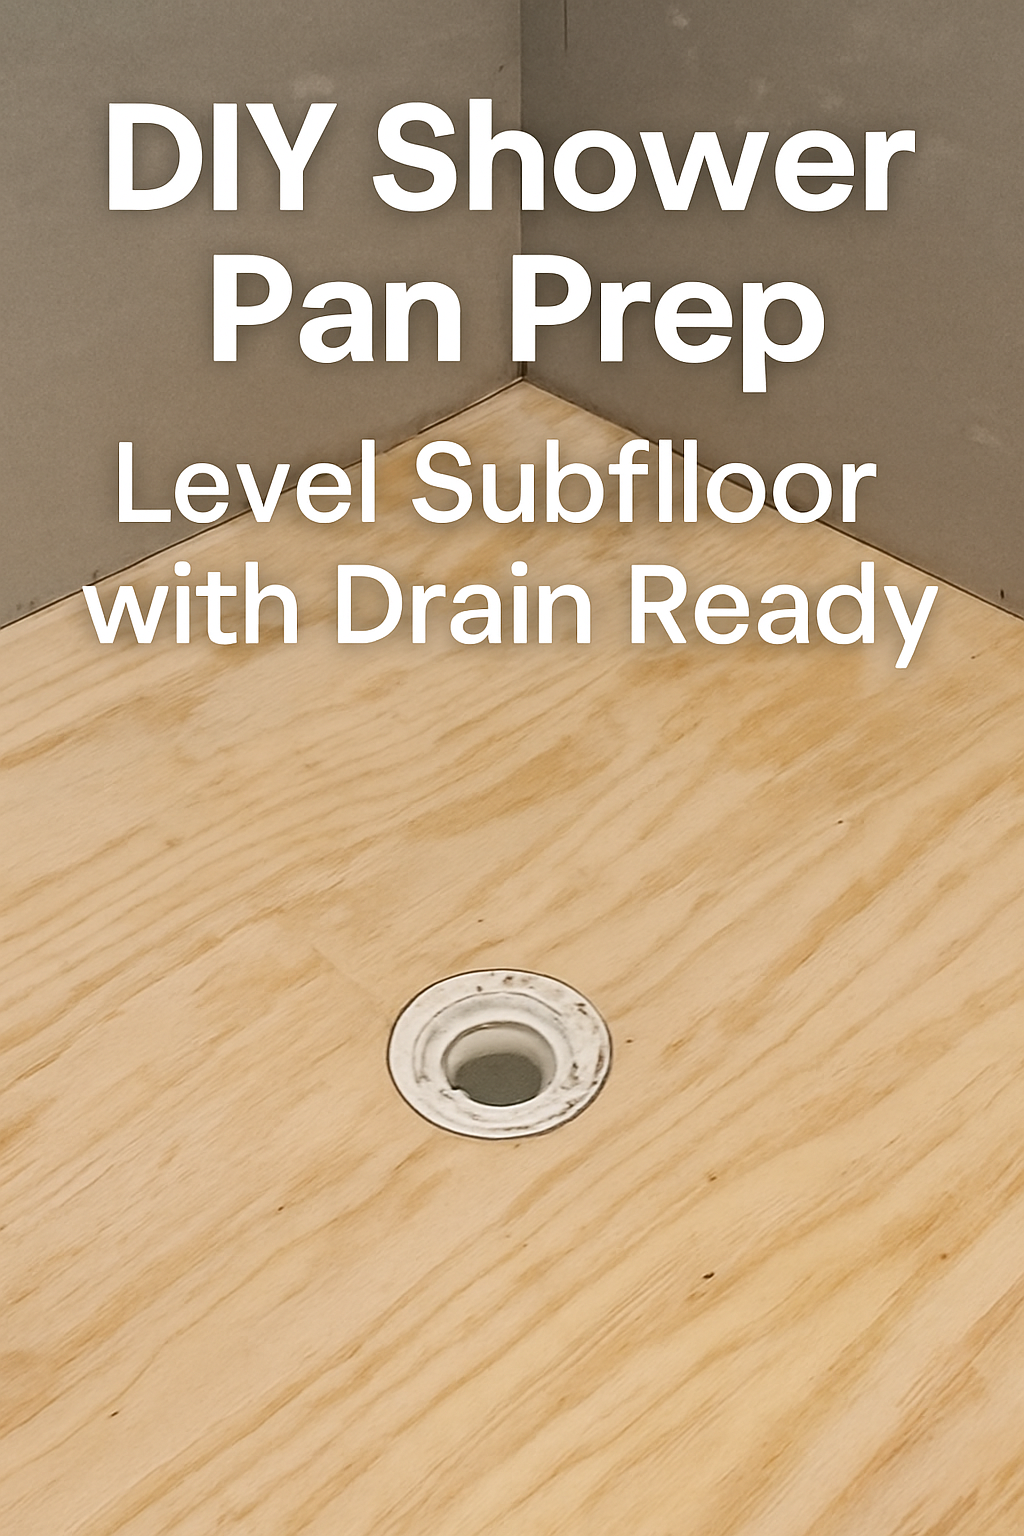
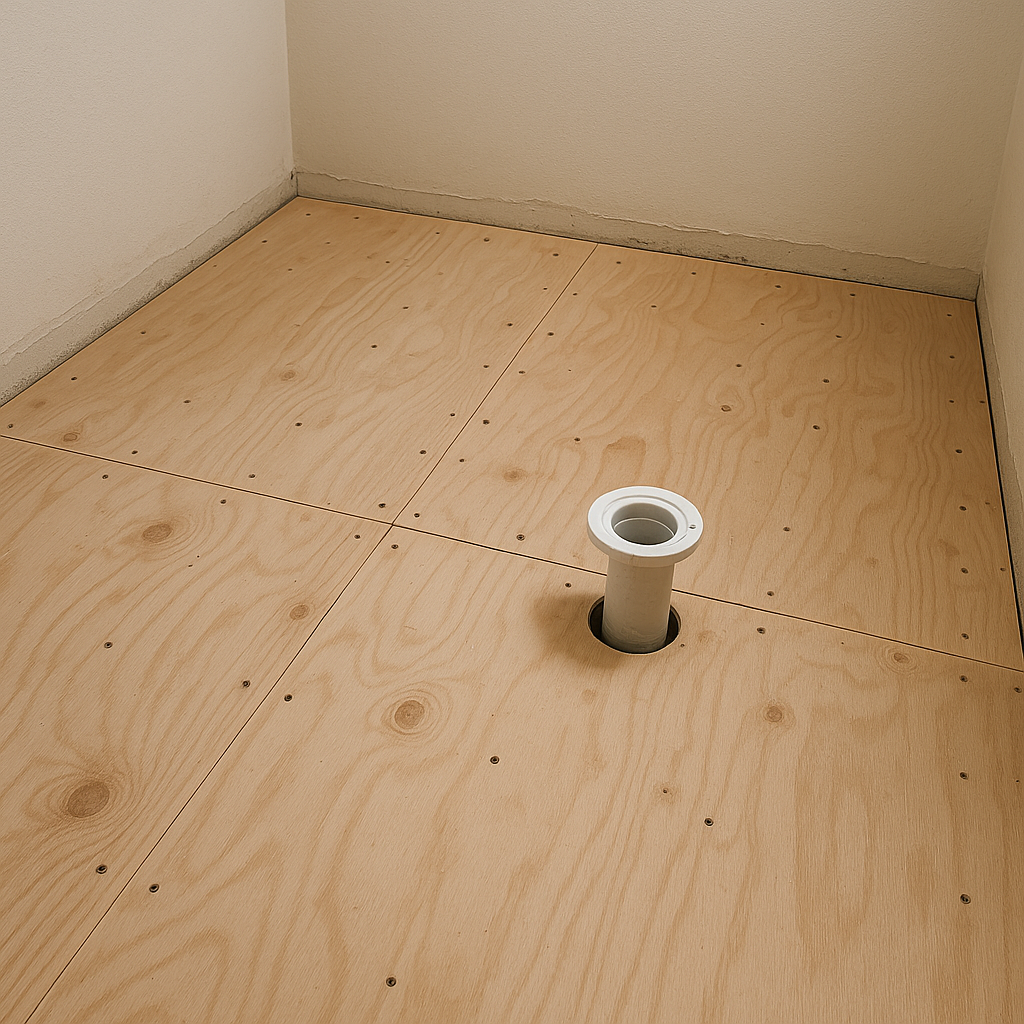
Before you even think about dropping in a shower pan, spend some time on the floor beneath it. If the subfloor isn’t rock-solid and perfectly level, the pan won’t sit right, and problems will follow—leaks, cracks, squeaks, you name it.
The first thing I do is tear the area down to the bare wood. Every old tile, vinyl strip, or scrap of underlayment must be removed. I keep a flat pry bar and a hammer handy because, depending on the age of the bathroom, you never know what layers you’ll find. Once everything is stripped, I walk the floor slowly, pressing with my heel in a few spots. If a section feels soft or hollow, that’s usually a sign water has already done some damage. I’ve had floors that looked fine but crumbled the moment I cut into them. If you find anything like that, replace it with new plywood. It’s extra work now, but it saves you from ripping out a whole shower later.
Once I’m confident the wood is solid, I check for level. I take a long carpenter’s level and lay it in every direction—front to back, side to side, and diagonally. A shower pan can’t tolerate uneven spots. If I find a dip, I’ll pour in a self-leveling compound and let it settle smoothly. For any high spots, a quick sanding or some careful planing evens things out.
When the floor is solid, level, and feels good underfoot, I give it a thorough cleanup. I sweep and vacuum everything—dust, wood chips, old nails—until it’s spotless. A clean, sturdy subfloor is the best insurance you have for a leak-free shower that lasts.
Step 2: Dry Fit the Shower Pan
I always do a dry fit before touching any mortar. It’s like a rehearsal—five minutes now can save you from tearing the whole thing out later.
First, I slide the pan into place slowly, watching that the edges don’t scrape the studs or catch on the plumbing. I talk to myself while doing it—a habit from too many solo projects. Once it’s sitting there, I immediately drop to one knee and check the drain alignment. I’ll press my head to the floor and look straight through the hole to the pipe. If it’s off by even a hair, I stop. A pan that’s misaligned here will drive you crazy later.
Then comes the level. I check front to back, side to side, and diagonally—every direction I can. Even if the pan feels steady, a wandering bubble can tell another story. If it’s off, I don’t hesitate to tweak things. Maybe a thin shim under a low corner, or sometimes I find a little ridge in the subfloor and knock it down with a sander.
When everything feels right—the pan doesn’t rock, the bubble is centered, and the drain lines up perfectly—I pull the pan back out and set it aside. At that point, I know the real install will go smoothly.
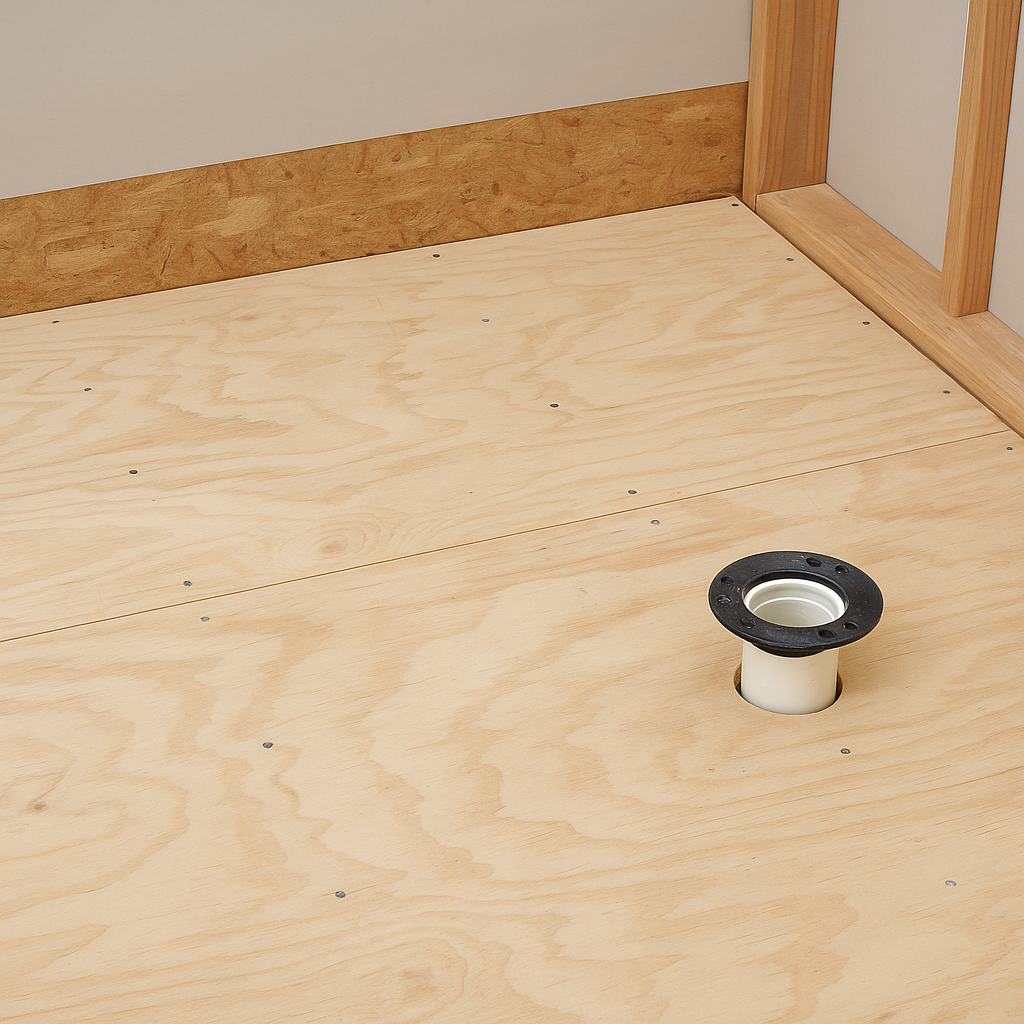
Before the pan is set for good, you want the drain ready to go. I like to get this part done on a workbench or a couple of sawhorses so I’m not hunched over the floor the whole time.
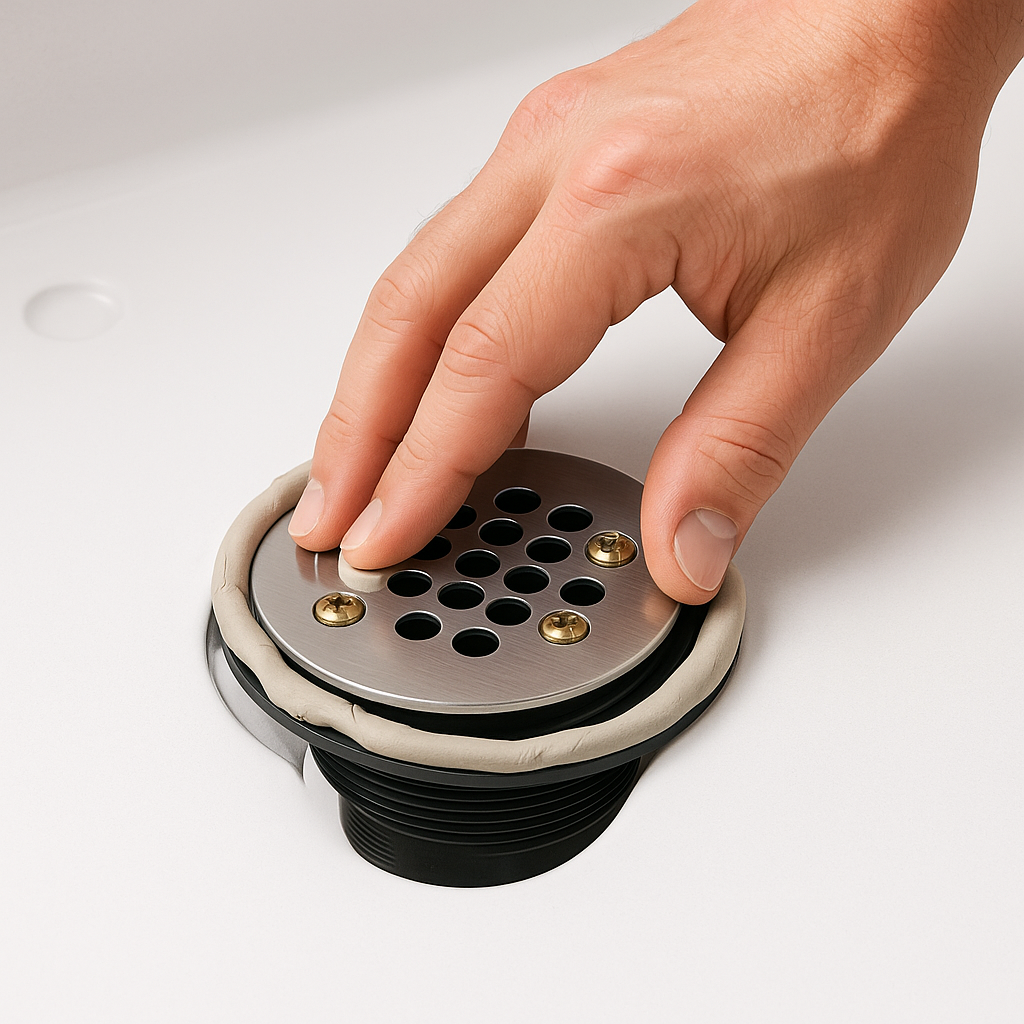
I start by inserting the drain into the pan’s hole. Most shower drains either use plumber’s putty or a rubber gasket, and I follow whatever the manufacturer calls for. Personally, I like to roll a little ring of plumber’s putty in my hands—it’s like Play-Doh—and press it under the drain flange. This seals out water once everything is tightened down.
After that, I thread on the locking nut from underneath. I tighten it firmly, but I don’t go overboard. If you wrench it too hard, you can crack the pan or twist the gasket out of place. The final connection to the home’s drain line comes later, after the pan is fully set in mortar, so for now, I just make sure the assembly is snug and lined up.
I also keep a rag nearby to wipe away any putty that squeezes out when tightening. It’s easier to clean now than after the mortar step.
If you want your shower pan to feel solid under your feet for the next ten years, the mortar bed is where that happens. I learned this the hard way on my first bathroom job—skipped the mortar, and the pan flexed every time I stepped in. Ended up tearing it out and starting over. Never again.
I start by mixing up the mortar in a five-gallon bucket. I don’t measure exactly—just pour in some water and mix until it feels right. It should be about the texture of thick peanut butter. Too soupy, and the pan slides around. Too dry, and it won’t bond. I’ll usually stop and check it with my trowel; if it clings without dripping, I’m good to go.
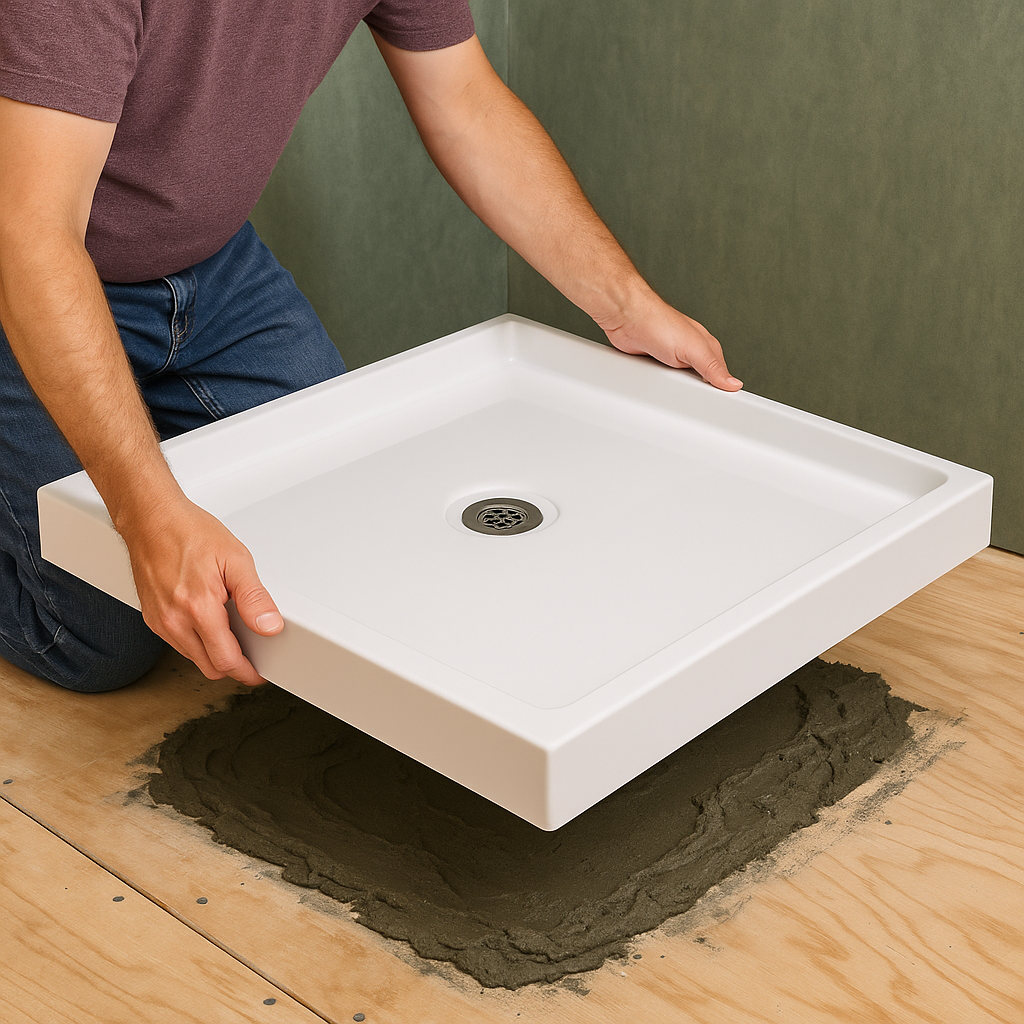
Then I spread the mortar across the subfloor where the pan will sit. I leave a clean space around the drain hole so nothing clogs it. I don’t worry about perfect lines—just an even bed that will grab the base. Sometimes I make it a little thicker in the middle because the weight of the pan presses everything flat anyway.
Setting the pan is slow and careful. I get the drain lined up first, then ease the rest down. If it’s a big pan, I grab a helper so we don’t twist it or drop a corner too hard. Once it’s resting in the mortar, I give it a little shuffle to make sure it’s seated.
Finally, I check the level in every direction. Front to back, side to side, and even diagonally. When that bubble is dead center, I know I did it right. Then I leave it alone to cure—no stepping in, no fiddling. A few hours later, it’ll feel like part of the floor.
Amazon product ideas:
Quikrete Floor Mud Mortar Mix
Goldblatt Notched Trowel
Bucket Mortar Mixer
Step 5: Set the Shower Pan
I always slow down for this step because once the pan touches the mortar, there’s no going back. I lift the pan carefully and hover it over the drain, lining it up before letting it down. Lowering it too fast can smear the mortar unevenly, so I just let it settle under its own weight.
When it’s in place, I step inside and gently shift my weight around to press it into the mortar. Usually, I can feel it settle a little more at the corners. Then I grab my level and check both directions. If it’s off even a bit, I make tiny adjustments by leaning or pressing lightly until it’s right.
Once the pan is level, I step out and leave it alone for the day. I don’t put tools or anything else on it. By the next morning, the mortar is firm, and the pan feels like part of the floor—solid and ready for the walls to go up.
Step 6: Connect the Drain to Plumbing
Once the pan is secure:
Access the drain from below or through a floor opening.
Connect the drain tailpiece to the P-trap with PVC or ABS glue.
Test for leaks by pouring a small amount of water.
Step 7: Secure the Shower Pan to Studs
Stabilize the pan and prevent movement:
Drive screws through the pan’s flange into wall studs.
Avoid overtightening to prevent cracking.
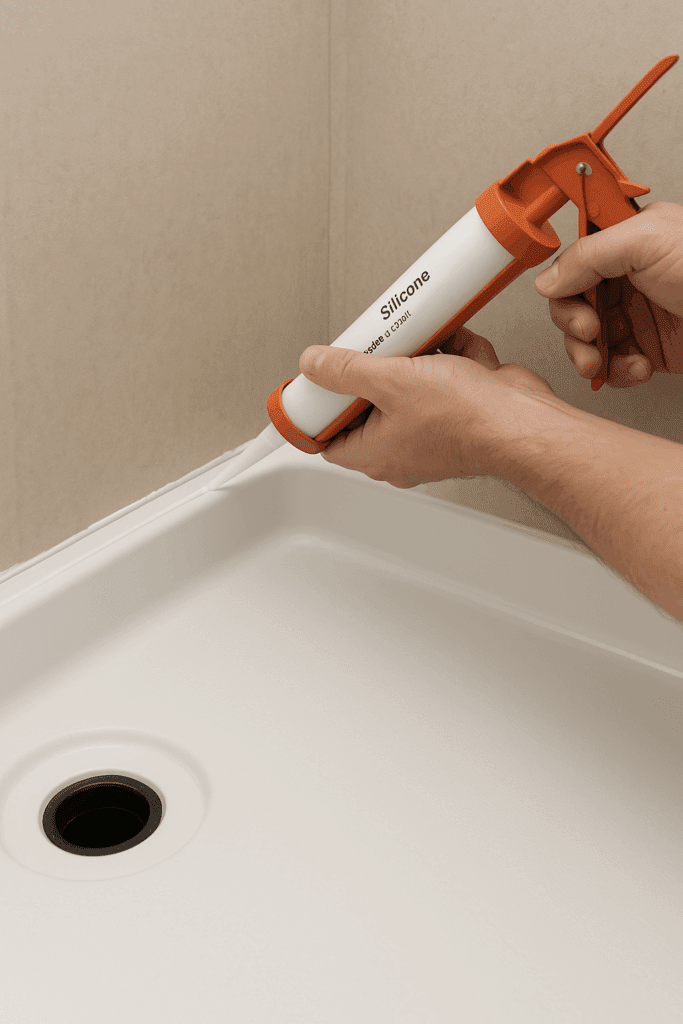
Seal along the flange with silicone caulk for moisture protection.
Skipping the mortar bed (leads to flexing and cracks)
Not verifying levelness (causes water pooling)
Poor drain sealing (results in leaks and subfloor damage)
Final Thoughts
I like to stand back for a moment when a shower pan is finally in place. If it sits flat, doesn’t shift when I press on it, and the drain feels snug, I know the hard part is over. That little check is my peace of mind before moving on.
The funny thing about jobs like this is how much the small details matter. A touch more mortar here, a gentle press along the edge there—it doesn’t take long, but it keeps water where it belongs. Skip those steps, and you’ll be fixing leaks before long.
If you’re ready for another project, I’d start with this one:
Go slow, trust the process, and let the work settle. Done carefully, that shower pan will do its job quietly for years without asking for attention.
Related Posts:
How to Install Door Trim (Step-by-Step DIY Guide) by Admin November 18, 2025 DIY Beginner-friendly instructions, real-world tips, and the tools I actually use. Installing door trim looks simple from a distance—just a little molding around the doorway, right?…
How to Install Mobile Home Skirting: A Simple DIY Guide by Admin March 17, 2025 DIY Skirting is an essential feature for mobile homes, offering protection, insulation, and a polished appearance. Skirting is a valuable investment whether you're looking for an…

")


")

