How to Make a DIY Epoxy River Table (Step-by-Step Guide)
Creating an epoxy river table may look like an expensive and complex project, but with some patience, the right materials, and a little effort, you can craft a stunning table at a fraction of the cost. This guide will walk you through the entire process step by step, including the tools and materials needed, setup, epoxy pouring, and final assembly.
Tools You’ll Need:
Heat gun
Drill
Sander
Level
Sawhorses or a sturdy workbench
Clamps (optional but useful)
Materials Required:
A sturdy table base (coffee table, dining table, or console table)
Two live-edge wood slabs (equal thickness, planed, and sanded)
Mineral spirits (for cleaning)
Clear epoxy resin and hardener
Translucent tinting pigment (blue, green, or aquamarine)
Polishing compound
Silicone adhesive
Plywood (to create a mold)
Plastic sheeting or a tarp
Screws (for building the mold)
Sandpaper (1000 grit or higher)
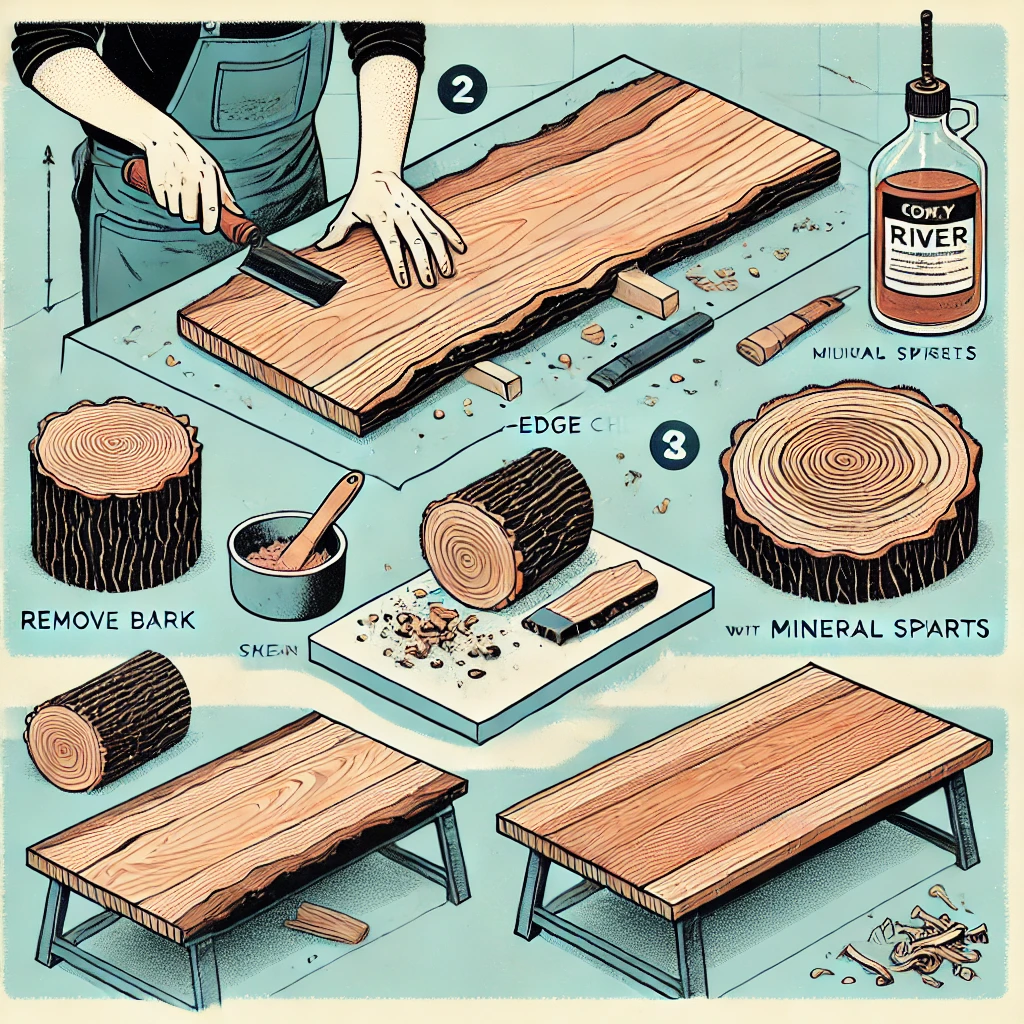
Step 1: Prepare the Wood Slabs
Remove all bark from the live-edge slabs using a chisel or sander.
Cut both slabs to the same length to ensure they fit your table base.
Sand the slabs thoroughly, starting with coarse sandpaper and moving to finer grits.
Use mineral spirits to clean the wood, removing dust and debris.
Allow the wood to dry completely before moving to the next step.
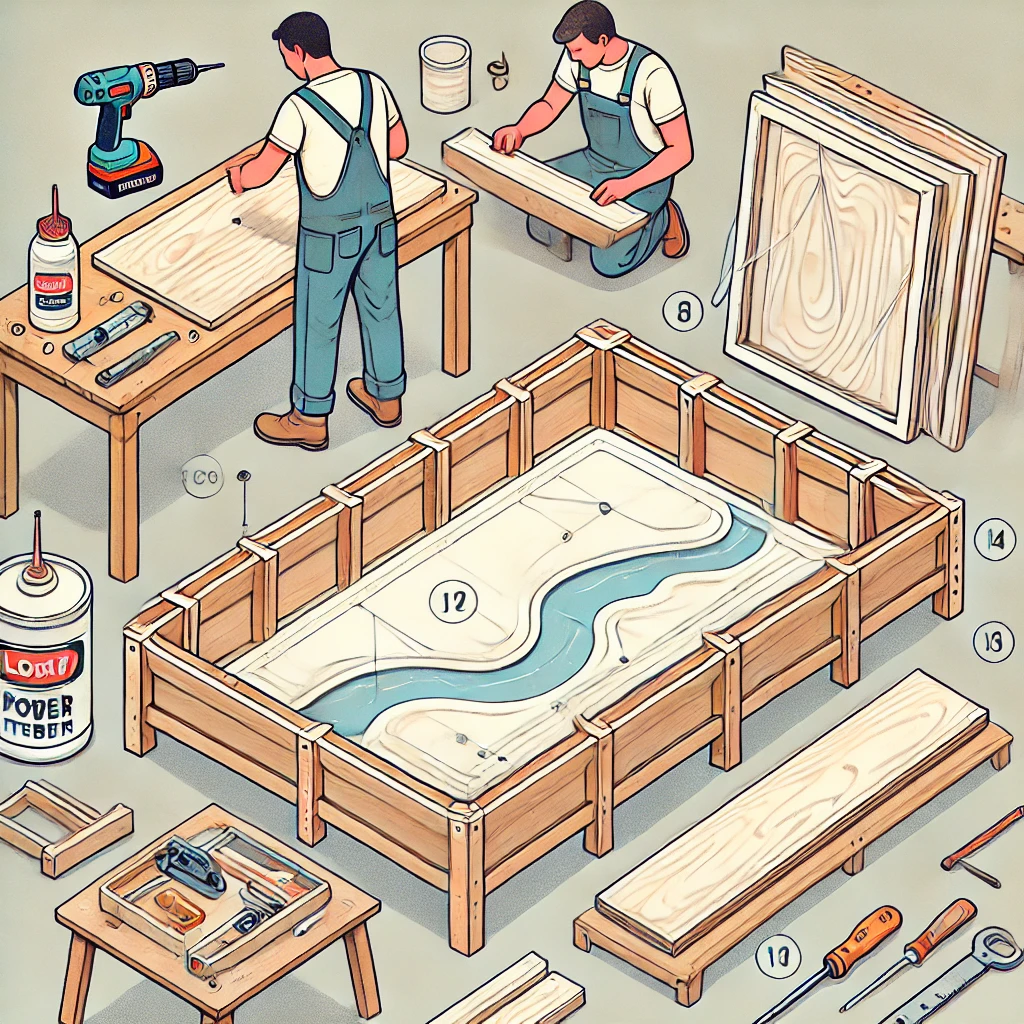
Step 2: Build the Epoxy Mold
Cut plywood panels to create a rectangular mold slightly larger than your tabletop size.
Assemble the mold using screws, ensuring all corners are tight.
Line the inside of the mold with plastic sheeting or tape to prevent epoxy from sticking.
Seal all joints and edges with silicone adhesive to avoid leaks.
Place the mold on a level surface and double-check alignment.
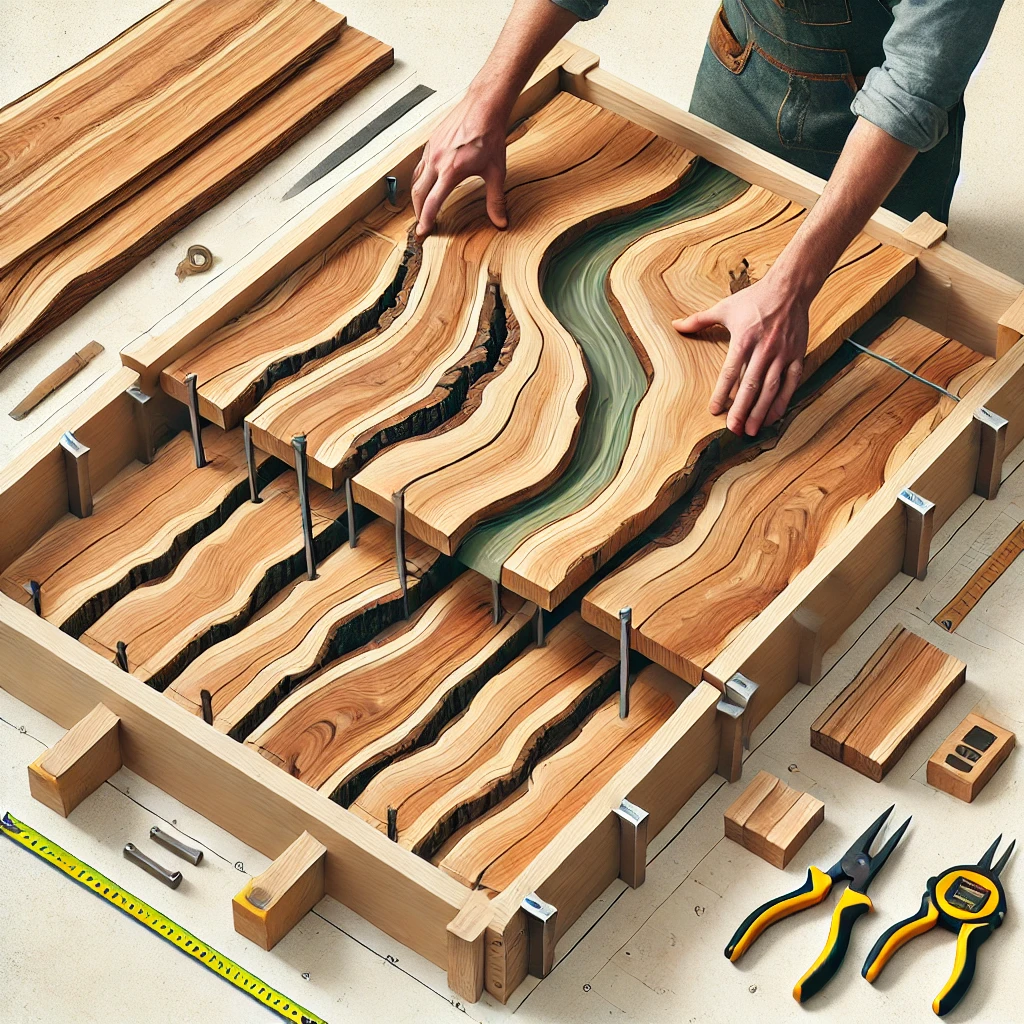
Step 3: Arrange and Secure the Wood
Position the wood slabs inside the mold with live edges facing inward.
Adjust spacing to create the river effect (broader or narrower based on preference).
Secure the slabs in place with clamps or small spacers to prevent movement.
Double-check alignment before proceeding.
Step 4: Prepare and Pour the Epoxy
Mix a small batch of clear epoxy resin (without pigment) according to the manufacturer’s instructions.
Brush a thin layer of this clear resin onto the wood slabs to seal them and prevent air bubbles.
Mix a new batch of epoxy and add pigment, stirring slowly to avoid bubbles.
Pour the first ¼-inch layer of epoxy into the river gap, ensuring even distribution.
Use a heat gun to remove bubbles by gently passing it over the surface (hold it at least 6 inches away).
Step 5: Build Up the Epoxy Layers
Allow the first layer to dry until a film forms on the surface (this may take several hours or overnight).
Mix another batch of pigmented epoxy and pour another ¼-inch layer.
Repeat the heat gun process to remove bubbles.
Continue layering until the epoxy slightly overfills the river gap.
Let the table cure for at least 72 hours before removing it from the mold.
Step 6: Remove the Table from the Mold
Unscrew and remove the sides of the mold carefully.
Gently lift out the tabletop.
Peel off the plastic sheeting or tape.
Inspect the tabletop for any imperfections before moving on to sanding.
Step 7: Sand and Polish the Surface
Use a sander to level the epoxy with the wood surface.
Start with medium-grit sandpaper and progress to finer grits (up to 1000 grit) for a smooth finish.
Apply a polishing compound and buff the surface to achieve a glossy, glass-like effect.
Step 8: Attach the Tabletop to the Base
Ensure the table base is clean, sturdy, and ready for installation.
Position the tabletop onto the base and check for alignment.
Secure the tabletop using screws or metal brackets.
If using clamps, place a soft cloth between the clamp and the table surface to avoid damage.
Make final adjustments to ensure stability.
Final Step: Enjoy Your New River Table!
Congratulations! Your custom epoxy river table is complete. Take photos, show off your masterpiece, and enjoy the satisfaction of creating something unique and beautiful.
Due to epoxy curing times, this project may take over a week to complete, but the result is a one-of-a-kind, handcrafted river table that will be a stunning addition to any space.


")