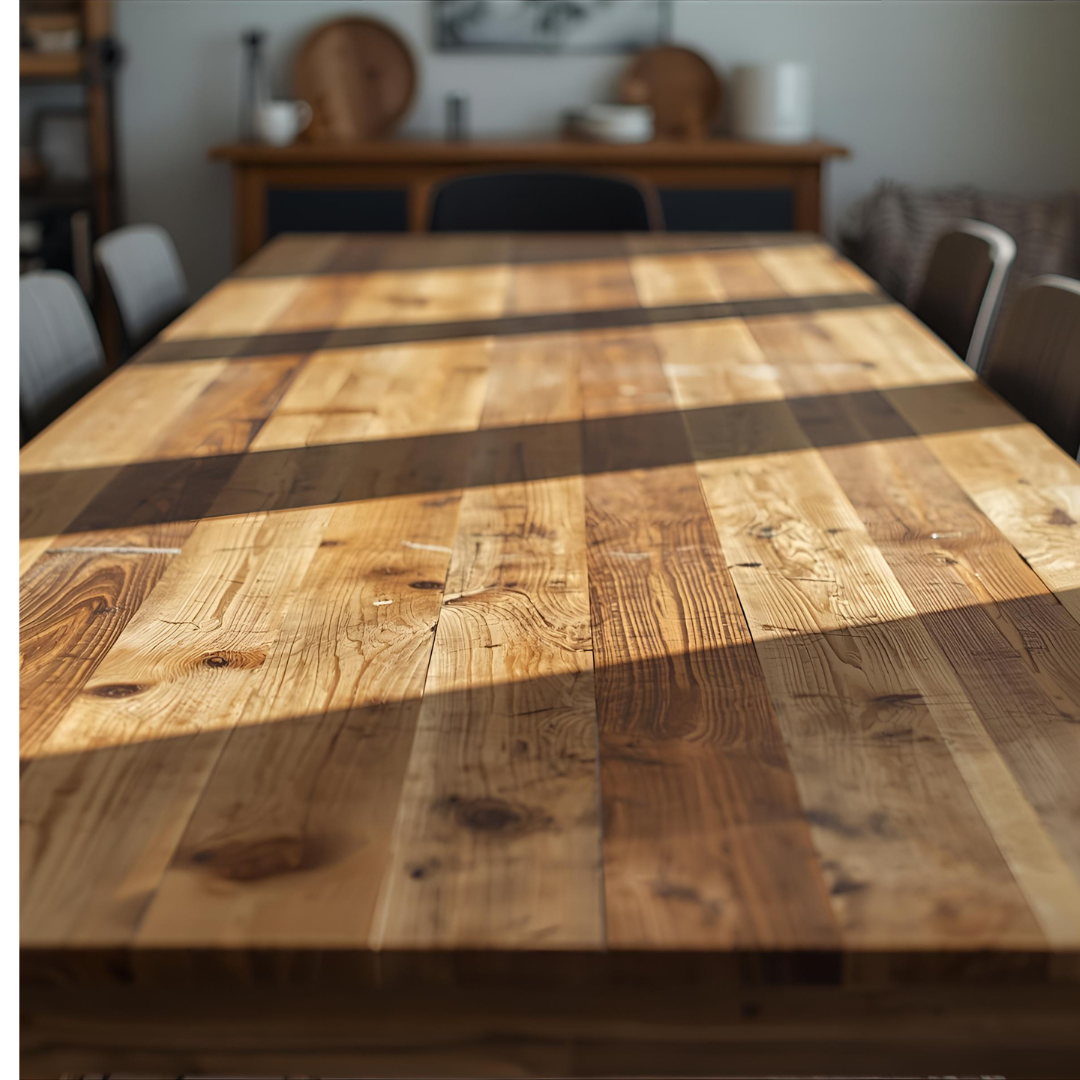
Whether it’s a pesky white ring, a heat stain, or a deep scratch, knowing how to remove marks from a wood table can save you hundreds of dollars in restoration costs. In this guide, you’ll learn simple, proven ways to remove marks from wood tables using household ingredients — from vinegar and oil to hair dryers and sandpaper.
Key phrase: remove marks from wood table — make sure to apply these methods carefully and test in a discreet spot first.
Why Do Marks Appear — and How to Remove Marks from a Wood Table the Right Way
Before jumping into removal methods, it’s helpful to understand why these blemishes appear in the first place. That way, you can address both the damage and the cause, which means fewer repeat problems.
1. Surface finish compromised
Most wood tables have a protective finish (varnish, lacquer, shellac, or oil finish) that creates a barrier. Once moisture, heat, or abrasion gets past it, the raw or unfinished wood beneath becomes vulnerable. According to furniture restoration principles, “finishing … gives wood surfaces desirable characteristics, including enhanced appearance and increased resistance to moisture and other environmental agents.”
2. Moisture/condensation
Cold glasses, hot dishes, or spills can leave white rings or cloudy marks where water (or steam) penetrates into or under the finish. These stains often appear white because the finish trapped moisture between it and the wood. (See guide from Better Homes & Gardens.)
3. Heat or steam
Direct contact with a hot pan or a steam iron (used carelessly) can cause similar white or dark stains. The heat causes the finish to react and moisture to be forced into the wood. One source calls it “heat stains or burns” from wood.
4. Abrasion/scratches/scuffs
Frequent use, sliding items across the table, kids’ crafts, or homework can lead to light scratches, scuffs, or dull spots. Over time, these mark the surface finish. For example, a care-guide notes that “Most light or surface scratches can be removed by lightly sanding … always sand in the direction of the grain.”
5. Sunlight/fading
Prolonged exposure to sunlight may cause bleaching or discoloration — certain areas may lighten or darken, leading to uneven appearance.
6. Penetration / deep stains
If a spill or stain goes through the finish into the wood (for example, dark rings, ink, red wine), then removal becomes more intensive (refinishing may be required).
Bottom line: Many marks are superficial and fixable, but the sooner you act, the better. If the table is heavily damaged or has veneer that’s peeling, you may need to refinish.
Types of Marks & What To Use
Each type of stain requires a slightly different approach if you want to remove marks from a wood table without damaging the finish.
Here’s a breakdown of the common kinds of marks you’ll encounter on a wood table, and which method or combination to use for each.
Type of Mark
Visual Appearance
Best Approach
White rings/cloudy marks (moisture/condensation)
White, hazy spots or rings — often where a cold glass sat
White or dark blotches from hot dishes, iron, and steam
Heat marks
White or dark blotches from hot dishes, iron, steam
Similar to white stain methods, but may require light sanding or refinishing.
Food/spill stains
Pigmented stains (tomato sauce, coffee) or greasy marks
Use cleaning/paste methods to lift, then reseal.
Scratches & scuffs
Uneven color, lighter patches where the sun hits
Use scratch/hide methods (markers, fillers) or sanding.
Sun-bleached/discolored areas
Surface lines, dull patches, and finishes are visibly worn
Re-stain or blend, reseal.
Deep stains/penetration
Use gentle heat/moisture removal; DIY home remedies first.
Dark brown or black spots, the finish has failed
Step-By-Step: Removing Marks from Your Wood Table
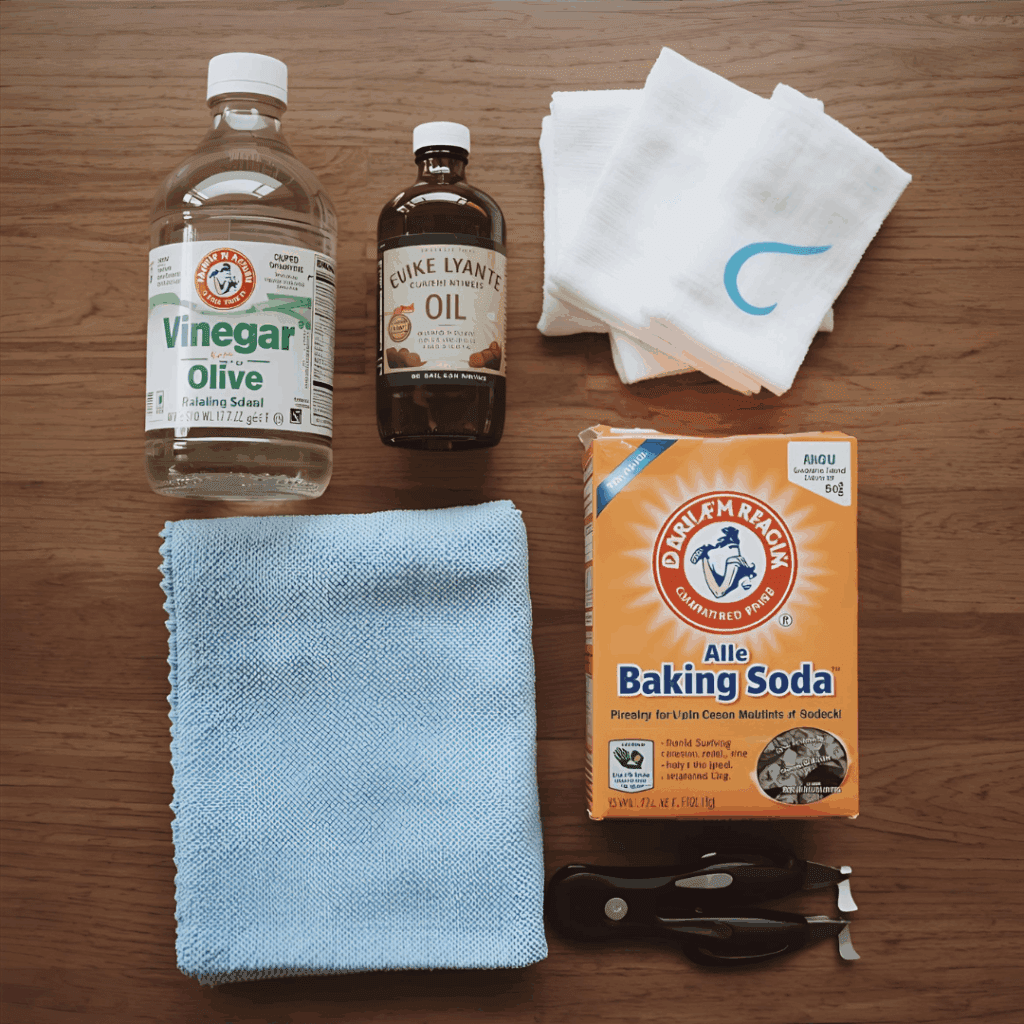
Supplies You Might Need
Before you begin, gather these items:
Soft microfiber cloths
Gentle dish soap & warm water
White vinegar, olive oil (or vegetable oil)
Baking soda & water paste
Hairdryer or clothes iron (no steam) for moisture marks
Use protective gloves & good ventilation when using more aggressive products.
1. Remove Light Surface Dirt & Dust
Before treating any marks, make sure your table is clean — dust and grime can interfere with the finishing process. Use a slightly damp cloth with a drop of dish soap, wipe gently, and dry thoroughly. Avoid soaking the wood.
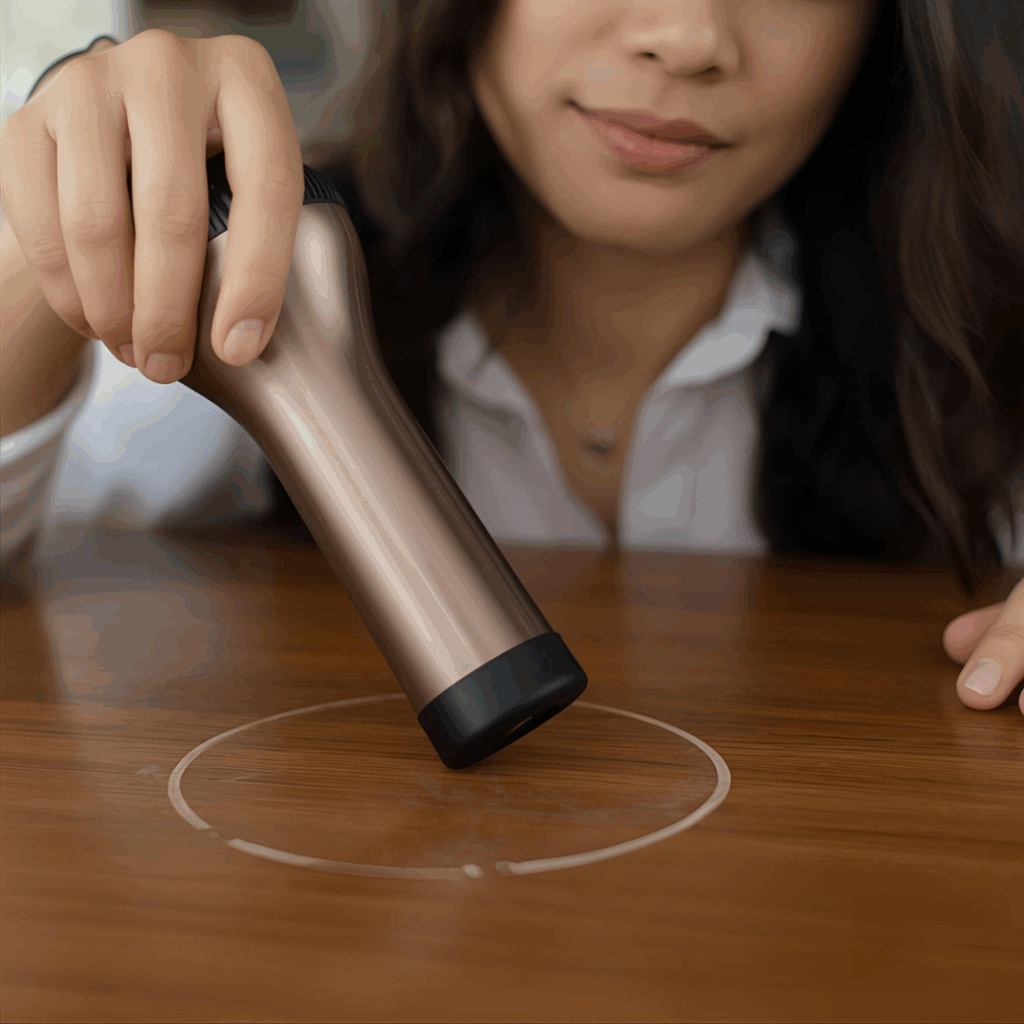
2. Tackling White Rings / Moisture Marks
One of the most effective and safe ways to remove marks from a wooden table caused by moisture is the hair-dryer method.
Method A: Hair Dryer / Low Heat
Set a hair-dryer to medium heat (no steam).
Hold it about 6–10 inches above the mark and sweep side-to-side for ~1-2 minutes.
Wipe with a dry cloth; you should see the white ring fading as moisture evaporates.
Repeat until the mark diminishes. This method is advised in several DIY guides.
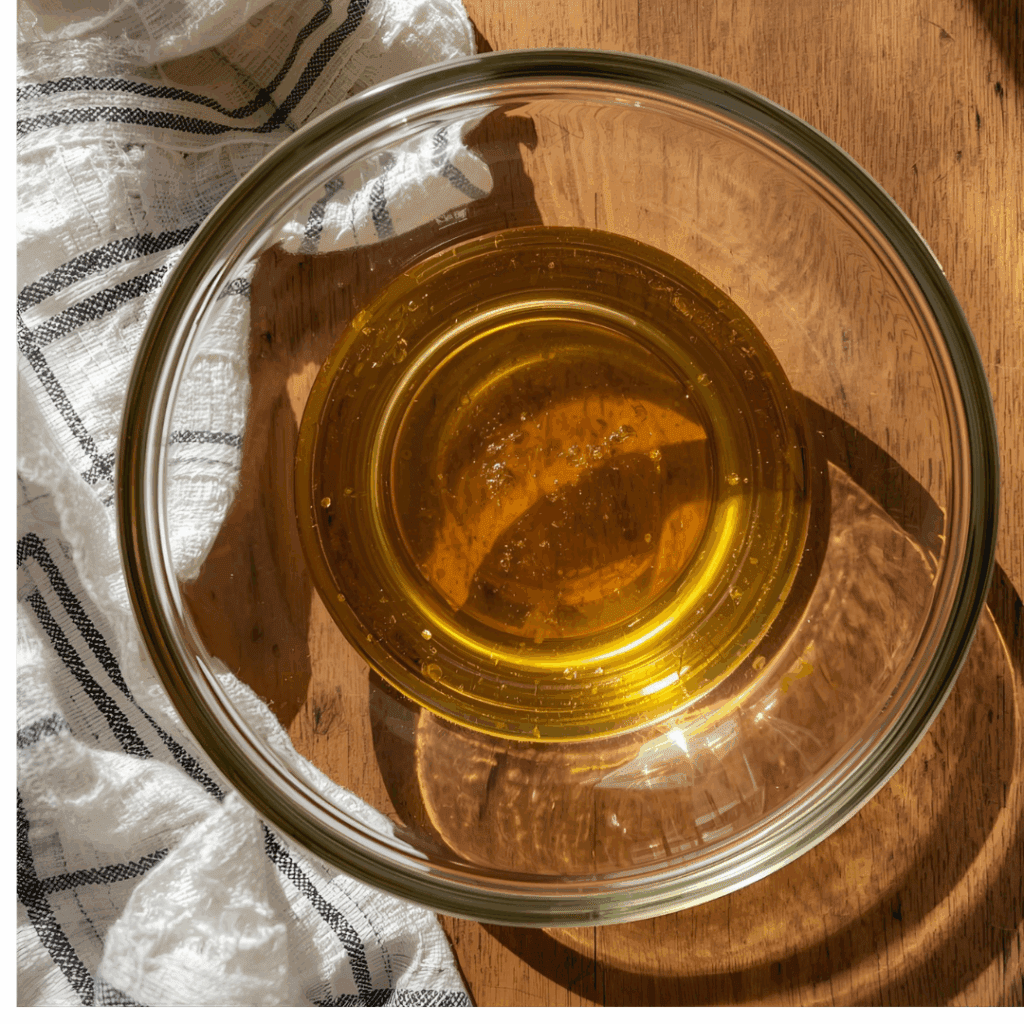
Method B: Vinegar & Olive Oil Mix
Mix equal parts white vinegar and olive oil. The vinegar helps lift the stain; the oil helps recondition the wood.
Soak a cotton rag (well-wrung) in the mix. Apply it over the marked area, and rub gently in the direction of the grain.
Let it sit for a couple of minutes, then wipe off with a clean rag.
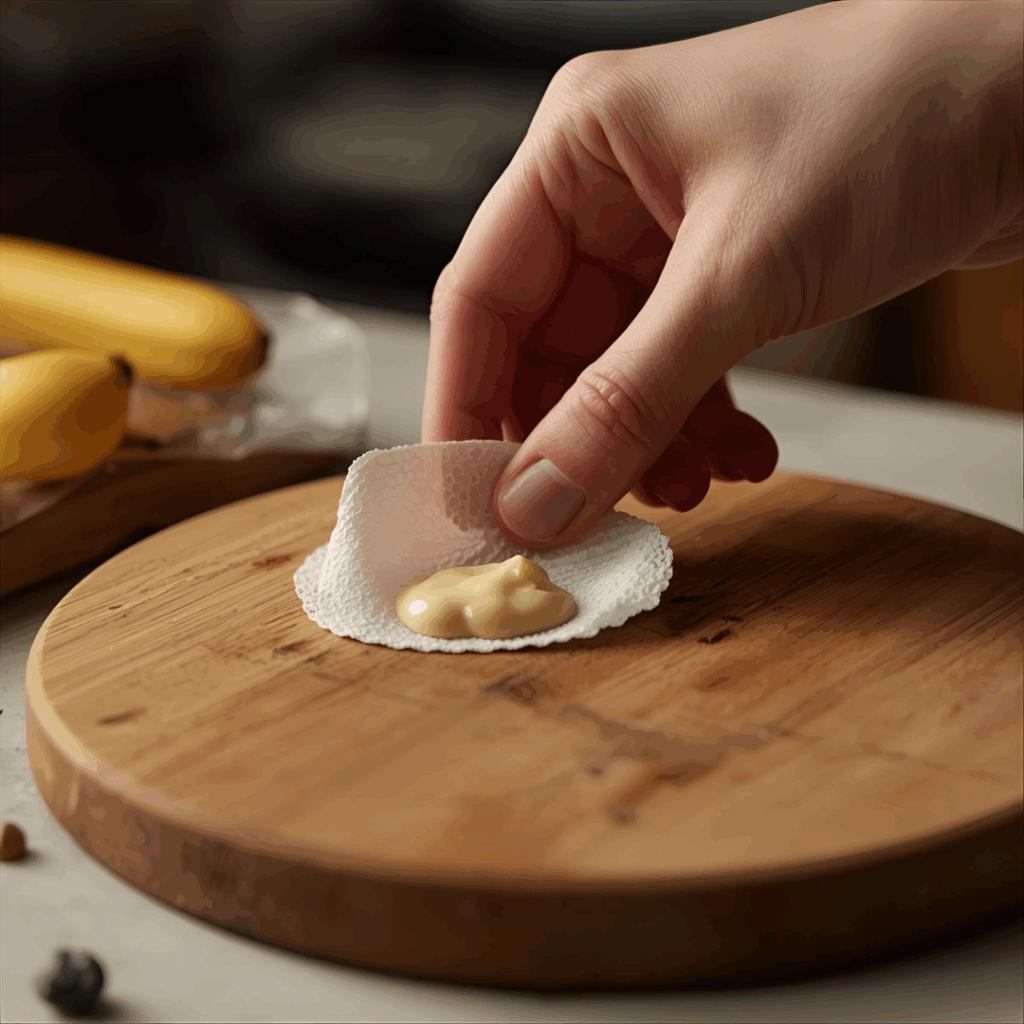
Spread a thin layer of mayonnaise or petroleum jelly (Vaseline) on the stain and leave it overnight. The oil penetrates under the finish, helping restore and lift the stain.
In the morning, wipe off and polish.
Method D: Iron + Cloth (For Fresh Marks)
Place a clean, dry cloth over the stain. Set the iron to dry heat only (no steam) and lightly iron the cloth for 5-10 seconds. Lift the cloth and check. This helps draw out moisture.
Be cautious: too much heat may damage the finish.
If these fail (especially for very old, dark, or deep stains), you may need to lightly sand and re-finish the area (see Step 5).
3. Treating Food/Spill Stains & Grease Marks
For fresh spills: blot immediately; don’t rub. Clean with a damp cloth and mild soap.
For older stains: Mix baking soda + water into a paste (toothpaste consistency). Apply over stain, rub gently with a cloth following the grain, wipe clean.
For oily/greasy marks: sprinkle cornstarch or talcum powder and let sit several hours to absorb the oil, then vacuum or brush away.
After the stain is lifted, clean and then reseal the area with furniture oil or wax to restore protection.
4. Fixing Scratches, Scuffs & Dull Spots
If you’re dealing with surface scratches or dull patches, you can still remove marks from a wood table using scratch repair markers or natural oils instead of sanding.
For light surface damage: Use a walnut (cracked open), rub the meat of the walnut over the scratch. The natural oils in the walnut help fill and blend tiny marks. Guides confirm this trick for unfinished or lightly finished wood.
For minor scratches: Use furniture repair markers matching your wood color. Clean the area, apply the marker, and wipe off excess.
For deeper scratches: Follow this sequence:
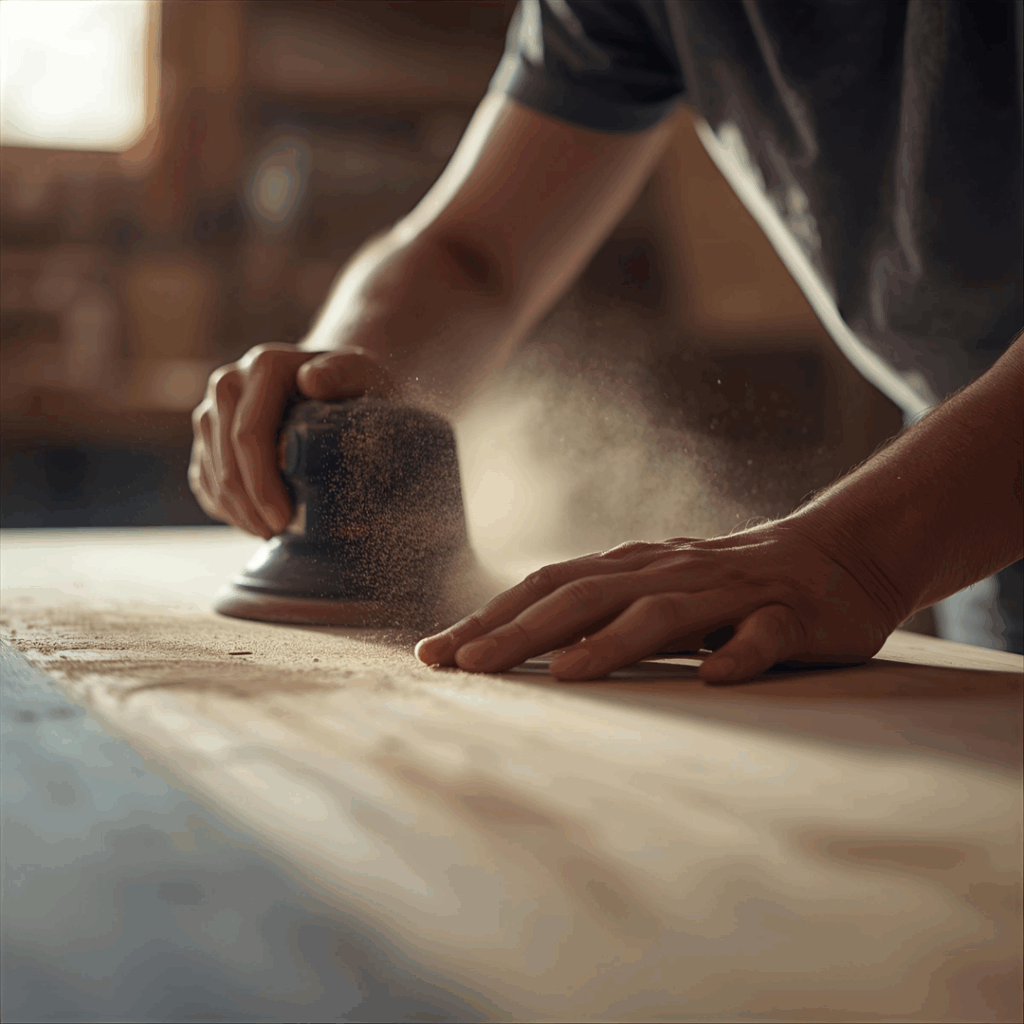
Use fine sandpaper (180–240 grit) along the grain to level the scratch.
Clean off the dust.
Apply wood filler or putty that matches the color.
After drying and sanding smooth, apply a matching finish or oil/wax.
For scuffs/dull finish patches: After cleaning, apply a wax/oil-based furniture polish, buff in the direction of the grain.
5. When to Sand & Re-Finish a Section
If the mark is dark brown or black (meaning the stain penetrated the wood), or the finish is peeling/absent, you may need to do more substantial repair:
Lightly sand the affected area (and a small surrounding zone) to smooth and remove damaged finish. Always sand with the grain.
Clean off all sanding dust (vacuum, tack cloth).
If bare wood is exposed, apply a stain (in a matching color) if needed. Let dry.
Apply a protective finish (varnish, lacquer, polyurethane, or wipe-on Danish oil) as appropriate for your table.
Let it cure fully before placing items on top. With more effort, this will restore the table’s integrity and protect it long-term.
6. Final Step: Clean & Protect
With these techniques, anyone can confidently remove marks from a wooden table and restore its original shine. Remember, to keep your furniture looking flawless, clean it regularly and use coasters — it’s the best way to prevent having to remove marks from wood tables again in the future.
After you’ve removed the mark (or repaired the area):
Clean the entire table surface carefully (mild soap, dry thoroughly).
Apply a furniture-specific oil or wax (or follow the manufacturer’s finish instructions) to recondition the wood.
Buff with a soft cloth in the direction of the grain.
Replace coasters, placemats, trivets — taking preventive measures will reduce the chance of new marks.
Preventative Measures: Keep the Table Looking Great
Here are some best practices to avoid future marks on your wood table:
Always use coasters under cold/hot drinks; use placemats or trivets under hot dishes.
Wipe up spills immediately — don’t let moisture sit on the surface.
Place the table away from direct sunlight or rotate its positioning to prevent uneven fading.
Avoid placing a hot iron or steam device directly on the table.
Use soft (microfiber) cloths and avoid harsh abrasives or cleaners that strip the finish.
Periodically polish or re-oil the table, depending on the finish type.
Use felt pads under decorative items or objects that might scratch.
When to Call a Professional
Some situations are beyond DIY fixes — you might want to contact a furniture restorer if:
The table has deep gouges, structural damage, and cracked/missing veneer.
The finish is peeling over a large area, or the wood is warped.
You’re dealing with an antique piece where refinishing may reduce its value.
You’re unsure of the finish type (e.g., shellac, lacquer, oil) and don’t want to damage it.
Recommended Product for DIY Repairs
If you have minor scratches, discoloration, or surface damage, consider purchasing a repair kit like the REALINN Wood Furniture Repair Kit: “Kit includes 12 touch-up fillers, 8 markers … apply filler into cracks … markers for superficial scratches.” You can buy it here: REALINN Wood Furniture Repair Kit on Amazon (affiliate link) This kind of kit is especially useful when you want a quick fix without full refinishing.
Summary & Final Thoughts
If you’ve ever had to remove marks from a wood table, you know how frustrating they can be — but with the right tools, the process is quick and satisfying.
Removing marks from a wooden table is absolutely doable — in many cases, with simple household items and a little care. The key parts are:
For large or deep problems, consider professional help.
Identify what kind of mark you’re dealing with (moisture/heat/spill/scratch).
Choose a gentle method first (heat, oil/vinegar, baking soda) before aggressive tactics.
If you do need to sand or use fillers, work carefully and always follow the grain.
Once repaired, protect the surface to prevent repeat damage. With these easy home methods, anyone can confidently remove marks from a wood table and restore its natural shine for years to come.
How to Remove Wall Cabinets – Easy DIY Guide by Admin March 17, 2025 DIY Planning a kitchen makeover? One of the first things that usually has to go is the old set of cabinets. Swapping them out for something…
How to Remove Deep Scratches From Wood Table by Amy Reed September 16, 2025 DIY Wood furniture is beautiful, but accidents happen. If you’ve ever wondered how to remove deep scratches from wood table surfaces, the good news is it…