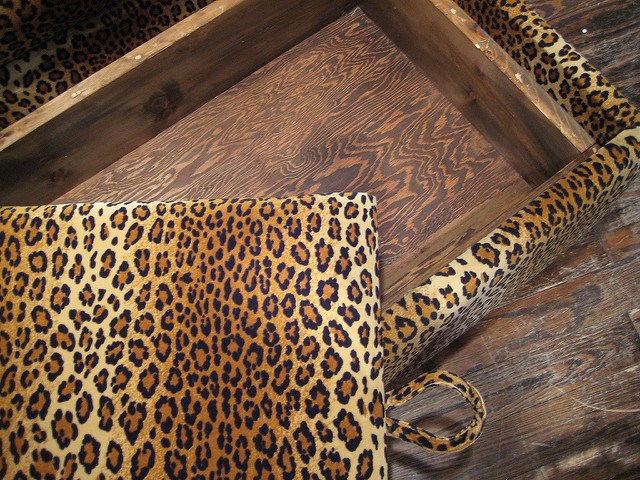
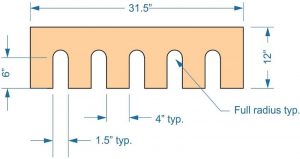
The storage bench: it’s one of the most useful pieces of furniture ever invented, and it’s also one of the easiest DIY furniture projects around. You can build a storage bench or storage ottoman to complement any room in the house or add a touch of organization to the mud room, garage, or deck. Outdoors, DIY storage benches can hide sporting equipment, hoses, extra pots and gardening tools, and of course, kids toys! Whatever your goal, this versatile storage bench design can be finished and customized to meet your needs. Let’s get started!
Essential Tools
- Table saw and/or circular saw or chop saw
- Drill with appropriate bits/drivers
- Sander
- Hammer
- Staple gun with upholstery staples (optional)
Note that you may be able to borrow or rent power tools if you don’t have them. As an alternative, your local lumber supply store may be able to do the cutting for you. Most stores charge a small per-cut fee.

Essential Materials for Building a Storage Bench
Simple materials and a little bit of specialized hardware make this storage bench functional and sturdy. Same applies for cordless tool storage. Be sure to choose pressure-treated lumber if you decide that you’d like to build this DIY storage bench to withstand the elements in an outdoor setting. If you opt for an outdoor design, be aware that you may want to sew separate cushions that can be dried and aired out. Finishing the top the same way as the rest of the bench will make this design a bit better for outdoor settings.
- Plywood, preferably ¾”, amount determined by project size
- 4 to 6 prefabricated bun feet or block feet
- 2×2 lumber, amount determined by project size
- 2-½” deck screws
- Sandpaper – 200 grit for smoothing wood, 320 to 400 grit for finishes, depending on type
- ½” nails
- 2 hinges (use exterior grade hinges if building an outdoor storage bench)
- Lid Support such as a National Hardware V1890L Folding Support
- Stain, paint, and/or polyurethane of your choice
- Trim (optional)
- Foam for upholstered bench top (optional)
- Fabric for upholstered bench top (optional)
The Step-By-Step Guide to Building a Storage Bench
Decide how large you’d like your storage bench to be. It’s worth noting that longer benches perform better when supported by extra feet, so purchase 6 to 8 bun or block feet if you’re planning for a big project. You might also consider building storage benches in smaller sizes, so you can move them around for added seating. Note that larger storage benches might also need more framing. Additional braces can go under the lid, into the base, and into the front, back, and sides to provide added stability and support. You can use trim to conceal any extra fasteners that you used to attach the extra braces with.
1. Cut lengths of plywood for the sides, bottom, and top of your storage bench.
2. Cut the 2×2 lumber. You’ll need one piece to fit into each corner, plus pieces to frame the top and bottom. Don’t skip this step, as your DIY storage bench will be flimsy without it.
3. Start to build the storage bench or ottoman. Use 2-1/2” deck screws to attach the top, bottom, and side frame pieces to the bench’s back.
4. Repeat step 3 with the bench’s front piece.
5. Use 2-1/2” deck screws to attach the top and bottom frame pieces to each side of the bench.
6. Start to assemble the storage bench. Begin by attaching one of the sides to the back. Be sure that you anchor the screws into the frame pieces.
7. Repeat step 6 with the other side of the bench.
8. Now attach the front of the bench. You may want to use clamps for this step, or you may need to have a helper hold the piece in place while you screw the sides into the front frame sections.
9. You now have a 4-sided box with sturdy framing inside. Use 2-12” deck screws to attach the bottom of the storage bench, ensuring that you drill them directly into the framing.
10. Use appropriate hardware to attach the feet. Be sure to measure so that they are even and your bench is well-supported.
11. If you are planning to upholster the top, now is the time to do it. Add padding and then apply the fabric, using the staple gun to attach the fabric to the underside of the storage bench top.
12. Sand the bench and wipe it down with mineral spirits. When you’re finished, apply the finish(es) of your choice. Be sure to follow the manufacturer’s instructions exactly when completing the finish, giving it plenty of time to dry between coats. Don’t rush!
13. If you’re planning to add trim, finish it at the same time as you finish the rest of the bench. This way, it’ll be dry and ready to attach when the rest of the project is complete.
13. Attach the hinges to the bottom of the top, then attach the top to the upper frame inside the storage bench’s back section. If you’re new to the process of installing hinges, you may want to pause to read tutorials for the type of bench hinges that you chose for your project. While they’re simple to install, there are different methods for installing different types so that they function properly.
14. Install the lid support. You can use a couple of pieces of lumber to hold the lid open while you do this, or you can have a helper hold the lid up for you. Be sure to read the manufacturer’s instructions for measuring and positioning your lid support so that it works the way you want it to.
Congratulations! You’ve succeeded at building a DIY storage bench that looks fantastic and hides all kinds of things neatly until the next time you need to use them.
How Much Time Does It Take to Build a Storage Bench?
Give yourself an afternoon to build this bench, plus some time for your finishes to dry. Depending on the type of finish you choose and the number of coats you use, the drying time could range from several hours to a few days.
What is the Average Cost to Build a Storage Bench?
You can build a nice storage bench for about $50. Larger benches cost a bit more, and smaller ones may cost even less. Finishes are a factor in considering the final price, as are extras such as foam and fabric. The good news is that even the nicest DIY storage bench costs far less than a similar pre-fabricated one!


