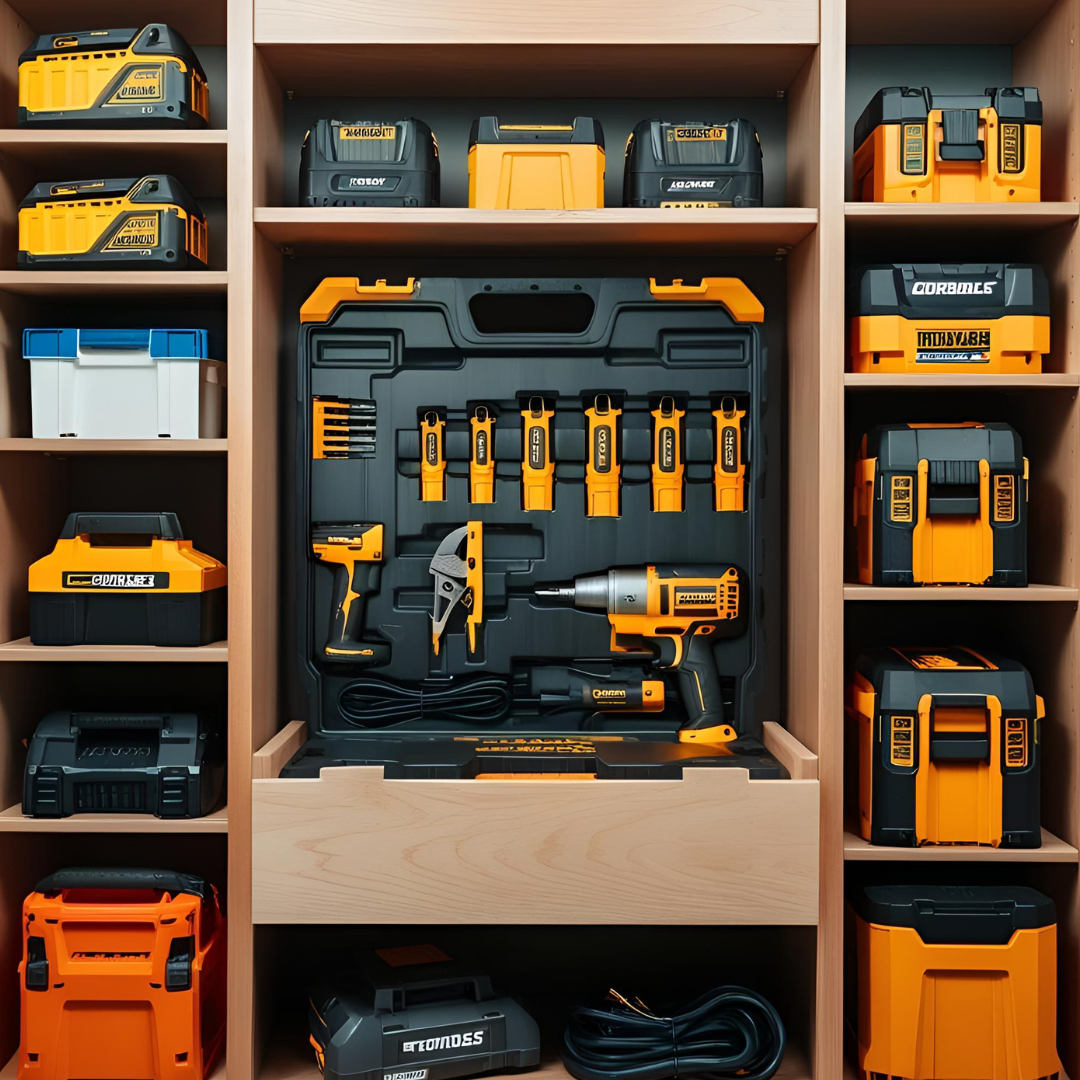
If you own more than one battery-powered drill, you already understand the pain of cordless tool storage—or the lack of it. I spent years tossing drivers, chargers, and random batteries into plastic bins, only to find everything dead or missing when a project popped up. One Saturday, I’d had enough. I sketched a simple rack on the back of a cereal box, pulled scrap plywood off the lumber cart, and by Sunday night, every cordless tool I own was hanging, charged, and ready for action. Below is the complete, ground-up build—completely rewritten in fresh language—plus insider tips on airflow, battery health, and future-proof add-ons so you’ll never outgrow your station.
Grab every cordless tool, battery, and charger you own, toss them on the bench, and measure the largest item. That measurement sets your minimum shelf depth, usually 12 inches for drills and impact drivers. While you’re at it, count future purchases (trust me, you’ll buy more) and mark out extra slots on paper.
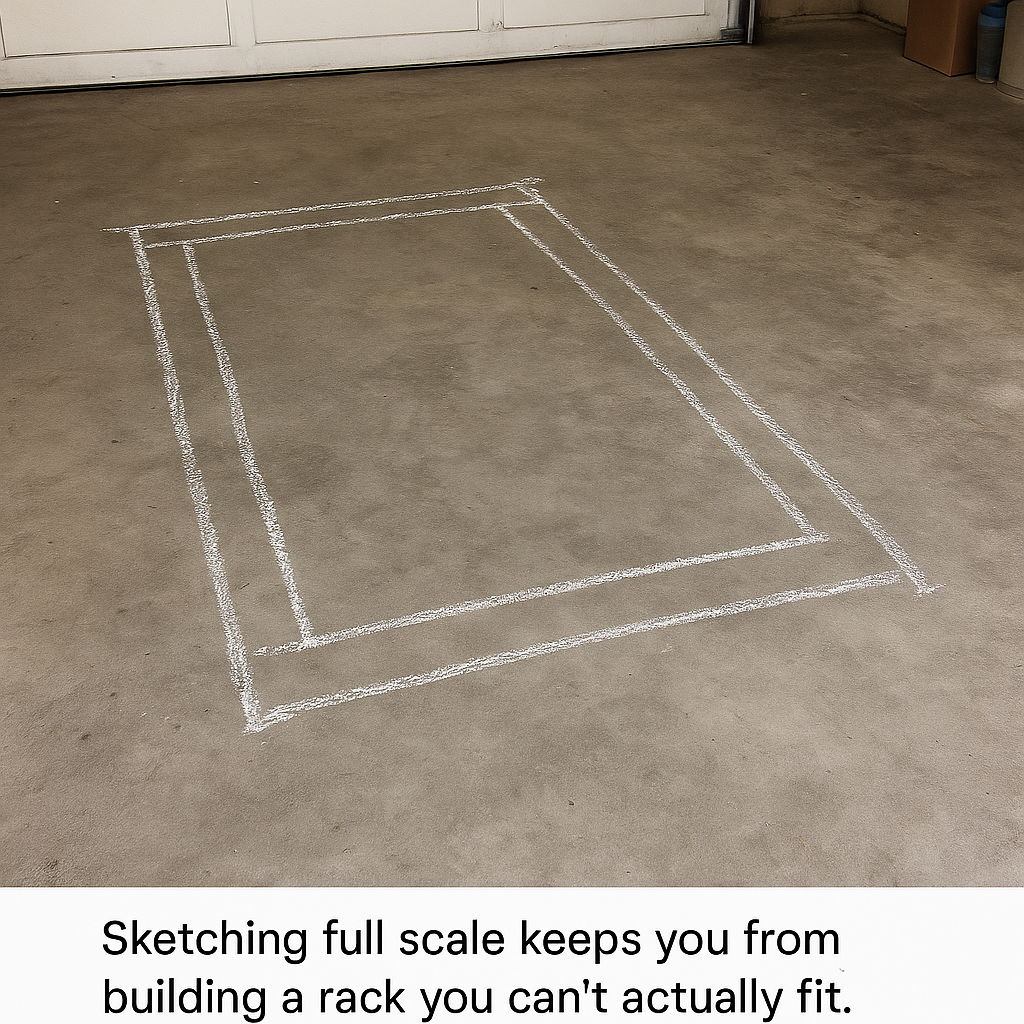
Pro tip: Sketch the rack’s footprint directly on the shop floor with chalk. You’ll see instantly if the cabinet crowds a door swing or blocks your favorite clamp rack.
2. Cut and Assemble the Frame
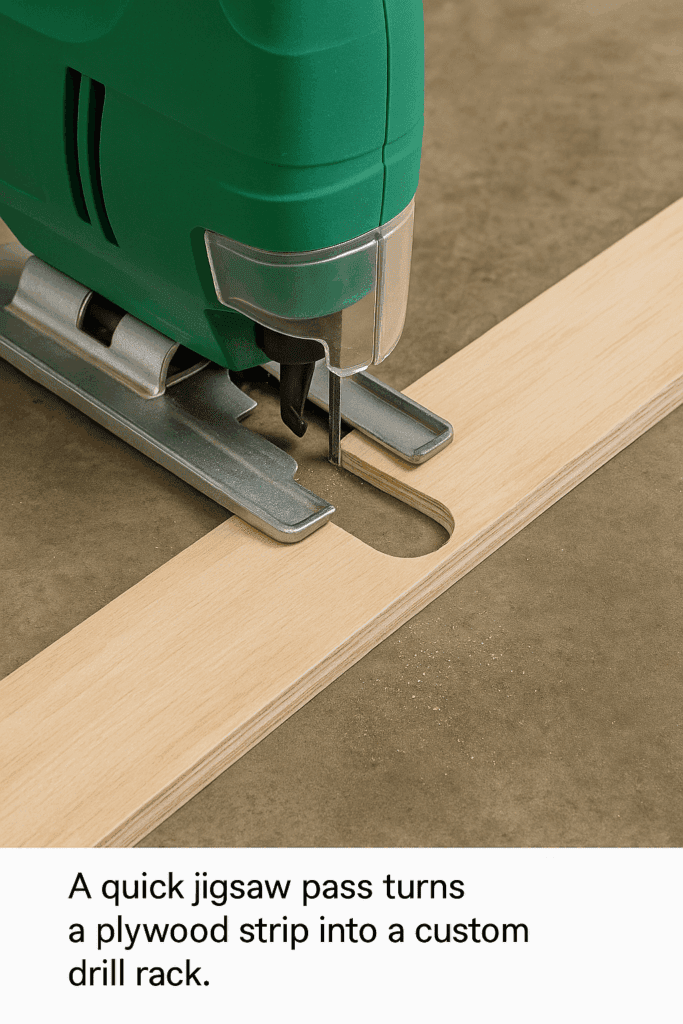
Rip two side panels, a top, and a bottom from ¾” plywood. I cut mine 36″ wide by 24″ tall.
Spread glue on the edges, clamp, and drive 1¼” screws.
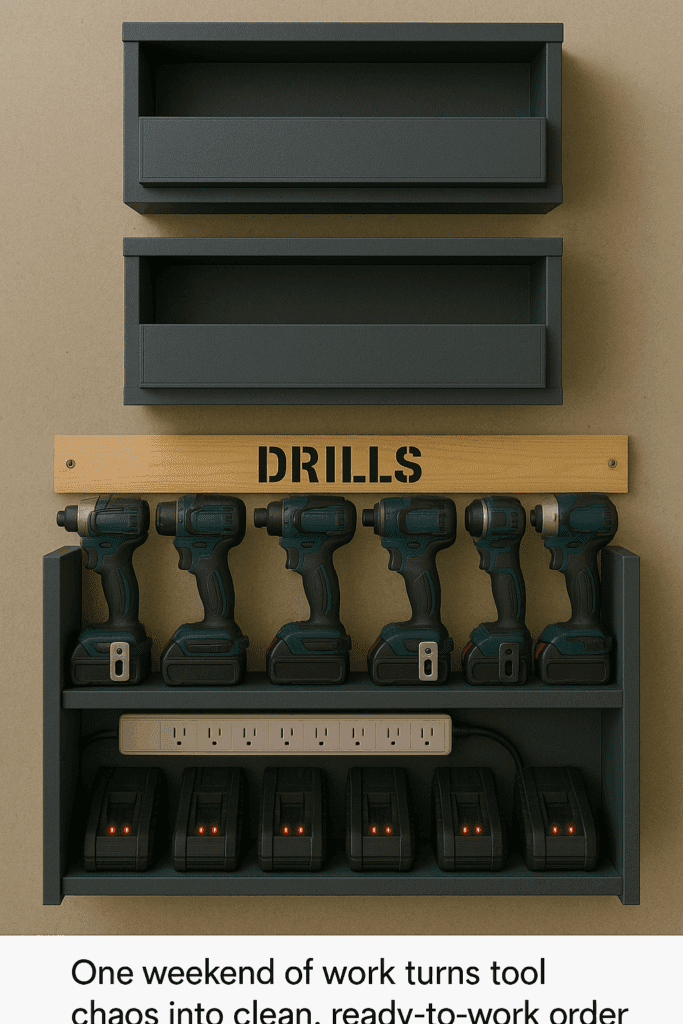
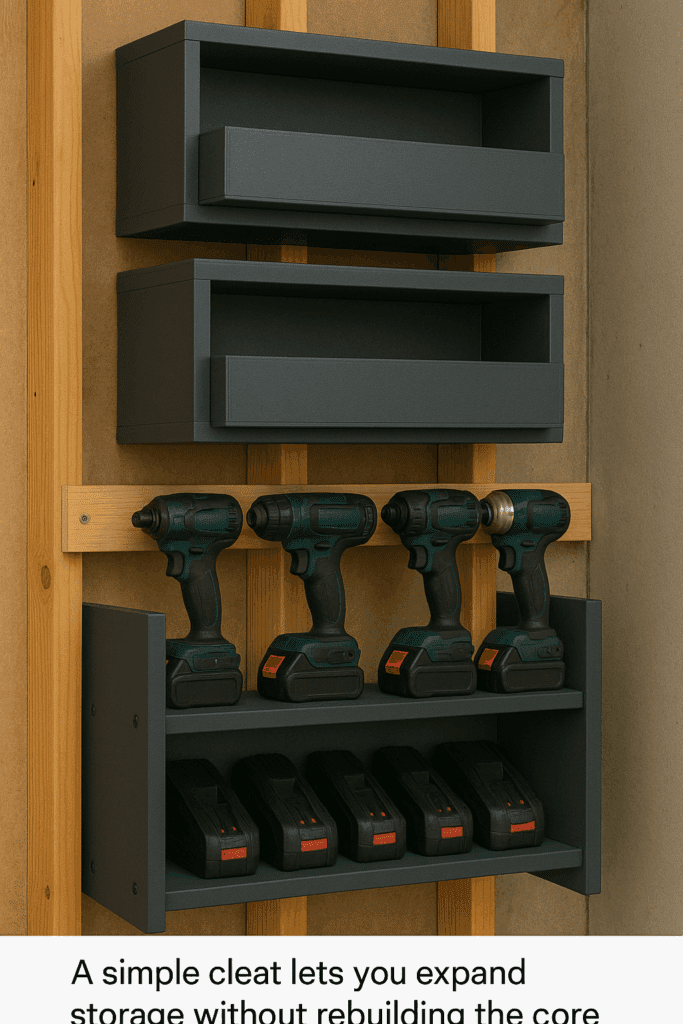
Square the box, then glue-and-nail the ¼” back panel. Pegboard works too if you want instant hook storage.
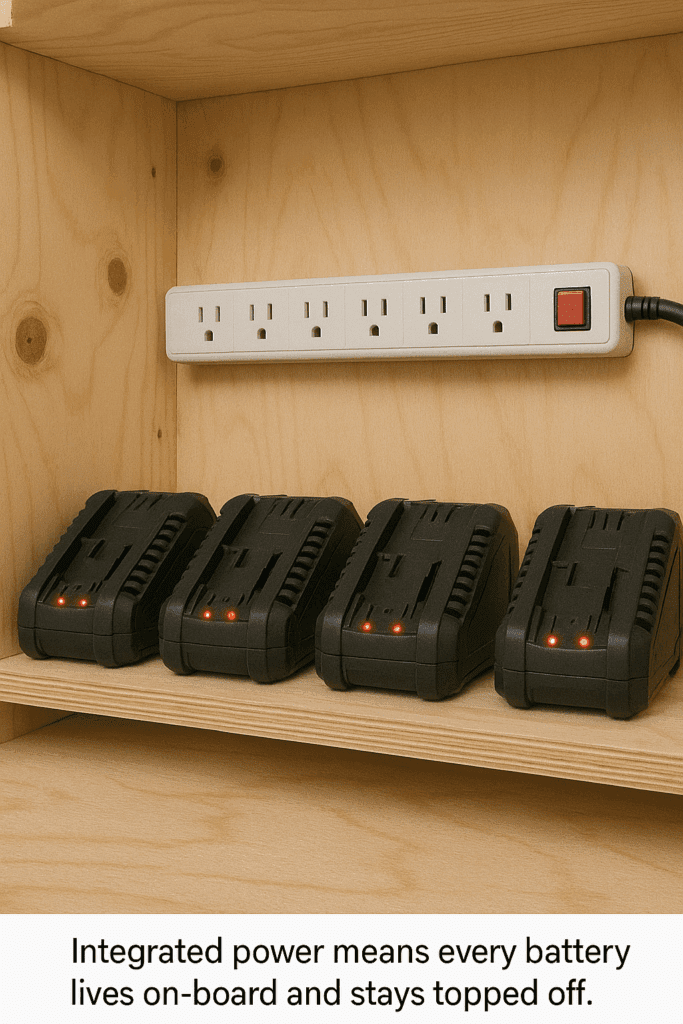
Lithium chargers generate heat. Drill three 1″ holes in each side wall and staple screen mesh inside—dust out, air in.
Finishing Touches
I rolled on two coats of leftover latex paint. Paint hides mismatched scrap and wipes clean after a dusty day.
Hanging the Beast
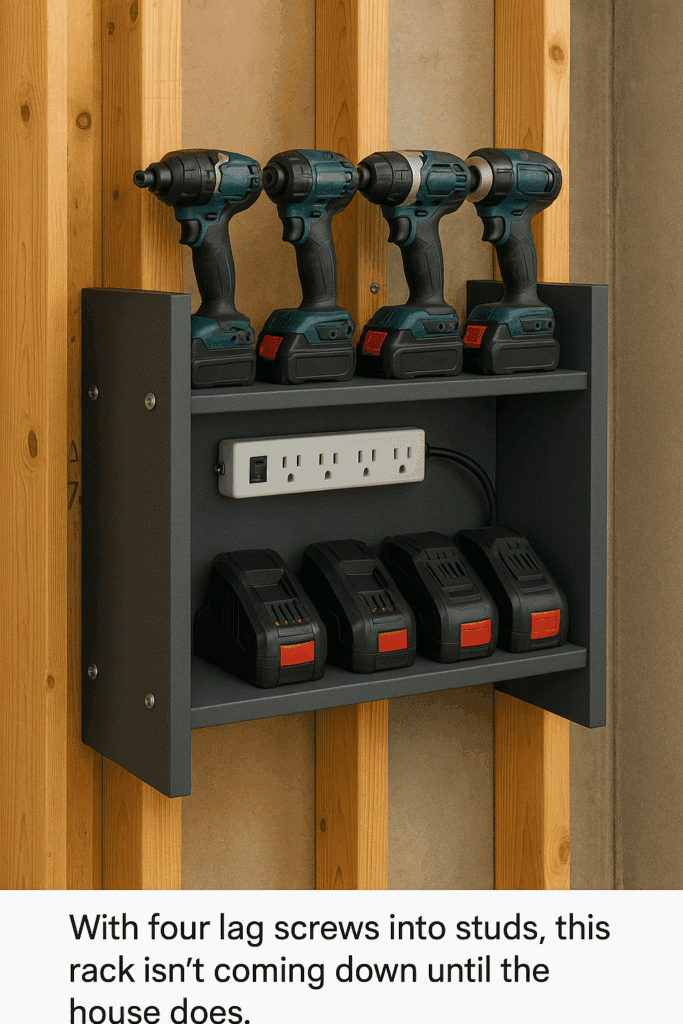
Find studs, pre-drill, and drive 3″ deck screws with fender washers. For concrete, use Tapcons.
6. Battery Health & Safety Corner
40-80 Rule: Store spare packs between 40% and 80% charge to slow capacity loss. Timer Trick: If you own “dumb” chargers, plug them into a cheap outlet timer so they shut off automatically. Fire Margin: Maintain a 3-in. clearance above every charger—heat rises.
A: Measure your thickest handle. Most are under 1½”, so a 1⅝” hole saw plus light sanding is perfect.
Q: Does a pegboard work for heavy drills?
A: Peg hooks pop loose under real weight. Keep a pegboard for bits; hang drills on solid plywood slots.
Q: Can I stain instead of paint?
A: Sure—wipe with Danish oil for a rustic shop look. Just seal it so the glue doesn’t drip and scrape off easily. See how to make plywood look nicefor finishing ideas.
Since adding this cordless tool storage rack, I no longer waste fifteen minutes searching for a charger or swapping dead batteries. Everything has a home, everything’s topped off, and weekend projects start on time. Build yours once; reap the benefits every time you squeeze a trigger.
To enhance your DIY cordless tool storage project, consider incorporating the following highly-rated products available on Amazon:
KAFAHOM Power Tool Organizer This heavy-duty metal storage rack offers eight drill holders and six layers of shelving, providing ample space for your cordless tools and accessories. Its wall-mounted design ensures easy access and organization.
Ztorq Cordless Drill Tool Organizer Designed for wall mounting, this organizer securely holds cordless drills and features additional shelving for batteries and chargers, keeping your workspace tidy and efficient.
NattyDot Power Tool Organizer This storage rack features a pegboard design compatible with 0.25-inch accessories. It includes hooks and a side toolbox for various tools. Its sturdy construction ensures durability and versatility in organizing your equipment.
ULIBERMAGNET Power Tool Organizer This wall-mounted, heavy-duty storage rack features a screwdriver holder and a removable tool rack, making it ideal for garages, workshops, and warehouses. It offers a practical solution for organizing your cordless tools efficiently.
Melos Power Tool Organizer Cart This organizer cart features a four-drill shelf rack with a charging station that is ideal for those needing mobility. Equipped with wheels, you can move your tools effortlessly around your workspace.
Incorporating these products into your storage setup can significantly enhance organization and accessibility, ensuring your cordless tools are always ready.
Firewood Guide: Best Types, Storage & Tools by Admin July 21, 2025 Grades 🔥 My Real Take on Firewood—What Works and What’s a Waste I’ve burned all kinds of firewood over the years—some that kept the house warm…