Eventually, the living room carpet is going to wear out. After years of spilled drinks, worn spots, and a tired appearance, it will be time to choose something new and refreshing. By the time they make that decision, most people will know exactly what they want; but there will be many who will have no idea what options are available to them. Those people will take off to some warehouse store somewhere and wander the echoless aisles until they stumble upon the new flooring they didn’t even know they had been dreaming of. Or they’ll just take whatever looks best that they can that fits into their budget.
Many options can be considered. So before a decision is reached, it just makes sense to take a good look at what those options are. You might just find that something you hadn’t even thought about is the ideal flooring for your home.
Carpeting, tile, and hardwood floors are the most common options that people consider. Each has its pros and cons and each has its look. Ultimately, most people make their choice more based upon look, than any other reason.
Carpeting
The feel of a nice, cushiony carpet under your feet just after you get out of bed is a wonderful feeling. Not only that, but you get to avoid putting your tender feet on the cold floor, you have that wonderful buffer of warmth. Carpeting has its positive aspects, however, it has its negative aspects as well. For example, it can become quite expensive.
For a typical 12-foot square room, with no funny angles or partitions, carpeting will cost you anywhere between $300 and $750. This isn’t even for higher-end carpet materials, it is only low-grade to middle-grade carpeting. Cost isn’t the only factor. In five or ten years down the road will that carpet still be fresh or will it be time for another replacement? Carpet can last if it is properly maintained and cared for, and even the priciest materials will only last so long. Eventually, that carpet will need to be replaced again.
Tile
If you’re concerned about maintenance and cleaning, or you have a problem with allergic reactions to things that hide in the carpet, tile is the way to go. Ceramic tile is an inexpensive option, while still providing beauty and extreme durability. The downside is that it is hard, so you’ll probably want some throw rugs in places.
Tiling a floor can cost as little as a dollar a square foot and go up from there. A lot depends on the tile you choose and the design you decide to make with that tile. While a simple tile is inexpensive, some of the fancier tiles or mosaic tile options can get costly. They’ll also require an installer who knows what they are doing.
Hardwood Flooring
There are multiple reasons to decide on a nice hardwood floor, mostly appearance. Hardwood floor is the most traditional look and one that goes with any home. As time has proven, hardwood floors can last over a century, especially if they are well cared for. They are also low maintenance, although not as low as tile.
Hardwood is the most costly option but retains the best resale value. So there’s a tradeoff there. It’s also highly resilient to the spills and messes of children and pets, making it very practical. But you’re going to pay about $10 per square foot to get that hardwood floor in. That’s over double the cost of most mid-range carpets.
Plywood as Your New Flooring Option
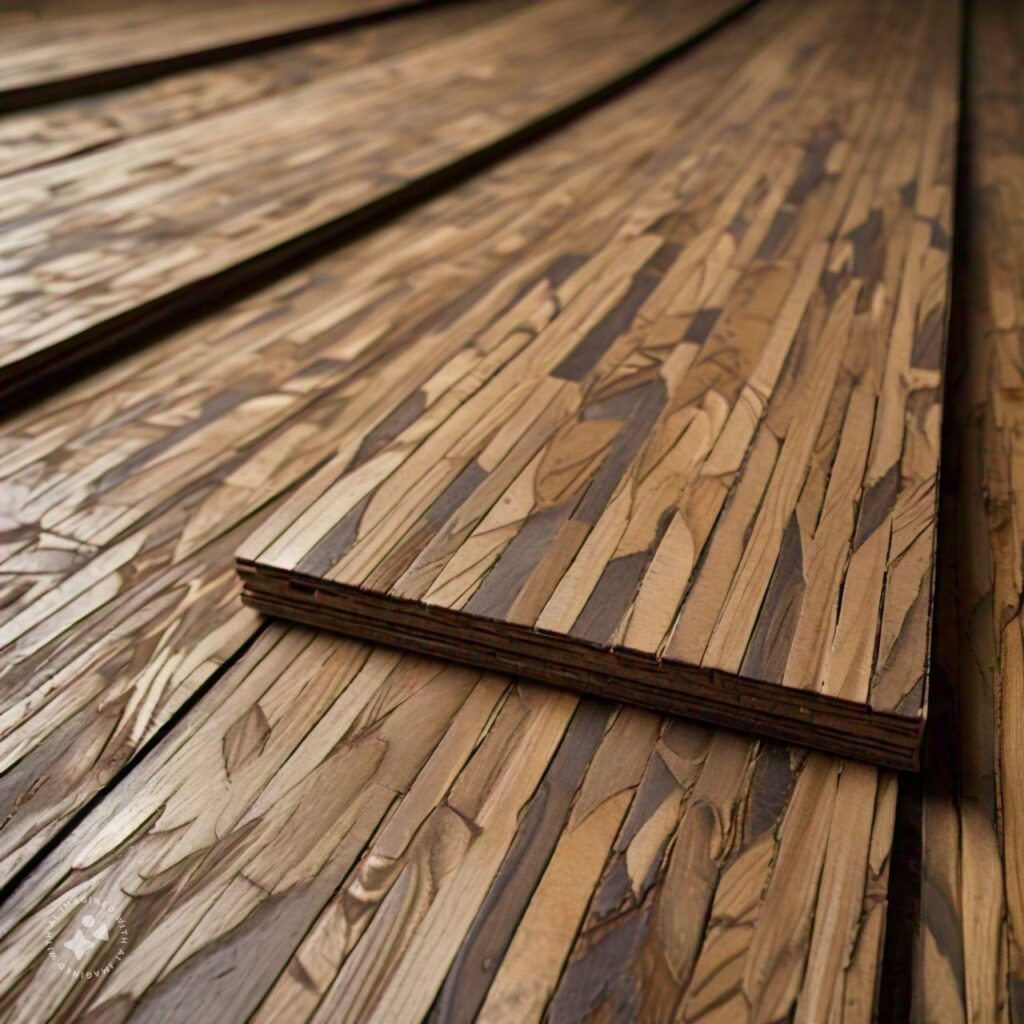
Most people are surprised when the idea of plywood flooring is mentioned. But the idea is not all that far-fetched. Plywood is extremely durable. When plywood is made it is done so in layers. This layering causes the material to be very stable and very strong. Not only that, but its durability allows it to be used in multiple climate types.
There are many types of plywood available, far too many to discuss them in their entirety. The types typically used for flooring are face-graded A and B, with the primary difference being that the A side of plywood is typically sanded to a smooth finish. But if you have the tools and equipment you can save yourself quite a bit of money by doing the sanding yourself.
That brings us to the cost of plywood flooring. It’s fairly obvious that plywood flooring is going to be cheaper than either carpeting or hardwood floors, but the real price difference can be quite shocking. People who choose plywood as their flooring option pay, on average, around $1 per square foot.
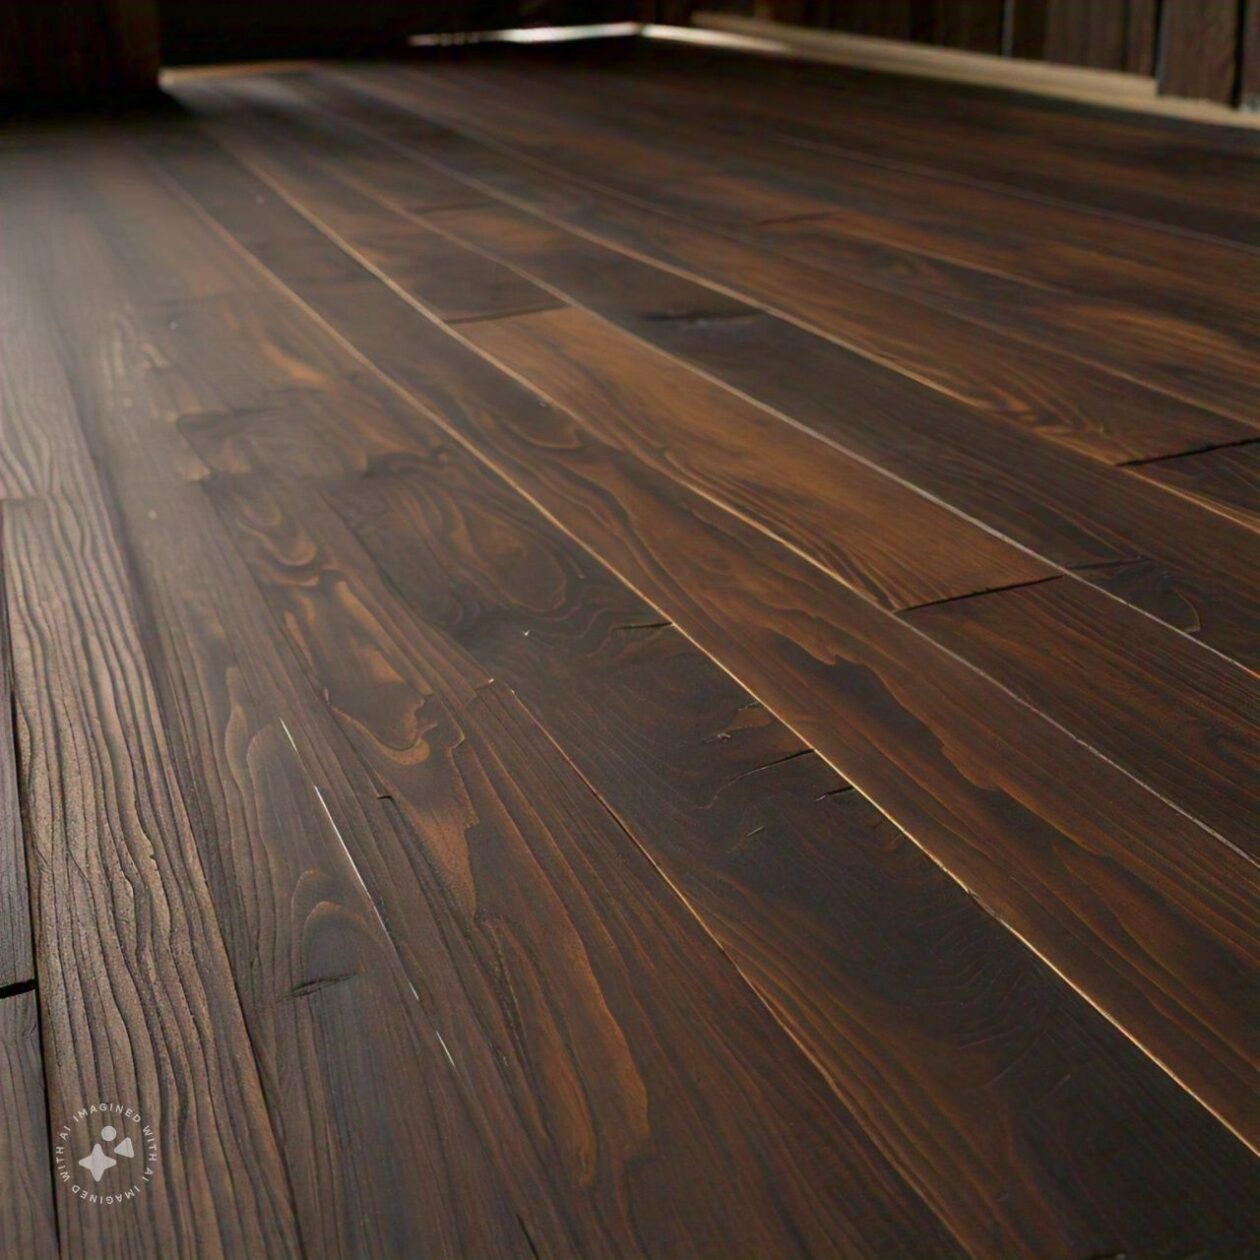
The idea of burning the plywood is that it brings out the natural grain in the wood, as the softer part of the grain will burn more readily than the harder part. This reverses the coloration of the grain, as far as dark and light are concerned; but will give you a very nice finished effect.
How to Use Plywood as a Flooring Option
The two most important things that you will need to consider when installing your plywood flooring is going to be the quality of the plywood you get and the tools that you are using. Any plywood can be used as flooring, but for a “burned plywood floor,” we’re talking about using high-quality construction-grade plywood, in other words, softwood plywood.
Typically, construction-grade plywood is graded as C-D; because most of it is used in places where it is not visible, such as subfloors and sheathing. You’ll want something a bit better for flooring though; more like an A grade or B-C, depending on how much of the sanding you want to do yourself.
Tools You’ll Need
Shop Knife: This is an excellent tool, especially if you are replacing carpeting. The shop knife will help you to cut the carpet out where necessary.
Saw: A table saw with an extension or a circular saw and saw horses will be a necessity. You will have to cut your plywood sheets to have them fit properly into your chosen room. If you have access to a table saw I highly recommend it for ease of use. If not, a quality circular saw is never a bad option.
Measuring Tape: You will need a measuring tape and a square to cut your plywood to shape accurately. I’d recommend using a drywall T-square rather than a framing square, as it will help you be more accurate.
Pry Bar: In addition to removing the carpeting, you’re going to have to remove the carpet tack strips, thresholds, and other trim pieces. The easiest way to do this is with a pry bar and hammer.
Hammer and nails: You’ll nail the plywood down with finishing nails. A carpenter’s claw hammer is the right sort to use with this. Don’t forget about a nail set so you can sink the heads of the nails below flush.
Wood Putty – Those sunken nail holes should be filled with stainable wood putty.
Painter’s Tape: This will help protect your walls and baseboards once it comes time to apply a finish coating to your finished plywood floor. I like to use this with one of my shop knives to ensure I get nice, straight lines.
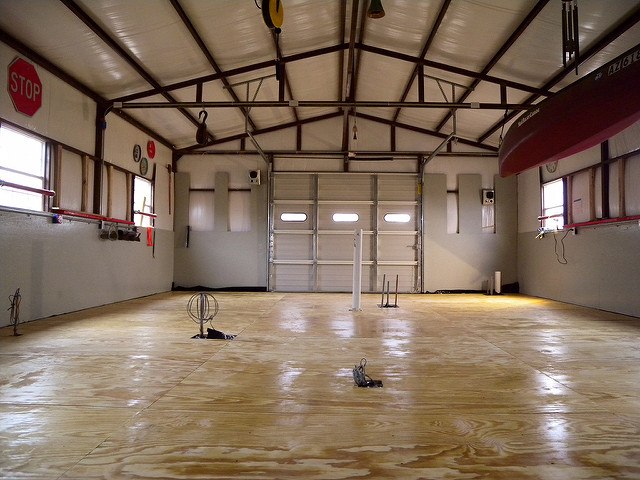
Prep and Clean the Subfloor
The first step is going to be to clear out the old flooring. For purposes of this article, I’m assuming that you will be removing carpeting. However, you could remove any floor covering and replace it with burnt plywood. For carpeting, start using the shop knife to cut the carpet into sections and pull it out. Take care around the room’s edges, as that’s where the tack strips are. Then, you will move on to removing the carpet pad.
The carpet pad may or may not be held in place with an adhesive. If an adhesive is used, it will be applied to a plastic film on the bottom side of the pad. So even if the pad comes apart, while removing it, you should be able to pull the plastic film out, relatively intact.
Using the pry bar, remove the tack strips around the perimeter of the room and any trim strips at the thresholds. Check across the floor to ensure there are no nails or staples used to hold the carpet or padding in place, removing any you find. Also, ensure that the subfloor is tight against the floor joists and that you don’t need to add any nails to prevent squeaking. If you have to nail it down, use twisted flooring nails so that they will not pull up.
Make sure to clean up all the dust and debris left from tearing up the carpet. Once that has been done, you need to mop the subfloor clean. You must then wait for the floor to dry properly before continuing. Inspect the subflooring once again, verifying that the edges are level and smooth and that the wood has no gaps or voids.
At this stage, you need to apply some protective sealant to the subfloor to keep the material strong and healthy for years to come.
Now comes the fun part: installing the plywood.
Installing the Plywood Floor
Before cutting and installing your plywood floor, take some time to think through how you want to install it. Most people just install full sheets as if they were installing a subfloor. But since this will be your flooring, think about what sort of pattern you want the wood to present. Rather than full sheets of plywood, you might want to:
Cut it into strips, anywhere from eight inches to 24 inches wide
Install the flooring at an angle
Make a rosette out of the plywood
Make a diamond pattern on the floor
Installing plywood isn’t that far off from installing other types of flooring. Cut your pieces to fit, following the adage “measure twice, cut once.” Remember as you are cutting that straight edges are essential, as you want them to butt tightly against one another without any gaps. Filling those gaps would be obvious. Keep any scraps until you are finished, just in case you have to fill in some odd spot.
Glue and nail down the plywood using a construction adhesive and 8d finishing nails, taking special care to butt pieces up to each other tightly. Remember that you don’t have a tongue and groove to help you or a flooring nailer that drives the boards together. While you are working, be sure to “pound down” the plywood with a heavy hammer and a block of wood (to protect the plywood’s surface), press down the adhesive, and ensure there won’t be any bubbles or gaps.
If you’ve chosen to go with a B-C grade plywood, don’t forget to sand your floor smoothly before continuing to finish your floor.
Since we’re talking about a burnt plywood floor, finishing the floor starts with burning the plywood. This can be done before the floorboards are installed or afterward, depending on your preference. If you are trying to create a pattern, something like a hardwood floor made with different types of wood, you will probably want to burn your floorboards first, which will allow you to burn some more and others less. If you’re going to do a more even coloration, then you will want to install the floor first and then burn it.
In either case, some precautions are advised. While trying to burn the wood, we don’t want to overdo it. So it would be a good idea to have a bucket of water with some large sponges. That should be enough to stop the wood from burning, should any part start smoldering. It would also be a good idea to have a fire extinguisher available, just in case any of the wood looks like it will do more than smoldering. Check the fire extinguisher’s gauge to ensure that it is fully charged.
If you have it available, burn the wood using a small propane torch of the type used for working on commercial linoleum tile. If you don’t have that, use the small torches used for sweating copper pipe fittings. Don’t use MAPP gas in the torch, as it burns hotter than propane. We’re looking for a low-temperature flame, so don’t turn the torch up too high.
You can adjust the amount of burn that you get in the wood and how much that brings out the grain, by how close you hold the torch to the plywood and how long you allow the flame to dwell in one place. You can also darken areas that didn’t come out as dark as you like by going over them again. You’re better off doing your burn in several lighter passes rather than one heavy one. Some experimentation is in order, on some of your scrap pieces, before you try and burn the installed flooring.
Once your burning is finished, double and triple-check that there aren’t any places that are still smoldering. It wouldn’t hurt to go over the whole floor with a wet mop, wetting down the plywood and ensuring that nothing can be burning. Then allow the floor to dry fully, before proceeding.
At this point, you’ll want to sand the floor again, even if you did so earlier. You’ll find that the burning process raised the grain in some spots. That grain will need to be knocked down to make the floor level and smooth once again. If you don’t’ those spots will break up, as the raised part isn’t well supported by the wood below.
Sweep, vacuum, and mop your floor again after sanding to ensure that you have a perfectly clean floor to apply the finish.
What About Some Stain?
You can further bring out the grain in your plywood or even change its appearance, making it look like you’ve used hardwood plywood, by applying a coating of wood stain to the floor before your final finish. That stain can either be applied and allowed to dry, or it can be rubbed to remove excess stain. This gives you an almost infinite range of colors and hues that you can use on your floor.
You can always apply subsequent coats of stain if the first stain didn’t come out as rich and dark as you wanted it to. If you’re going to do this, I’d recommend giving the first coat at least 24 hours to dry so that your second coat will soak in.
Time for the Varnish
Your final finish for the floor should be some sort of polyurethane coating. While a high gloss is popular, I prefer to go with a satin finish. High gloss will always show any imperfections and wear on the floor. Since your burnt plywood floor is almost guaranteed to have some imperfections, you’re probably going to be better off with the satin finish.
I would strongly recommend using a sanding sealer underneath the varnish. Sanding sealer performs the same function for varnish as a primer does for paint, sealing the wood. Since you have just burnt that wood with a torch, it is going to be very dry, even if you mopped it afterward. Using the sanding sealer will result in your varnish sitting on top of the plywood rather than soaking into it. That will both reduce your cost and provide a thicker finish coat.
How to Install Plywood Flooring Over Concrete Guide by Admin July 1, 2025 Installing If your home is built on a concrete slab and you’re dreaming of installing real hardwood floors, you’ll need a sturdy plywood subfloor in place…

")

")

