The idea of using wood paneling to cover the inside walls of homes has existed for millennia, with the earliest reference I know of being in the Bible’s old Testament book of Haggai. While cheap paneling became popular for use in tract homes in the middle of the last century, throughout history it has been a sign of wealth and power. The sheer cost of the wood has made it something reserved for the wealthy and for high-dollar businesses like law firms.
Today, the current iteration of wood paneling actually comes from used wood pallets. People take decking boards from pallets nailed horizontally to walls as a low-cost form of paneling. While this doesn’t have the elegance of solid wood, the natural variety in the weathering of that wood makes for an attractive pattern, when installed properly on the wall.
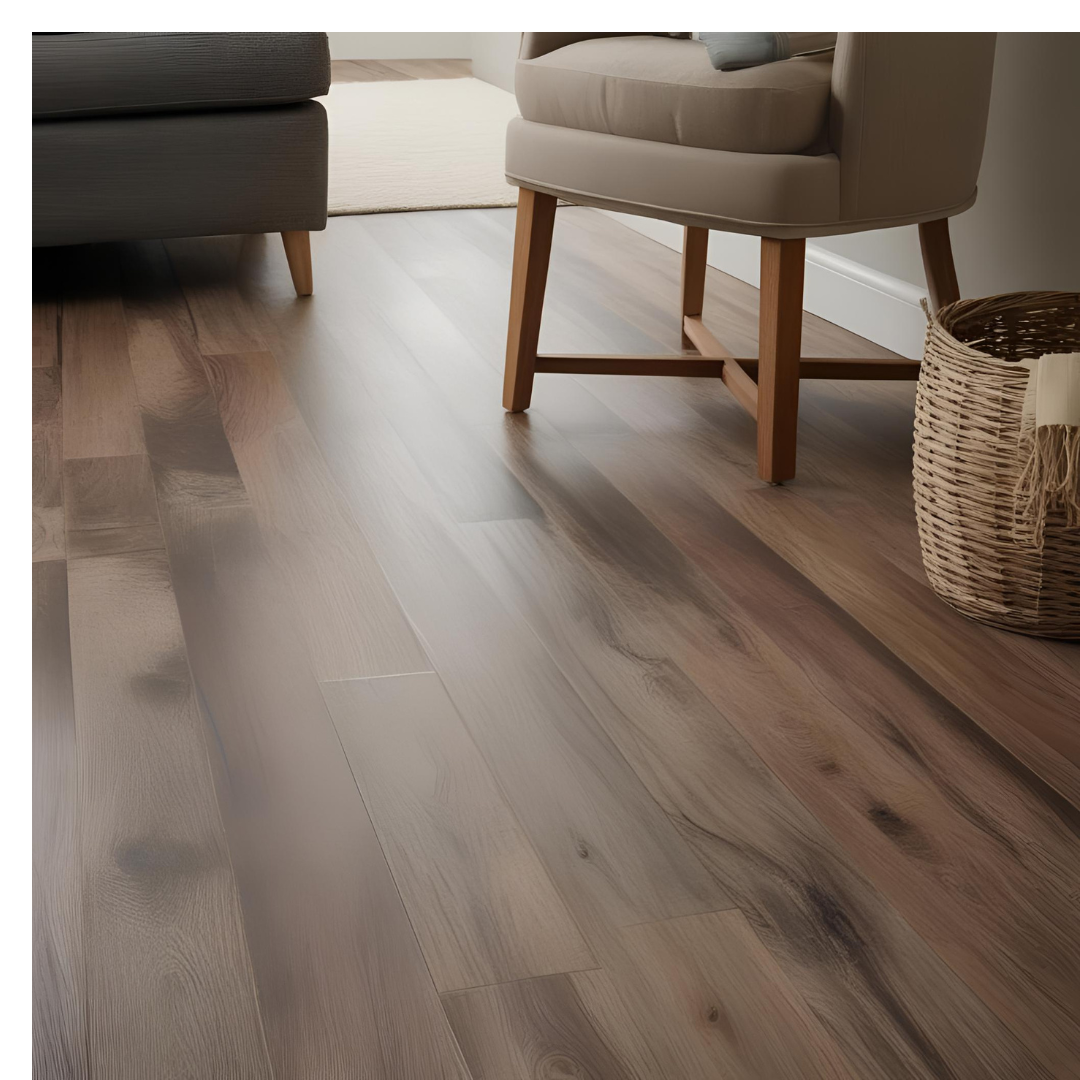
But as with all things in home décor, the idea of using pallets is giving way to a newer variant, where wood floor laminate is being used in place of the pallet wood. This change is bringing more elegance back into the idea of wood paneling, as the wood laminate provides a much smoother, more even surface, without the gaps that are common when using pallets, even while offering the possibility a wall that has a variety of different tones, just like the pallets do.
Wood flooring has largely replaced solid hardwood flooring, which is becoming more and more difficult to find. The laminate combines a solid hardwood surface with backing layers made of other materials. The combination of different materials helps keep the cost of the flooring more reasonable, which is easier to install and lock together, while providing a more comfortable surface to walk on.
This wood laminate can be used effectively as wall covering. However, there are some types of flooring which should be avoided:
Those with pre-attached padding on the back
Quick-click floors with interlocking joints, stick to ones with a simple overlap joint or butt joint
Heavy floors
¾” solid hardwood (for the weight)
The easiest flooring laminates to work with for application on walls are those which have a simple tongue & groove edge, rather than the interlocking ones. If interlocking laminate is used, care must be taken to install it in such a way as to make it easy to lock in an upper piece to a lower one that is already attached to the wall. Some don’t work well if the pieces are reversed.
The condition of the wall is important as well. The wall to be covered needs to be flat and smooth. Bumps in the wall or places where it bulges outwards are problematic and must be fixed before installing the flooring on the wall. Likewise, check for any water damage and make necessary repairs to ensure that the water won’t continue seeping into the wall. painted walls are fine, but don’t install laminate flooring over either wallpaper or existing paneling. Instead, remove those wall coverings before proceeding.
Accent wall
When buying the material, always purchase 10% extra. Laminated flooring is sold in packages of X number of square feet, so it is necessary to measure the wall and calculate how many square feet is needed, add the 10% and then round up to make full packages. There is always some loss during installation, mostly due to cutting the boards. A staggered end installation allows for some leeway in using short pieces that otherwise might end up being scrap, but that can only be carried so far, as the pieces need to overlap a stud for attachment.
While laminate is not all wood, it is a wood product and is therefore subject to expansion and shrinking due to changes in temperature and humidity. The laminate should be brought into the room where it will be installed and laid flat on the floor. Remove the plastic wrapper and allow the laminate to sit for two days to acclimate to the room. That will prevent potential problems with shrinkage or expansion after it is installed on the wall.
Installing the Laminate on the Wall
Installing laminate on the wall always starts with a horizontal line. We can’t assume that a home’s walls are plumb or the floors are level. The building code does allow for some slight deviation, and many builders go beyond that amount. Older homes can be worse, as the walls shift while the home settles. Regardless of the condition of the home, the laminate has to be level on the wall, or it will be obvious.
A decision has to be made as to whether or not the existing baseboard and trim will be left in place or removed and then reinstalled over the laminate. Most people leave it in place, as trim is available to cover the edges of the laminate and finish it. If it is to be removed, adjust the position and cutting of the laminate accordingly. It may also be necessary to trim off the ends of the baseboard on adjacent walls if there is an inside corner. If those are cut vertically, with just enough room for the laminate to fit behind them, then the new baseboard installed after the wall is covered can be cove cut to fit it, making what appears to be a miter joint.
It is a good idea to lay out how the boards will be installed on the wall. This provides an excellent opportunity to find the best mix of grain and pattern in the boards. One of the more attractive and popular looks for this sort of wall is to have different wood tones staggered throughout the wall. Laying them out in advance allows mixing up the board’s colors, gaining the desired look. It also provides an opportunity to figure out how the joints between adjacent boards will be staggered. A minimum of 6” of overlap should be used for these joints so that the boards above and below can hold board ends in place.
Make that horizontal line on the wall above the baseboard using a level, just a little less than the width of the laminate boards, rather than measuring off the floor. Also, mark the location of the studs, drawing lines from floor to ceiling at each one to facilitate nailing.
With the wall marked, measure the distance between the line and the baseboard at both ends. The first piece of laminate must be trimmed to fit, leaving ¼” of space between it and the baseboard. If it is being installed on a short section of wall, the board may also need to be cut to length.
There are two ways to attach the laminate to the wall. The more common method is to use structural adhesive, but there is also a special two-sided flooring tape made for use with laminate flooring.
When using structural adhesive, apply a thin bead (1/4”) to the back side of the laminate boards in a serpentine pattern. Then press the board up against the wall, aligning the top edge of it with the line, making sure that the ¼” of expansion space is left bare, both below the board and at whichever end is butted up against the adjacent wall. Shims can help hold the board in place and ensure correct spacing. With traditional tongue & groove boards, the “tongue” side of the board should be facing up, allowing the groove to overlap it from above.
Some types of laminate flooring use a modified tongue-and-groove joint, as the planks are too thin to use a traditional tongue-and-groove. In that case, use the laminate’s instructions to identify which edge is considered the tongue and which is the groove. With this type of tongue-and-groove joint, the groove side should be installed upward, as it will be the flush edge against the wall.
Nail the boards to the wall at each stud, using 1-1/2” to 2” brads and a pneumatic brad nailer. The brads should be inserted at the inside corner between the tongue and the central part of the board. That way, the nails will be hidden when the next course of boards is installed. If the brads are inserted in the middle of the tongue, it will prevent the next course of planks from sitting down on the first, leaving a gap where the tongue is visible. If the brads are inserted through the central part of the board, they will leave a hole that needs to be filled. Additional nails can be used on the bottom of this first course of boards, as those nails will be hidden once the trim is installed.
Add additional boards to that course to fill the wall, leaving a ¼” gap at the end for expansion. The last board in a course will have to be cut to fit. A miter saw is ideal for this. The same gap should be left around any windows or other openings in the wall. The laminate boards will probably have been designed to overlap at the ends so that the wall is not visible between them. Remain cognizant of this overlap, ensuring the boards meet up properly when installing them.
Please note that some laminate brands may specify that the boards should be installed left to right or right to left. This is important for the overlap at the ends. Do the opposite on the wall regardless of how it says to install it on the floor. So, if the boards are supposed to be installed left to right on the floor, install them from right to left.
Once the first course of boards is installed, each successive course is installed above it, setting the groove from the new board over the exposed tongue on the lower course. Each board will need the same serpentine line of structural adhesive and be nailed at each stud line. Ensure the vertical joints between adjacent boards are staggered by at least six inches.
When the top board is reached, it will most likely need to be trimmed, just as the bottom. Once again, leave ¼” of space between the top of the last board and the ceiling or any trim, such as crown molding. These top boards can be nailed through their face at the very top, as those nails will be covered by trim.
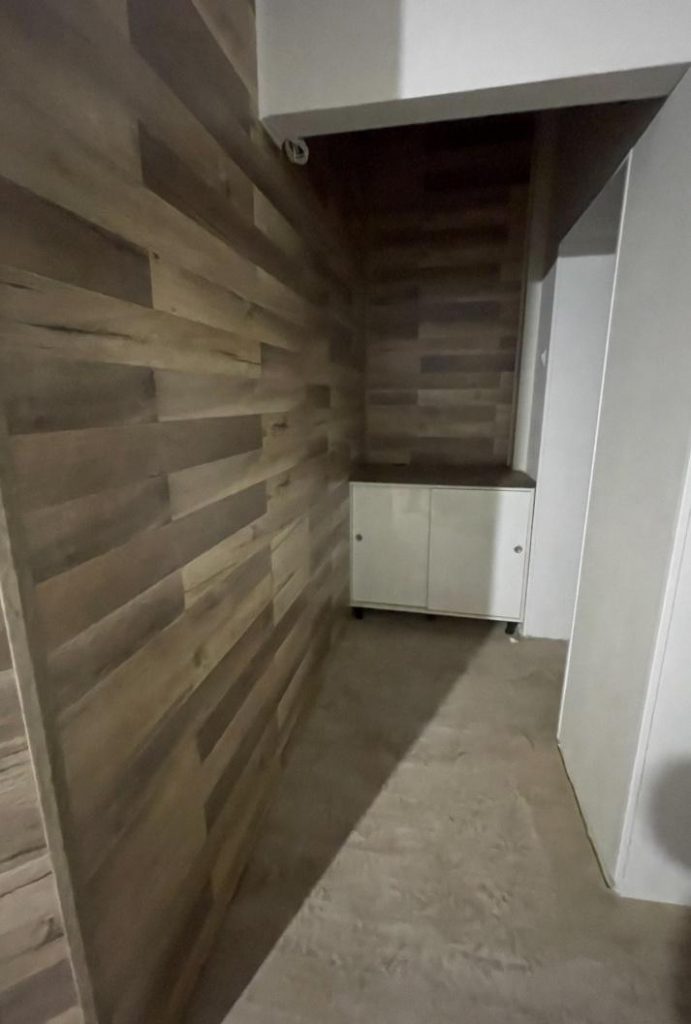
Hallway
Finishing the Wall
If the baseboard was removed to install the wall, then either the old baseboard or the new baseboard needs to be installed first. Where the baseboard comes up to an inside corner, use a profile gauge to transfer the contours of the existing baseboard to the end of the new piece of baseboard. Then cut that line, slightly undercut with a coping saw. You should end up with the face edge sticking out a touch farther than the back edge, rather than the end of the piece of trim being square. When this is installed onto the wall, overlapping the adjacent piece of baseboard at the corner, it should appear to be a mitered corner.
In places where the home would typically have trim installed, such as the abovementioned baseboard or for window casings, it is best to match the trim with what is used throughout the home. But for the other edges, where there is a ¼” expansion gap, the manufacturers of floor laminate also make a variety of matching trim to be used with their products. These can be cut and installed just like any other architectural trim. The big difference between these trim products is that they are made with a step to go over the laminate and are finished to match the flooring.
Another option for covering the expansion gap is to use a normal quarter-round trim and finish it to match the rest of the trim in the room. Finishing it before installation helps prevent paint or finish from getting on the laminate. The nail hole can be puttied and a dab of paint applied after installation without the risk of getting finished on the wall.
Once the laminate is on the wall, there is no need to apply any finishing products, as it comes from the manufacturer already finished. It is not designed for varnish or other finished products to be applied over the factory finish.
Vinyl Shake Siding: Durable, Stylish & Low-Maintenance by Admin July 20, 2023 Installing Home maintenance can be challenging, especially when buying a used home from someone who hasn’t paid as much attention to their home as they should…