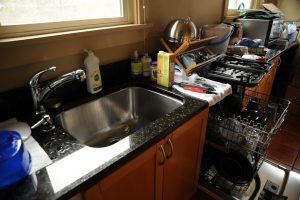
Wooden draining boards were a common sight in kitchens in the early part of the 20th century, when kitchens were built in place by carpenters, instead of being “installed” in modular form as they are now. These draining boards were made by hand.
The process is very similar to that used to make a cutting board or butcher block with the addition of shallow grooves to catch and guide the water in the desired direction. Solid wood boards wide enough to serve as a draining board will be hard to find and probably will be subject to excessive twisting, cupping or cracking over time.
Best results will be obtained by laminating suitable hardwoods into boards of the required width and length. This is done in exactly the same way that cutting boards and butcher blocks. Suitable materials will be any durable, water resistant, hardwood boards cut from straight grained stock without knots. In most cases. it will probably be best to purchase pre-laminated boards.
Maple butcher block is easily available and can be purchased by the foot in various useful widths. To encourage water to drain into an adjacent sink and not onto the floor the usual solution is to route a shallow channel around three sides of the board to catch run off and direct it towards the sink. To improve performance, the board will normally be set at an angle (about 15º) to improve drainage. The center of the board is often slotted with parallel grooves, also slopping towards the adjacent sink.
Using Plywood
Plywood should not be used as it is not suitable for a kitchen surface; even water resistant or ‘exterior’ grade plywood will perform badly. The only possible exception would be a plywood made from a water resistant hardwood with a similar ‘solid core’, which will probably be more expensive and less durable than an equivalent butcher block material.

Protection
The best protection for such boards will be either a two-part epoxy varnish or the more traditional oil finishes, such as teak oil. Do not use a traditional or polyurethane varnish. Although they will give pleasing initial results, over time they will deteriorate without elegance. I would recommend regular light applications of teak oil. Important tip: Make sure to apply whatever finish or protection you choose, on all sides of the board, especially for the initial applications. Failure to do so will result in cupping and twisting of the board, as it dries or absorbs humidity unevenly over time.


