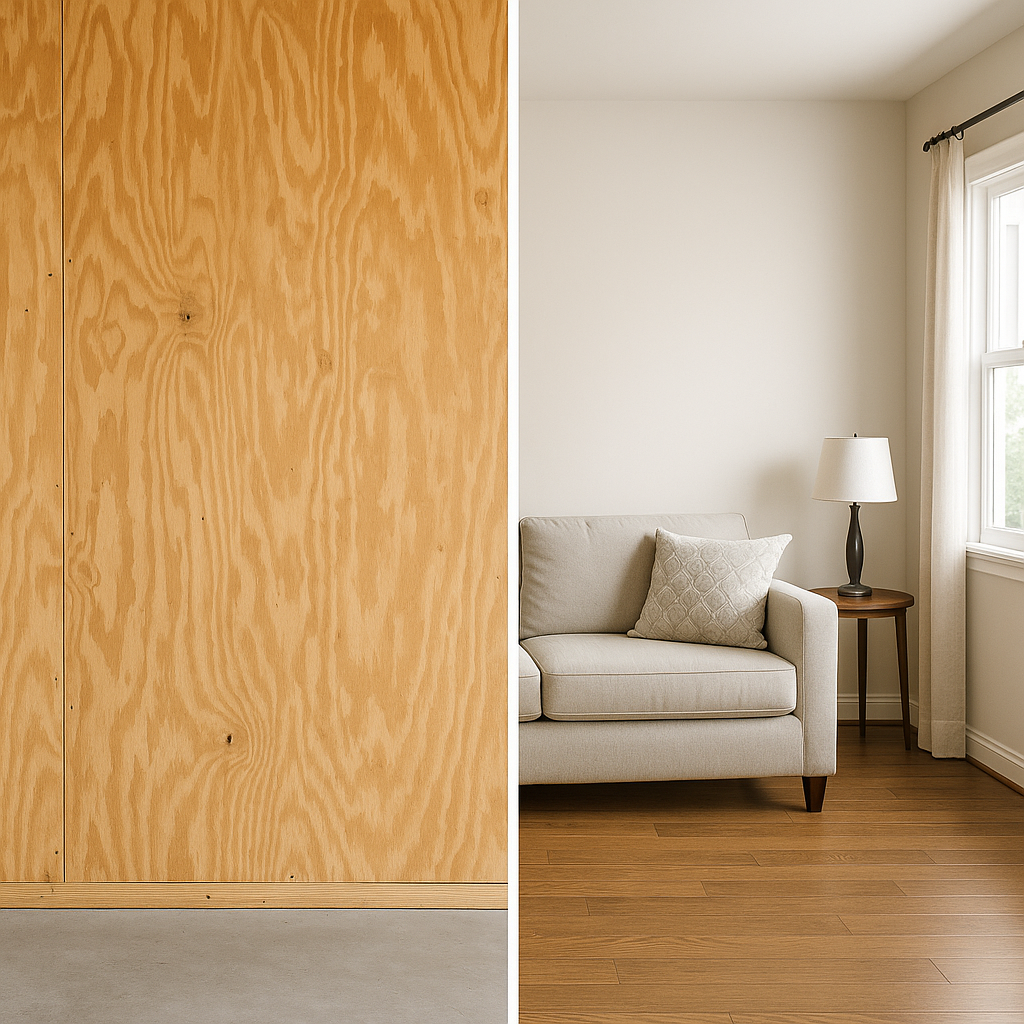
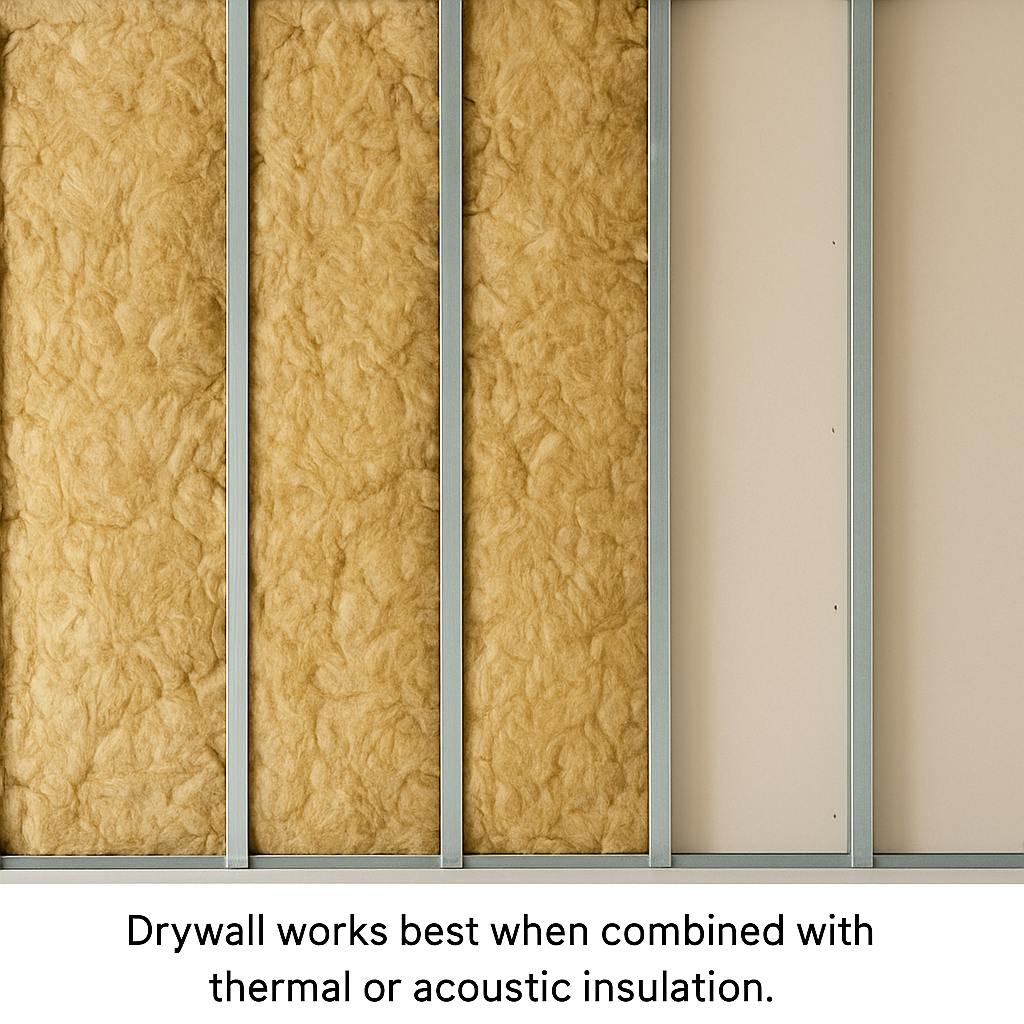
Drywall is what you see in most modern homes. It’s made from gypsum sandwiched between two sheets of heavy paper. It’s quick to install, paint-friendly, and often considered the go-to for clean-looking walls.
Why people love drywall:
It’s cheap and easy to find.
You can paint, texture, or wallpaper it.
It gives a smooth and polished finish.
But it’s not perfect:
Drywall is fragile—a doorknob bump can dent it.
It doesn’t like moisture, and mold can be a big problem.
It doesn’t handle heavy loads without anchors.
What is Plywood?
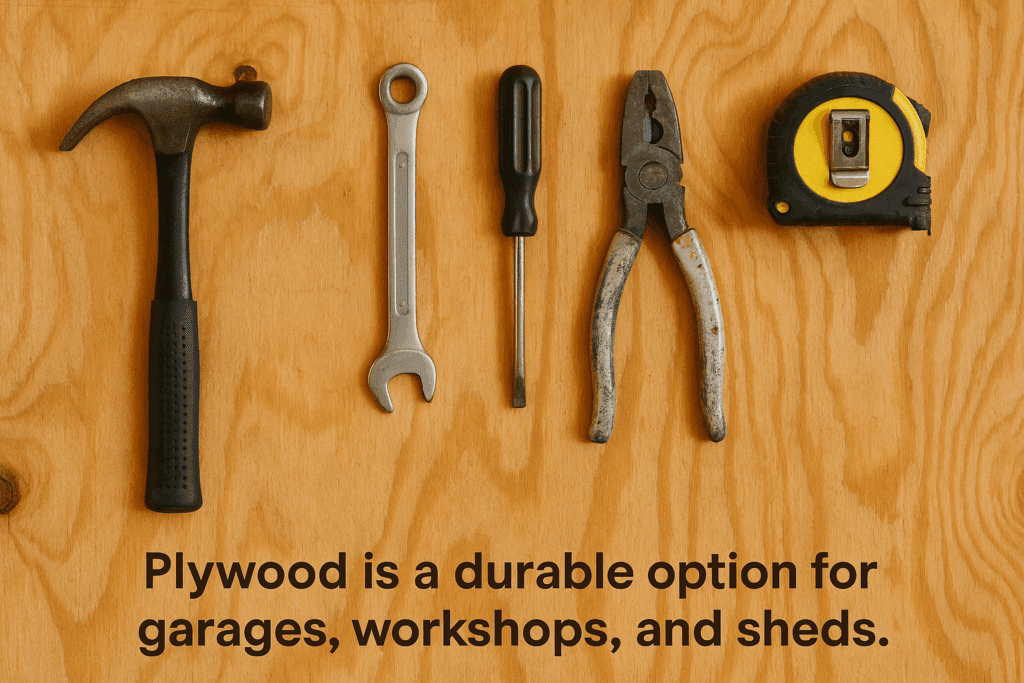
Plywood is engineered wood—thin layers of real wood glued together. Unlike drywall, it’s rugged and can take a beating. People often use it in utility rooms, garages, and sheds. But that doesn’t mean it can’t look nice indoors, too.
Why people choose plywood:
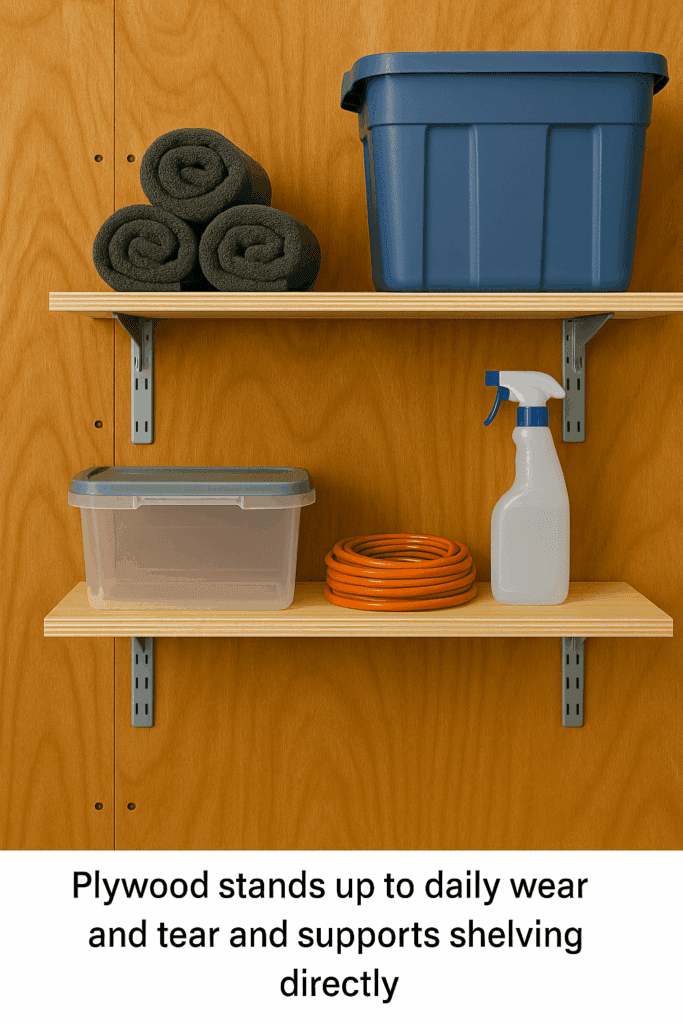
It’s strong—you can screw things directly into it.
It holds up in wet environments better than drywall.
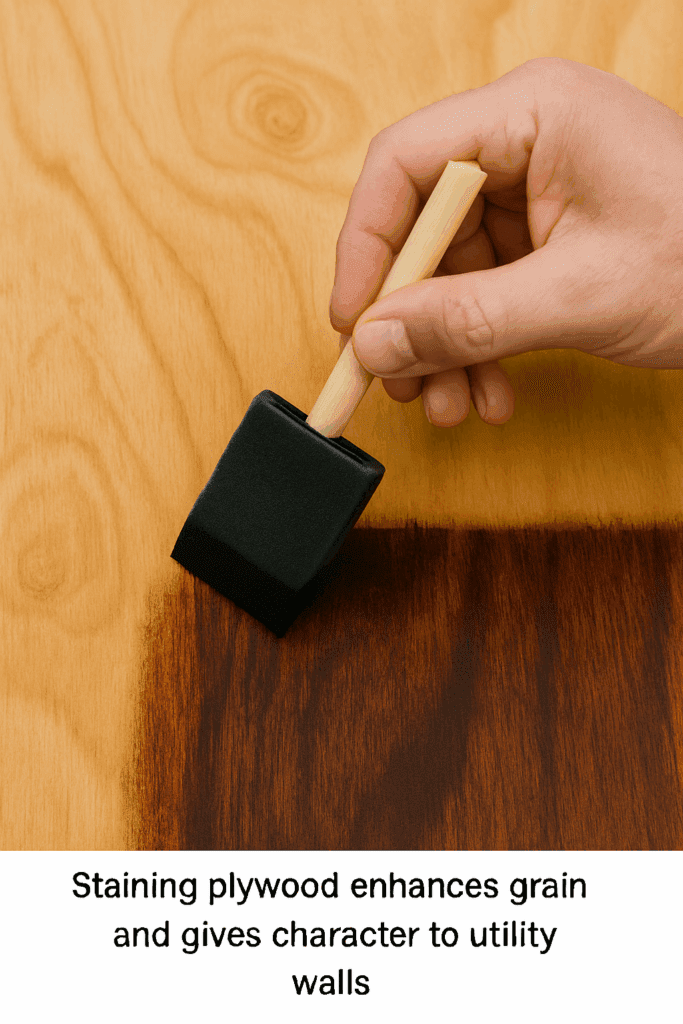
It has a natural wood grain that you can stain or seal.
What to watch out for:
Plywood costs more than drywall.
It takes more work to make it look decorative or finished.
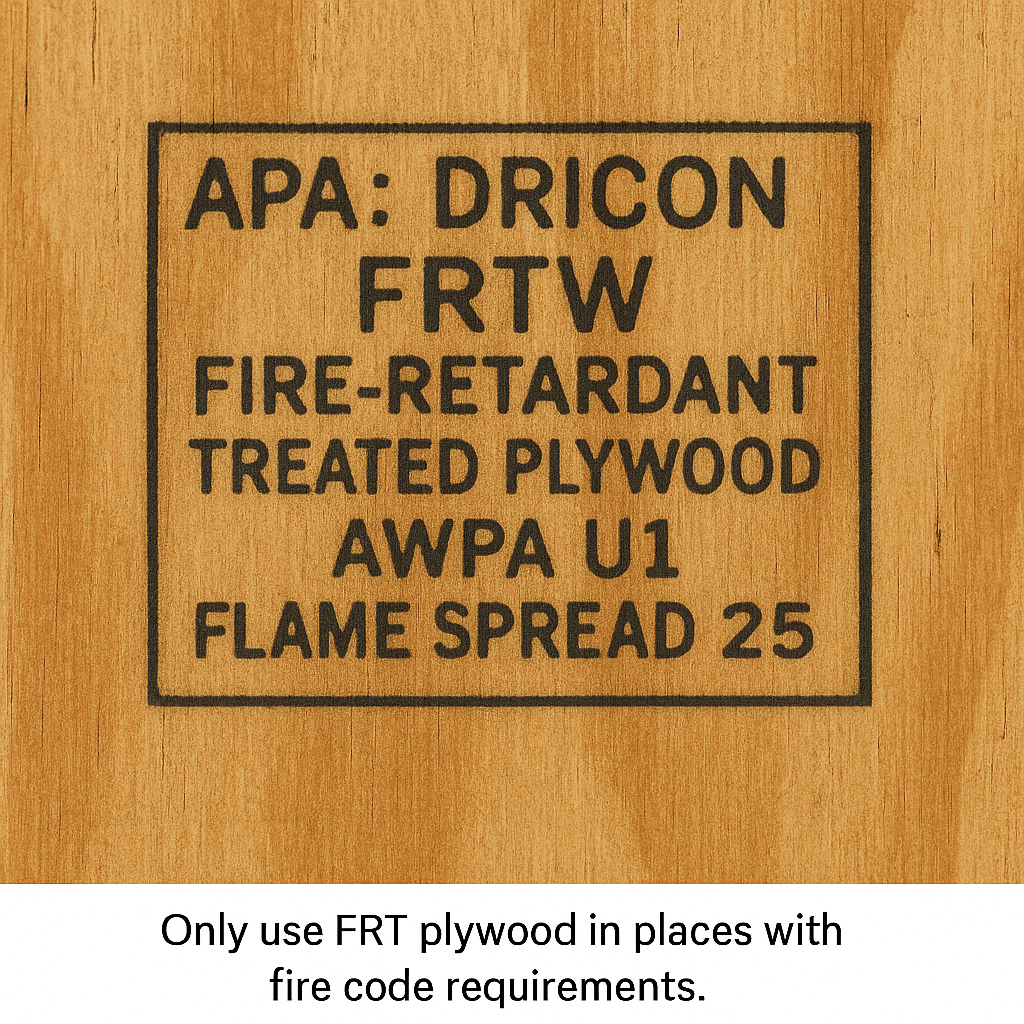
It’s flammable unless you treat it.
Real-Life Comparison: What Matters Most in Your Space?
Let me break it down from my own experience and those of other homeowners I’ve worked with. If you’re choosing between plywood and drywall, the differences show up in how they behave once the walls are up.
Cost-wise, drywall is the obvious winner if you’re on a budget. It’s readily available, and contractors are used to working with it. Plywood, especially cabinet-grade or marine types, is significantly more expensive per sheet, and that adds up fast on big projects.
When it comes to strength, there’s no contest. Plywood can take a beating. You can screw into it, mount shelves, even hang a bike—no anchors needed. With drywall, you’re constantly reaching for stud finders or wall anchors just to hang a picture.
If moisture is a factor (think basements, laundry rooms, or unheated sheds), plywood holds up better, especially if sealed properly. Drywall tends to absorb water like a sponge, which leads to mold and disintegration over time unless you use special mold-resistant boards.
In terms of fire resistance, drywall has the edge. That gypsum core helps slow the spread of fire, which is why building codes often require it in garages and between the house and the attached garage. Plywood? You’ll need a fire-rated version, which costs even more.
Appearance is subjective. Plywood has a raw, natural look that works beautifully in rustic or modern designs when stained or sealed. Drywall, meanwhile, is a blank slate—smooth, paintable, and familiar.
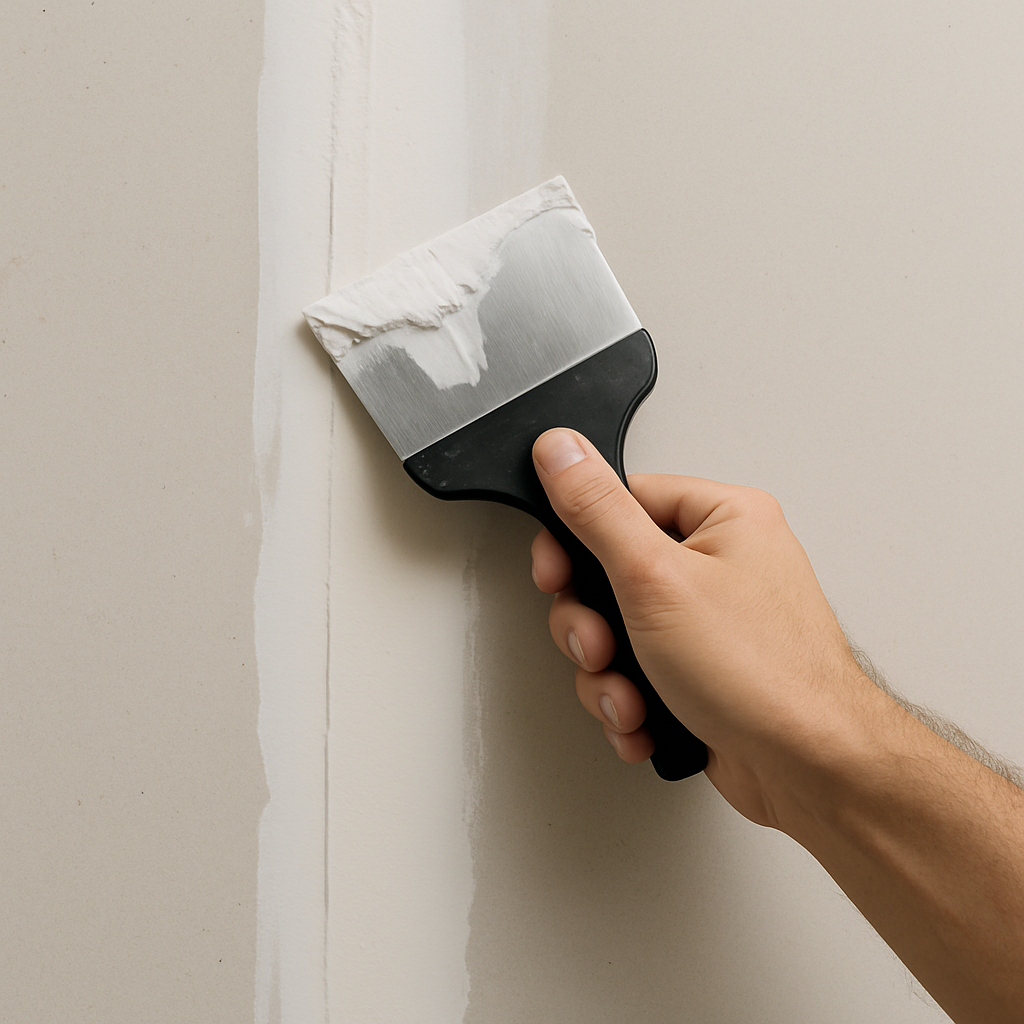
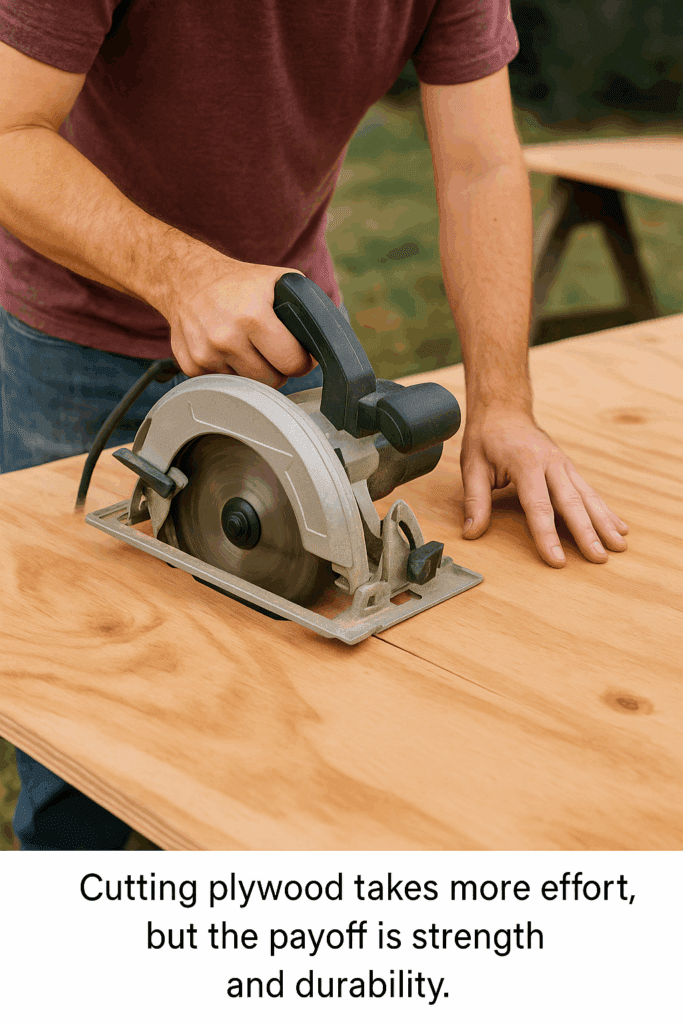
As for installation, drywall is lighter and easier to score and snap with a utility knife. Plywood, on the other hand, needs proper saws, creates more dust, and usually requires finishing work if you want it to look nice.
Plywood vs Drywall in Living Spaces: When Drywall Is the Right Choice
Drywall is a no-brainer in most indoor rooms—especially bedrooms, hallways, and living areas where looks matter more than strength.
🛋️ Living Room or Bedroom Walls
Affordable and easy to paint.
Great for clean aesthetics.
🚿 Bathrooms (with moisture-rated boards)
Green board or mold-resistant drywall is your friend here.
Plywood vs Drywall for Strength: When Plywood Is the Better Call
Plywood works great anywhere you need extra durability—or a different look.
🛠️ Garages and Workshops
Hang tools directly—no anchors needed.
🌧️ Sheds or Utility Rooms
Sealed plywood can withstand moisture and heavy use.
🎯 Design Tip: For a modern twist, try prefinished plywood panels as a wall accent.
If you’re after a clean, finished, and fire-resistant wall, drywall is the way to go. But if strength, durability, or a natural look are more important, plywood is worth the extra effort and cost.
And in some cases? Mixing both can give you the best of both worlds.
Final Thoughts: Thinking Beyond the Basics
Choosing between plywood and drywall isn’t just about construction—it’s about lifestyle. Think about how you use the room. Are you mounting bikes in your garage? Are your kids constantly bumping walls with toys? Do you want a rustic cabin vibe in your office or a modern, sleek look in the guest bedroom? These choices go beyond specs—they reflect your daily habits, your style, and your long-term goals. One often overlooked factor is resale value.
Drywall is standard and expected, which makes it easier when selling. But plywood, used creatively, can set your home apart, especially in accent walls or unique workspaces. Even sustainability comes into play. Plywood, especially FSC-certified types, often has a lower environmental impact over time compared to paper-covered gypsum board that needs frequent replacement. If you’re a DIYer, plywood might make more sense, even if it costs more, because you’ll save time on patching and painting down the line. If you’re hiring a contractor, drywall might reduce labor costs.
There’s no perfect answer—but there’s always a smart one. Assess your space, your budget, and how hands-on you want to be. And if you’re stuck? Start with drywall for the main living spaces and experiment with plywood in a single room. That one choice might be the most satisfying upgrade you make this year.
Let us know what you’re building—we’d love to help you choose the right materials!
Related Posts:
Which Material is the Best for Covering Plywood by Admin March 21, 2025 DIY Knowing how to cover plywood properly can make all the difference in how your finished project looks and lasts. If you’ve ever stepped back from…
Plywood vs Hardboard: Which One Is Right for Your Project? by Amy Reed September 8, 2025 More About Whether you're building a cabinet, designing wall panels, or installing subflooring, choosing the right type of wood product is essential. Two popular options, plywood and…