There’s something special about curved wood. It softens the lines of furniture, brings warmth to architecture, and offers a handmade charm that flat panels simply don’t. When you see curved plywood in a project, it tells you someone took the time to go beyond basic construction.
In this guide, I’ll break down different techniques for bending plywood—some traditional, some innovative—and walk you through the tools, wood types, and methods I’ve personally used for everything from cabinet doors to ramps and sculptural pieces.
What You Need to Know About Bending Plywood
Plywood doesn’t all bend the same way. Flexibility depends on thickness, grain direction, and quality. Thin sheets are more pliable, but even thicker plywood can bend with the right approach. There are also purpose-made products like “bending plywood” and “flexible board” that offer greater flexibility out of the box.
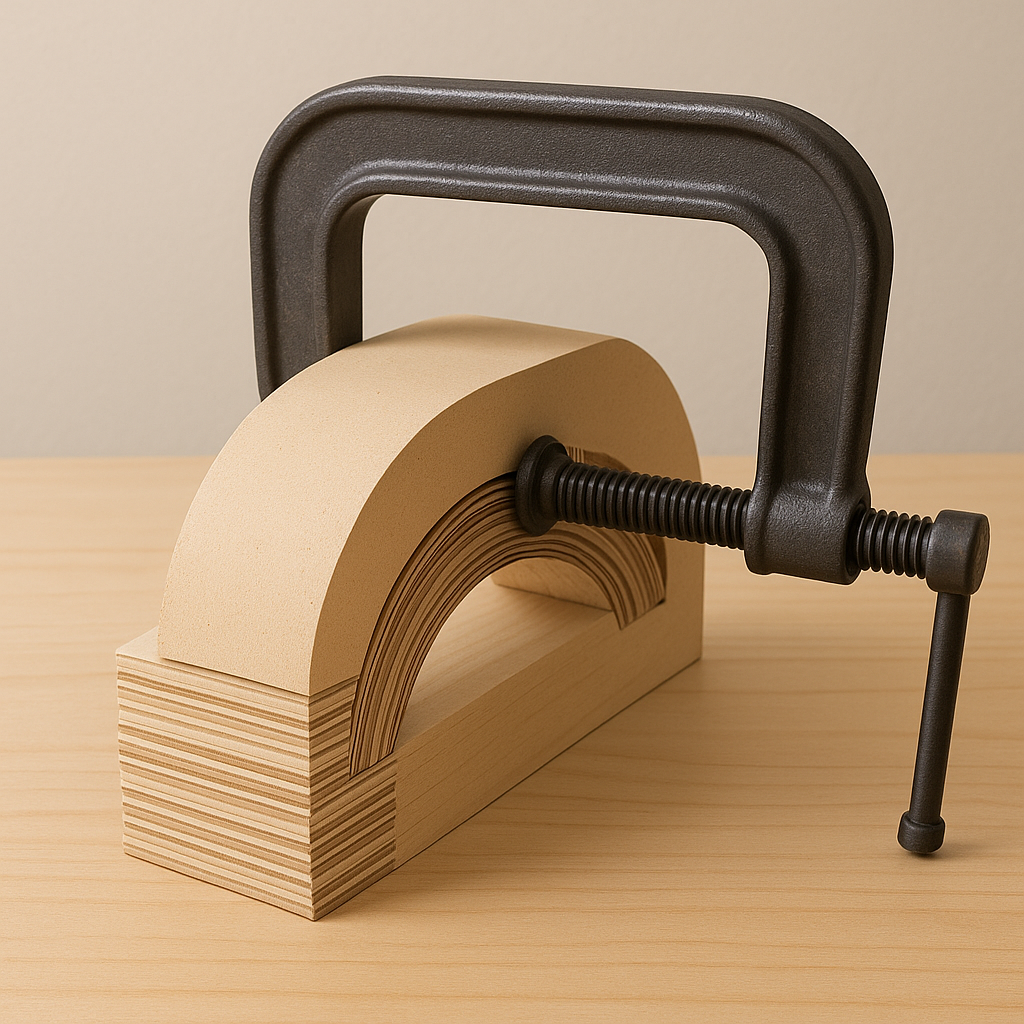
For visible curved surfaces, the best results usually come from gluing together multiple thin layers over a form. This technique creates strength and smooth curves ideal for furniture or trim.
Tools and Materials You’ll Need
Here’s what I recommend having on hand before you begin:
Thin plywood (1/8″ to 1/4″)
High-quality wood glue (like Titebond III)
Mold materials: MDF, plywood scraps, or 2x4s
Clamps—lots of them
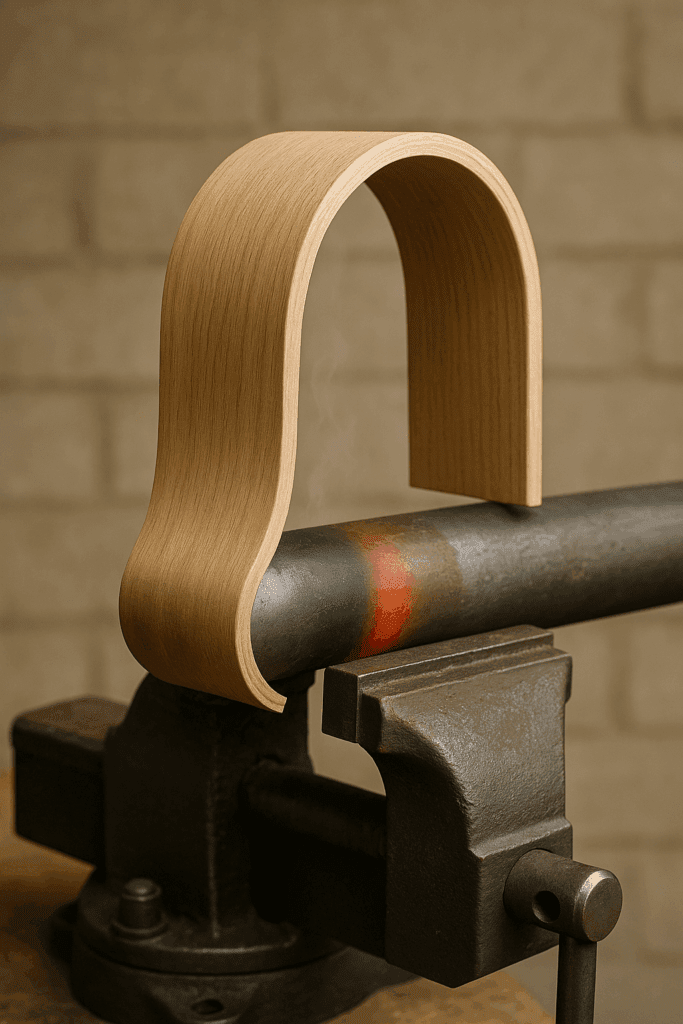
Heat gun or propane torch (for dry heat method)
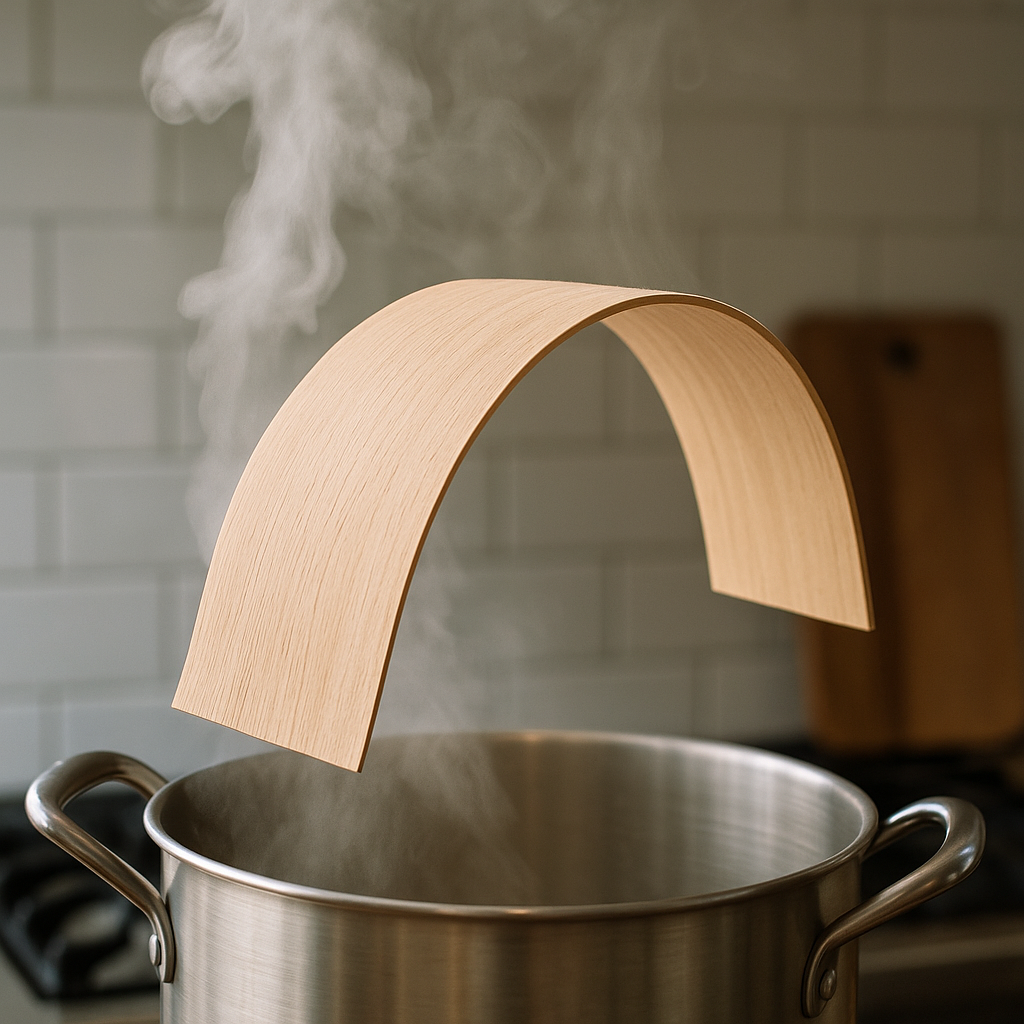
Steamer pot or wallpaper steamer (for steam bending)
For projects like boat hulls or sculptural forms, you may need compound curves.
Tips:
Use extra-thin plywood or specialty flexboard
Build a multi-directional mold
Work slowly and don’t force the bend
Always test first on a scrap piece
Best Plywood Types for Bending
Here are the plywoods I trust when I need a clean bend:
Bending plywood / flexboard: Designed for this exact job
Baltic birch: Consistent, void-free, ideal for molds or kerfing
Aviation plywood: Thin and strong for models or curves
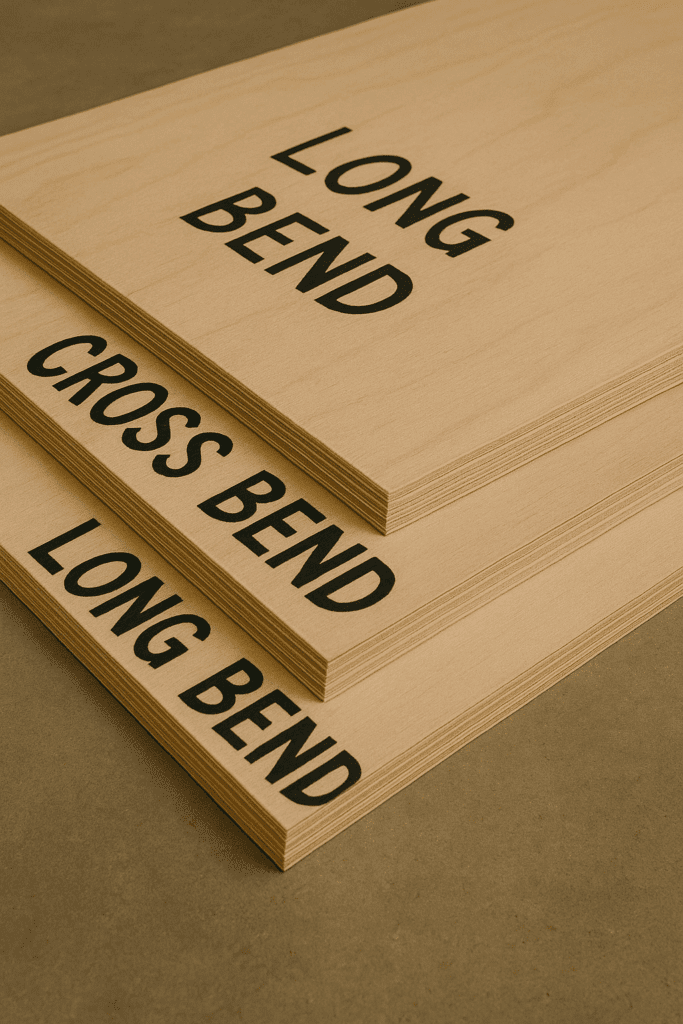
Radius plywood: Bends across or along the grain
Avoid: OSB, MDF, or cheap plywood with gaps inside
Need a Shortcut? Use Pre-Curved Plywood
Don’t want to bend it yourself? Pre-curved plywood is available online. It’s shaped and ready for use in projects like columns, arches, or desk fronts.
Note: Most flexible plywood is meant for interior use only.
Final Thoughts
Bending plywood isn’t as intimidating as it looks. With the right prep and patience, you can pull off stunning curves that bring your woodworking to life. Try different techniques to see which works best for your project.
Looking for more woodworking tips? Visit ThePlywood.com for detailed tutorials, plywood comparisons, and DIY builds that inspire.
Frequently Asked Questions About Bending Plywood
Can I bend plywood without any special tools?
Yes, you can. If the curve is gradual—like those needed for skate ramps or furniture edges—standard plywood (3/8″ or thinner) can usually be bent by hand and screwed into place along a frame. You don’t always need heat, steam, or molds for these types of bends. A couple of extra hands and some patience go a long way.
How do I keep bent plywood from springing back?
Springback is common if the plywood isn’t held in position long enough. The key is to clamp it firmly in a mold or form until it fully dries or cures, especially when using glue. If using heat or steam, let the wood dry for at least 24–48 hours (or longer for thicker pieces). When gluing layers, full drying is essential before releasing the clamps.
What glue is best for bending plywood?
Use a high-quality wood glue like Titebond III. It has strong adhesion and resists moisture, which is important when you’re applying glue between thin sheets in a curved mold. Make sure to spread glue evenly to prevent gaps or weak spots in the bend.
Yes, a heat gun is a safer and more controlled option than a torch, especially for smaller projects. It works well for softening thin plywood over a curved form. Just remember that heat alone won’t bend every type of plywood—birch, poplar, and mahogany respond best.
How do I choose between steam, heat, kerfing, or molds?
It depends on the type of curve, plywood thickness, and your tools. For smooth, visible curves, laminating thin layers in a mold is ideal. Steam works for lightweight, small parts. Heat is great for quick bends in cooperative wood. Kerfing is your best bet for thick sheets or tight radii where traditional bending would fail. Always test first!