I’ve built a few cornhole boards over the years — mostly for family barbecues and neighborhood game nights. It’s one of those backyard projects that’s simple, fun, and surprisingly satisfying. You don’t need fancy tools or high-end materials, just a few basics and a free afternoon.
Cornhole, also known as bean bag toss, has been played in one form or another since the 1800s. The modern version — with set board dimensions and official scoring — took off after Popular Mechanics featured it in 1974. The game uses small fabric bags filled with dried corn kernels (not beans), which is where the name “cornhole” comes from.
In this guide, I’ll show you how to build a full regulation set, step by step — including the dimensions, materials, and tips I’ve picked up along the way.
What You’ll Need
Materials
(2) ½” plywood sheets, 24″ x 48″ (sanded or construction grade)
(8) 2×4 boards — (4) at 48″, (4) at 21″, (4) at 14″ for legs
Wood glue
16d nails or construction screws
(2) 3/8″ x 3½” carriage bolts, with fender washers and nylon lock nuts
Distance Between Boards: 27′ (front edge to front edge)
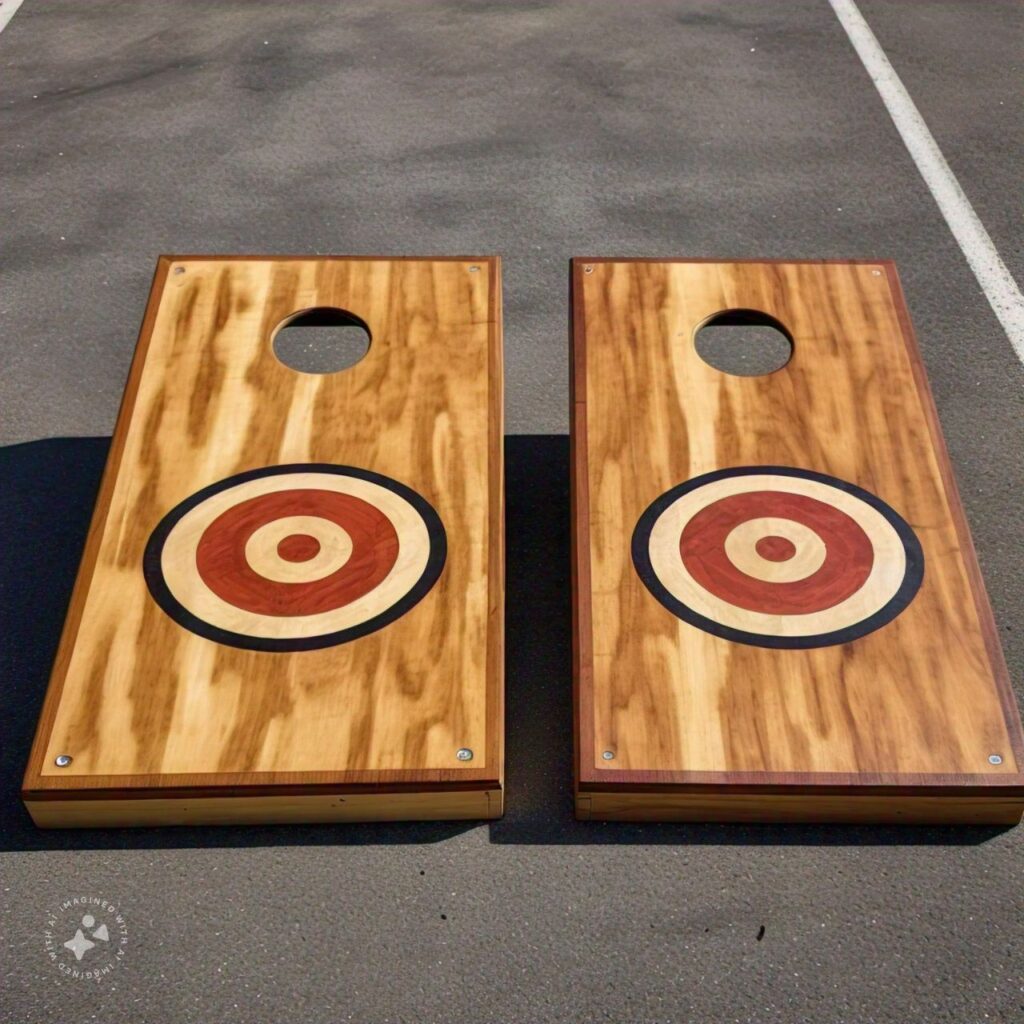
Fun tip: Boards are often painted in bright colors or sports team themes. Feel free to customize yours once it’s built.
Step-by-Step: How to Build Cornhole Boards
Cut Your Materials
Cut the plywood to 24″ x 48″ for the tops. Then cut the 2x4s:
(4) at 48″ for the long sides of the frames
(4) at 21″ for the short ends
(4) at 14″ for the legs (we’ll trim these later)
Cut the Hole
Mark the center of the hole 9″ from the top edge and centered side to side (12″ in from either side). Use a jigsaw to cut a 6″ circle, or use a 6″ hole saw if you’ve got one.
If your jigsaw work is a little rough, no worries — you can clean up the edge with a sanding drum or file.
Build the Frame
Create a box frame using the 48″ and 21″ 2x4s. Nail or screw them together with wood glue. Don’t screw into end grain — it won’t hold well. Nails are better here, or use pocket holes if you prefer.
Make sure your corners are square, and the frame is flush with the edges of the plywood. Attach the plywood top to the frame using glue and screws or nails, countersinking the screws and filling with wood putty if you want a clean finish.
Drill for the Legs
Drill a 3/8″ hole through each side of the frame where the legs will attach. Place it about 1¾” from the top and 1½” in from the side — this helps the legs swing cleanly.
Cut a radius at the top of each leg (14″ 2x4s). Temporarily attach them with the carriage bolts and rotate the board upward. Set the back of the board at 12″ off the ground and scribe the angle where the legs meet your workbench. Cut along that line.
This trick lets the legs sit perfectly flush on the ground without measuring complex angles.
Final Assembly
Install the legs using the carriage bolts, washers, and nylon nuts. Tighten the nuts just enough so the legs rotate but don’t swing freely. You want them to stay in place when opened.
Give everything a good sanding, especially the top surface and hole edges. Then paint, stain, or seal your boards however you like.
Bonus Tips
Use exterior-grade paint or polyurethane if you’ll be storing the boards outdoors.
If you’re making bags too, use duck cloth and fill them with 15–16 oz. of whole kernel corn.
You can customize with team logos, monograms, or LED lights around the hole (yes, really—they sell kits!).
Final Thoughts
Building your own cornhole set is a great weekend project — whether you’re into tailgating, backyard BBQs, or just want to make something the whole family can enjoy. I’ve built a few for gifts too, and they’re always a hit. With the right tools, a little patience, and this guide, you’ll have a set that plays great and lasts for years.
How to Make Barn Quilts by Admin June 3, 2025 DIY Walk through rural America and you’ll start noticing a charming trend on barns, sheds, and even garages—large, colorful quilt block patterns painted right onto the…
How to Make a Bucket Toilet by Admin August 2, 2023 DIY Anyone who enjoys hunting or fishing has probably seen a bucket toilet sometimes. More and more campers are using them as well. Instead of buying…


")

")

