If your home is built on a concrete slab and you’re dreaming of installing real hardwood floors, you’ll need a sturdy plywood subfloor in place first. Concrete might be tough, but it’s not ideal for nailing hardwood directly, and that’s where the plywood layer comes in.
In this guide, I’ll walk you through the complete process of installing a plywood subfloor over concrete, including how to test moisture levels, level your slab, install a moisture barrier, and securely attach the plywood. We’ll also cover alternatives, such as floating floors, and discuss when vinyl or engineered wood might be better options.
Preparing for Plywood Installation: Tools, Space, and Safety
Before bringing home your first sheet of plywood, ensure your workspace and tools are ready. Installing a subfloor over concrete isn’t just about hammering things down—it requires accurate planning, personal safety measures, and a clear workspace.
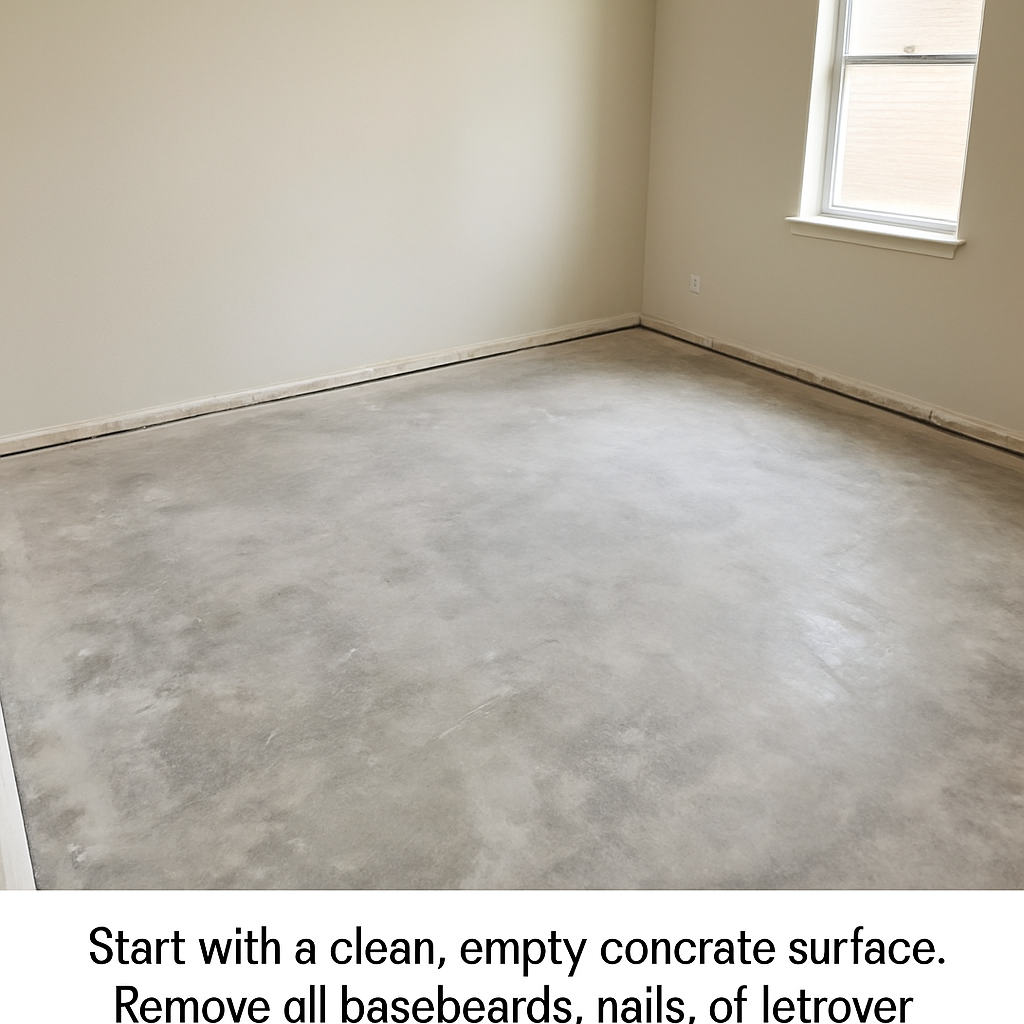
Clear the Area Move all furniture and clear the concrete slab completely. Sweep and vacuum the space to remove debris. Even small rocks or dust particles can affect the flatness of your plywood later.
Check Your Ceiling Height If you’re adding both a plywood subfloor and a thick hardwood top layer, measure your ceiling height to ensure it won’t feel cramped or interfere with door swings or appliances.
Gather the Right Tools Here’s a checklist of tools you’ll need before you begin:
Hammer drill with concrete bit
Circular saw for trimming plywood
Pry bar (for removing old baseboards)
Measuring tape and chalk line
Leveling compound or grinder
Vacuum and mop
Safety gear (eye protection, gloves, earplugs, and knee pads)
🛠️ Pro Tip: Rent tools like a floor grinder or rotary hammer from your local hardware store if you don’t own them. This can save hundreds in costs.
Wear Protective Equipment Working with concrete and power tools can be messy and dangerous. Always wear:
Eye protection when grinding or cutting
Gloves when handling plywood and fasteners
A dust mask if you’re working with leveling compounds or sawing materials
Mark Layouts and Obstacles Use a chalk line to mark out your plywood layout. This helps ensure your panels are staggered properly and don’t line up with seams across the room. Also, mark plumbing lines, heating vents, or electrical conduits that run under the slab to avoid drilling into them.
Measure Twice, Cut Once Double-check room dimensions and calculate how many full plywood sheets you’ll need. If you’re using 4’x8′ panels in a 250 sq. ft. room, you’ll need at least 8 sheets. Add one or two extras in case of mistakes or miscuts.
Getting organized before you start not only saves time but also prevents costly mistakes and ensures your plywood installation will go smoothly from the first panel to the last screw.
Cost Breakdown: Installing a Plywood Subfloor Over Concrete
Before you start cutting wood or drilling holes, it’s smart to understand what this project will cost. While prices vary depending on your region and the size of the space, here’s a breakdown based on a typical 250-square-foot room.
1. Plywood Sheets
Quantity: 8 sheets of 3/4-inch CDX plywood (4’x8′)
Cost: $45–$60 per sheet
Total: ~$400
2. Moisture Barrier
6-mil Polyethylene roll: ~$40–$70
Waterproof tape: ~$10–$20
3. Fasteners & Adhesive
Tapcon Screws or Powder-Actuated Nails: ~$30–$50
Optional: Flooring Adhesive (if not screwing down): $60–$100
4. Tools (Purchase or Rental)
Hammer drill rental: ~$30/day
Floor grinder rental: ~$40–$70/day
Self-leveling compound: ~$40 per bag (may need 2–4 bags)
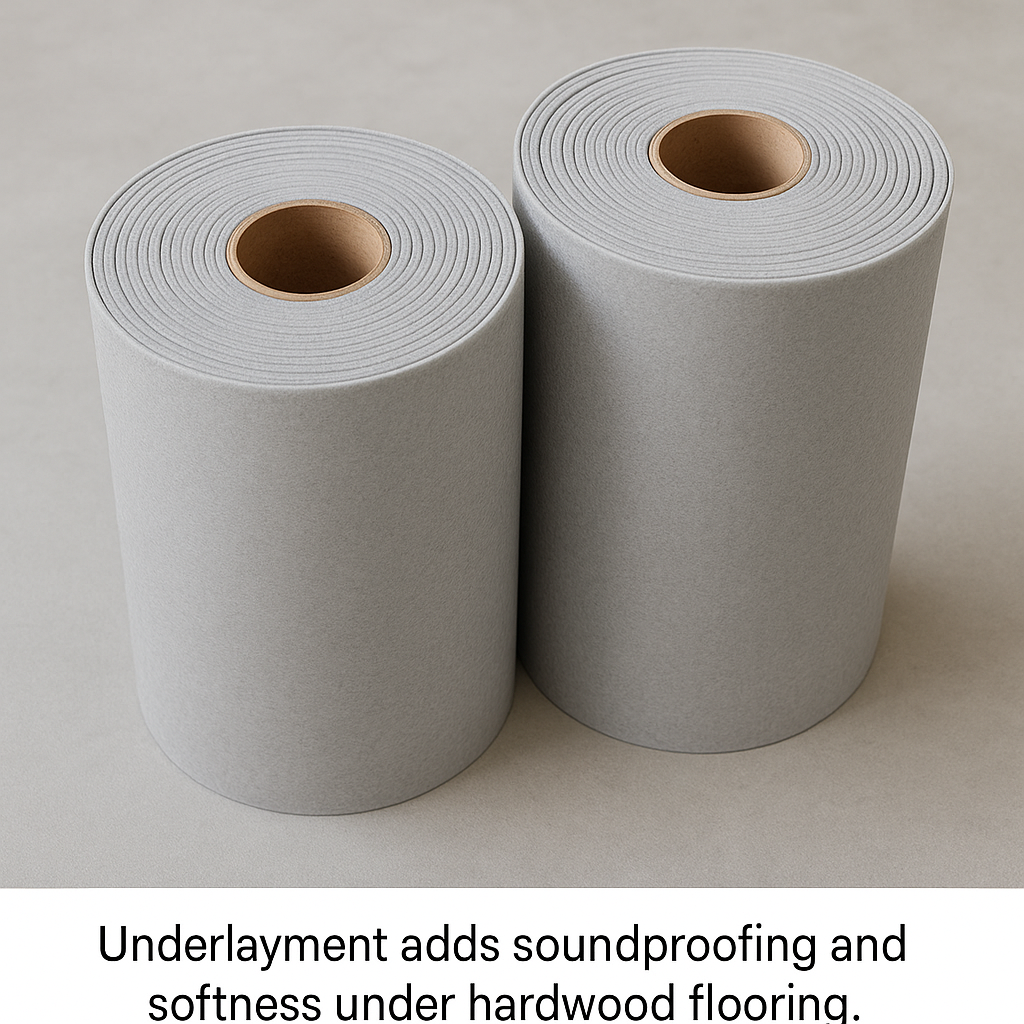
5. Underlayment (for Floating Floor)
Cork/Rubber pads or foam rolls: $1–$2/sq. ft.
Total Estimated Cost Range: Low end (basic install with screws): $600–$800 High-end (floating system with adhesive and tools): $1,000–$1,500
💡 Pro Tip: If you’re planning to install hardwood yourself, these materials are still cheaper than hiring a contractor. Just be sure to set aside extra for unexpected repairs like cracked concrete or extra leveling compound.
Common Mistakes to Avoid When Installing a Plywood Subfloor
Even experienced DIYers can trip up during this process. Here are the most common mistakes—and how to avoid them:
1. Skipping the Moisture Test Concrete slabs might look dry, but hidden moisture can destroy wood floors over time. Always test before starting. Use a moisture meter or the plastic sheet test.
2. Not Using a Vapor Barrier This is non-negotiable. Without a proper moisture barrier, water vapor will creep up into the plywood and hardwood. Use 6-mil plastic, and seal it completely.
3. Ignoring Expansion Gaps Wood moves. Without 1/8” spacing between sheets and 3/4” around walls, you risk buckling. If it’s your first time, lay the plywood dry and practice spacing before final fastening.
4. Poor Fastening Technique If using Tapcon screws, drill straight and space consistently. Don’t overtighten—this can split plywood or cause bumps. Always recess screw heads below the surface.
5. Uneven Concrete Left Untreated A few bumps or dips might not seem like a big deal—until you try walking across finished hardwood and hear squeaks or feel soft spots. Spend time grinding and leveling.
6. Forgetting to Clean the Dust Dust acts like a barrier and weakens the adhesive or fastener grip. Always vacuum and sweep thoroughly before and after laying plywood.
7. Using the Wrong Plywood Type Avoid lauan, OSB, or pressure-treated sheets unless your project requires them specifically. Stick to structural-grade CDX or Exposure 1-rated plywood.
8. Overlooking Joist and Load Considerations If you’re pouring concrete over plywood for something like tile or countertops, make sure your joists can handle the added weight. Consult an engineer if needed.
✅ Avoiding these mistakes means fewer repairs, fewer regrets, and a floor that holds up for decades.
When to Call a Professional: Warning Signs You Shouldn’t Ignore
While installing a plywood subfloor over concrete is a rewarding DIY project, there are times when calling a professional is the best option. Here’s how to know when it’s beyond your scope.
1. Visible Cracks or Structural Damage If your concrete slab has wide cracks (larger than 1/4 inch), signs of heaving, or large chunks missing, this may indicate foundational movement. A flooring installation won’t fix this—you’ll need a structural assessment.
2. Excessive Moisture or Mold Smell If your moisture test shows readings consistently above 5.5%, or you smell mildew or see mold stains, you may need a professional waterproofing contractor. Slapping down plywood will trap that moisture and create a long-term problem.
3. Uneven Slab With Major Slope A small slope is fine and can be ground down or filled. But if your concrete is significantly off-level—more than 1/2 inch over 6 feet—it can cause severe installation and comfort issues. Professionals have the equipment to pour self-leveling overlays or fix grading issues properly.
4. Electrical or Plumbing Obstructions If your slab has radiant heat tubes, plumbing embedded in the concrete, or electrical conduit running just under the surface, drilling into the slab becomes dangerous. A licensed tradesperson can help map out and avoid these risks.
5. You’re Not Physically Comfortable With the Work Cutting, kneeling, drilling, lifting 70-lb sheets of plywood—it’s a workout. If you have back or knee issues or simply don’t want to risk injury, it’s worth hiring a carpenter or flooring installer to take over. Some homeowners opt to prep the slab themselves and leave the plywood fastening to a pro.
6. Large or Multi-Room Projects It’s one thing to prep a 150-square-foot guest room. It’s another thing entirely to do the whole first floor of your house. If your space has complicated layouts, stairs, or transitions between rooms, a flooring specialist can help plan for expansion joints and smooth transitions.
7. You Want a Warranty DIY work is satisfying, but it typically voids product warranties. If you’re using expensive hardwood, engineered flooring, or plan to sell your home soon, hiring a certified installer may protect your investment.
🧰 Bottom Line: If you’re unsure, bring in a pro for a consultation. Many will assess your floor for free and let you know whether you’re good to go or need backup.
Once your plywood subfloor is installed correctly, there are a few extra touches that can extend the life of your hardwood or vinyl flooring and make the space more comfortable:
Acoustic Underlayment: If you’re worried about sound transfer, consider adding an acoustic barrier between plywood and finish flooring.
Thermal Padding: Foam or cork underlayment helps insulate cold concrete floors and improves comfort, especially in basements.
Sealer or Primer: If you live in a humid area, sealing the plywood before laying hardwood can provide extra moisture resistance.
These finishing details don’t take much time or money, but can make a huge difference in the performance and longevity of your flooring system.
How to Apply Stucco Over Plywood by Admin March 21, 2025 More About Stucco Over Plywood: A Beginner-Friendly Guide Stucco has been used for centuries—and it’s still going strong. From ancient buildings in Europe to cozy homes across…
Precast Concrete Steps: Costs, Benefits & Installation Guide by Amy Reed March 21, 2025 More About Precast concrete steps are ready-made cement stairs, staircases, or hollow cement steps that can be installed outside existing staircases on a property or business premise.…
How to Pour Concrete Ramp by Admin April 1, 2025 More About There are times when a ramp just makes more sense than stairs—especially if you’re moving heavy tools, lawn mowers, or even a wheelchair. For something…