If you’ve ever tried removing rust from an old car part, prepping metal for powder coating, or cleaning stubborn paint off a tool, you know just how frustrating it can be without the right equipment. That’s where a sandblasting cabinet comes in.
This tool might look like something out of a machine shop, but it’s surprisingly useful (and accessible) for hobbyists, restorers, and small business owners alike. Whether you’re deep into automotive restoration, metal art, or tool maintenance, a well-chosen sandblasting cabinet can save you hours of work and deliver a much cleaner result.
In this guide, we’ll break down everything you need to know before buying or using a sandblasting cabinet—from how they work to the best models available, common mistakes, safety tips, and even how to build your own if you’re feeling handy.
🧽 What Is a Sandblasting Cabinet?
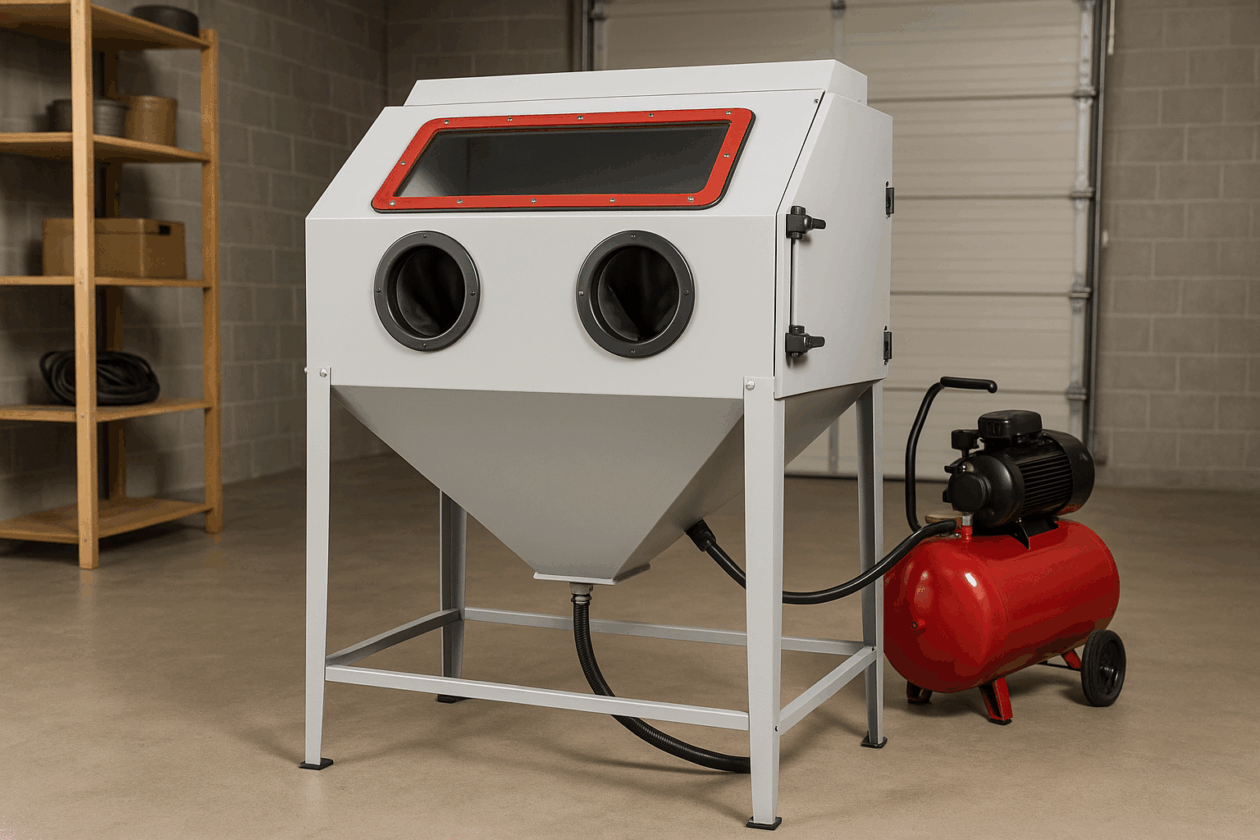
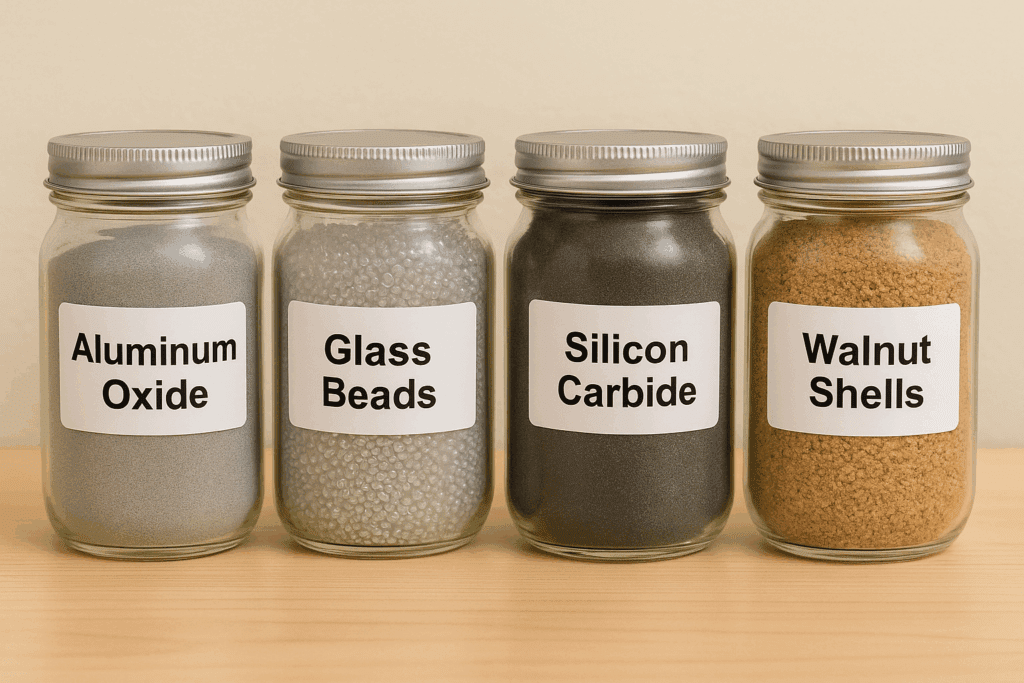
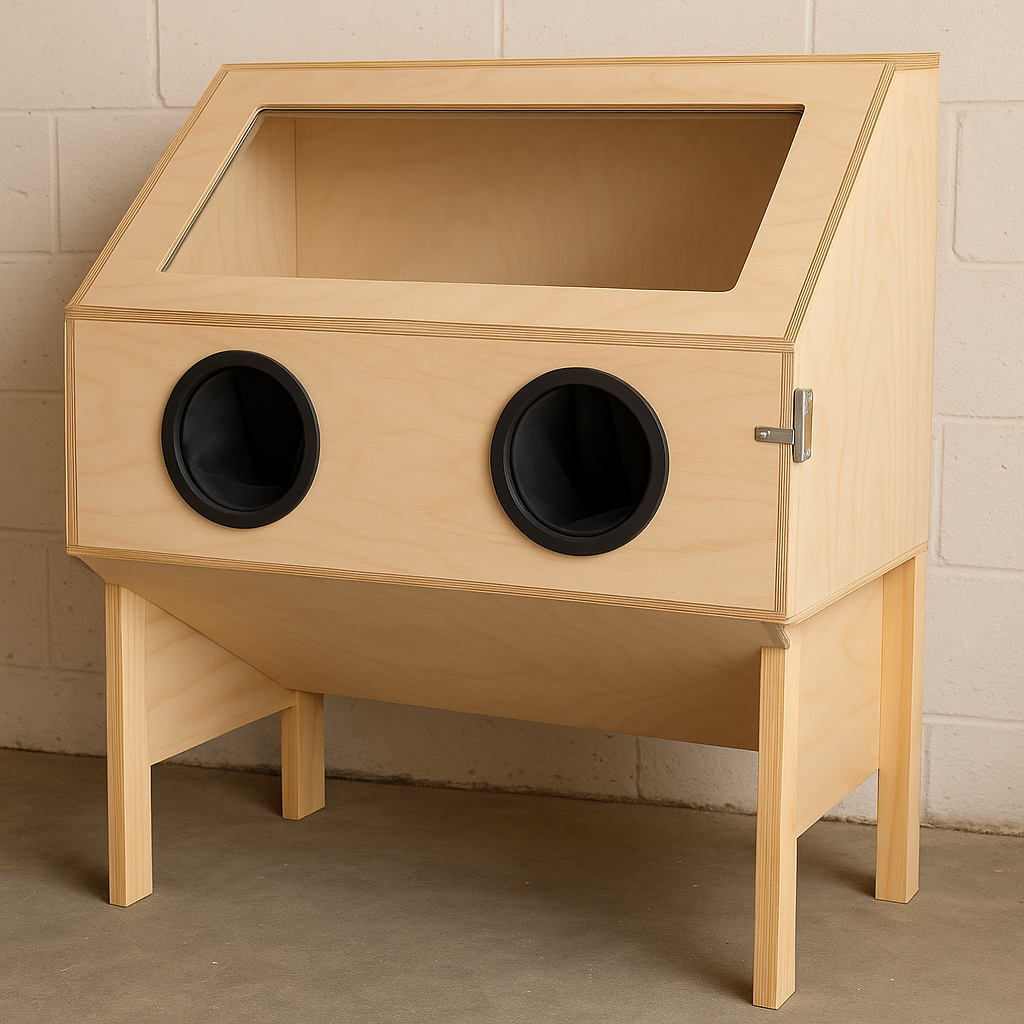
A sandblasting cabinet, sometimes called a bead blasting cabinet or abrasive blasting cabinet, is an enclosed workspace where you can safely blast abrasive media, like glass beads, aluminum oxide, or walnut shells, at an object to remove surface material.
It typically includes:
A sealed container (cabinet body)
A blast gun connected to an air compressor
A window with gloves for safe handling
A dust collector or ventilation system
A hopper or recovery system for media reuse
The cabinet keeps the media contained, so you don’t end up with sand and dust everywhere, and you can see your work clearly through the window while blasting inside.
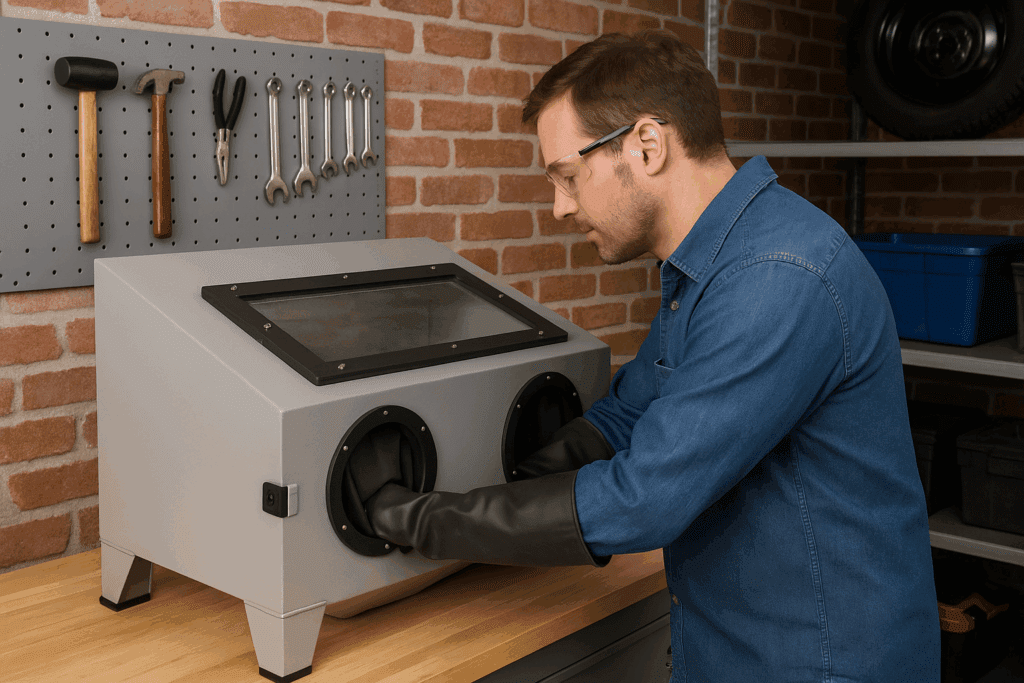
🔧 How a Sandblasting Cabinet Works
Here’s the basic idea: you place your item inside the cabinet, close the door, and use the gloves attached to the window to hold and maneuver the piece. Then you use the blast gun—powered by an external air compressor—to shoot high-speed abrasive particles at the surface. The material scours away rust, paint, oxidation, or other grime.
The media falls to the bottom, gets collected in a hopper, and is usually recirculated through the system.
💡 What You Can Use a Sandblasting Cabinet For
There’s a surprisingly wide range of uses for sandblasting cabinets. Here are just a few:
Rust removal from tools, auto parts, or machinery
Paint stripping for refinishing metal or wood
Etching designs on glass or metal plates
Surface prep before welding, painting, or powder coating
Polishing or cleaning vintage tools and hardware
🛠️ Whether you’re restoring a ’68 Mustang or prepping custom knives, this is a tool that pays for itself fast.
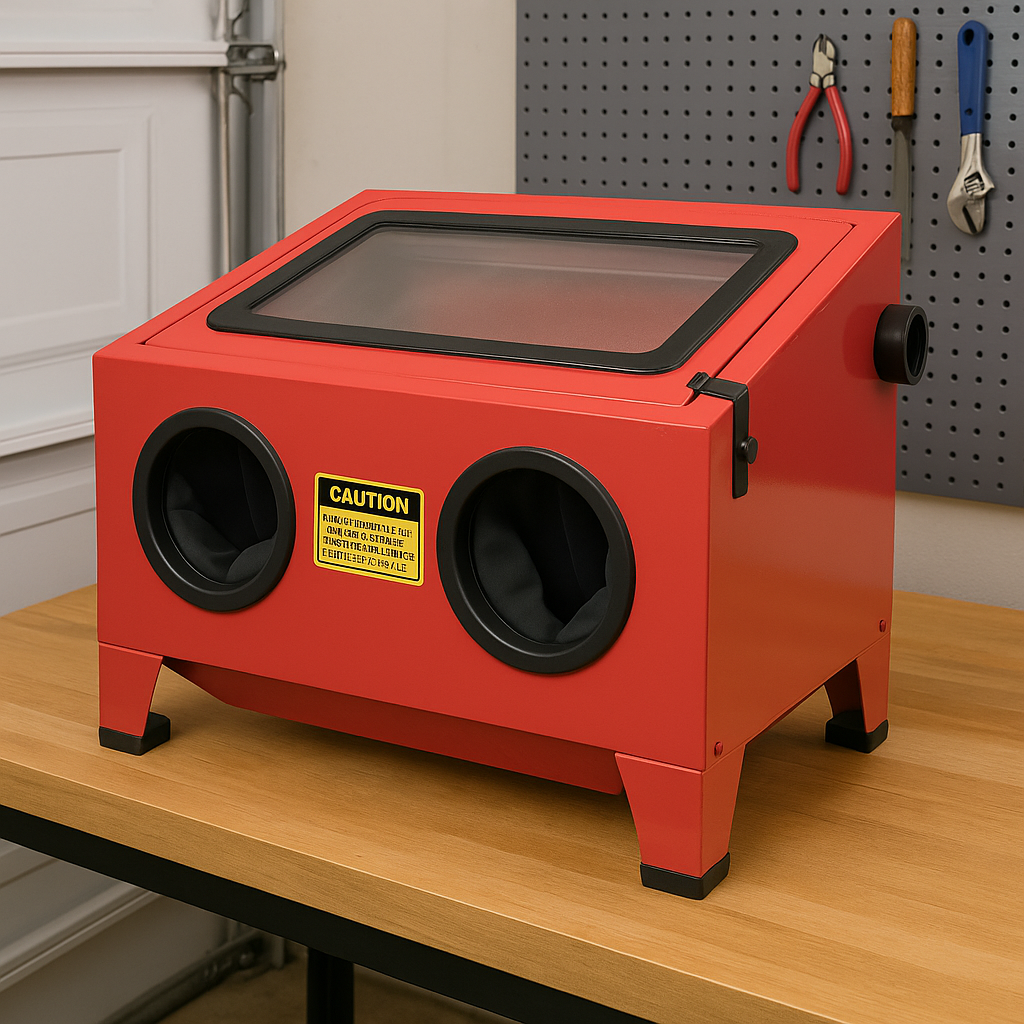
🧰 Best Sandblasting Cabinets (Amazon Picks)
Here are a few top-rated sandblasting cabinets on Amazon that offer a balance of performance, price, and durability:
Even in an enclosed space, blasting media creates a fine dust that can be hazardous. Follow these basic safety precautions:
Always wear eye protection when opening the cabinet
Use N95 or better respirators if dust escapes
Wear hearing protection—blasting is loud
Don’t use play sand—it contains silica and can cause lung disease
Make sure your cabinet is grounded to prevent static shock
🛠️ Can You Build a DIY Sandblasting Cabinet?
Absolutely. Many DIYers build their own blasting cabinets using old cabinets, steel drums, or even wooden boxes. If you’re into fabricating and don’t mind sourcing a few parts, it’s a rewarding project that can save you hundreds of dollars.
The easiest way to assemble the cabinet is to use butt L joints, gluing and screwing them together. Be sure to clamp the corners together, drill pilot holes and countersink them to prevent the plywood from splitting when the screws are installed and ensure that the screw heads are below flush. Do not attach the panel with the glass, which will also be used as the door.
🧠 Common Sandblasting Cabinet Mistakes (And How to Avoid Them)
Using the wrong media – Too aggressive? You’ll etch or pit metal. Too soft? You’ll waste your time.
Not sealing the cabinet well – Leaks = dust everywhere.
Underpowered compressor – If your air supply is too low, the results will be weak and slow.
Ignoring eye protection – Even one blast of dust when the door opens is risky.
Forgetting to ground the unit – Static electricity from flying particles can give you a nasty jolt.
💬 Real Talk: Is a Sandblasting Cabinet Worth It?
For anyone who works with metal, restores tools or vehicles, or does any kind of finish work, yes—100% worth it. You’ll get better results faster and reduce the mess and health risks of open blasting.
Even if you only use it a few times a month, a sandblasting cabinet can save hours of sanding, scraping, or chemical stripping.
✅ Final Thoughts: The Right Tool for Clean, Fast Results
Whether you’re removing rust from old sockets, stripping paint off a vintage bike, or prepping brackets for powder coating, a sandblasting cabinet makes the job faster, safer, and cleaner.
Start with a good kit, learn your media types, and don’t skimp on safety gear. Before long, you’ll wonder how you ever restored parts without one.
Sandblasting Wood: How to Clean & Restore by Admin May 17, 2025 Finish There’s something satisfying about bringing old wood back to life. Whether it's barn siding, an antique door, or a weathered cedar plank, wood has a…
Oval Dining Table: The Complete Buyer’s Guide by Admin January 16, 2026 DIY An oval dining table is one of those pieces that quietly solves problems you didn’t even realize you had. Tight corners, awkward walkways, chairs constantly…


")


")