If there’s one thing I’ve picked up from years of helping my daughter chase her ballet dreams—and reliving a few moves from my dancing past—it’s this: the surface you dance on matters more than you think.
One bad jump on a stiff floor landed me in surgery, and I’ll never forget it. Trust me, when a dancer says the floor “feels wrong,” listen. They’re not being picky—they’re trying to avoid long-term damage.
So if you’re considering putting together a dance floor at home or outside for a wedding or backyard bash, you’re on the right track. A good floor keeps bodies safe and lets the dancing shine.
Why Wood Still Wins for Dance Floors
There are a lot of modern flooring options out there, but when it comes down to it, wood just works. It offers just the right balance of support and forgiveness. Step too hard on tile or concrete and you’ll feel it—deep in your joints. But a properly built wood floor gives you that springy response dancers love.
Too much bounce is bad. So is too little. Wood gives just enough to help dancers move freely without messing with balance or technique.
I’ve seen people try dancing on linoleum-covered cement and regret it by the next morning. Your knees—and your shoes—deserve better. That’s where a sprung plywood floor comes in.
Picking the Right Plywood for Your Dance Project
Plywood is the go-to for DIY dance floors, but don’t just grab any old sheet.
If the plywood is the final surface:
Choose AA or AB-grade sanded plywood. It needs to be 3/4″ thick so it won’t bend under pressure. Look for panels with smooth, even grain.
If it’s going underneath another floor layer:
Go with CDX or OSB. You’ll save money here without sacrificing strength.
Always lay sheets flat and check for warps before buying. A warped base makes for a wobbly dance floor.
Adding Some Give: DIY Sprung Floors
A little flex can make all the difference when it comes to protecting dancers’ bodies. Here’s how to give your floor some bounce.
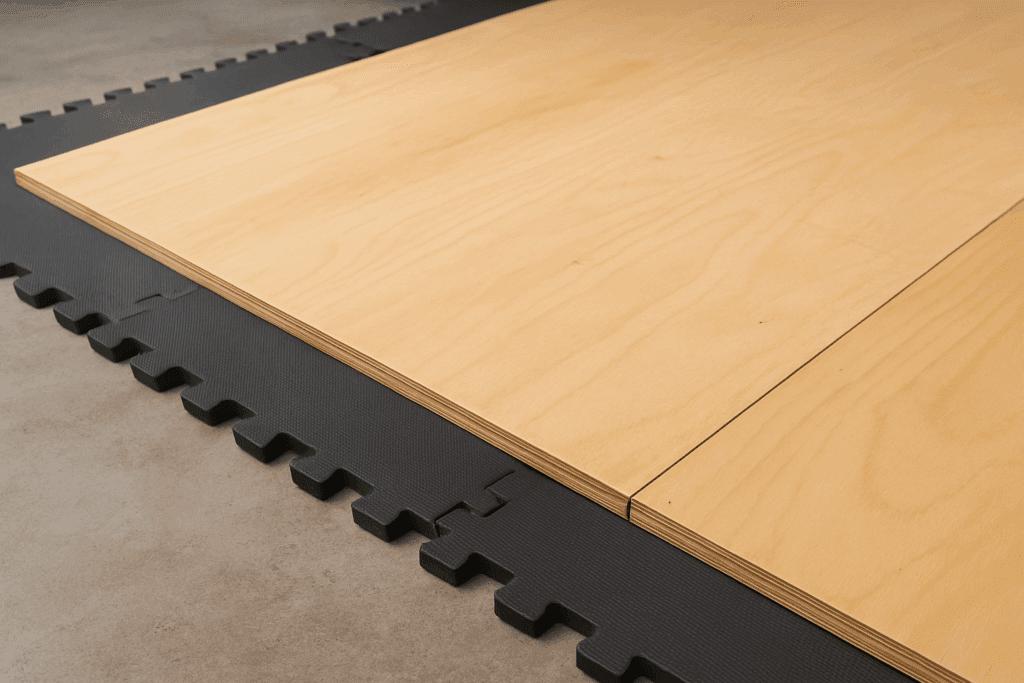
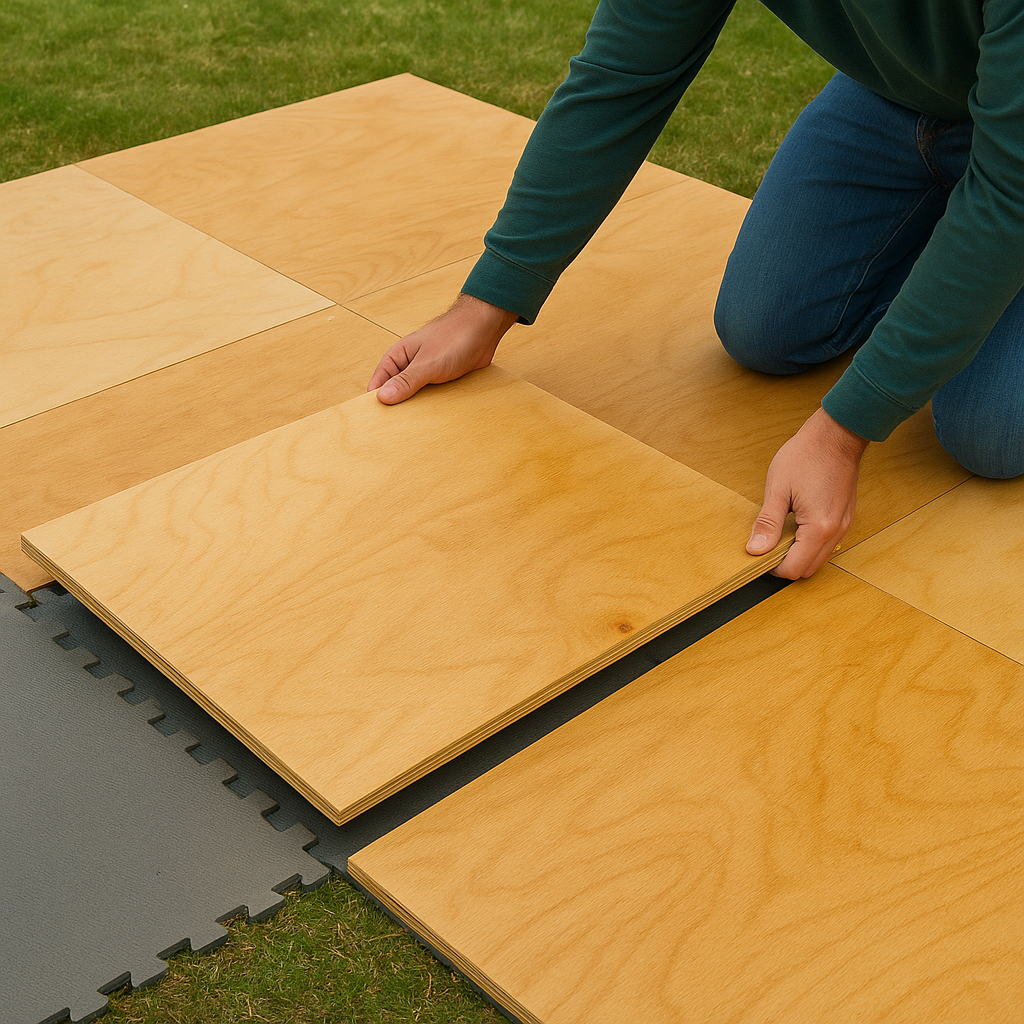
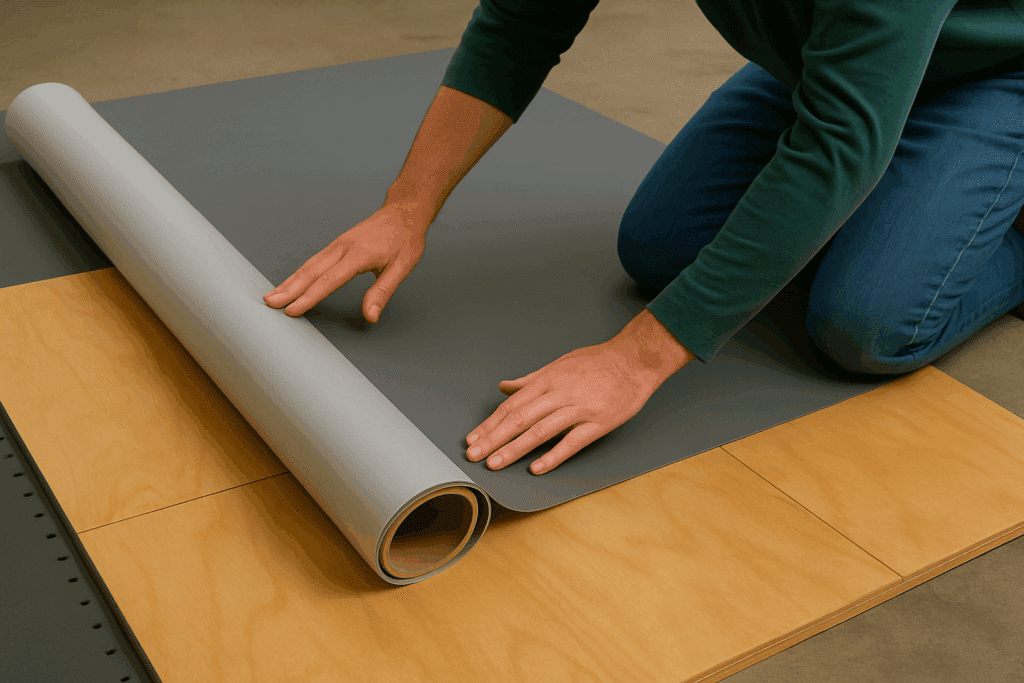
Option 1: Foam Mats
Interlocking foam tiles (the kind used in kids’ play areas or gyms) work surprisingly well. Lay them under your plywood for instant cushioning.
Option 2: Wood Grid Base
For a more solid feel, build a grid of 1×2 or 2×3 boards. Space them evenly and screw your plywood on top. The air gap underneath adds flex.
Tip: Add a bead of glue between the boards and plywood to prevent squeaks.
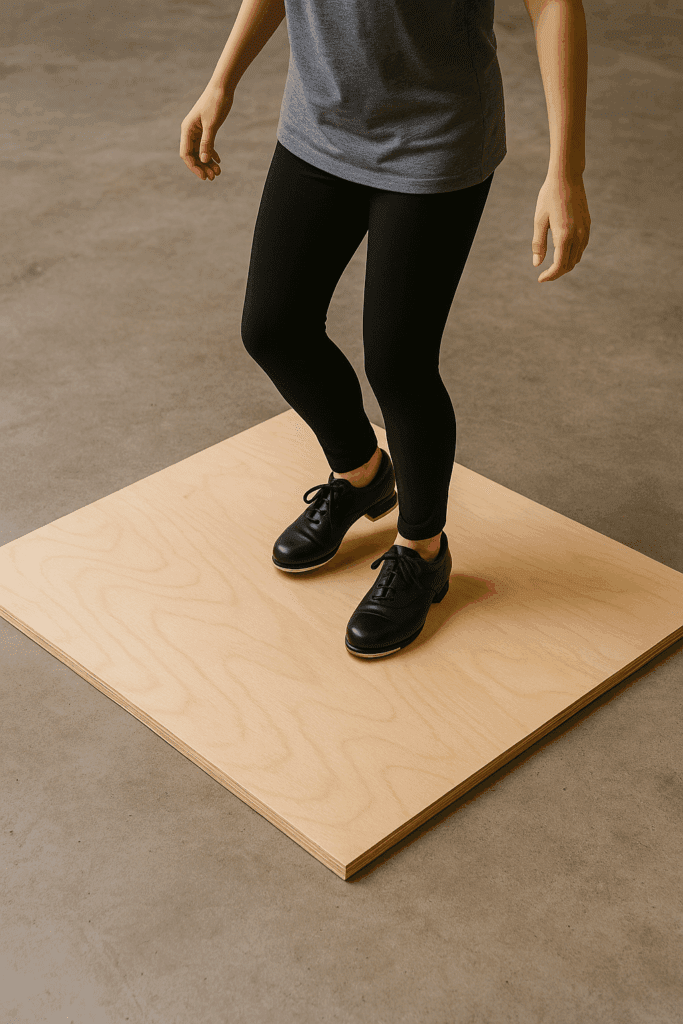
A Tap Board for Tight Spaces
Not everyone needs a full studio. A 4×4-foot square of 3/4″ plywood is enough to practice tap steps and protect your home flooring.
Use sanded plywood
Add foam backing for noise reduction
Tape the edges to avoid splinters
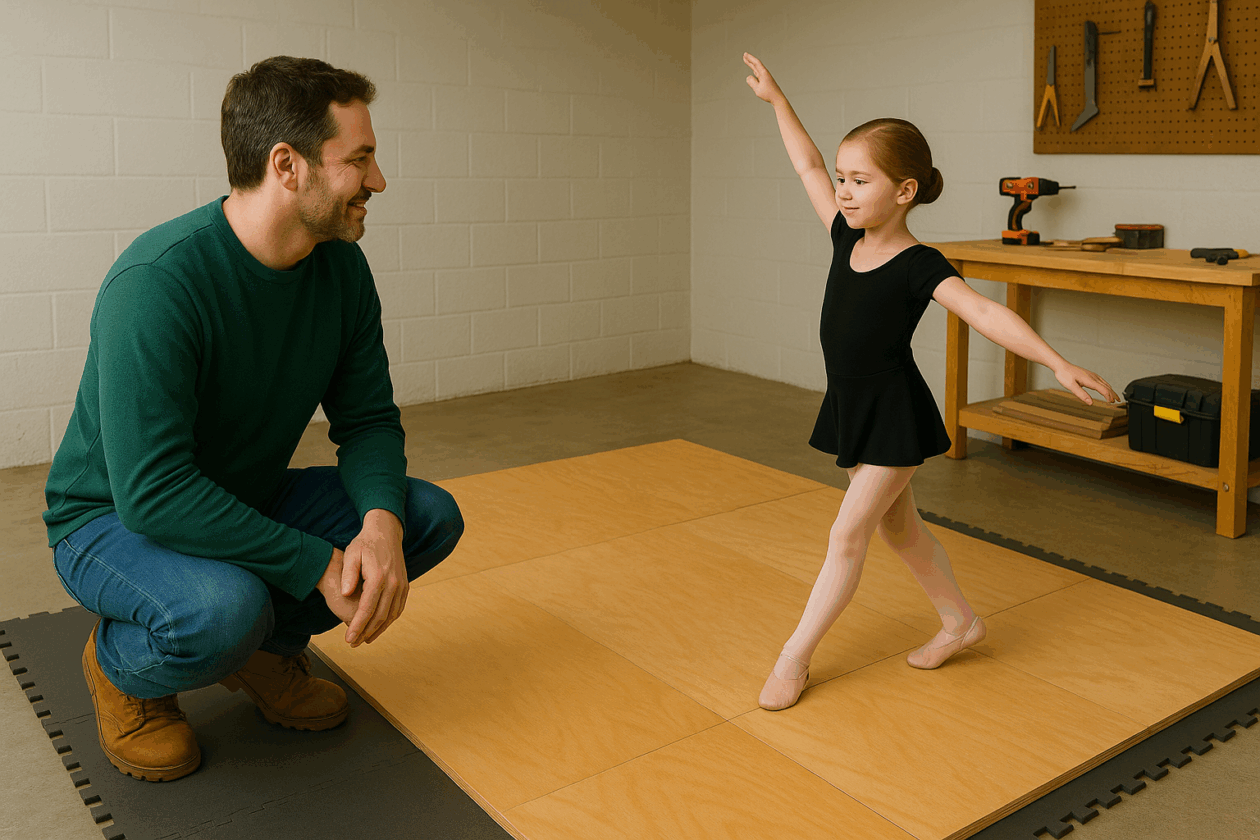
Turning a Spare Room into a Dance Studio
Got a garage or basement that could use a new purpose? With some plywood and a bit of effort, you can make a safe, comfortable place to move.
Here’s what you’ll need:
3/4″ sanded plywood
1×2 or 2×3 boards
Wood screws and adhesive
Sandpaper, wood filler
Floor-grade polyurethane
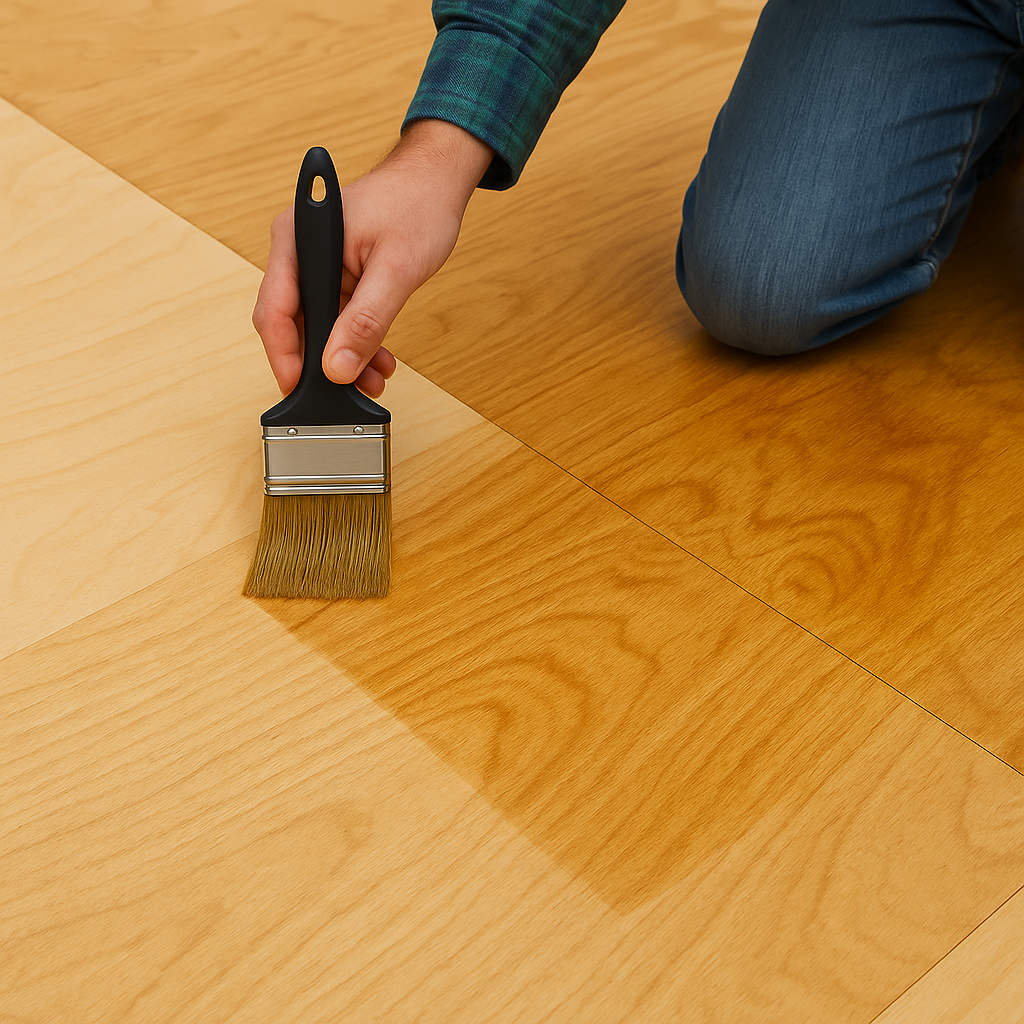
Lay down the wood grid first, then fasten the plywood securely. Fill any gaps and seal with a few coats of poly for durability.
No matter what flooring you choose, make sure it’s safe.
Sand rough spots
Fill cracks with wood filler
Seal the surface with polyurethane
Adjust grip with rosin powder or anti-slip spray as needed
Ongoing Care Tips
What makes wood so good as a dance floor is that it gives a little. This is important to protect knees, ankles, and other joints. A hard floor, without any give, like ceramic tile or concrete covered in linoleum, is going to be much harder on the dancer’s knees and ankles, especially in the case of ballerinas.
To keep your floor feeling great:
Sweep before each session
Never wear street shoes on it
Store modular panels flat and dry
Reseal yearly if needed
Why That Dance Floor Matters More Than I Ever Expected
When I started screwing down the first sheet of plywood, I wasn’t thinking about legacy or growth—I just wanted to stop hearing tap shoes hammering the hardwood at 9 p.m. But somewhere along the way, that patch of floor became something more. It became a little stage, a refuge, a space where my daughter wasn’t just practicing technique—she was finding her voice.
There were days she danced barefoot in pajamas. Other days, I’d find her stretching quietly, headphones in, not saying a word but completely at peace. That floor witnessed more emotion than I expected. Triumph after sticking a turn she couldn’t get the day before. Frustration after a rough rehearsal. Even laughter when she slipped mid-routine and dramatically collapsed like it was part of the performance. It wasn’t just a place to dance—it was hers.
I didn’t build it perfectly. Some corners needed adjusting. The first version squeaked. Moreover, we stepped on a few screws I forgot to countersink. But none of that mattered. What mattered is that it was there. That floor made her feel seen.
So if you’re hesitating because you’re not a builder or because your garage is cluttered, forget all that. A dance floor doesn’t have to be polished to be powerful. Mine came from a few afternoons of work, a handful of tools, and a lot of love. And it turned out to be one of the best things I’ve ever built—not because it was flawless, but because it gave her room to move, to grow, and to be exactly who she is.
Dance floors don’t need to be perfect—they need to be functional. If it feels right underfoot, keeps people safe, and inspires movement, then it’s a job well done.
Build it right, tune it to your needs, and most importantly, enjoy every step.

")

")

