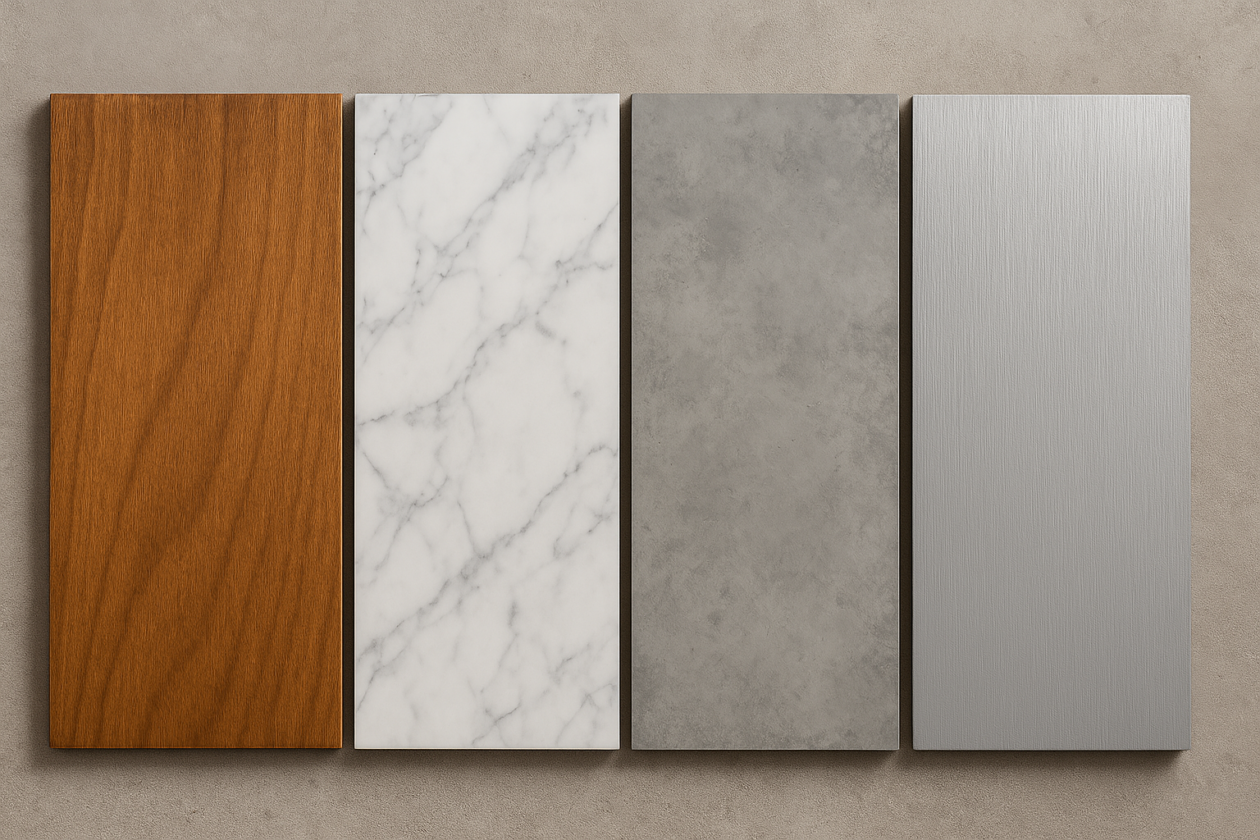
Most people think of plywood as just cheap, utility-grade wood. For years, I thought the same—until I started working on weekend furniture builds in my garage and realized how much potential it actually has. I’ve used plywood to create pieces that look like solid oak, brushed metal, even marble. Some attempts were a disaster (don’t ask about my first faux concrete shelf), but others turned out so well that I’ve used them in multiple projects since.
Whether you’re trying to save money or just love getting creative, here are six DIY finishes that have helped me make plywood look surprisingly high-end.
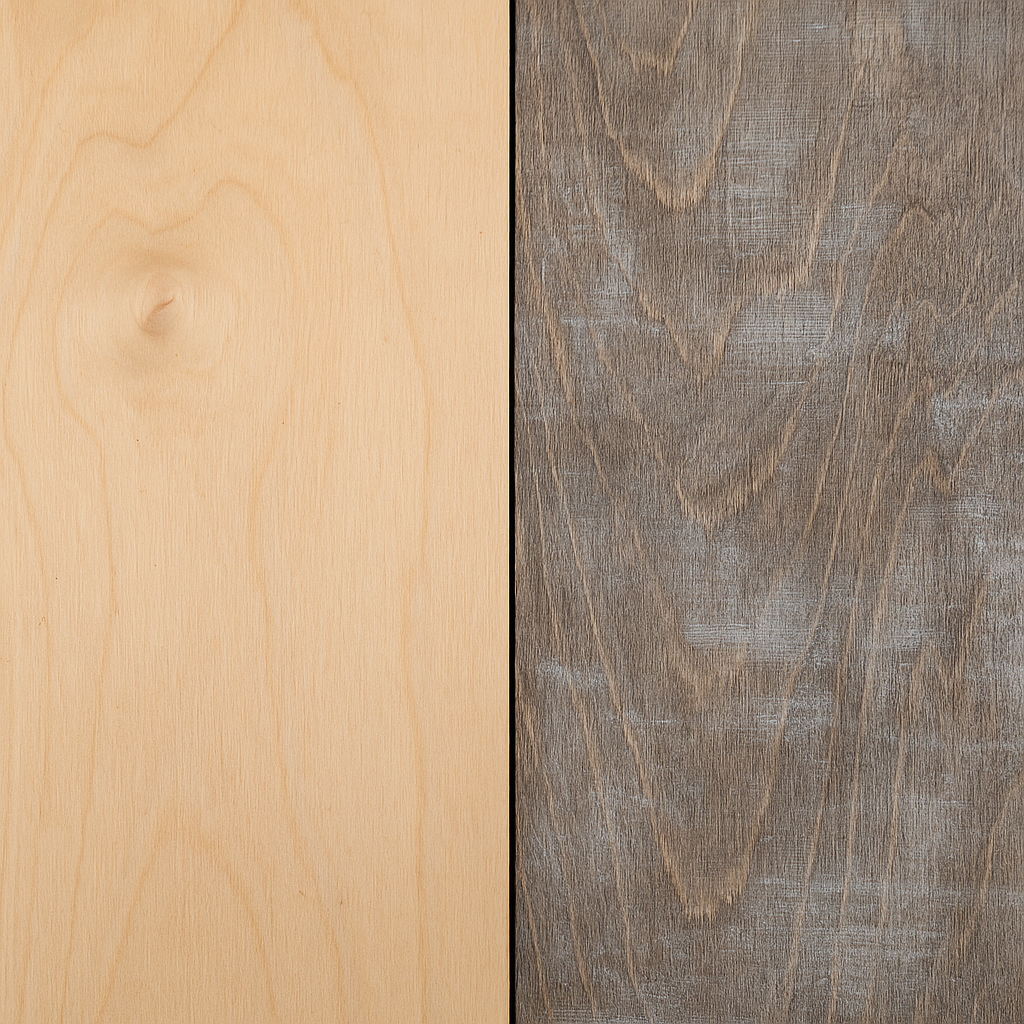
1. Turn It Into Faux Hardwood (Without the Price Tag)
If you’re working with a nice plywood veneer—like birch or maple—you already have a decent surface. I used birch when building a bench for our entryway because real oak was out of budget. The trick is in the prep and the stain.
Here’s what worked for me:
Sand thoroughly. I start with 150 grit and finish with 220. This part takes time, but uneven sanding will ruin the finish.
Use a wood conditioner. I used to skip this, but after one blotchy disaster, I never forget it now—especially on soft woods.
Apply a gel stain. Gel stains are thicker and easier to control. I like walnut for a classic hardwood look. I brush it on, then wipe it with an old t-shirt.
Finish with polyurethane. I usually do two coats of satin poly. It gives a smooth, professional-looking finish without the high gloss that shows every speck of dust.
Bonus Tip: Try a wood grain tool while the stain is still wet. I bought a cheap one online and was blown away by the effect.
2. Faux Brushed Steel (Perfect for Modern Projects)
This finish started as an experiment with leftover spray paint—and it turned out better than expected. I used it on floating shelves in my office, and most people think they’re metal.
How I pulled it off:
Prime with gray. It gives a smooth, even base and helps the metallic layer pop.
Roll on metallic silver paint. A foam roller gives a smoother finish than a brush.
Add texture with a dry brush. While the paint is still tacky, I drag a stiff-bristle brush in long strokes to mimic brushed steel.
Glaze it. I wipe on a little black glaze and quickly rub it off. It settles into the texture and adds depth.
This finish looks great with black hardware and fits perfectly in modern or industrial-style rooms.
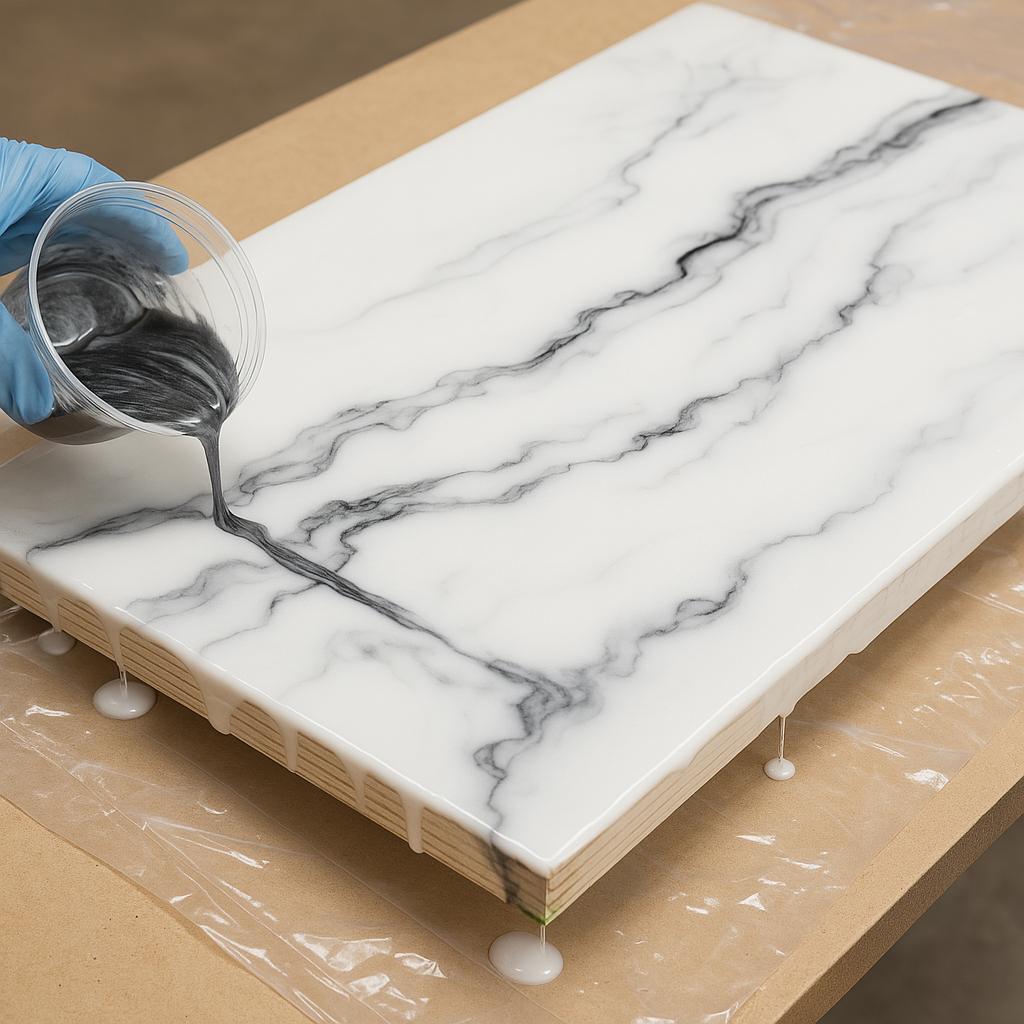
3. DIY Marble Finish (That Doesn’t Cost a Fortune)
Marble looks great, but it’s pricey and heavy. I wanted that same clean, high-end look for a coffee table and finally figured out two ways to fake it: epoxy or paint.
Epoxy Method:
Paint the base white. A smooth base coat makes a huge difference.
Mix epoxy with pigment. I use Stone Coat epoxy and blend in black and gray pigments.
Swirl and blend. Pour the epoxy and swirl the colors using a stir stick or gloved hands. It’s messy but fun.
Use a heat gun. A quick pass pops the bubbles. Then, hands off—let it cure for 48 hours.
Painted Version:
White satin paint for the base.
Add veins with a feather or fine brush. Diluted gray paint works best. Don’t overthink the lines—real marble isn’t perfect.
Soften the look. I dab the lines with a damp sponge until they blend naturally.
Topcoat with gloss. A clear, glossy polycrylic makes the surface pop.
My faux marble coffee table has fooled more than one guest. And the best part? It cost under $40.
4. Concrete Style Without the Weight
I love the clean, minimalist vibe of concrete, but real concrete is heavy and a pain to work with. This plywood trick gives a similar look with much less hassle.
If you’ve ever looked at a sheet of plywood and thought, “This is too plain to be useful,” think again. You don’t need a shop with fancy tools or a massive budget to make plywood look amazing. A little creativity, some patience, and the right finish can turn a humble board into something that looks high-end and custom.
The key is to experiment. Don’t be afraid to mess up—that’s half the fun. Start with a scrap piece, try one of these finishes, and see what works for your style. You’ll be surprised how far a sheet of plywood can go when you know how to make it look nice.
Walnut Wood Guide : Grain, Uses & Finishes by Admin November 17, 2025 DIY There are a handful of woods in woodworking that instantly make you pause for a second, and walnut wood is one of them. The first…
Rhino Lining Plywood: A DIY Way to Make Plywood Last by Admin January 25, 2026 Grades I didn’t start using Rhino lining plywood because I wanted something extreme or clever. I ended up there because I got tired of replacing plywood…