I still remember the first time I saw a spiral staircase up close. I was a kid, visiting a lighthouse on a family trip. The stairs wound up like a corkscrew, disappearing into the sky. I was more interested in the stairs than the view at the top. Years later, I installed one in a tiny guest loft, and the process taught me just how clever—and practical—these old structures really are.
Whether you’re tight on space or just love the sculptural quality of a curved stair, a spiral staircase can be a showstopper. But it’s not just about looks. These stairs go way back and have a pretty wild origin story. And if you’re thinking about installing one—or building it yourself—this guide has everything I’ve learned along the way.
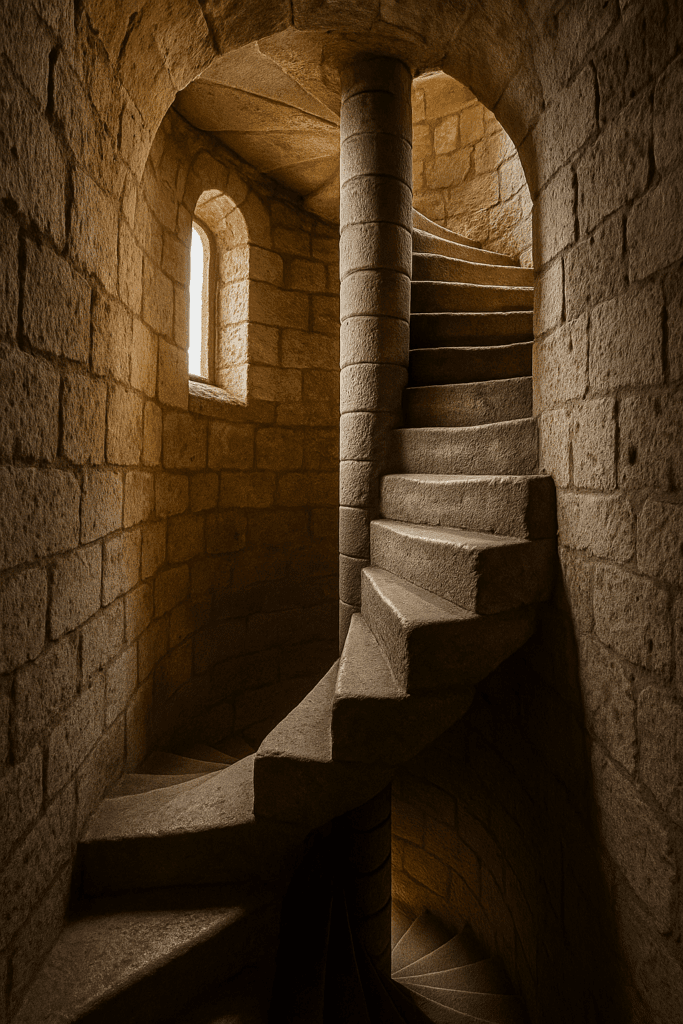
🏰 Spiral Staircases Were Designed for War, Not Aesthetics
It’s easy to assume spiral stairs were made to be pretty. But historically? They were pure defense.
Back in medieval Europe, castle towers had narrow staircases that curled clockwise. This design wasn’t accidental. Most soldiers were right-handed, so as they climbed, their sword arms were pressed up against the wall. Defenders coming down had the advantage—more room to swing and an easier angle to strike.
That’s strategy built into stone. These early staircases were carved directly into the tower walls or built from heavy stone, stacked in such a way that the steps supported one another all the way up.
🪜 From Castles to Cabins: How Spiral Stairs Became a Design Feature
Fast-forward a few centuries, and spiral staircases found a new job—getting people upstairs in tight spaces. They popped up in old lighthouses, churches, and eventually, homes. Especially in small spaces like cabins and attics, a full straight staircase was too bulky. A spiral one? Just right.
One of the most talked-about spiral staircases in the U.S. is the one in Loretto Chapel in Santa Fe. There’s no visible support column. No nails. It’s made of wood that doesn’t even grow locally. And the guy who built it? He supposedly showed up after the nuns prayed for help, finished the job, and vanished without asking for payment.
Whether that story is true or not, the craftsmanship is jaw-dropping. And yes—it’s held up for over 150 years.
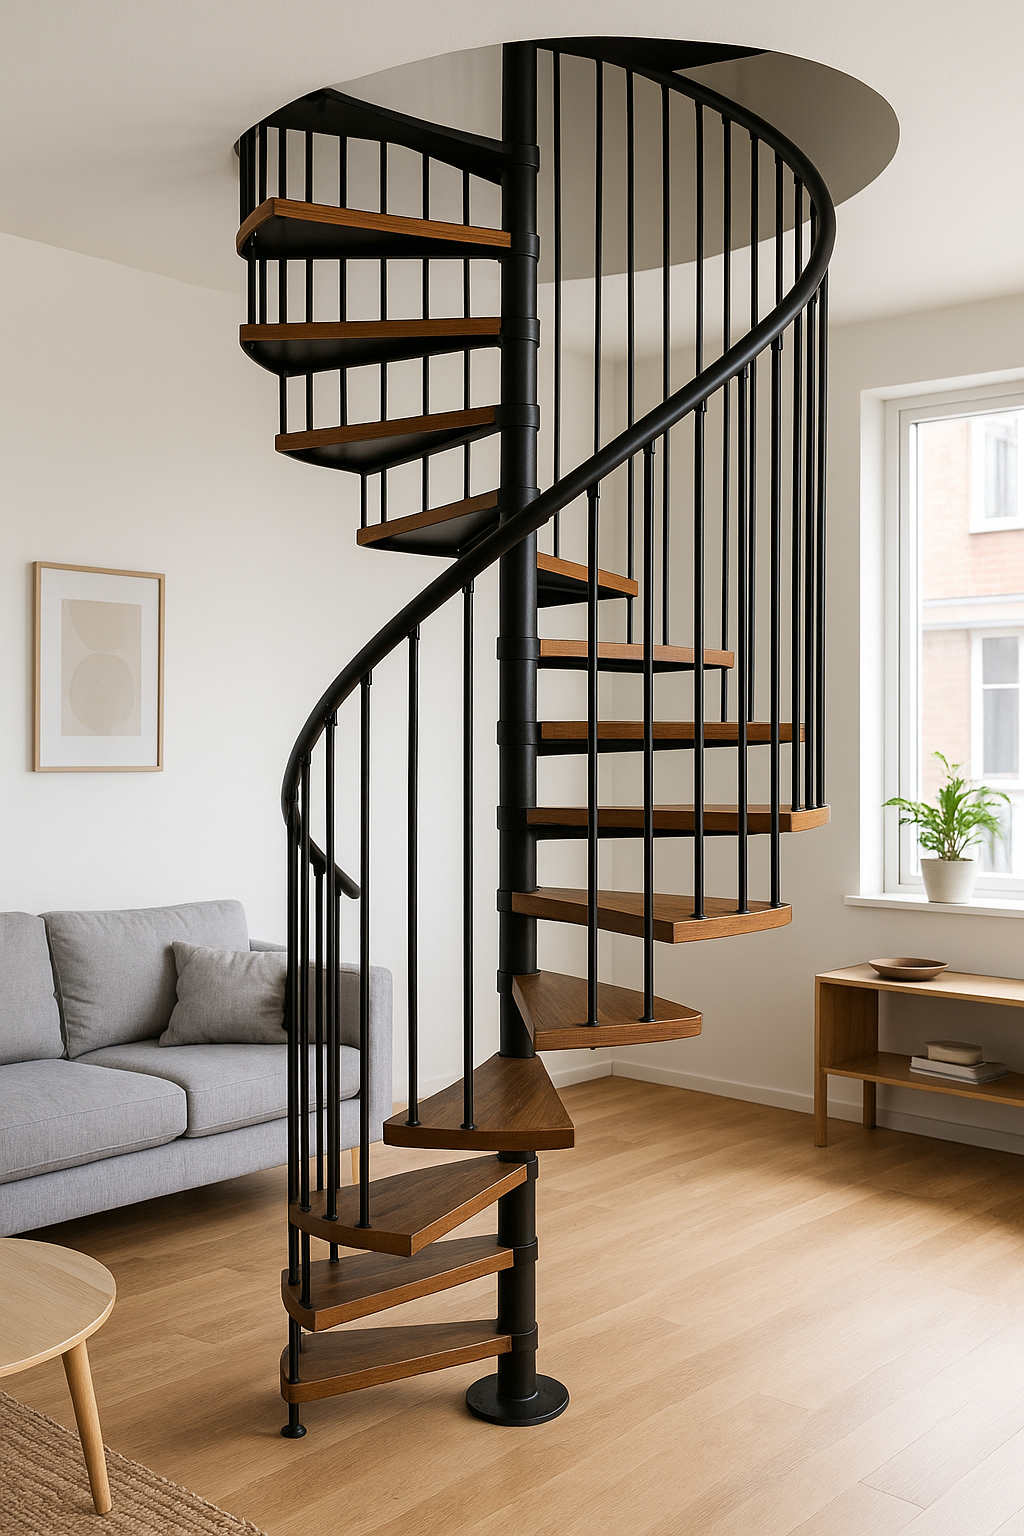
🛠️ Spiral Staircase Kits: A Practical Solution for Modern Homes
If you’re adding a spiral staircase today, you’ve got it easier than medieval masons. Most homeowners go with kits. These are pre-engineered systems that include the center post, treads, railing, and a landing platform. You don’t have to reinvent anything—they’re ready to assemble, and they’re strong.
The core of these kits is a steel center column. The treads slide down over the post and are spaced evenly as you go. Some kits come with wood steps, others with metal. Some are open and airy, others feel more traditional.
Here’s what I learned the hard way: spiral stairs need more planning than you’d expect. They’re compact, sure—but they still need proper clearance and structural support.
Here’s what to measure:
Floor-to-floor height — the total rise from one level to the next
Diameter space — minimum is usually 42″
Exit/entry points — your stairs need to land in a usable spot
Ceiling clearance — at least 6’6″ of headroom above each step
Step rise consistency — each one needs to be the same for safety
🧰 Measuring Tool I Recommend: Bosch GLM 20 Laser Measure Great for accurate readings in small rooms or lofts.
🧩 Installing a Spiral Stair Kit: My Step-by-Step
The first time I installed one, I thought it would be complicated. But it’s a lot like stacking Legos—big, heavy Legos that need to be level. The spiral staircases were usually made of wood and are perhaps some of the most amazing examples of woodworking in history. While most still depended on a central column for support, most no longer had the outer wall for additional support. All the weight of the staircase was supported by that central column, which was often of wood as well.
1. Mount the Center Post
Find the exact center point and bolt the base plate to your floor. Use a level to make sure it’s perfectly vertical.
Not into kits? That’s cool. You can build your spiral staircase from scratch if you’re comfortable with tools and have a little patience.
Here’s how I did one for a lake cabin: I used a steel pipe for the center, had a local welder add a base plate, and built the treads from thick oak. Each step was notched and bolted into a collar that hugged the pipe.
Other folks use plywood layers, rough-cut logs, even upcycled barn wood. The key is making sure every step can hold weight and stay rigid.
🧰 Tools That Helped Me Most
Steel center column — I had it cut and welded locally
Spiral staircases aren’t for every space, but when they work, they really work. They save room, look incredible, and spark conversation. Whether you buy a kit or build one from scratch, it’s a rewarding upgrade.
Just remember: it takes planning, careful measurements, and a bit of muscle. But once it’s in place, it becomes more than a staircase—it’s a centerpiece.
Related Posts:
Refinishing Wood Staircase by Admin July 21, 2023 Finish Wood stairs have an exquisite look, along with richness. But wood stairs tend to wear off, as the staircase tends to be a high-traffic area…
Dart Wall Ideas: How to Build a Durable One by Admin January 28, 2026 DIY Most dart wall ideas you see online look fine at first, but a lot of them don’t survive real use. I learned that the hard…
DIY Plywood Desk: How to Build One at Home by Admin October 8, 2025 DIY I built my first plywood desk because I was tired of working hunched over the kitchen counter. It wasn’t some grand plan — I just…