When I stained my first board, I thought it would be simple—dip a rag, wipe it on, done. I quickly found out it’s more like baking bread: it looks easy until you mess it up. My first attempt came out blotchy, with dark patches and fingerprints baked right into the surface.
Over the years, after countless furniture projects and more than a few regrets, I’ve learned how to stain wood the right way. The process isn’t complicated, but it does demand patience, clean prep, and a bit of instinct. Below, I’ll walk you through every step and share a few lessons I wish someone had told me earlier.
🪵 Why Take the Time to Stain Wood?
Staining isn’t just about color. It’s about character. Raw wood can look pale and unfinished, especially plywood and pine. A good stain gives it depth, personality, and protection.
Here’s what stain really does:
Brings out the grain: The pigment sinks into the soft fibers and makes the pattern stand out.
Adds protection: A stain-and-topcoat combo protects against moisture, UV, and daily wear.
Matches old and new pieces: It’s the easiest way to blend repairs or mixed species of wood.
Elevates basic plywood: Even builder-grade panels can look like high-end hardwood with the right tone.
When I built my first coffee table from leftover birch plywood, the stain made it look custom—no one guessed it wasn’t solid hardwood.
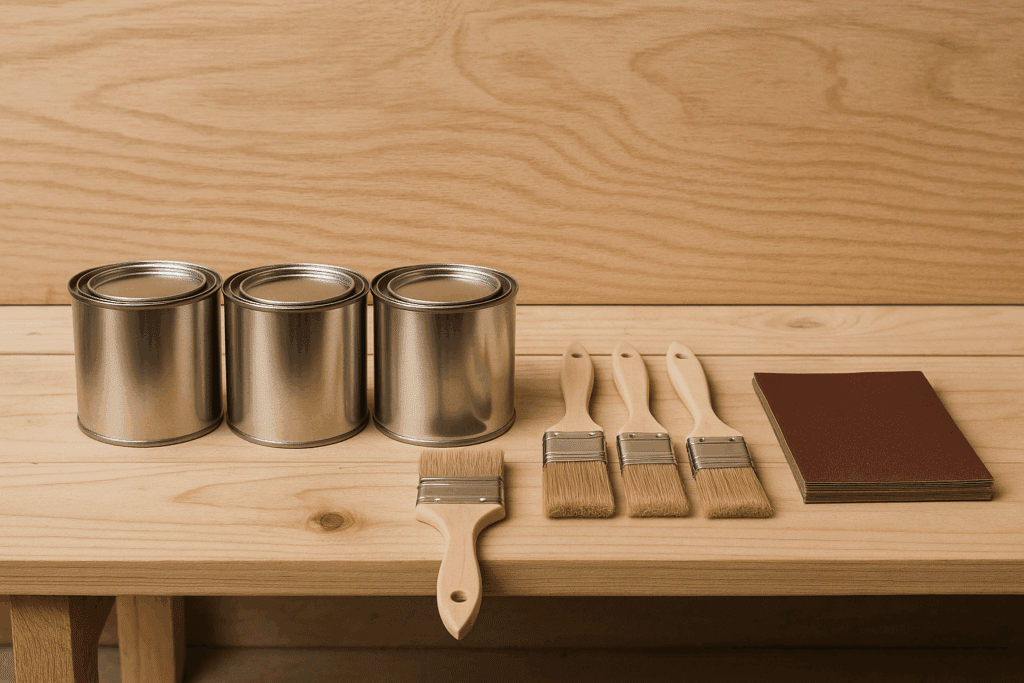
🧰 What You’ll Need
Before you start, set everything out. There’s nothing worse than realizing mid-project that your gloves are upstairs or your tack cloth is missing.
Different woods respond differently, and the stain type you pick will make or break your result. Here’s what experience has taught me:
Type
Best For
Why It Works
Oil-Based Stain
Furniture, oak, maple
Deep color, easy to blend, slow drying
Water-Based Stain
Indoors, light woods
Low odor, fast drying, easy cleanup
Gel Stain
Plywood, vertical surfaces
Thick, even color, no drips
Lacquer Stain
Professional shops
Fast, durable, requires ventilation
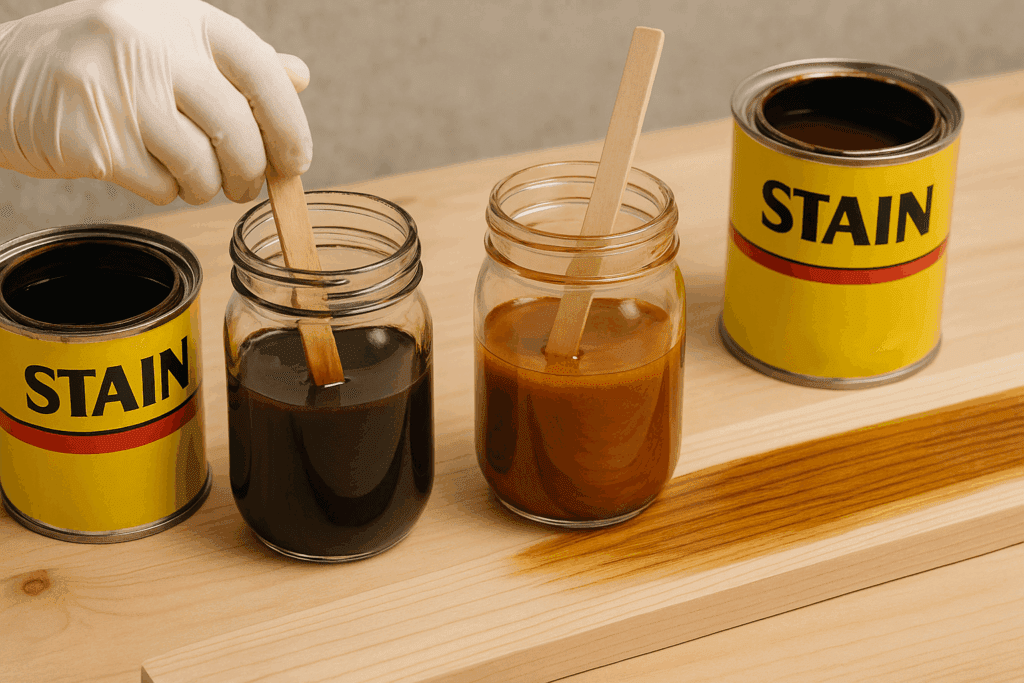
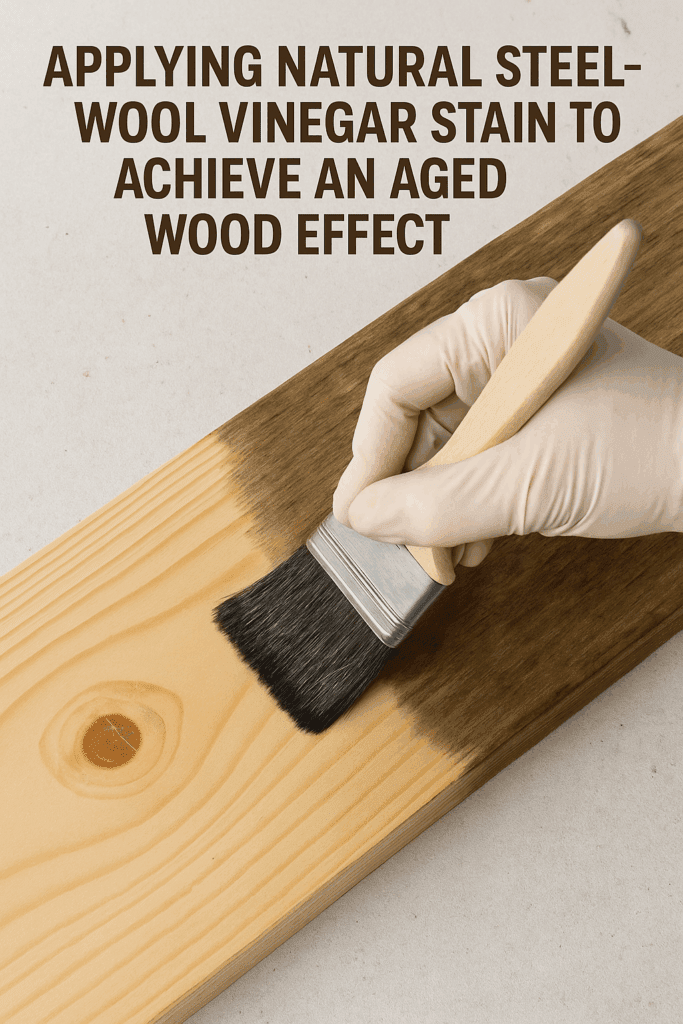
DIY Vinegar Stain
Rustic finishes
Chemical-free, ages wood naturally
Oil-based stains are my go-to. They’re forgiving and give wood a warm tone. Water-based dries quickly—great when I’m short on time—but it can raise the grain slightly, so expect extra sanding between coats.
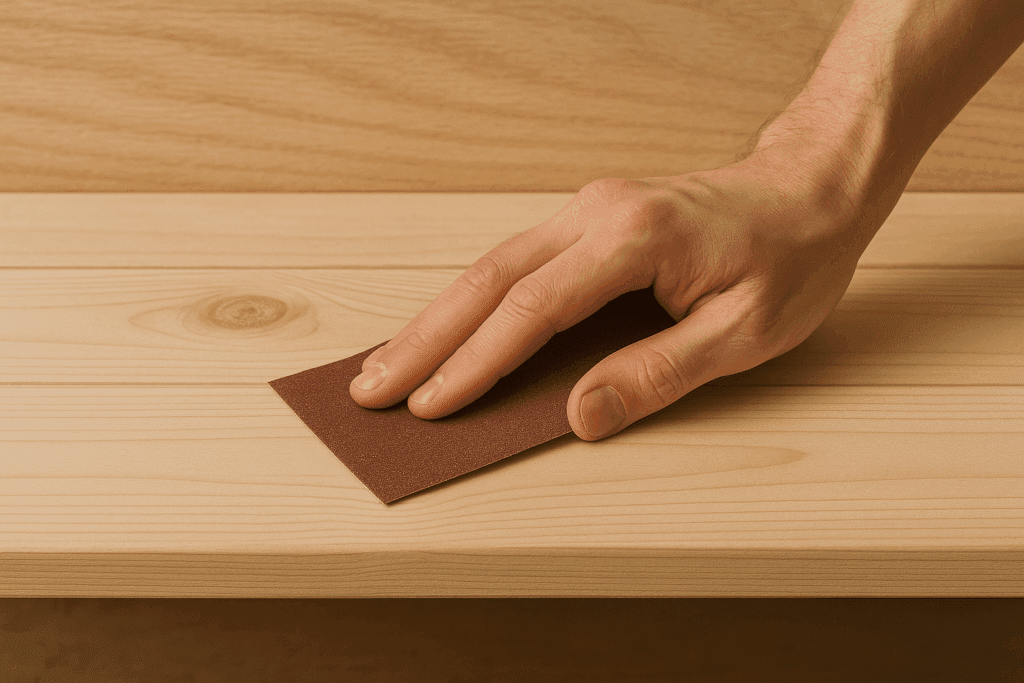
🔨 Step 2: Prep the Wood (Don’t Rush This Part)
If your stain job turns out uneven, 90% of the time it’s because the prep wasn’t proper. I used to sand half-heartedly, thinking the stain would hide the flaws. It actually magnified them.
Here’s my prep routine:
Sand progressively: Start with 120-grit to remove rough spots, move to 180, and finish at 220.
Go with the grain: Cross-grain scratches jump out once the stain hits the surface.
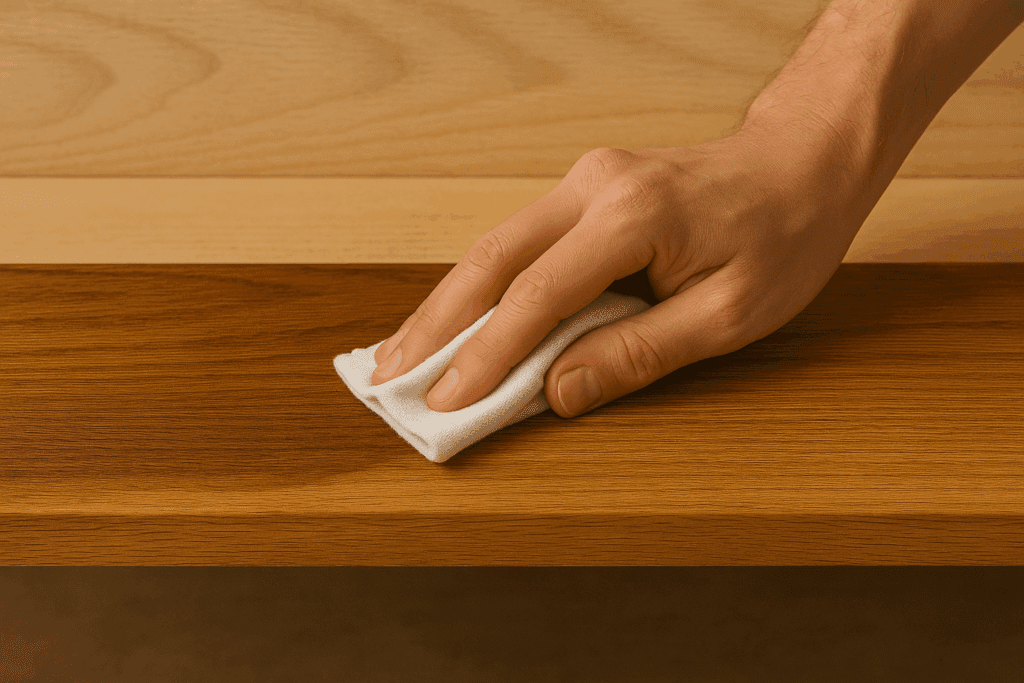
Clean thoroughly: Vacuum and wipe with a tack cloth until the surface feels dust-free.
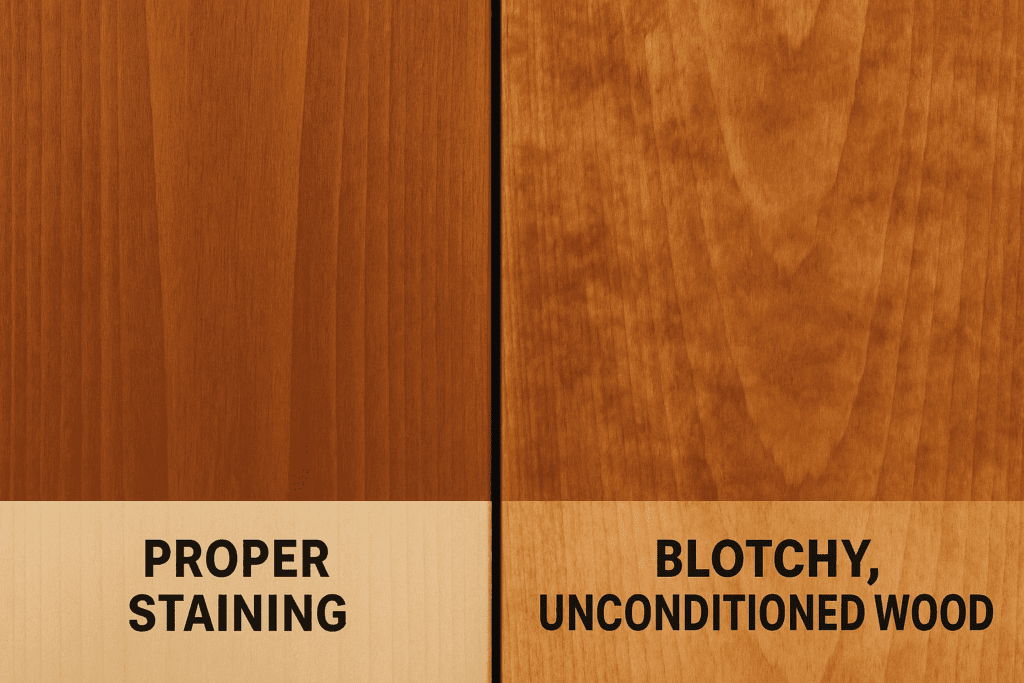
Condition the wood, especially for pine or birch. Brush on a wood conditioner, wait 15 minutes, and wipe off the excess.
The conditioner evens absorption and keeps stains from blotching. It’s an extra 10 minutes that saves hours of regret.
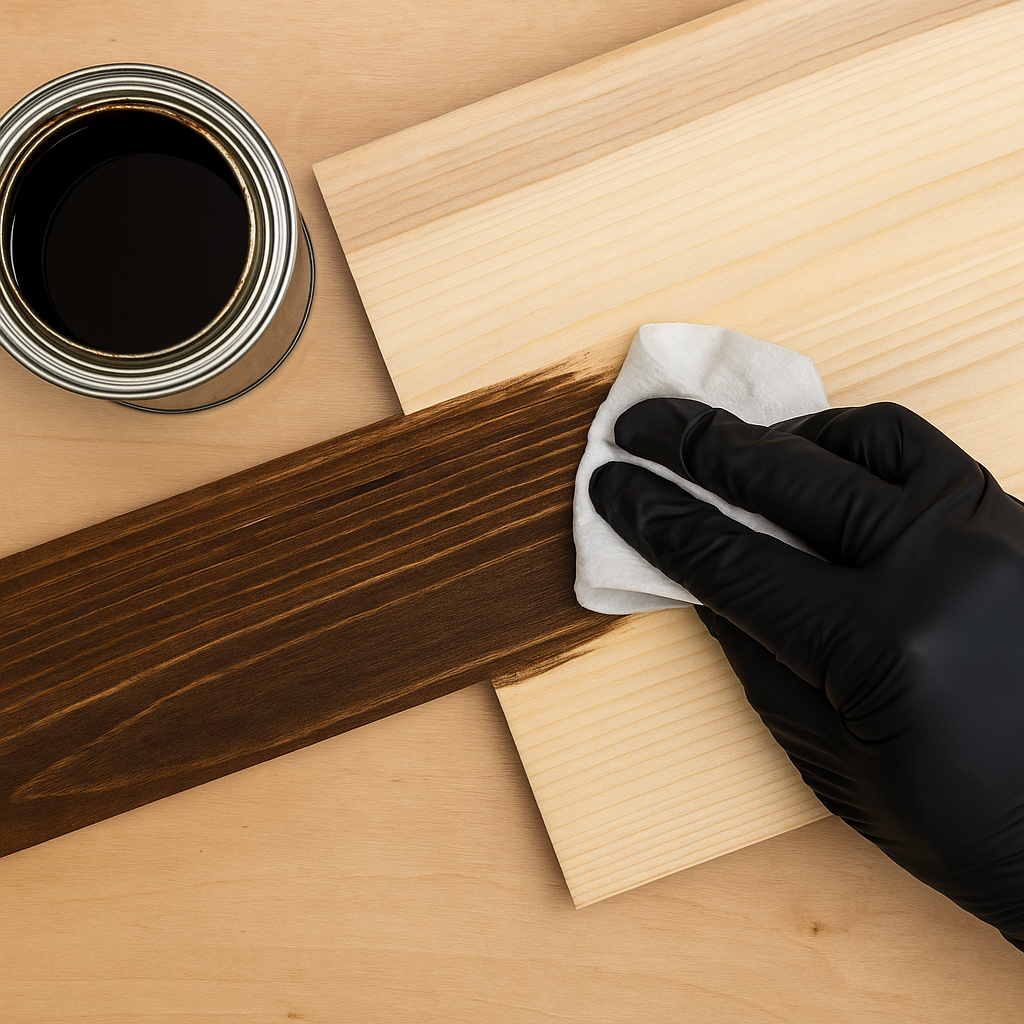
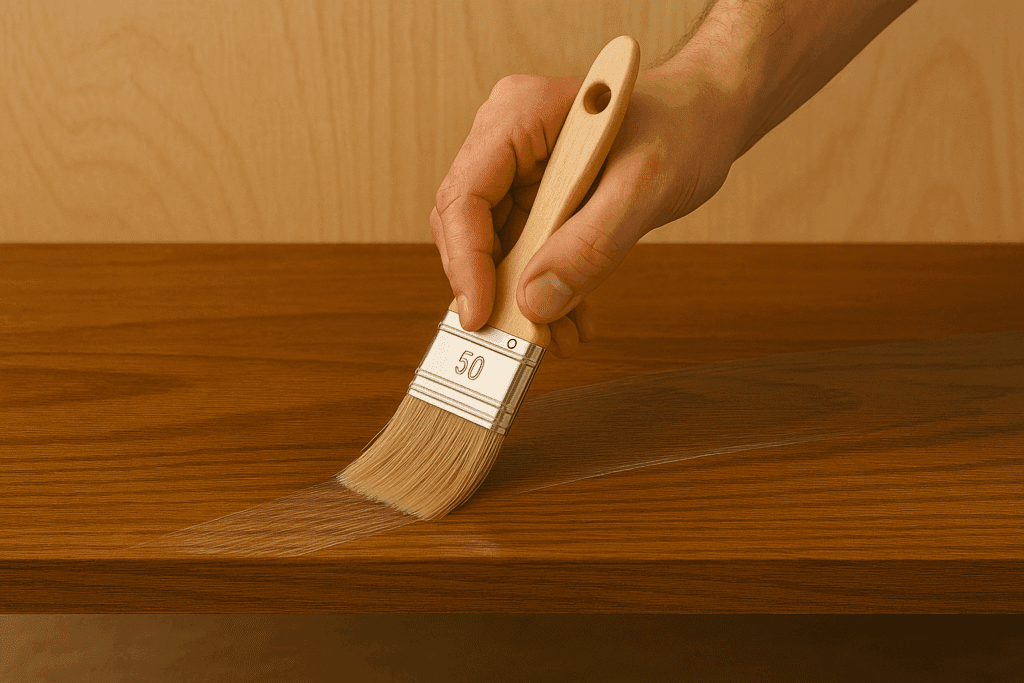
🎨 Step 3: Apply the Stain
Now comes the satisfying part—the transformation.
Stir, don’t shake. Shaking creates bubbles that show up later.
Work in small sections. Apply with a clean rag, brush, or foam pad along the grain.
Let it sit 5–15 minutes. The longer you wait, the darker it gets.
Wipe away excess, always with the grain. Use a fresh rag if it starts smearing.
If you want a deeper color, wait a few hours and repeat. I sometimes do two light coats instead of one heavy one; it gives more control.
💡 Tip: Keep a small scrap of the same wood nearby and test first. Every board absorbs stain differently.
⏳ Step 4: Let It Dry Thoroughly
This is where most DIYers (including me early on) get impatient. Touching too soon leaves fingerprints and dull spots.
Approximate drying times:
Oil-based: 8–24 hours
Water-based: 1–2 hours
Gel stain: 6–8 hours
Humidity slows everything. I often leave my project overnight and come back the next day. If it feels cool or tacky, it’s not ready.
💎 Step 5: Seal It Right
Once the stain looks good, seal it to protect all that work. A clear coat deepens color, adds sheen, and shields against scratches.
Your options:
Polyurethane (oil-based): Hard, glossy, traditional finish for tables or floors.
Polycrylic (water-based): Dries fast, less yellowing—great for light woods.
Lacquer: Thin but durable, often sprayed for mirror-like results.
Apply in thin coats with a clean brush or rag—sand lightly with 320-grit between coats. Three thin coats look smoother than one thick one.
🪑 Step 6: Buff, Polish, and Enjoy
After your final coat cures, lightly buff with 0000 steel wool or a soft polishing pad. Wipe away the dust, then rub in a thin layer of furniture wax.
This gives that “hand-rubbed” finish that feels smooth even in low light. It’s optional, but once you’ve felt the difference, you’ll never skip it again.
🧠 Extra Tips from Experience
Over time, I’ve found a few tricks that make staining smoother and less stressful.
Problem: Uneven color or blotches Fix: Sand again, apply conditioner, and restain lightly.
Problem: Sticky surface after a day Fix: You left excess stain—wipe with mineral spirits and re-dry.
Problem: Too dark Fix: Lightly sand with 320-grit and restain with a lighter tone.
Problem: Dull finish Fix: Add a second thin topcoat or buff with wax after drying.
🪚 Frequently Asked Questions About Staining Wood
1. What’s the biggest mistake people make when they stain wood?
Honestly, it’s rushing. I’ve done it too. People think they can skip sanding or the pre-stain conditioner, and that’s what leads to blotches and uneven color. Take your time with prep—staining wood is 80% preparation and 20% applying color. The smoother and cleaner your surface, the more even and professional the finish will look.
2. Do I have to sand between every coat?
Suppose you’re going for a super-smooth, furniture-grade finish, yes. Between stain coats, lightly scuff with 320-grit to knock down raised grain, but do so only between topcoats. That gentle sanding helps each layer of polyurethane or polycrylic bond properly and removes any dust nibs that have settled.
3. What’s the difference between staining wood and painting it?
Painting covers the grain; staining celebrates it. Paint sits on the wood, while stain soaks into it, letting the texture and pattern show through. Paint is great for bold color or full coverage, but if you want to highlight natural beauty, a stain is the way to go.
4. How can I make cheap wood look expensive?
Two things: sanding and staining. I once turned a sheet of birch plywood into a tabletop that looked like walnut by simply taking my time through sanding grits and using a dark oil-based stain. You’d be shocked at how much even pine can mimic pricier species once it’s properly stained and sealed.
5. How do I choose between oil-based and water-based stains?
If you want a deep, warm tone and have time to let it dry overnight, go with oil-based. If you’re working indoors or want a faster project with easy cleanup, use a water-based product. Oil-based gives richer contrast, but water-based stays more color-true and is safer for enclosed spaces.
6. How do I stop stains from looking streaky?
Work in small sections, always along the grain, and wipe the excess evenly before it gets tacky. The trick I use is keeping two rags handy—one for applying, one for wiping. And never “go back” once it starts drying; that’s how streaks happen.
7. Can I use stain on plywood or veneer?
Definitely, in fact, I’ve done it dozens of times. Just make sure to apply it lightly since veneer layers are thin. Gel stain is your best friend here—it doesn’t soak in too much and gives a smooth, even tone. Always test a hidden spot first to see how it reacts.
8. How long does stained wood need to cure before I can use it?
That depends on your topcoat. Most oil-based polyurethanes take 24 to 48 hours to harden fully. Water-based finishes can be ready in about 12–18 hours, but I usually give everything a solid day just to be safe. If it still feels tacky or smells strong, it’s not ready yet.
9. How do I get that “hand-rubbed” furniture look?
After the final coat dries, I use 0000 steel wool or a polishing pad and lightly buff the surface. Then I apply a thin coat of paste wax and buff it out with a soft cloth. The finish ends up smooth as glass but still feels like wood, not plastic. It’s my favorite part—it makes the piece look and feel finished.
10. Can I change the color of a piece that’s already stained?
Yes, but you’ll need to sand off the old finish or use a stain-over-stain technique. If you’re going darker, you can sometimes apply a gel stain right over an old sealed surface. I did this on a set of drawers once—it worked beautifully after a quick scuff-sand. Just remember that going lighter almost always means sanding down to bare wood.
🏁 Final Thoughts
Every time I stain wood, I’m reminded that it’s more art than science. The smell of the stain, the feel of the rag gliding along the grain—it’s part of why I love woodworking.
Don’t rush it. Let the process teach you. The first time you see your project glowing under a fresh coat of polyurethane, you’ll understand why woodworkers obsess over stain.
A good finish doesn’t just protect the wood—it tells its story.
Mattress Support: How to Build It the Right Way by Admin January 19, 2026 DIY Most people replace their mattress when sleep starts going downhill. They wake up sore. The middle of the bed feels softer than the edges. There’s…

")

")

