Mistakes happen all the time, especially when applying wood stains. Some of the most common wood stain mistakes include blotchiness, unwanted streaks, or simply the stain turning out an undesirable color as it sets.
Most stain finishes are easy to apply without causing blotchiness, provided you spot them early and wipe them as you go. When applying shellac finishes to plywood, you need to work quickly to avoid streaks. Shellac is fast-drying and, in warm rooms, can set in a matter of minutes, so it’s important to use proper application techniques.
Most wood stain mistakes are easy to prevent and fix. Keep reading to learn how to fix wood stain mistakes and how to prevent stain mistakes.
How Do You Fix A Stain You Don’t Like?
Wood stain doesn’t always turn out the way we might expect. Stain soaks into different types of wood differently. For example, applying stain to porous woods, such as oak, ash, or chestnut will create a darker, cleaner color than using the same stain on something like pine plywood (a less-porous wood that doesn’t take stain well and can color unevenly).
To prevent applying stain you don’t like, always patch-test a new stain in an unnoticeable area before applying it to the entire piece. Using an underside of the wood, like underneath a table or behind a table leg, or on a scrap piece of wood, is best.
You have several options when you don’t like a stained surface. You can either:
Remove the stain entirely using mineral spirits, chemical strippers, or an orbital sander before reapplying a new color
Applying darker stain over light stain
The easiest way to fix a stain color you don’t like is to stain over stain. When applying stain in this way, the new color must be darker than the initial stain. If it’s lighter, it won’t cover the undercoat and you’ll need to remove it before applying.
To apply dark stain over light stain, you’ll need to:
Lightly sand the surface with fine-grit sandpaper – this will help the stain stick to the surface
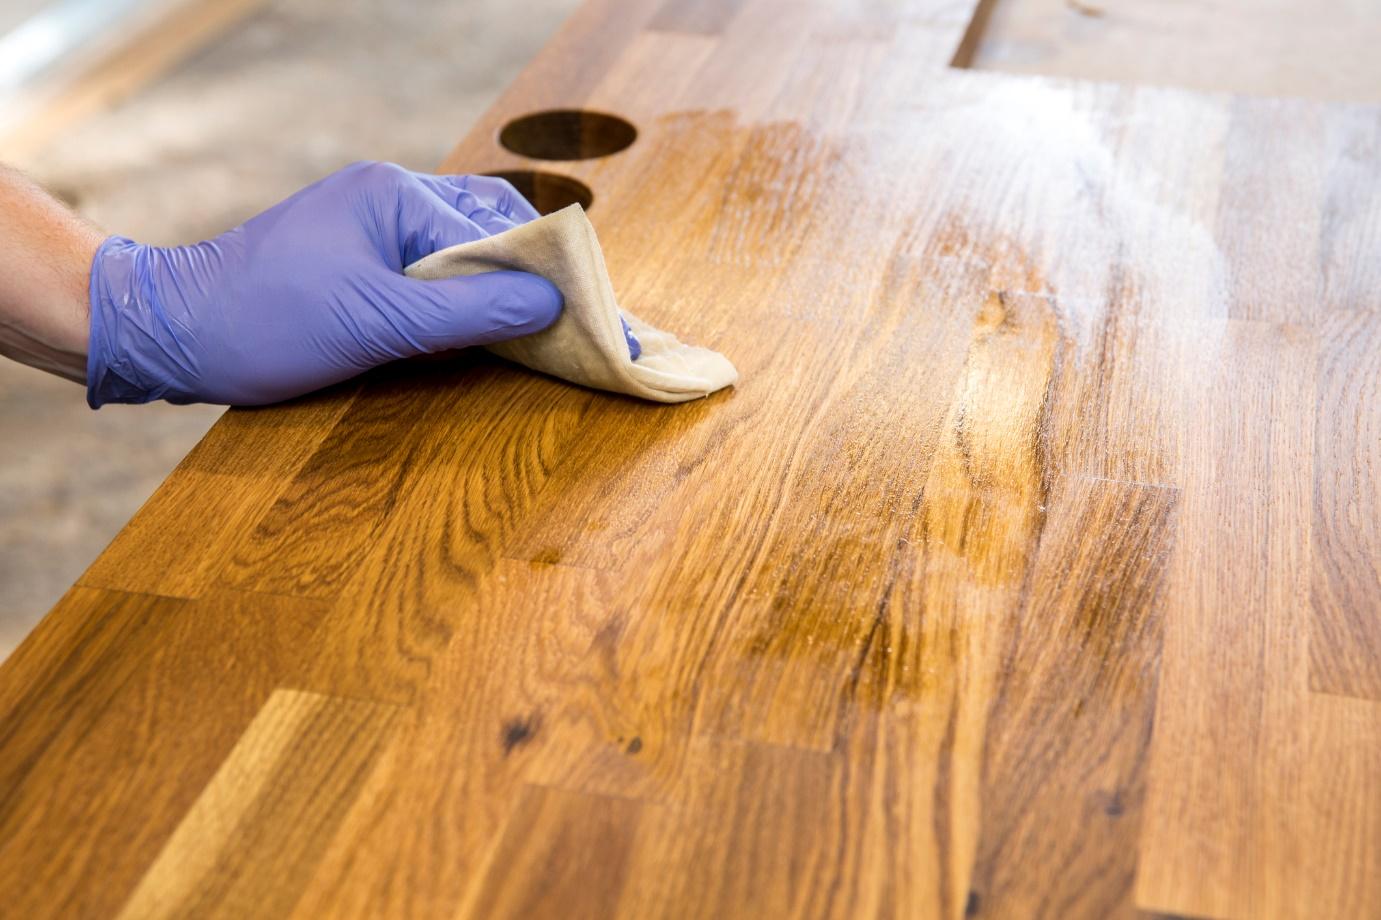
Clean the surface of the wood using a damp, lint-free cloth
Dry thoroughly or wait for the surface to dry naturally
Using a paintbrush or cloth, apply the new stain in long strokes
Allow the stain to dry before applying a second coat
Apply further coats, as needed
Most dark stains won’t require a second or third coat, as a single application should offer enough coverage over the light color. To ensure a smooth, clean, protected finish, you can apply a topcoat of polyacrylic after staining.
Bleaching or whitewashing stain
When your wood stain is too dark, you can bleach or whitewash the surface to achieve a lighter result. You can use traditional household bleach, A/B peroxide bleach, or oxalic acid to whitewash wood. Household bleach is not as effective in lightening wood as other products.
While you can bleach any type of wood, not all wooden furniture will respond well to bleaching. It won’t necessarily damage the wood, but it won’t offer a significant change to the color either. Here’s a quick summary of the best types of wood to bleach:
Wipe the surface with water or a mineral spirit and a lint-free cloth
Wait 1-2 days for the surface to dry fully
Apply bleach evenly with a cloth or paintbrush
Wipe away any excess with a cloth to prevent patches
Leave the wood for 4 hours or until it has dried fully
Neutralize the wood by wiping it with a cloth soaked in 50-50 water and white vinegar
Clean with a dry, lint-free cloth
Lightly and evenly sand the wood with 120-grit sandpaper to achieve a smooth finish
Whenever you’re working with a bleaching agent, always do so in a well-ventilated space, ideally outdoors or with the windows open. You should also wear rubber gloves, long sleeves, eye protection, and full-length trousers to protect your skin.
Painting over stain
Ideally, it’s best to remove stain using a chemical stripper before painting. However, you can paint over a stained wood surface without stripping the color entirely, provided you scuff sand it first. Sanding before painting ensures the paint has a rough enough surface to stick to, which will prevent chips, cracks, flakes, and scratches.
Here’s how to paint over stain:
Scuff sand the wood surface with 150-grit sandpaper or orbital sander
Clean with a damp, lint-free cloth and dry
Apply shellac or an oil-based primer using a foam brush or roller
Once dry, paint in your chosen color using a latex or oil-based paint
Apply additional coats as needed, lightly sanding the surface by hand in between coats
Finish the surface with a protective finish, like polyacrylic
Provided you apply a high-quality primer, you can get away with painting over stained wood without scuff sanding the surface first. However, use caution when doing this, especially for frequently used wooden furniture (like dining tables, doors, or cabinets) as the paint can chip easily.
Finally, if you’re unhappy with the stain finish on wood, you can remove it entirely and reapply a new stain. Removing stain is easy when you use a chemical stripper designed for your wood product, like an interior wood stain remover.
Some DIY methods exist for removing stain from wood, but use caution when following these methods. Some are simply ineffective, while others can cause severe damage if used incorrectly. For example, household products, like nail polish remover, bleach, vinegar, or acetone, can burn or corrode wood.
To remove stain from wood and reapply:
Prepare the area, covering the floors with a dustsheet or plastic wrap
Patch test the stripper in an unnoticeable area
Pour across the wood and spread evenly with a paintbrush
Wait the recommended time (between 20-30 minutes typically)
Scrape the stain off with a putty knife
Clean the surface with a damp cloth
Once dry, apply the stain evenly using a natural bristle brush in the direction of the grain, wiping away any excess with a lint-free cloth
Leave the stain for a period before wiping the entire surface with a cloth in the direction of the grain
Applying a second coat of stain isn’t always required. Leaving the stain on the wood for a longer period before wiping will achieve a darker coat. You can apply a polyurethane varnish after staining to protect the surface and give your wood a sheen finish. You’ll need to wait between 3-12 hours before applying polyurethane after staining, depending on the type.
Why Does My Wood Stain Look Blotchy?
Blotchy wood stain usually happens if the stain has been applied unevenly, but this isn’t the only reason. If your wood stain is blotchy, it could be caused by:
Uneven application – Applying the stain unevenly, wiping it unevenly, or applying it on a non-flat surface will cause blotchiness
Slow removal of stain – The longer you leave stain to set before wiping, the darker it’ll go, so removing the stain slowly or in patches will cause light and dark spots
Using a stain prone to blotchiness – Some stains, like gel stain, set evenly with little effort, making it a great choice for beginners, while standard wood stain or shellac are slightly more difficult
Humidity or dampness of the wood – Wood needs to be dry before staining, otherwise, the wet patches can cause blotchiness in staining
Brush used – A natural bristle brush is best as it holds more liquid than a synthetic brush
Wood filler – Unless you’re using stainable wood putty, filling imperfections in wood before staining is not a good idea, as the stain can soak through the wood putty faster than the wood itself
How Do I Fix a Blotchy Wood Stain?
Blotchy wood stain may look terrible, but it’s easily fixed. There are several methods you can try to fix bad stain jobs, depending on the result you want to achieve. You can use these methods to fix freshly applied stain or a bad stain job on old wooden furniture.
Apply gel stain
Gel stain is easy to apply and comes with little to no risk of blotchiness. It’s often more expensive than regular stain, but it offers an excellent quick fix. This type of stain is thicker and sits on top of the wood surface, rather than soaking into the wood underneath. It’s this quality that helps it cover any imperfections on your initial coat. Simply apply a thin layer with a rag and wait for it to dry.
Dilute the stain
If you’ve spotted blotchy stain before it’s completely dry, you can attempt to fix the problem before it fully soaks into the wood. Use a cloth and apply a wood conditioner to the surface after staining in long, even strokes. Once applied, rub the solvent into the wooden surface in circular motions. This should remove excess stain and offer a smooth, clean finish.
Darken the stain
Another way to fix wood stain mistakes is to darken it by applying another coat. Apply a second coat once the previous coat has dried and leave it to settle on the surface for an extended period (remembering that the longer you leave stain to set, the darker your wood will go). After the allotted time, wipe away excess and wait for it to dry. The additional coat should provide enough coverage to cover any blotches.
Lighten the stain
Instead of darkening, you can lighten wooden furniture to fix blotchiness. This method only works if your stain is dye-based, rather than pigment based. If you’re not sure which stain you have, you can attempt this method and see what happens, as it’s unlikely to make the issue worse.
Before applying a bleaching agent to wood, patch test an unnoticeable area first to see the result. If you’re happy, apply the bleach using a spray bottle, and let it sit for several minutes (longer if you want to achieve a very light result), before wiping it with a clean, damp cloth. After bleaching wood, don’t apply any other finish until a couple of days, as the bleach can disrupt the coloring or effectiveness of topcoats.
Sand and restain
If your wood stain mistake is severe and you’re entirely unhappy with the result, you can remove the stain completely and start again. Just remember that most wood stain mistakes can be fixed using one of the other, quicker methods. So, you should only start again if you’re very unsatisfied with the result. To remove stain, use a chemical stripper or an orbital sander, before reapplying your new color.
Can You Stain Over Stain If You Don’t Like The Color?
Yes, you can apply stain over stain if you don’t like the color, but only if the new color is darker than the previous stain job. Attempting to apply a light stain over a dark stain won’t work and you won’t get the coverage you desire. Before applying a darker stain over stain, you should lightly sand the wood, clean it thoroughly, wait for it to dry, and then apply the new color in clean, even strokes in the direction of the grain.
Can You Put Too Many Coats Of Stain On Wood?
No, you can never apply too much stain to wood. Stain can be applied in as many coats as you like. However, there won’t be many benefits in doing so. Stain is best used once or at most twice to darken wooden furniture. To achieve a darker result, leave the stain on for longer before wiping.
If the results are not as dark as you like, applying a second coat and leaving it for a longer period will make the wood darker. Continuously applying coats of stain, without changing the amount of time you leave it to soak before wiping, will not make a significant difference to the result.
Summary: Things to Remember
Most wood stain mistakes are caused by poor application, so apply carefully
How to Bend Plywood Without Breaking It (6 Proven Methods) by Admin March 4, 2026 DIY Plywood can be bent using several woodworking techniques, including kerf cutting, laminating thin sheets, steam bending, soaking, heat bending, and using flexible plywood (bendy ply).…

")
")
")
")
")
")