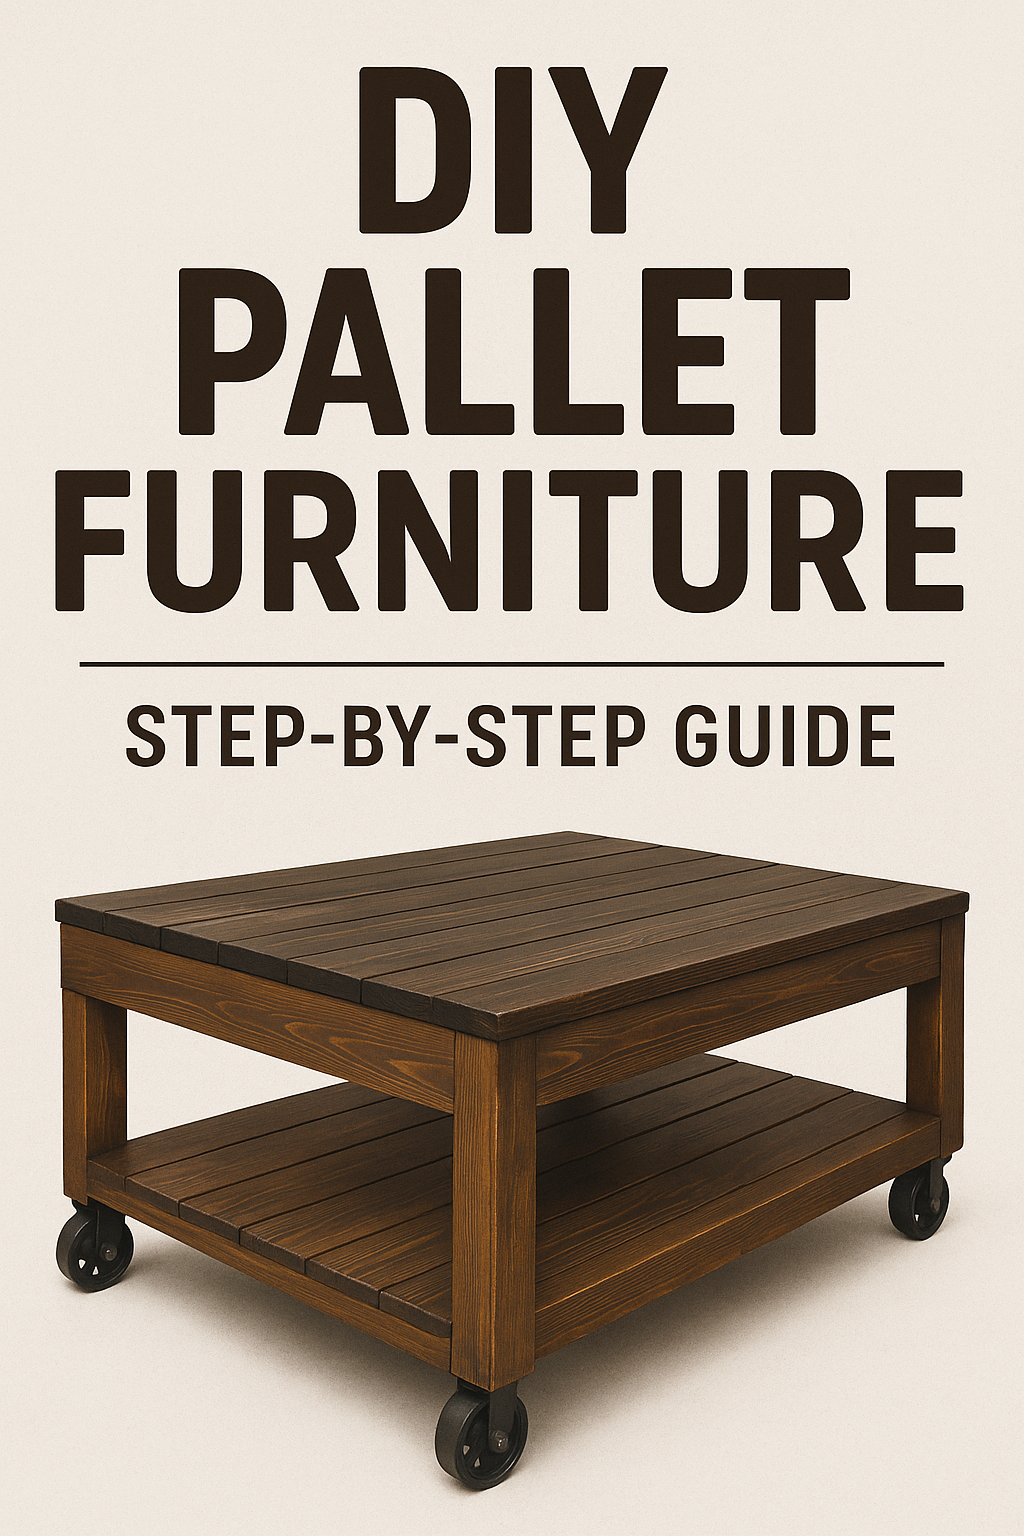
If you’ve ever walked past a stack of discarded wooden pallets behind a store and thought, “I could build something with those,” you’re not alone. Pallet furniture has become a favorite for those who want to create rustic, affordable, and one-of-a-kind pieces using reclaimed wood.
This hands-on guide is full of real-world experience, helpful tips, and straightforward ideas. Whether you’re making a bench for your backyard or thinking about turning your hobby into a side hustle, this walkthrough can help you get started—or take your pallet builds to the next level.
Why I Love Working with Pallets
My introduction to pallet projects was simple. I needed a place to store muddy shoes, didn’t want to overspend, and spotted a pallet left out behind a hardware store. I took it home, broke it down with a crowbar, and built my first-ever shoe rack that same day. That sense of accomplishment—and the fact that it cost me almost nothing—was addictive.
Here’s why pallet wood is so appealing:
Free or inexpensive: Many places give them away.
Solid hardwood: A lot of pallets are built from oak, maple, or poplar.
Naturally weathered: Great texture and character without sanding new boards.
Sustainable: Reusing means keeping perfectly good wood out of landfills.
In many countries—including places like Mexico—it’s common to see pallet fences, shelves, and even beds. The appeal is global, and the possibilities are endless.
Where to Score Good Pallets (Without Paying a Dime)
Through trial and error, I’ve figured out where the best pallets tend to hide:
Furniture stores: Ask nicely—they often stack used pallets out back.
Small distribution warehouses: Many are happy to get rid of them.
Appliance or home supply shops: These places go through tons of pallets weekly.
Job sites: Construction crews often toss pallets after deliveries.
Craigslist & Facebook Marketplace: People list pallets for free just to avoid hauling them.
Pro Tip: Avoid pallets stamped with “MB”—that means they were treated with methyl bromide, a toxic chemical. Look for “HT” instead, which means heat-treated and safe for indoor use.
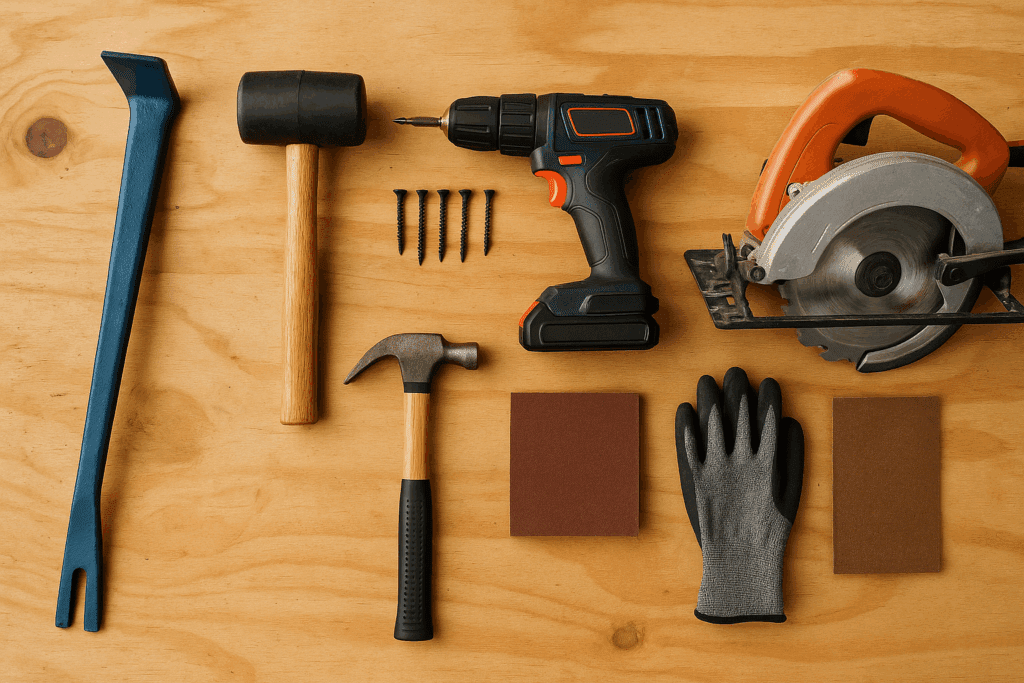
What You’ll Need to Break Down and Build
You can build a lot with just a few basic tools. Here’s what’s in my go-to pallet kit:
Pallet buster or a long pry bar
Rubber mallet or hammer
Cordless drill and screws
Sandpaper or orbital sander
Circular saw or hand saw
Safety gear: gloves, mask, and goggles
You don’t need a fancy workshop—just a flat surface and some elbow grease.
How I Prep Pallet Wood So It’s Clean, Safe, and Build-Ready
Before I build anything from a pallet, I give every board a full checkup. You never really know where those things have been—sometimes they’ve hauled food, sometimes chemicals. Once, I grabbed a pallet that looked decent but had absorbed motor oil underneath. Lesson learned.
Now, I follow a solid routine to make sure the wood I’m working with is safe and clean:
First, check for the stamp. If it says “HT,” you’re good—it means heat-treated. But if it’s marked “MB,” skip it. That’s methyl bromide, and you don’t want that in your house.
Next, a good wash. I mix a bucket of water with dish soap and a splash of white vinegar, then scrub each board with a stiff brush. It’s not glamorous, but it works. After rinsing, I let everything dry in the sun for a full day.
De-nailing comes next. I use locking pliers for stubborn nails and a hammer claw for the rest. Running a magnet over the wood catches the hidden stuff before it wrecks your sander or blade.
Now, sanding. I don’t skip this. Even if I want that rustic look, I smooth every surface with 80-grit sandpaper, then go finer if I’m staining or sealing later. Trust me—nothing ruins a project faster than a splintered bench.
Bonus step: If the wood looks old or soft in spots, I brush on some wood hardener before finishing. It soaks in and firms everything up, especially around knots or edges.
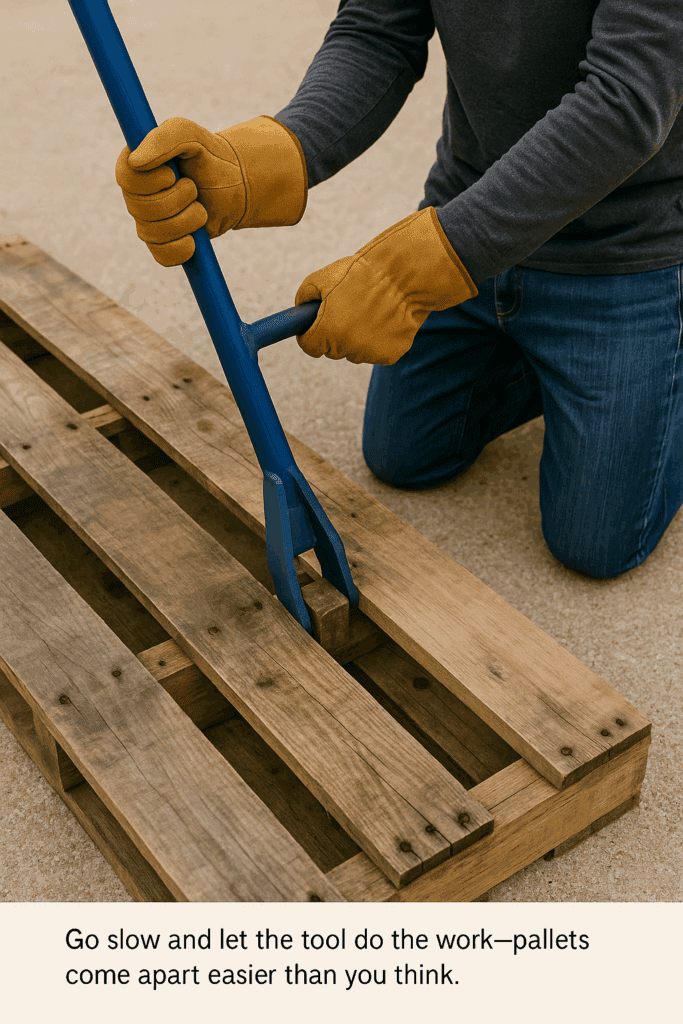
Smart Tips for Taking Pallets Apart Without Wasting Boards
The key is patience. You’re not demolishing—you’re extracting good wood. I’ve learned the hard way that aggressive prying can leave boards split or useless.
Start from the outer slats and work inward. Use a pallet buster if you have one. Tap under the slat with your tool, gently rock back, and loosen the wood gradually. Pull nails carefully with locking pliers or a hammer claw. Run a magnet over each board to catch hidden nails before sanding or sawing.
Let your boards dry for a day or two before building, especially if they’ve been sitting outdoors. It helps reduce warping once your piece is finished.
Lean a pallet against a fence, secure it, and add landscape fabric behind the slats. Fill with soil and plant herbs or flowers—perfect for small patios.
2. Outdoor Bench
Stack two pallets horizontally, attach legs, and add a cushion or throw pillows. You can make a whole section using this method.
3. Floating Wall Shelf
Cut a pallet in half, sand the top edge, and mount it on the wall. Use the beams as built-in shelving spaces.
4. Pallet Lounge Chair
Use two pallets: one for the seat, one for the backrest. Add braces and armrests using scrap wood. Throw on cushions, and you’re set.
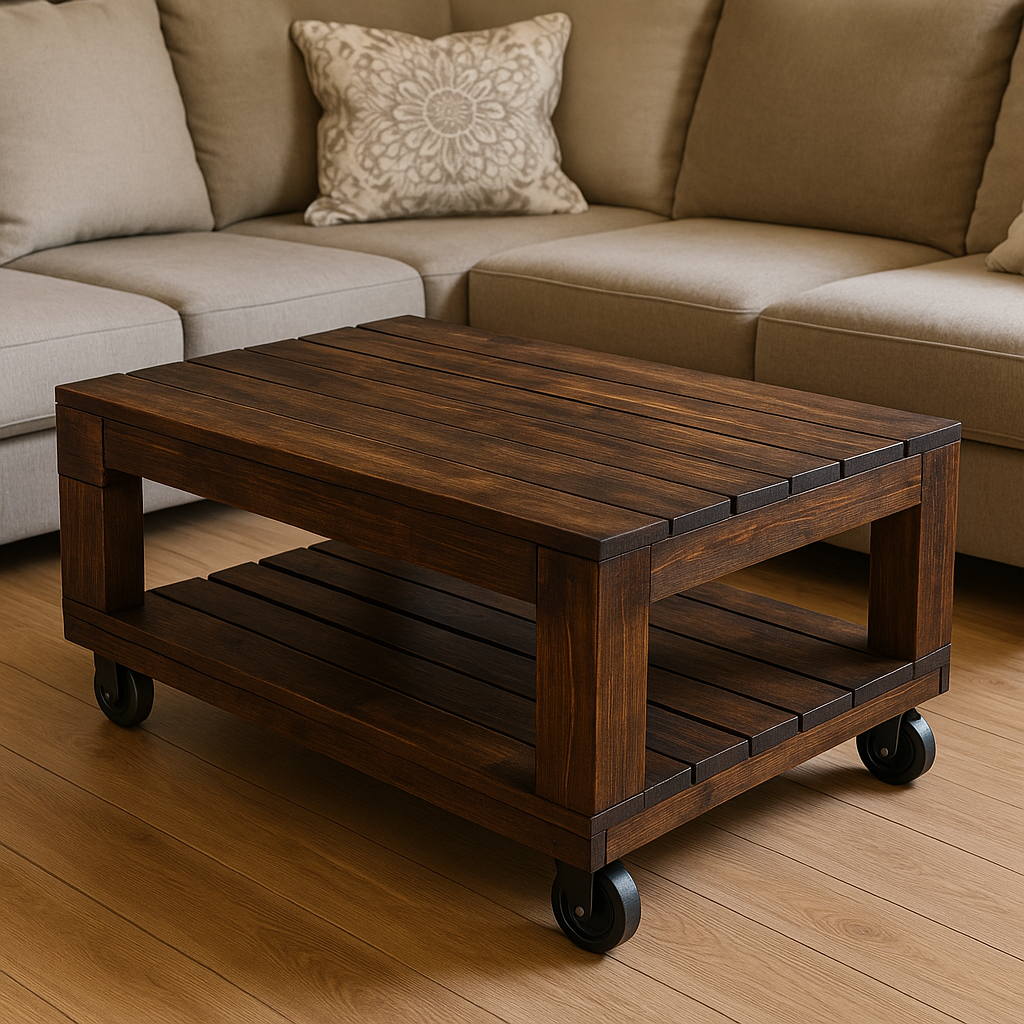
5. Coffee Table with Wheels
Strip two pallets, reassemble the best planks for a smooth surface, and mount them on a frame with casters. Add a bottom shelf for books or baskets.
Taking It Further: How I Moved From Quick Pallet Fixes to Full Furniture Builds
Once I had a few simple projects under my belt, I started to see the bigger picture—literally. My early builds were things like shelves and planter boxes. But after a while, I wanted to create real furniture pieces people could sit at, eat from, or use every day.
My first “big” build was a coffee table for our living room. I sketched out the design on scrap paper, measured my pallet boards, and figured out how to make it all fit without buying extra lumber. It wasn’t perfect, but it was sturdy, and honestly, it looked way better than I expected.
After that, I started batch-building benches and tables—cutting all the legs and tops first, then assembling assembly-line style. That weekend I made four outdoor benches, all from free wood and about $20 in screws and stain.
As my confidence grew, I mixed pallet wood with other materials: hairpin legs for a modern touch, a glass top on a rustic base, even some iron pipe frames for an industrial look. Suddenly, my free pallet projects looked like designer furniture.
One trick that helped: I started keeping my favorite boards aside—straight-grained pieces with cool knots or wear marks. I saved them for tabletops and visible sections. The more builds I did, the more I realized how much small details matter.
And yes, I started selling some pieces. But even if you’re just building for yourself, taking on a bigger project is a great way to stretch your skills and end up with something you’re proud of.
How to Finish Your Furniture Like a Pro
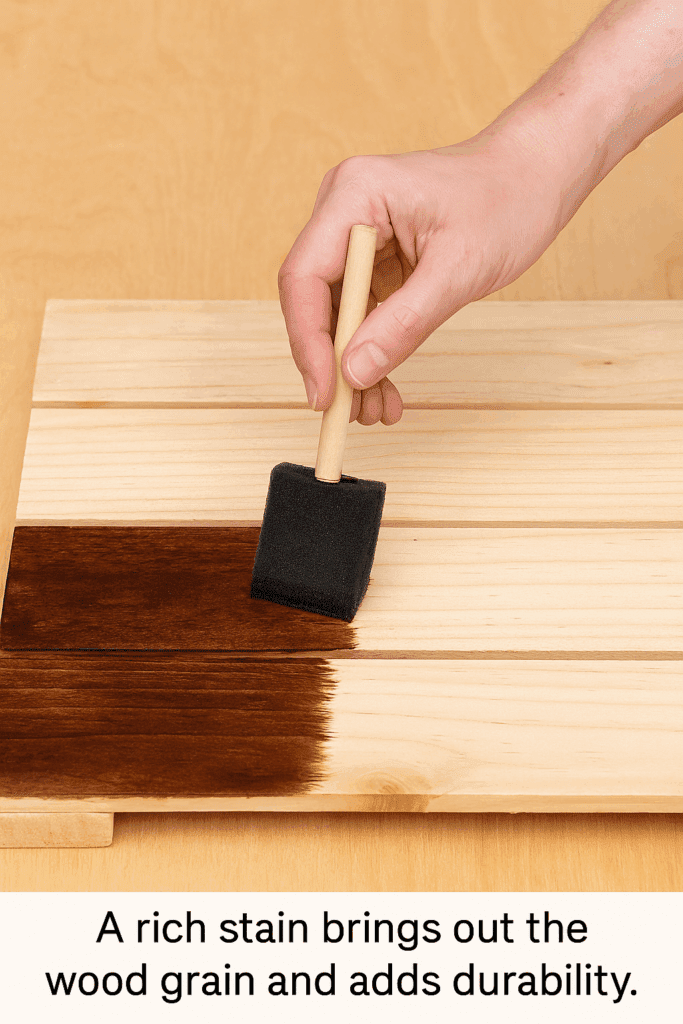
You’ve put in the work—now make it last. Sand every surface smooth to remove splinters. For stain, wipe on with a cloth or brush and remove excess. For paint, I prefer chalk paint for a distressed look.
Seal with a polyurethane or spar urethane, depending on indoor or outdoor use. I like matte finishes for rustic furniture, but glossy can give it a polished twist.
Want to Sell Your Work? Here’s What I’ve Learned
Yes, you can make money from this. Once I had a few builds under my belt, I started posting them on Facebook Marketplace. They sold quickly, especially benches, planters, and farmhouse-style tables.
Mention that it’s reclaimed wood—it adds value for eco-conscious buyers
Final Thoughts
Every pallet has a story. Some carried heavy machinery, others held plants or food. When you build something from it—whether it’s a shelf, a table, or a whole bed—you’re giving that wood a new purpose.
You don’t need to be a master woodworker. Just some simple tools, a bit of patience, and a few dusty boards can turn into something you’re proud to show off—or even sell.
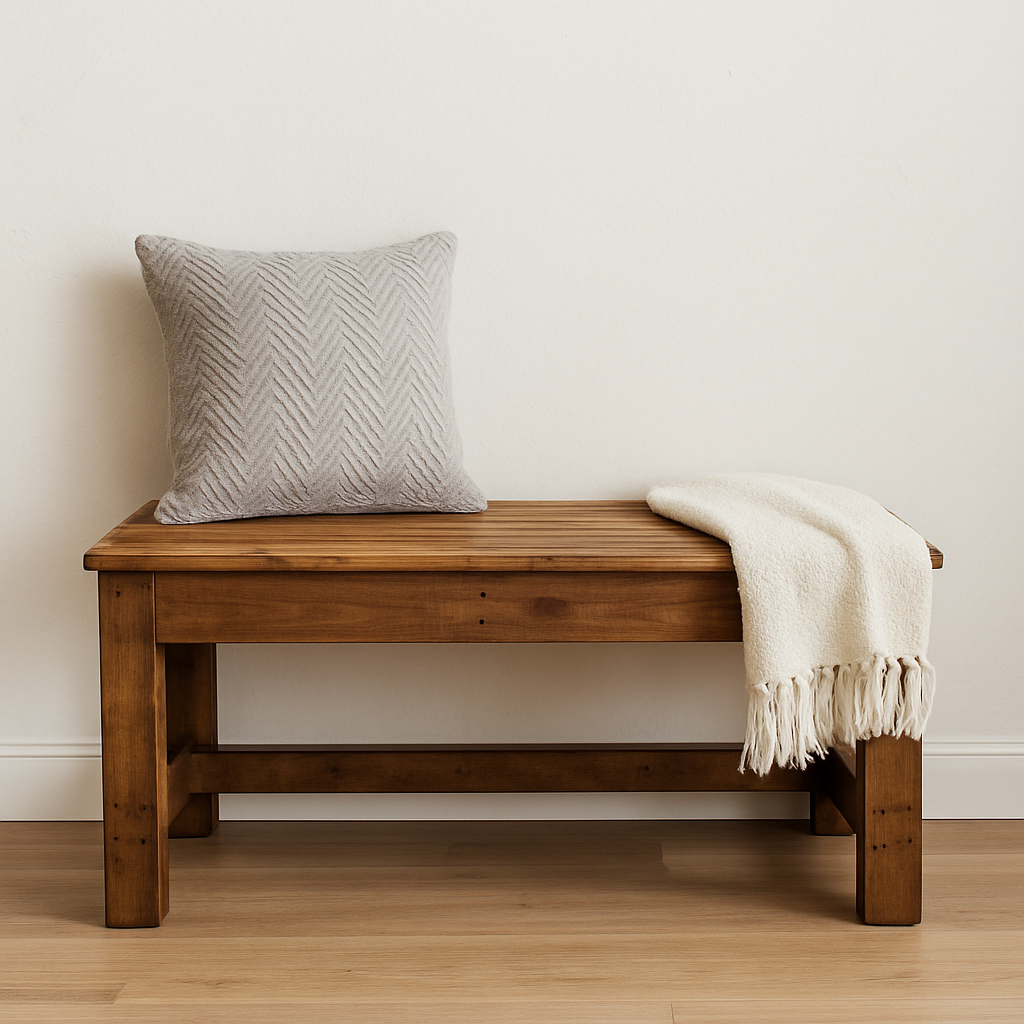
🖼️ Image PlacementAlt Text: Finished bench and garden shelf made from reclaimed pallets Caption: You don’t need expensive lumber to build something that lasts. Pallets offer endless creative potential.
Wood Cable Spool: Ideas, Furniture Projects & More by Admin May 19, 2025 DIY Wood cable spools aren’t just industrial leftovers—they’re a goldmine for creative DIYers. These oversized wooden reels, originally made for holding electrical lines, telephone wires, or…


")

")

