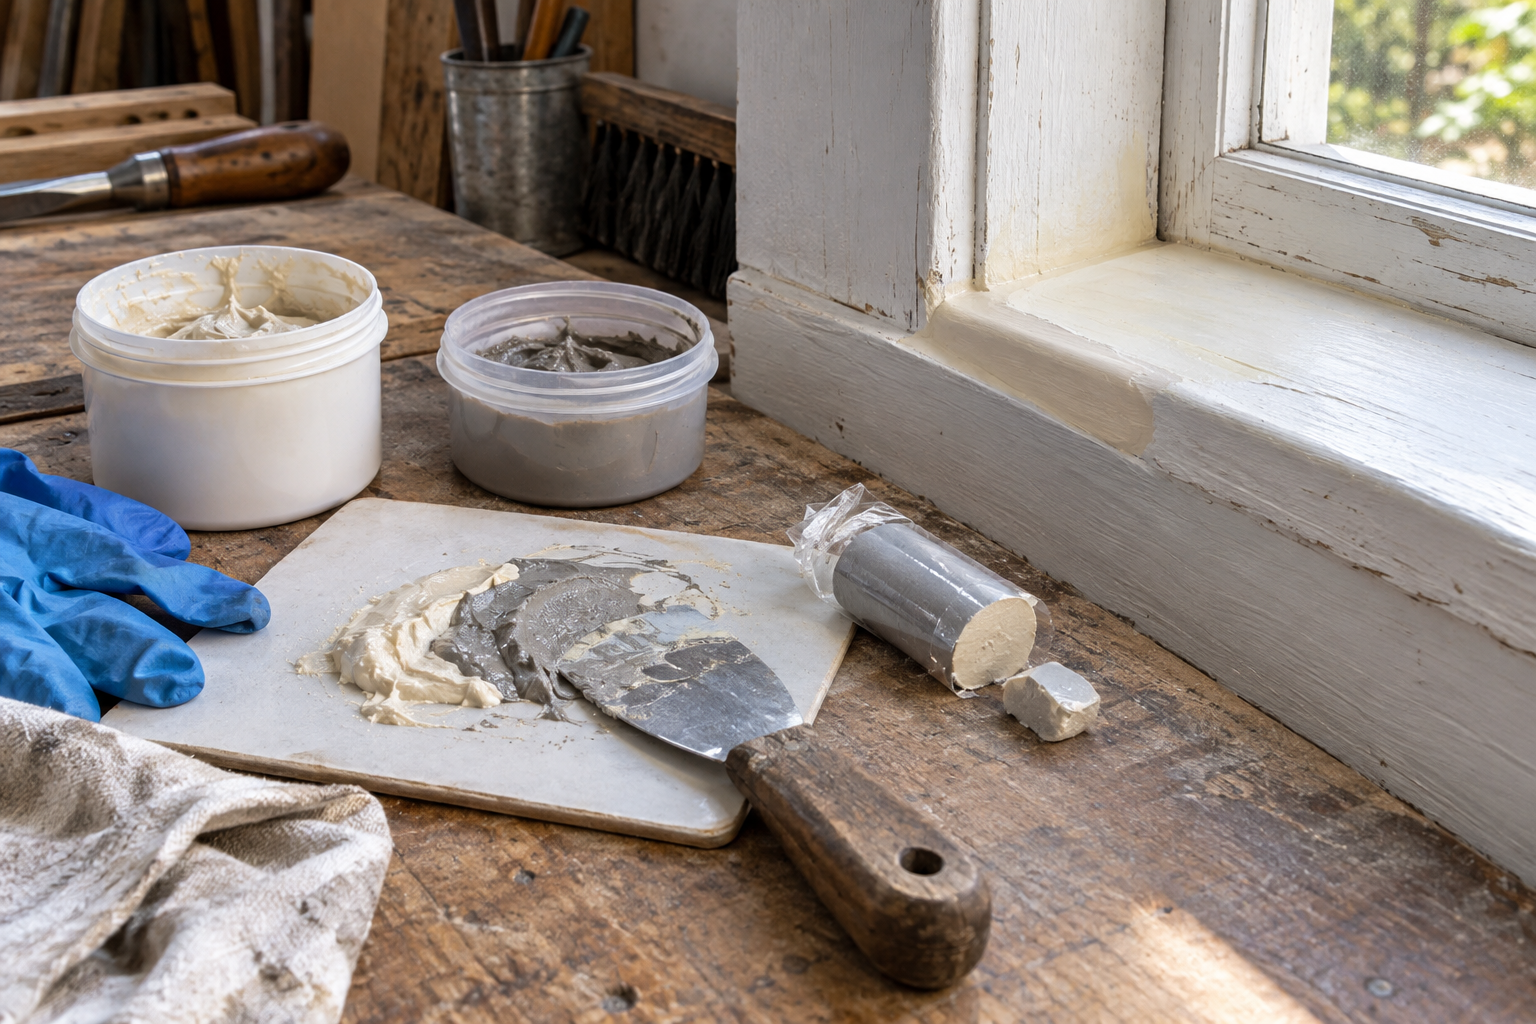
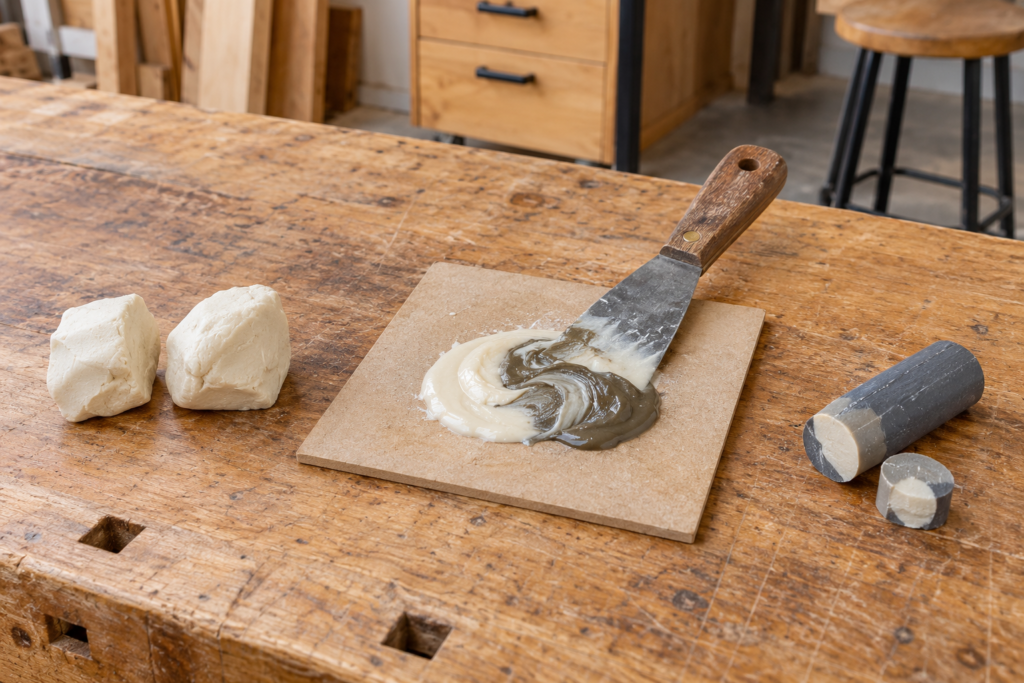
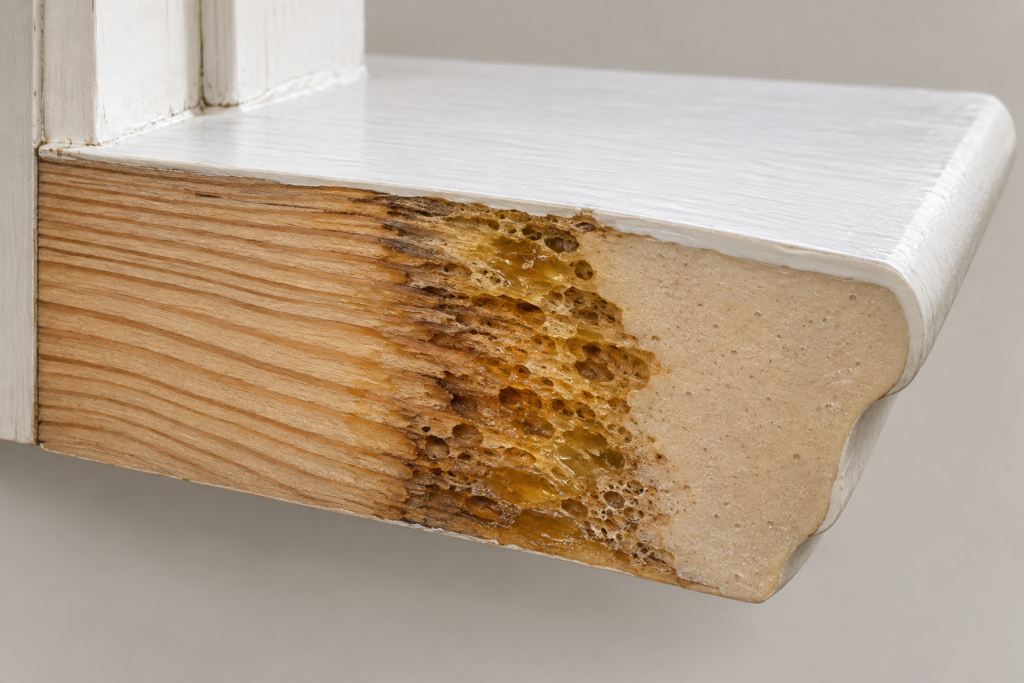
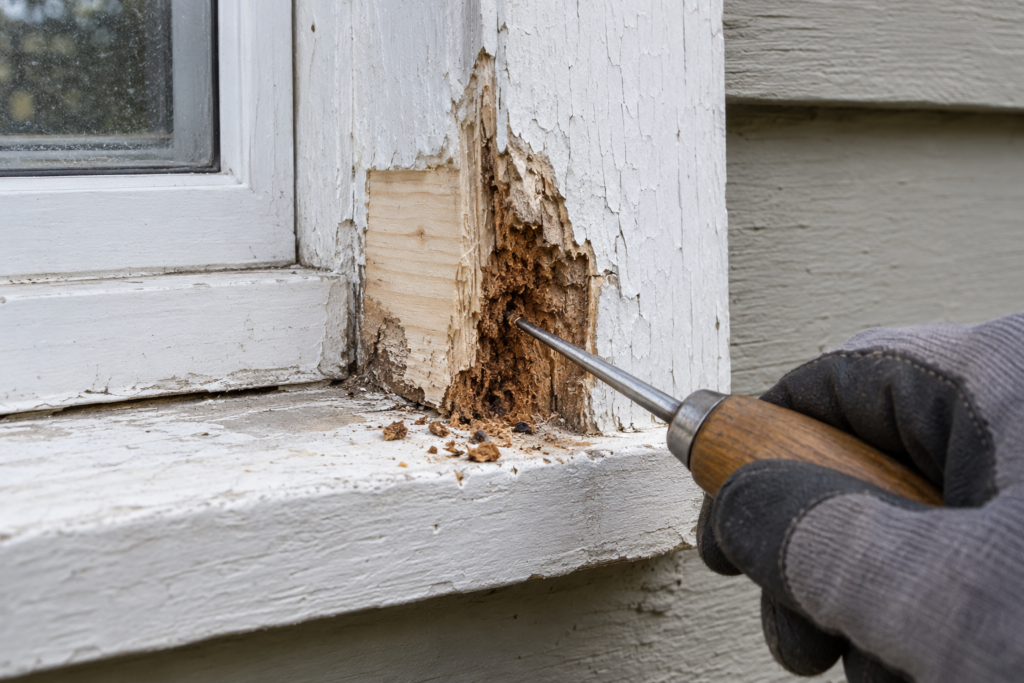
A missing corner on a windowsill and a soft spot in a floor joist are both damaged wood. That does not make them the same repair.
The sill may be a good candidate for epoxy. The joist may need new lumber. Confusing those two situations is how a neat-looking patch turns into a concealed structural problem.
Epoxy wood fillers also differ more than their labels suggest. Some give you enough time to rebuild a large molding profile. Others begin stiffening before you have packed a deep cavity. A small putty stick can be perfect for a stripped screw hole and frustratingly expensive for an entire door jamb.
This comparison focuses on where each type works, where it does not and what must happen before any filler is opened.
Quick answer: Abatron WoodEpox and System Three SculpWood are the strongest choices in this comparison for substantial painted exterior repairs. SculpWood gives you more shaping time, while WoodEpox is a good all-around architectural repair compound. PC-Woody suits small-to-medium voids. J-B Weld KwikWood is convenient for chips and other compact repairs. None should be used to cover wet decay or replace badly deteriorated structural wood.
If you have not identified the extent of the damage yet, begin with our complete wood rot repair guide.
Epoxy Wood Fillers Compared
Manufacturer times are approximate and generally based on conditions near 70°F. A hot day, cold substrate or oversized batch can change how the material behaves.
Product or system
Approximate working time
Best application
Main drawback
Verdict
Abatron WoodEpox with LiquidWood
20–30 minutes
Exterior sills, jambs, columns and detailed painted trim
Shorter shaping time than SculpWood; works best as a two-product system
Best all-around architectural repair
System Three SculpWood with RotFix
About 60 minutes
Large or complicated profiles requiring more forming time
Will not absorb stain like real wood
Best for large shaped repairs
PC-Woody with PC-Petrifier where needed
30–40 minutes
Small-to-medium exterior cavities and damaged edges
Sticky to shape; cure slows considerably in cold weather
Best value for moderate repairs
J-B Weld KwikWood
15–25 minutes
Chips, gouges, stripped holes and other compact defects
Too little working time and volume for large repairs
Best for quick small repairs
Polyester auto-body filler
Usually only a few minutes
Shallow cosmetic defects on stable, dry material
Hard and comparatively unforgiving as wood moves
Not our choice for exterior rot
Premixed wood filler
Varies
Nail holes and minor indoor defects
May shrink or soften and cannot stabilize decay
Not a rot-repair product
Working time is not full cure time. Check the current technical sheet for sanding, painting and return-to-service times.
What Determines Whether the Repair Lasts?
The product matters, but preparation usually determines the outcome.
The water must be stopped
Epoxy cannot correct failed flashing, an overflowing gutter, open end grain or a sill that drains toward the house. If water continues entering around the patch, decay can resume at its edges or farther inside the assembly.
Trace the water before repairing the wood. If you are unsure what you are seeing, our dry rot vs. wet rot comparison explains the practical differences.
Failed fibers must come out
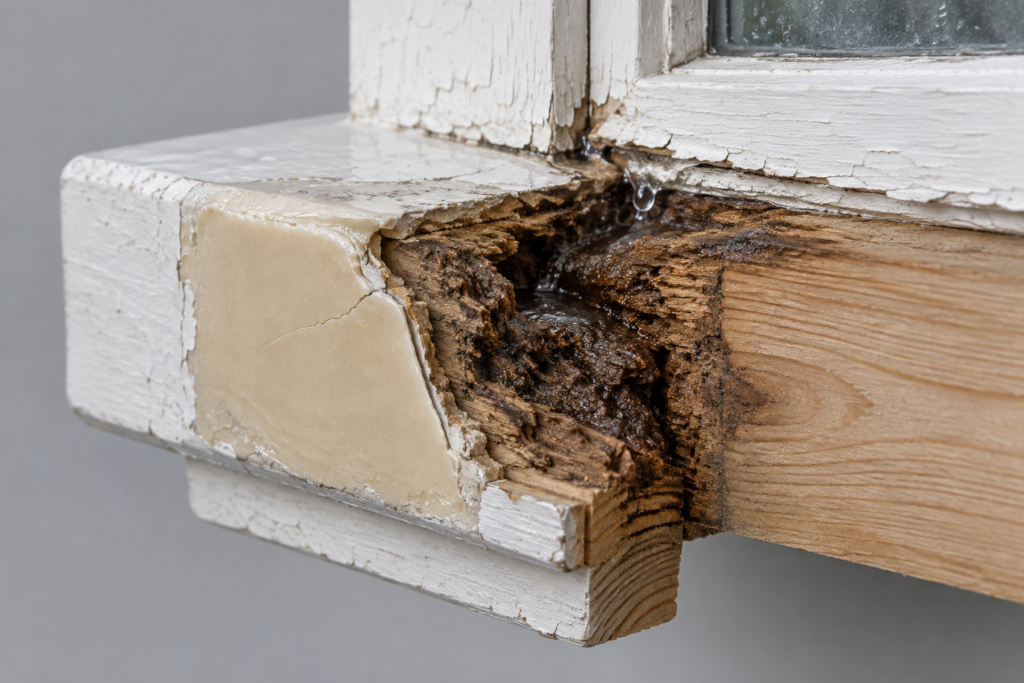
Do not spread filler over a soft surface and call it repaired. Remove loose, stringy and crumbling wood until the remaining material resists an awl or screwdriver.
A consolidant can soak into porous wood worth retaining. It cannot turn a cavity full of decomposed fibers into dependable lumber. Our guide to liquid wood for rotted wood explains what consolidants actually do.
The remaining wood must be dry
Wood can feel dry at the surface while remaining damp deeper inside. Use a pin-type moisture meter where possible and follow the epoxy manufacturer’s moisture limit. There is no single percentage that overrides every product specification.
The USDA Forest Products Laboratory explains how moisture supports decay fungi in its technical chapter on wood biodeterioration.
The patch needs a sound bond and a protective finish
Epoxy should bond to firm wood or wood prepared with its compatible consolidant. After curing, most exterior repairs should be sanded, primed and painted. Pay particular attention to end grain and joints where water previously entered.
Which Epoxy Filler Should You Use?
Abatron WoodEpox: best all-around exterior option
WoodEpox is a lightweight, two-part paste made for rebuilding missing or deteriorated wood. It stays where it is placed, making it useful on vertical jambs, sill corners, columns and decorative profiles.
For porous wood that is still suitable to retain, Abatron pairs WoodEpox with LiquidWood. The liquid consolidant penetrates and primes the prepared substrate; the paste restores the missing shape. That is more dependable than forcing ordinary filler against weak fibers.
Use it when the repair is too large for a putty stick but the original component is worth preserving. It is especially well suited to painted architectural woodwork.
Skip it if the member has serious structural section loss, the cavity is wet or replacing a simple trim board would require less labor.
System Three SculpWood: best when shaping takes time
SculpWood Putty offers about 60 minutes of working time at 70°F, according to System Three. That longer window helps when rebuilding a curved bracket, wide sill nose or detailed profile.
Where the remaining wood needs stabilization, the system uses RotFix consolidating epoxy. System Three encourages applying SculpWood over RotFix during the specified bonding window.
The important cosmetic limitation is stain. SculpWood is a 100%-solids epoxy, so it will not absorb stain like the surrounding grain. You may be able to reduce the contrast with a pigmented finish, but paint produces a more predictable result.
Choose SculpWood for large, complicated, paint-grade repairs. Do not expect it to disappear under a clear natural finish.
PC-Woody: best value for moderate repairs
PC-Woody is a two-part epoxy paste with approximately 30–40 minutes of working time at 70°F. It is a practical choice for checks, damaged trim edges and small-to-medium cavities. PC Products offers PC-Petrifier for wood requiring consolidation.
The paste can feel sticky and less sculptable than a lightweight architectural filler, but it sands and machines after curing. It is a sensible middle ground when a tiny putty stick is inadequate and a large restoration kit feels excessive.
Temperature is a genuine limitation. The manufacturer warns that curing slows below 50°F and does not recommend applying it at or below freezing. Do not assume that an exterior repair made on a cold afternoon will cure normally overnight.
J-B Weld KwikWood: best for small, fast fixes
KwikWood comes as a kneadable epoxy stick. Cut off what you need, mix it until the color is uniform and press it into the defect. It works well for a chipped furniture edge, stripped screw hole or narrow gouge.
Its short working time is useful when the repair is simple. It becomes a liability when you must pack a deep sill cavity and reproduce a profile. Multiple small sticks are also an expensive way to fill a broad area.
Keep it for localized defects in otherwise firm wood. It is not a substitute for an architectural epoxy system.
What about automotive body filler?
Polyester body filler hardens quickly and sands easily, which makes it tempting for exterior trim. The problem is movement. Wood expands and contracts as its moisture content changes, while a hard polyester patch may not move with it. Separation and edge cracking are common concerns, especially when moisture reaches the repair from behind.
It can handle a shallow cosmetic defect on dry, protected material. For a deep rot cavity or weather-exposed end grain, use a wood-repair epoxy or replace the damaged section.
Repair, Fill or Replace? Use This Chart
Condition after probing
Sensible response
Clean chip, nail hole or shallow dent in firm wood
Use a small epoxy putty or suitable interior filler
Localized cavity in dry, non-structural exterior trim
Remove decay, consolidate if required and rebuild with two-part epoxy
Large missing section of valuable painted molding
Use slow architectural epoxy or install a fitted wood patch
Rot returns around an older filler patch
Remove the patch and correct the water path before repairing again
Damage continues behind siding or into sheathing
Open the assembly and inspect the concealed material
Joist, beam, ledger, post or rim board has meaningful section loss
Obtain an appropriate structural repair; do not rely on filler
Wood is wet or the leak remains active
Stop and correct the moisture problem first
Most of an inexpensive straight trim board is damaged
Replace the board
The decision is often economic as well as technical. Read Can Rotting Wood Be Saved? before spending hours rebuilding a piece that would be safer and faster to replace.
How to Make a Durable Epoxy Repair
1. Probe beyond the visible spot
Paint can hide decay. Check the edges, end grain and concealed side where accessible. Stop if the damage reaches structural framing or a larger hidden area than expected.
2. Correct the source of moisture
Repair flashing, drainage, failed joints, plumbing or roof leaks before rebuilding the surface. Allow the assembly to dry.
3. Remove loose material
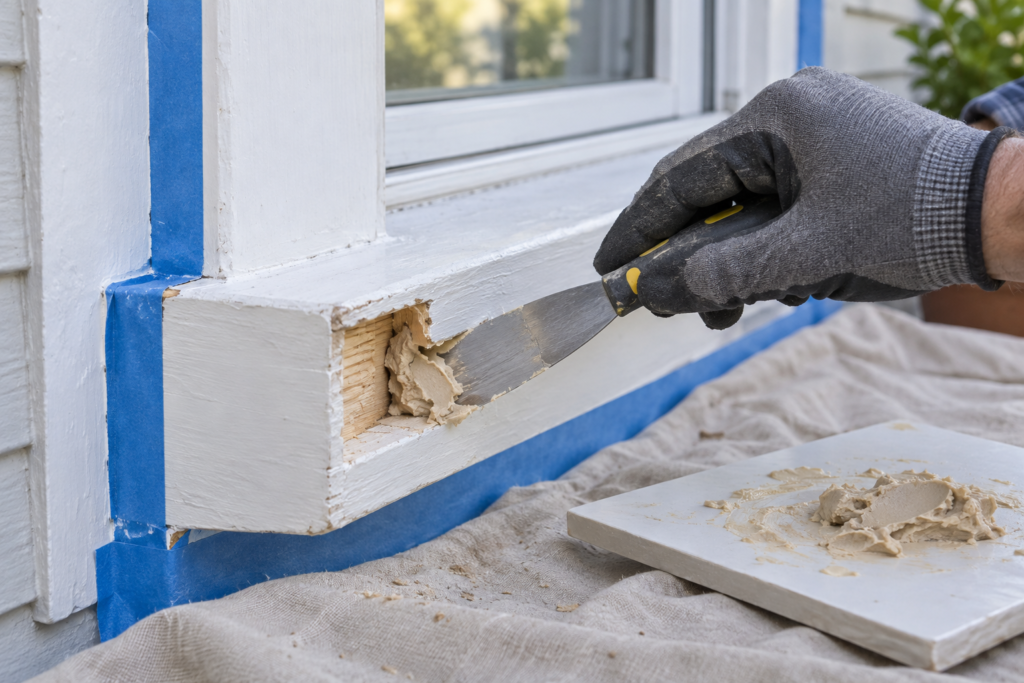
Use an awl, chisel, scraper or rotary tool to remove wood that no longer holds together. Vacuum the cavity. Preserve solid material rather than enlarging the hole simply to create a tidy shape.
4. Test moisture and plan the fill
Confirm that the wood meets the chosen system’s requirements. For a large cavity, consider fitting a dry wood block or dutchman and using epoxy around it. This reduces cost and avoids creating an unnecessarily large mass of curing resin.
5. Apply the compatible consolidant when needed
Use a consolidant on prepared porous wood when the system calls for it. Follow the specified timing for adding filler. Do not assume that separate brands are chemically or procedurally interchangeable.
6. Measure, mix and pack small batches
Use the exact ratio on the label. Mix until the color and texture are uniform, scraping the mixing surface as you work. Press the compound against the back and sides of the cavity so you do not trap empty pockets.
Large concentrated batches can become hot and cure faster because epoxy creates heat while reacting. Stay within the manufacturer’s batch-size and application-depth guidance.
7. Shape, cure and protect
Leave the filler slightly proud, then sand it to the final profile after the specified cure. Use eye protection, gloves and dust control. Prime and paint the completed repair with compatible exterior coatings.
When Epoxy Is the Wrong Repair
Do not use filler to hide these conditions:
Major structural deterioration: Epoxy paste does not automatically restore the rated capacity of a joist, beam, ledger, post or rim board.
Ongoing moisture: Sealing damp wood can hide rather than solve the problem.
Widespread concealed rot: A surface patch will not repair damaged sheathing or framing behind it.
Active insects: Address termites or wood-boring insects and determine the full extent of damage first.
Critical fastener locations: A railing, hinge, ledger or connector should transfer its load into verified sound material.
Clear-finished wood: Epoxy cannot reproduce real grain or accept stain exactly like the original wood.
Easily replaceable material: New wood is often the better repair when most of a plain board is gone.
Damage at a structural boundary deserves extra caution. Our rim joist rot repair guide shows why a smooth surface patch is not enough.
Five Reasons Epoxy Patches Fail
The filler was applied over decay. It releases with the weak fibers still attached.
Moisture remained behind the patch. Rot continued beyond the sealed surface.
The product cured outside its temperature range. Cold weather slowed or interrupted the reaction.
The two parts were measured or mixed poorly. Unmixed streaks remained soft.
The leak was never repaired. Paint and filler cannot compensate for missing flashing or trapped water.
Before You Mix: Final Checklist
The water source has been identified and corrected.
The full damaged area has been probed.
Loose and crumbling fibers have been removed.
The remaining wood is dry enough for the chosen system.
The repair is not being used to conceal structural section loss.
Air and surface temperatures meet the instructions.
The consolidant and filler are compatible.
The product offers enough working time for the repair.
The cured patch will be primed, painted and protected from water.
Frequently Asked Questions
Is epoxy wood filler stronger than wood?
Some cured epoxy compounds may be stronger than the surrounding wood in particular laboratory tests. That does not make a patched structural member equivalent to new graded lumber. The repair still depends on bond area, substrate condition, remaining cross-section and the direction of the load.
Is wood hardener always needed before epoxy filler?
No. Firm, dry wood may not need consolidation. Porous wood worth retaining often does. Use the consolidant specified by the repair system rather than adding hardener automatically. See our wood hardener guide for more detail.
Many epoxy fillers can be drilled and may hold light-duty screws. Do not assume they are suitable for a railing, heavy hinge, structural connector or other safety-critical fastener. Move the connection into sound wood or redesign the repair.
Can epoxy wood filler be stained?
It can sometimes be tinted or coated with pigmented stain, but it does not absorb color like natural grain. If appearance matters, make a test sample. Paint is normally the more reliable finish.
How long will an epoxy wood repair last?
There is no honest fixed number. A dry, properly bonded and painted repair can last for years. Its life depends on drainage, exposure, wood movement, coating maintenance and whether the original water source was truly corrected.
Final Verdict
For a substantial exterior repair that will be painted, Abatron WoodEpox is the best all-around choice in this group. System Three SculpWood is better when a large or complicated profile demands extra shaping time. PC-Woody is a capable, economical option for moderate cavities, while KwikWood is most useful for quick, compact fixes.
The best repair is not always the product with the largest strength claim. It is the repair made on dry, dependable wood after the source of damage has been eliminated. When the remaining material cannot provide that foundation—especially in structural framing—replace or reinforce the wood instead of burying the problem in epoxy.
Related Posts:
Stainable Wood Filler: A DIY Guide to Smooth Repairs by Admin September 24, 2025 Repairs Woodworking projects rarely go perfectly. Even the most careful craftsman ends up with nail holes, gaps, dents, or minor cracks in their boards. That’s where…
Best Basement Wall Systems: 7 Options Compared by Admin August 27, 2026 DIY The best basement wall systems do more than cover bare concrete. A properly designed wall assembly must control moisture, reduce condensation, insulate the foundation, provide…
Best Dehumidifier for Basements: 5 Models Compared by Admin July 15, 2026 DIY Buying a basement dehumidifier looks simple until you realize the square footage number on the box was measured under conditions that look nothing like a…