Affiliate disclosure: ThePlywood.com is reader-supported. As an Amazon Associate, we earn from qualifying purchases at no extra cost to you.
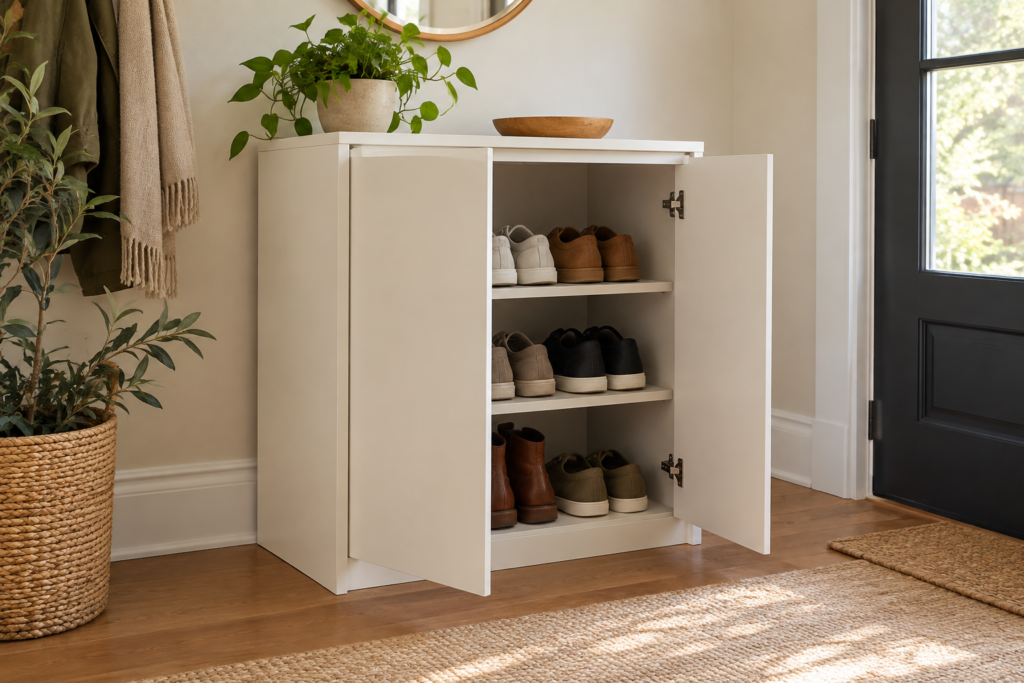
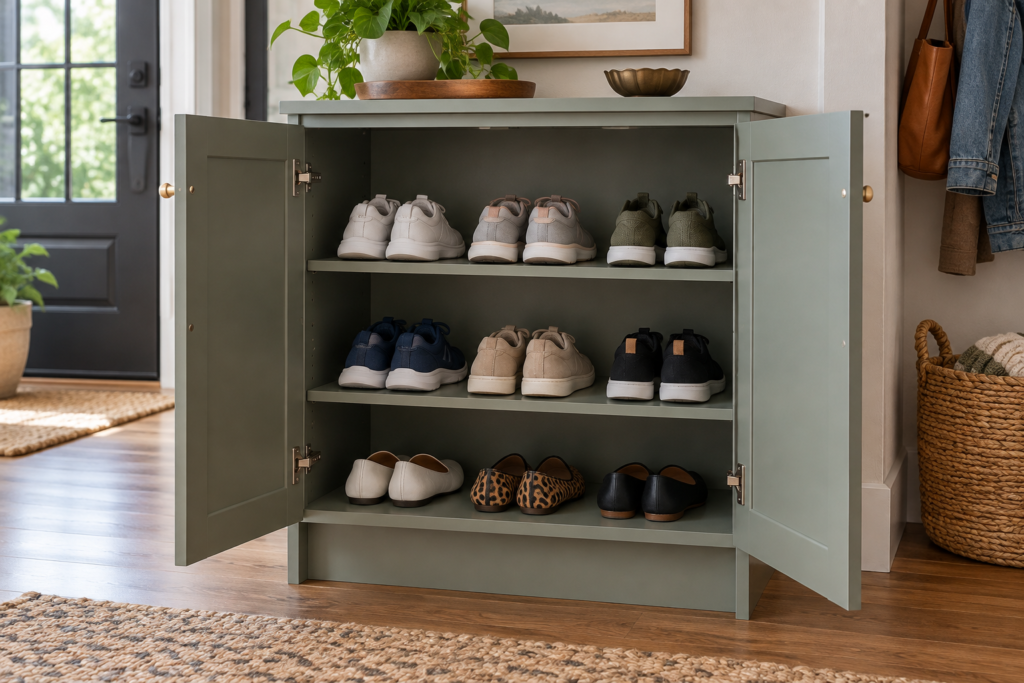
You can build a 30-inch-wide, 36-inch-tall plywood shoe cabinet with two doors and two adjustable shelves from one 4×8 sheet of 3/4-inch plywood, plus a 30 x 36-inch piece of 1/4-inch plywood for the back. The real savings come from three choices: buying a paint-grade sheet instead of a hardwood veneer, skipping the doors if you can live with open shelves, and laying out every part on one sheet so you don’t buy a second. Below are the cut list, a dimensioned cutting diagram, the build steps, and the mistakes that waste the most material.
Quick answer
Size: 30″ W x 36″ H x 14″ D, with three shelf levels about 10″ tall each. That fits sneakers and flats, and you can move the shelves for boots.
Material: one 4×8 sheet of 3/4″ plywood plus one 30″ x 36″ piece of 1/4″ plywood
Cheapest version: open shelves, no doors, painted sanded-softwood plywood
Main limit: the 14″ depth fits most adult shoes. If your longest pair runs over about 13″, you need a deeper box, which may need a different cut plan or more plywood.
Don’t skip: anchoring it to the wall
Plywood Shoe Cabinet Cut List (One 4×8 Sheet)
All parts come from 3/4-inch plywood except the back.
Part
Qty
Size (W x L)
Notes
Sides
2
14″ x 36″
Grain runs vertically
Top and bottom
2
14″ x 28-1/2″*
Fit between the sides
Adjustable shelves
2
13″ x 28-3/8″*
1/8″ shorter than the inside width so they drop onto shelf pins
Doors (full overlay)
2
14-7/8″ x 32-7/8″
Leave out for the open version. See door sizing below
Toe kick
1
3″ x 28-1/2″*
Front, under the bottom panel
Rear nailer
1
3″ x 28-1/2″*
Under the top at the back, used to anchor to the wall
Back (1/4″ plywood)
1
30″ x 36″
Glued and nailed to the back edges
*These lengths assume the sides are exactly 3/4″ thick. Many sheets sold as 3/4″ are actually 23/32″. Measure your sheet and cut these parts to 30″ minus twice the real thickness, with the shelves 1/8″ shorter than that.
Sheet Layout: Fitting Every Part on One Sheet
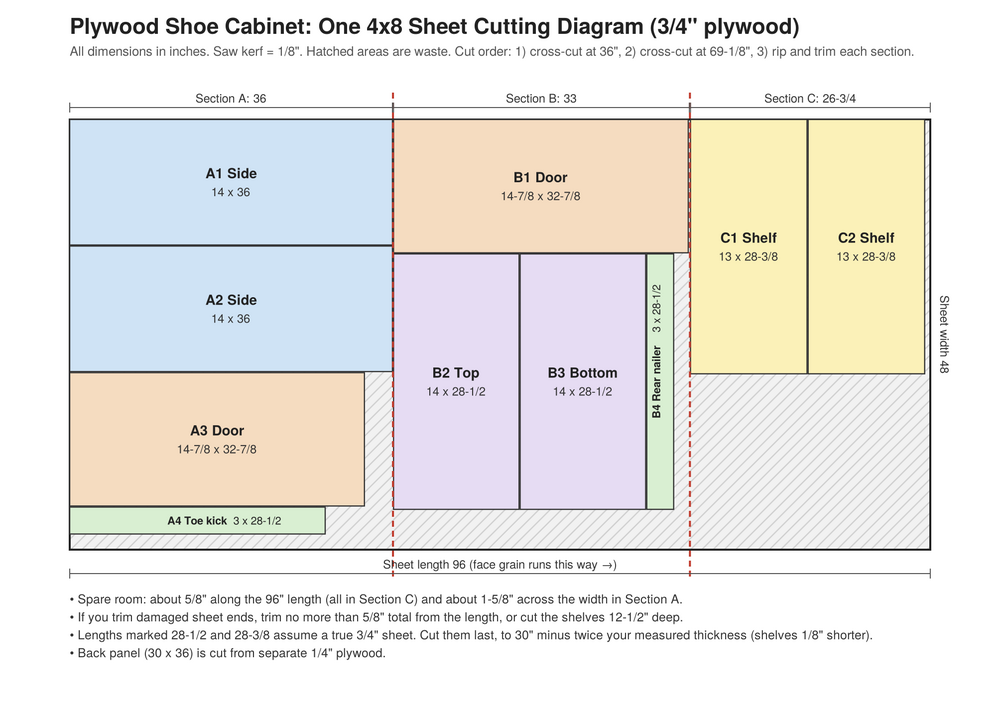
Measure the sheet first. If it’s a true 48″ x 96″, cross-cut it into three sections, then rip and trim each section into parts:
Section
Size
What comes out of it
A
48″ x 36″
Both sides, one door, the toe kick
B
48″ x 33″
The second door, top, bottom, rear nailer
C
about 48″ x 26-3/4″ (what’s left)
Both shelves, cut side by side
The diagram allows a 1/8-inch saw kerf on every cut. That leaves about 5/8 inch of spare length, all of it in Section C, and about 1-5/8 inches of spare width in Section A. If your sheet has damaged ends, trim no more than 5/8 inch total from the length. If you need to trim more, cut the shelves 12-1/2 inches deep instead of 13. If your blade cuts a wider kerf than 1/8 inch, measure the leftover before cutting Section C.
The face grain runs the 96-inch length of the sheet, so in this layout the sides and doors get vertical grain, which looks right on a painted or clear-finished cabinet. The trade-off is that the shelves and the top come out with the grain running front to back instead of along their length. A plywood panel is stiffer along its face grain; APA describes this as the panel’s strength axis. At a 28-inch span carrying shoes, that is unlikely to matter. If you plan to stack heavy work boots, cut the shelves from a second piece with the grain running lengthwise. Our garage shelf span and sag chart shows how much span and load change the picture.
Open Shelves or Doors: Which Budget Version Fits You
Choice
Cheaper option
Costs more
What you give up by going cheap
Doors
Open shelves
Two doors + four concealed hinges + a 35mm bit or hinge jig
Painted edges show the plies unless you fill them well
Back
1/4″ plywood or hardboard
1/2″ plywood back
Little, because a glued 1/4″ back still squares the box
Cutting
Store rips the sheet into rough sections
You make every cut at home
Store cuts aren’t always square, so trim to final size yourself
Check local prices before deciding. A quick way to compare: price the open version (sheet, back, glue, screws and paint), then add the door hardware and a hinge bit. If you’re also weighing a flat-pack shoe cabinet, the same math applies as in our plywood bookcase vs. IKEA Billy comparison: DIY plywood usually wins on stiffness and custom size, not always on price.
Materials and Tools
Materials
One 4×8 sheet of 3/4″ plywood
One 30″ x 36″ piece of 1/4″ plywood (many stores sell 4×4 project panels)
Wood glue
1-1/4″ coarse-thread pocket screws, the length Kreg lists for 3/4″ stock
5mm shelf pins (8)
Iron-on edge banding (optional)
Four full-overlay concealed hinges and two knobs (door version only)
Primer and paint, or a clear finish
A furniture anti-tip strap or kit
Tools
Circular saw and a straightedge guide, or a table saw
Measure your longest pair from heel to toe. The 13″ shelves hold pairs up to about 13″ fully on the shelf. Also check where the cabinet will go for baseboards, outlets, and how far a door swings in a narrow entry.
2. Break down the sheet
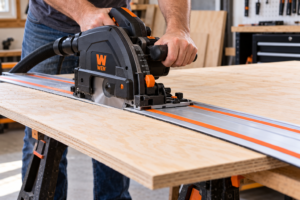
Make the cross-cuts at 36″ and 69-1/8″ to create sections A, B and C, then rip each section into parts following the cutting diagram. A clamped straightedge gives you cleaner cuts than a freehand circular saw. Our guide to cutting plywood in a straight line covers setting up the guide. Cut the horizontal parts after you’ve measured the actual sheet thickness, and cut the doors last, after the box is assembled.
3. Band or fill the front edges
Apply edge banding to the front edges of the sides, top, bottom and shelves, and to all four edges of each door. It’s much easier while the parts are flat on the bench.
4. Drill shelf pin holes
Drill two rows of 5mm holes in each side, about 2″ in from the front and back edges, spaced 1-1/4″ or 2″ apart through the middle of the cabinet height. Use a depth stop so you don’t drill through the outside face.
5. Drill pocket holes where they won’t show
Put pocket holes on the underside of the top panel, the underside of the bottom panel, and the back face of the toe kick and nailer. Never on the top face of the top panel, which is in plain sight. Our pocket hole guide covers jig settings for 3/4″ stock.
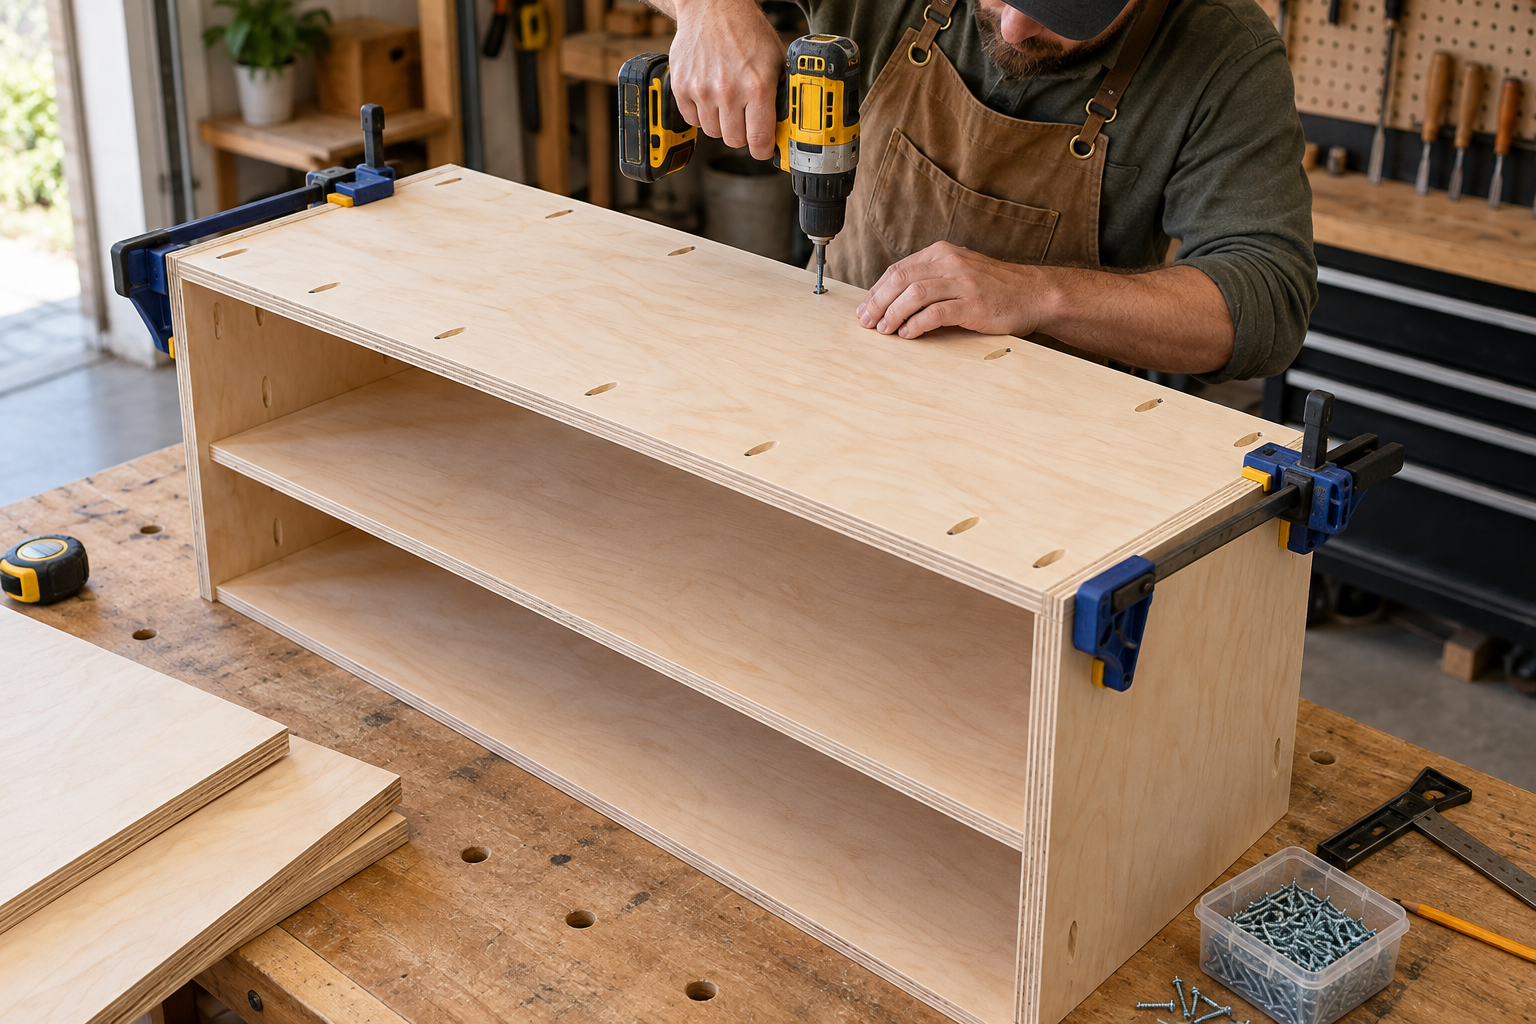
6. Assemble the box
Glue and screw the bottom panel between the sides so its underside sits 3″ above the floor. Attach the top flush with the tops of the sides. Fit the rear nailer under the top at the back, and the toe kick under the bottom panel at the front. For more on joining panels into a square box, see our basic cabinet construction guide.
7. Square it with the back
Measure both diagonals. Once they match, glue and brad-nail the 1/4″ back to the back edges. The back is what holds the box square.
8. Hang the doors (door version)
Door size, reveal and overlay
The doors in the cut list are full-overlay doors sized from these numbers:
Overlay depends on the hinge and mounting plate you buy, so check the hinge maker’s overlay chart before cutting the doors. If your hinge gives a different overlay, recalculate:
Door width = (inside width + 2 × overlay − center gap) ÷ 2
Door height = inside height + 2 × overlay
Mounting the doors
Drill two hinge cups per door using the positions and depth from your hinge instructions, with the cups a few inches in from the top and bottom edges. Mount the hinge plates on the sides, hang the doors, then use the hinge adjustment screws to even out the reveals and the center gap.
9. Finish
Fill any edge voids, sand, prime, and paint. Our painting plywood guide covers primer choice and getting a smooth face on softwood plywood.
10. Anchor it to the wall
Screw through the rear nailer into a wall stud, or use an anti-tip kit. CPSC’s Anchor It campaign recommends anchoring furniture that could tip, especially in homes with children. A cabinet with open doors and items stacked on top shifts its weight forward.
How Many Pairs It Holds
This depends on your shoes, so measure. As an illustration only: if your pairs average about 8″ wide side by side, a 28-1/2″ shelf fits three pairs, so three levels hold about nine pairs. Storing each pair heel-to-toe, with one shoe facing forward and one back, usually fits one more pair per shelf. If you need seating as well, the storage bench plan adds shoe space under a seat.
Mistakes That Cost Money on a Shoe Cabinet
Cutting the horizontal parts to the nominal size. If your “3/4-inch” plywood is actually 23/32″, parts cut to 28-1/2″ leave a small gap at every joint. Measure the sheet and cut to the real inside width.
Buying a second sheet you didn’t need. Without a layout, most people cut the sides and doors first and end up short on shelves. Mark every part on the sheet before the first cut.
Cutting the doors before choosing hinges. The door size depends on the hinge’s overlay. Buy the hinges first, check the overlay chart, and cut the doors to match.
Putting wet shoes in a closed cabinet. A closed box with a back slows drying, and damp shoes can leave odor and moisture inside. Let shoes dry before you put them away, or drill a row of vent holes in the back or toe kick.
Using the roughest sheet you can find for a painted piece. Sheathing-grade panels can have face patches and open knots that take a lot of filling before paint. A sanded paint-grade sheet often costs less overall once you count filler and your time.
Skipping the wall anchor. A narrow cabinet with heavy items up top can tip when someone pulls on a door or climbs on it.
FAQ
How much plywood do I need for a shoe cabinet?
For a 30″ x 36″ x 14″ cabinet with doors, one 4×8 sheet of 3/4″ plywood is enough, plus a 30″ x 36″ piece of 1/4″ plywood for the back. Increasing the cabinet depth may require a different cutting layout or additional plywood. Check the complete cut plan before buying materials.
Can I use 1/2-inch plywood to save money?
Yes, for a light shoe cabinet, but the savings are small and you lose screw holding and stiffness. You’d also switch to shorter pocket screws. Most builders use 3/4″ for the box and save money elsewhere, such as the face grade or the doors.
Is MDF cheaper than plywood for a shoe cabinet?
MDF can be cheaper and paints very smoothly, but it is heavier, holds screws less well at the edges, and swells if water from wet shoes soaks into an unsealed edge. Plywood is the safer choice for an entryway.
No. Cabinet-grade plywood gives you a smoother, better-looking face, which matters if you’re using a clear finish. For a painted cabinet, a sanded paint-grade sheet works fine.
What’s the best depth for a shoe cabinet?
Measure your longest pair. A 14″ box with 13″ shelves fits most adult shoes. Large boots or long sneakers may need a deeper box, so check your cut plan before buying plywood.
Bottom Line
For the lowest cost, build the open-shelf version from one sheet of sanded 3/4″ plywood with a 1/4″ back, and paint it. Add doors only if hiding the shoes is worth the extra hardware, and size them to your hinge’s overlay. Whichever version you build, measure the real sheet thickness before cutting the horizontal parts, follow the cutting diagram, and anchor the finished cabinet to the wall.
Best Budget Track Saw for Plywood: 5 Picks Compared by Admin October 13, 2026 DIY Affiliate disclosure: ThePlywood.com is reader-supported. As an Amazon Associate, we earn from qualifying purchases at no extra cost to you. Links to other retailers are…