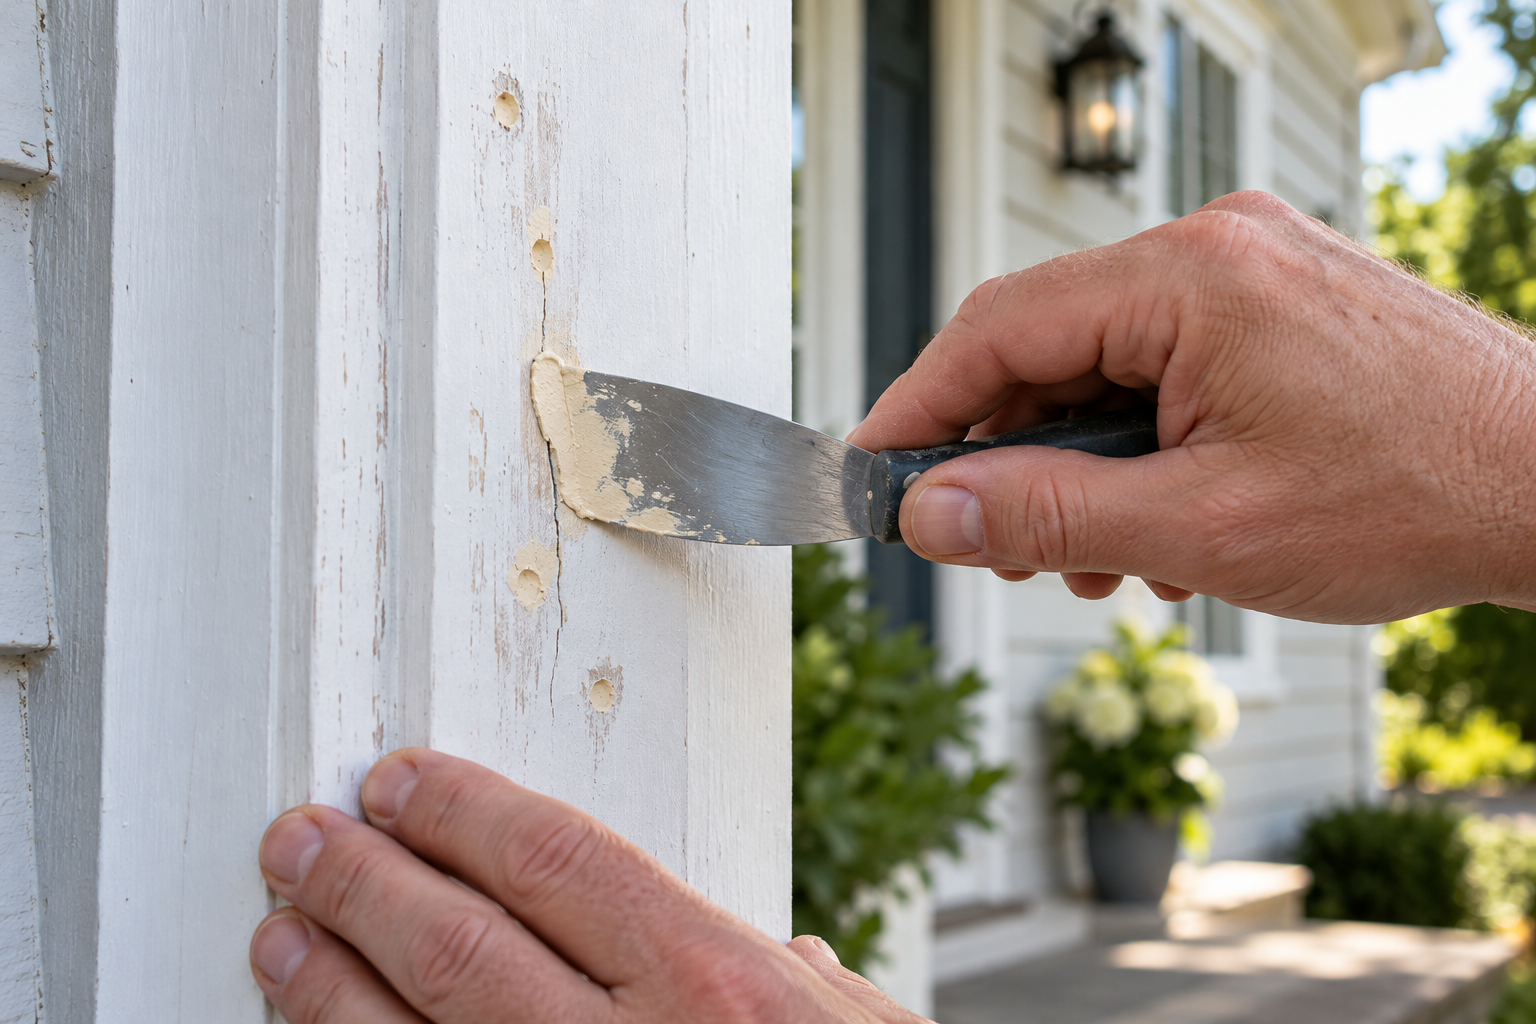
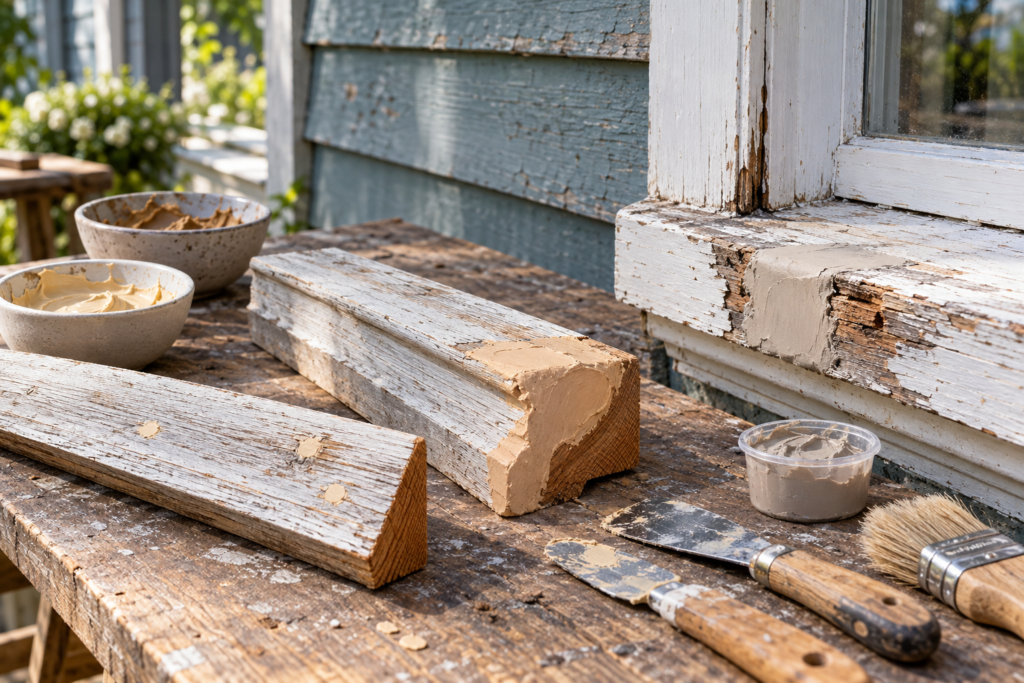
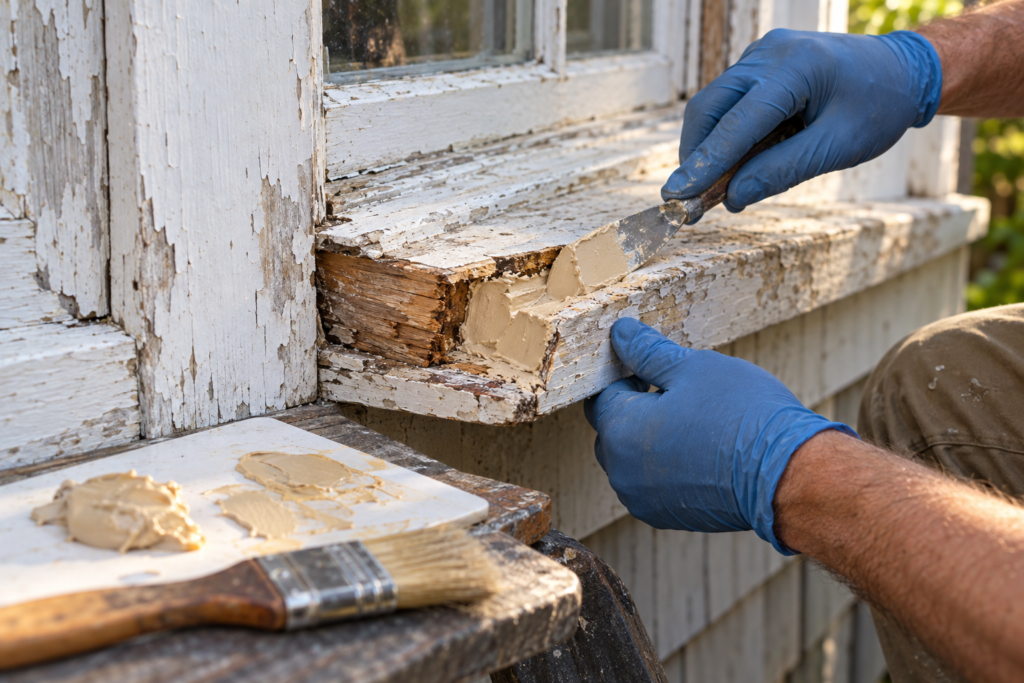
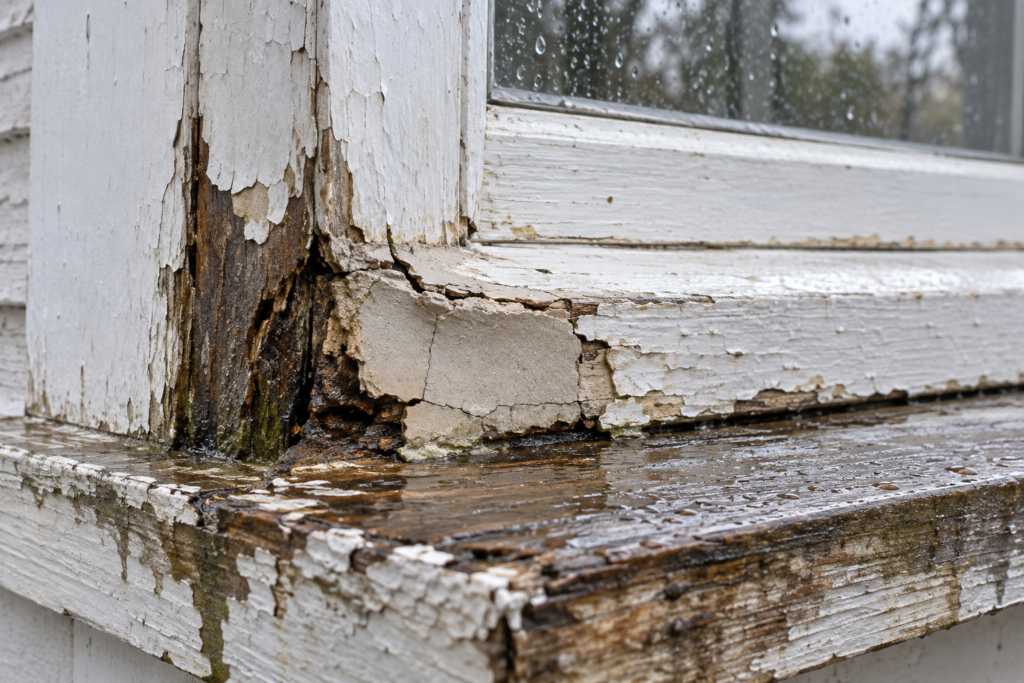
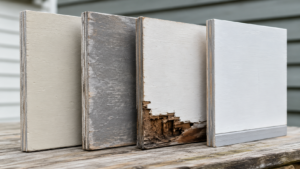
For small holes and cracks in sound outdoor wood that you’ll paint, an exterior-rated latex filler works. For deeper gouges and missing chunks, use a two-part cream-hardener filler. For rot, or anything on a sill, step or other flat surface that stays wet, use a two-part epoxy system: a liquid consolidant followed by epoxy putty. No filler should be left bare outdoors, so every outdoor patch needs paint or solid stain over it. Joints that move need sealant, and load-bearing wood needs replacing. Below is how to choose, what each type’s label actually says, and where each one fails.
Quick Answer
Nail holes, small cracks, dents in sound wood: exterior-rated latex filler, then paint or solid stain
Gouges, broken corners, screw-hole blowouts in sound wood: two-part filler (Minwax High Performance, Bondo), applied in thin layers, then painted
Soft or rotted wood, window sills, door bottoms, end grain: remove the rot, dry the wood, apply epoxy consolidant, then epoxy putty (Abatron LiquidWood + WoodEpox), then paint
Main limit: filler can’t fix a moisture problem or put strength back into a joist, post or beam. Fix the water source first, and replace structural wood.
DAP’s technical data sheet for Plastic Wood-X states that exterior applications must be coated with latex or oil-based paint or solid color stain. Bondo Wood Filler is water-resistant, but its technical data sheet doesn’t call it waterproof, so a bare repair shouldn’t be left exposed to standing water. Prime and finish exterior repairs according to the manufacturer’s instructions. Epoxy holds up best of the three, but WEST SYSTEM, a major epoxy maker, still recommends a UV-stable topcoat over epoxy outdoors because sunlight degrades it. A semi-transparent deck stain over a patch doesn’t give that protection.
3. The filler was put in a joint that moves
Where trim meets siding, or two boards butt end to end, the gap opens and closes with temperature and moisture. A hard filler can’t stretch, so it cracks or pops loose. Those joints need a flexible exterior sealant. Use filler on the face of the wood, not in the joint between pieces.
Exterior Latex Wood Filler: Fine for Small, Painted Repairs
Latex fillers are the easiest option: water cleanup, no mixing, sandable. Many are labeled “interior/exterior,” and that label is real, as long as the patch gets painted.
What the label says (DAP Plastic Wood-X):Apply only when the surface, filler and air are above 40°F. Shallow fills dry in about 2–6 hours, and fills 1/4 inch and deeper can take up to 36 hours. Build deep spots in layers. Latex paint can go on right after sanding.
Use it for: nail and screw holes in painted trim, small surface cracks in sound siding, dents in a painted door or fascia board.
Don’t use it for: anything soft or rotted, a sill or step that holds water, or a stained deck you won’t cover with solid-color stain.
Watch the label: some brands sell interior-only and interior/exterior versions in near-identical packaging. Elmer’s, for example, sells Carpenter’s fillers marked indoor-only alongside ones marked interior/exterior. Read the front of the tub before you buy.
Two-Part Wood Filler: For Gouges and Missing Wood
Two-part fillers cure by chemical reaction instead of drying, so they don’t shrink and they harden fast. Minwax’s safety data sheet lists its High Performance Wood Filler as a polyester resin kit. You mix a cream hardener into the filler and get a few minutes of working time.
Bondo Wood Filler:apply at 45°F or above, about 3–4 minutes of working time. Sand out loose and rotted wood first, and optionally treat what’s left with Bondo Rotted Wood Restorer. Prime and paint per the paint maker’s directions.
Use it for: a broken corner on a door casing, a gouge in a fascia board, a stripped-out hinge area that needs re-drilling, rebuilding a small missing piece of trim profile.
Limits: short working time makes large repairs hard in one pass. Neither brand publishes a flexibility rating, so treat these as hard patches and keep them out of moving joints.
Epoxy Wood Filler: The Rot Repair That Lasts Longest
For rot, a two-step epoxy system is the most thorough repair short of replacement. A thin liquid consolidant soaks into weakened fibers and hardens them. Then an epoxy putty rebuilds the missing shape and bonds to that hardened base.
WoodEpox typically hardens within hours, depending on temperature and repair size. Follow the manufacturer’s curing instructions, and wait at least 24 hours after hardening before painting.
The consolidant soaks in best through end grain, which is where exterior wood usually rots first.
Use it for: a window sill with a soft corner, the bottom of a door jamb, cosmetic rot at the base of a porch column, the end of a fascia board, rot in decorative trim that’s hard to replace.
Limits: it costs more than the other two types and takes longer. It still needs paint for sun protection. It doesn’t make a rotted joist, post or beam safe to carry load again. Epoxy repairs on porch columns should be limited to nonstructural cosmetic damage unless a qualified professional has assessed the remaining load-bearing wood.
Which Exterior Wood Filler to Use: Decision Checklist
Push an awl into the wood. Does it sink in easily? If yes, it’s rot. Go to step 4.
Is the damage in a joint between two pieces? Use exterior sealant, not filler.
Is the wood sound? Use latex filler for holes and cracks under about 1/4 inch deep. Use two-part filler for gouges, broken corners and missing chunks.
Can you stop the water? Fix the flashing, caulk, drip edge or splash first. If water will keep reaching the wood, any patch is temporary.
Is the member load-bearing (joist, beam, post, structural column, stair stringer, rim board)? Replace it or have it assessed. Don’t fill it.
Is it dry? Check with a moisture meter. Wait if needed.
Will it be painted or solid-stained? If it will stay clear-coated or semi-transparent, every filler will show, and none is protected from the sun.
Real Repair Scenarios
These examples show the method; they aren’t test results.
Window sill with a soft outer corner (about 1 inch deep):
Dig out all soft wood until the awl stops sinking.
Let the area dry and confirm it with a meter.
Apply epoxy consolidant, then epoxy putty, slightly overfilled.
Shape it with a slight slope so water runs off the sill.
Prime and paint.
This is the classic epoxy job, because a sill is flat and holds water.
Split around deck screw holes on a painted deck rim: if the wood is sound, a two-part filler works after you clean out loose fibers. On a walking surface that gets semi-transparent stain, the patch will stay visible and unprotected. A split, soft or cupped deck board is usually better replaced than filled.
T1-11 siding with a swollen, flaking bottom edge: filler won’t fix delaminated plywood plies. Check the clearance to the ground and the flashing behind the bottom edge. If the face veneer is separating, replace that section. Our T1-11 siding guide covers how the panels go on.
Fence post rotted at ground level: replace it. Rot at grade in a post is a structural failure, and filler can’t stop ground moisture.
Exterior Wood Filler Mistakes to Avoid
Filling over soft wood. The patch bonds to fibers that are already failing, and the whole repair comes loose with the rot. Remove soft wood until the awl stops sinking, or harden what’s left with a consolidant.
Filling damp wood. The patch seals moisture in and rot keeps going underneath. The sign is paint bubbling or a soft ring around the patch within a season or two. Measure moisture first.
Filling joints that move. Trim-to-siding and butt joints open and close. Hard filler cracks along the edges. Use sealant there.
Skipping paint. Water-resistant isn’t the same as waterproof, and epoxy degrades in sunlight. Prime and paint every exterior patch.
Buying an interior-only filler that looks like the exterior one. Same brand, same tub, different rating. Check the label.
Working in the cold. Minimums differ: DAP says above 40°F, Bondo says 45°F and up, and Abatron gives 60–90°F as ideal. Cold slows or spoils the cure. Work in the warm part of the day, and keep the product warm.
Recommended Products
This section contains affiliate links. If you buy through them, ThePlywood.com may earn a commission at no extra cost to you.
DAP Plastic Wood-X with DryDex: small exterior holes and cracks you’ll paint. It goes on pink and turns natural-colored when dry, so you know when to sand.
No standard filler should be treated as waterproof on its own. DAP says Plastic Wood-X isn’t designed or marketed as waterproof. 3M markets Bondo Wood Filler as water-resistant, not waterproof. Epoxy resists water best but still needs a paint or UV-stable topcoat outdoors.
Can you stain exterior wood filler?
You can apply stain, but filler absorbs it differently than wood. Minwax and 3M both warn that an exact match is unlikely. Outdoors, a solid-color stain or paint gives both a better look and better protection than semi-transparent stain.
How deep can exterior wood filler go?
It depends on the type. Latex fillers need thin layers, and deep fills can take a day or more to dry. Minwax High Performance goes on in 1/8-inch layers. Epoxy putty builds thick sections, and Abatron lists no maximum thickness. Deep cavities in rot are where epoxy earns its cost.
Should I use Bondo or epoxy on exterior wood?
Use two-part filler like Bondo for gouges and missing wood in sound, dry wood. Use an epoxy consolidant and putty when the wood is or was rotted, or when the repair is on a sill or other flat surface that stays wet. Both need paint.
Can wood filler fix a rotted deck joist or porch post?
No. Filler restores shape, not load capacity. Replace structural members, or have them assessed if you’re unsure.
Bottom Line
Pick exterior wood filler by the damage, not the brand. Use exterior latex for small holes in sound, painted wood. Use two-part filler for gouges and missing pieces. Use an epoxy consolidant and putty for rot and for flat surfaces that stay wet. Whichever you use, fix the water source first, fill only dry wood, keep filler out of moving joints, and paint over every patch.
Best Paint for Exterior Plywood: What Actually Lasts Outdoors by Admin August 27, 2026 DIY The best paint for exterior plywood is a high-quality 100% acrylic latex exterior paint applied over an exterior-rated primer. Just as important, every exposed plywood edge…
Exposure 1 vs. Exterior Plywood: Which Can Be Used Outdoors? by Admin August 21, 2026 DIY Focus Keyphrase: Exposure 1 vs Exterior plywood Meta Description: Compare Exposure 1 and Exterior plywood, learn what the grade stamp means, and choose the right panel for…
Exterior Plywood Lifespan: How Long Each Type Lasts Outdoors by Admin August 21, 2026 DIY Exterior plywood has no single outdoor lifespan. Covered sheathing that remains dry can remain serviceable for the life of the surrounding assembly, while permanently exposed…