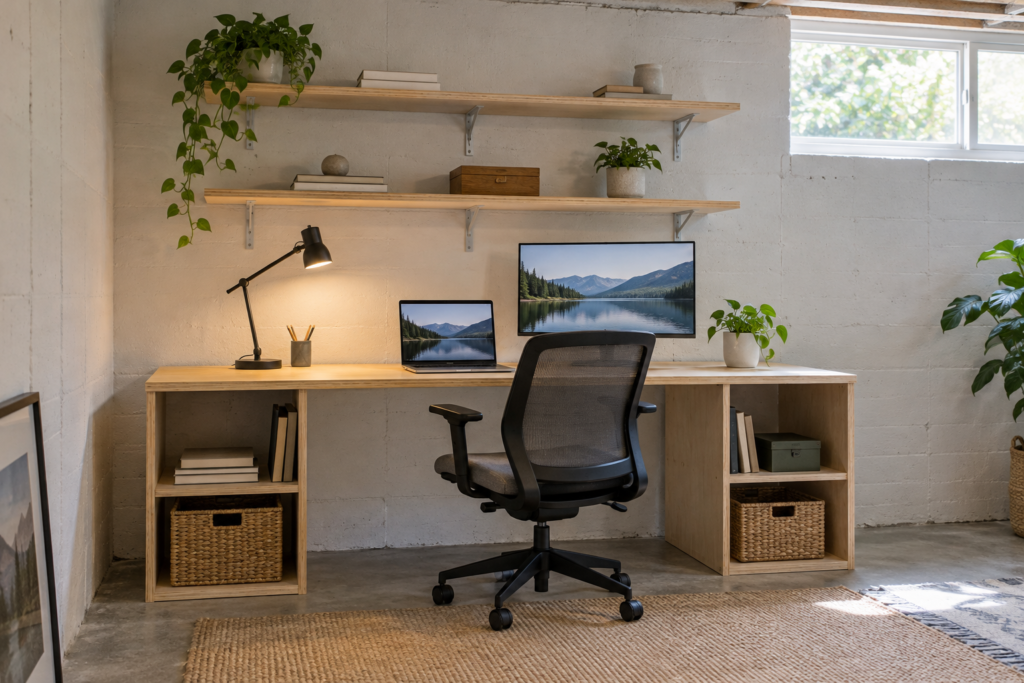
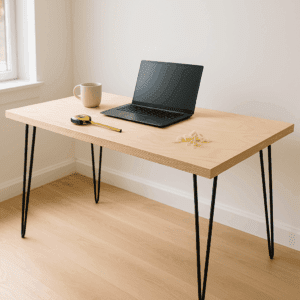
You can build a basement home office desk with storage from two sheets of 3/4-inch plywood, a 4×4 piece of 1/4-inch plywood and one 1×4 board. You get a 30 × 72-inch desktop on two storage towers, plus two 30-inch wall shelves cut from the leftovers. Check the room before you cut anything. If the air stays above 60% relative humidity, or the slab shows moisture, fix that first. No desk finish will last in a damp room.
Quick answer Build: 30″ deep × 72″ wide desktop, about 29″ high, on two 18″-wide plywood storage towers with a 36″ legroom opening between them. Desk height follows standard ergonomics guidance. The other sizes are design choices made to fit two sheets. The leftover plywood becomes two 11-7/8″ × 30″ wall shelves. Materials: two 4×8 sheets of 3/4″ plywood (one with a good face for the top), one 4×4 sheet of 1/4″ plywood, one 1×4 × 6 ft board, edge banding, leveling feet, glue, screws and a water-based finish. Biggest limitation: a basement desk fails from moisture, not weight. Keep the towers off the bare slab, finish every face and edge, and keep the room’s humidity below 60%.
What You’re Building and Why These Dimensions
Some dimensions in this plan come from published ergonomics guidance. The rest are our own design choices, sized to fit two sheets of plywood and leave enough room for your legs and gear. The table shows which is which, so you know what you can change and what you shouldn’t go below.
Design choice.OSHA’s workstation purchasing guide says the desk should be deep enough to keep the monitor at least 20″ from your eyes. 30″ leaves room behind the monitor for cables and a keyboard in front.
Desk width
72″
Design choice. It’s the longest top you can cut from one sheet while leaving a usable offcut for the wall shelves.
Legroom opening
36″ wide
Design choice, above a guideline minimum. OSHA’s desk clearance guidance gives a 20″ minimum width under the desk. The extra width lets you move your chair and legs around.
Desktop thickness
23/32″ (sold as 3/4″)
Guideline. OSHA’s keyboard placement guidance says the work surface should generally be no more than 2″ thick.
Wall shelf span
30″
Design choice, within common woodworking limits. 3/4″ plywood shelves loaded with books are usually kept to about 30–36″ to avoid visible sag.
Tower depth
23-3/4″
Design choice. Two tower sides fit across a 48″ sheet after the saw cuts.
Cubby height
About 12-3/4″ inside
Design choice. It’s what’s left when one fixed shelf splits the tower, and letter-size binders fit standing up.
The towers do double duty as the desk legs and the storage, which is how this plan stays at two sheets. A desk on legs plus a separate bookcase usually needs more material and more floor space, and floor space is often the tightest thing in a basement.
Check the Basement Before You Build
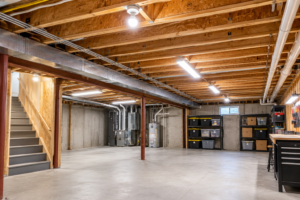
Basements are prone to mold because moisture moves in from the soil through the foundation and slab. A desk is porous wood sitting in the dampest room in the house, so run two cheap checks first:
Run a plastic-sheet test on the slab and the wall where the desk will sit. Our basement moisture test guideshows how to tell slab moisture coming up from condensation forming on the surface.
Example (made-up numbers, not a test result): say your hygrometer reads 65% in August and the plastic sheet shows moisture on its underside. Run a dehumidifier and fix the outside drainage first. Build the desk once the room holds below 60%. Building first and hoping is how people end up with swollen tower bottoms and a musty-smelling desk by spring.
If the walls and floor are still bare concrete, read up on mold-resistant basement materials before you finish the room around the desk. Freestanding furniture is the easy part. The wall and floor build-up is where expensive moisture mistakes happen.
Materials and Cut List
What to Buy
Sheet 1: one 4×8 sheet of 3/4″ plywood with a good face (birch, maple or ACX) for the desktop and shelves
Sheet 2: one 4×8 sheet of 3/4″ plywood for the towers. BCX or sanded pine works if you’re painting.
One 4×4 sheet of 1/4″ plywood (tower backs)
One 1×4 × 6 ft board (back stiffener)
Iron-on edge banding (about 30 ft)
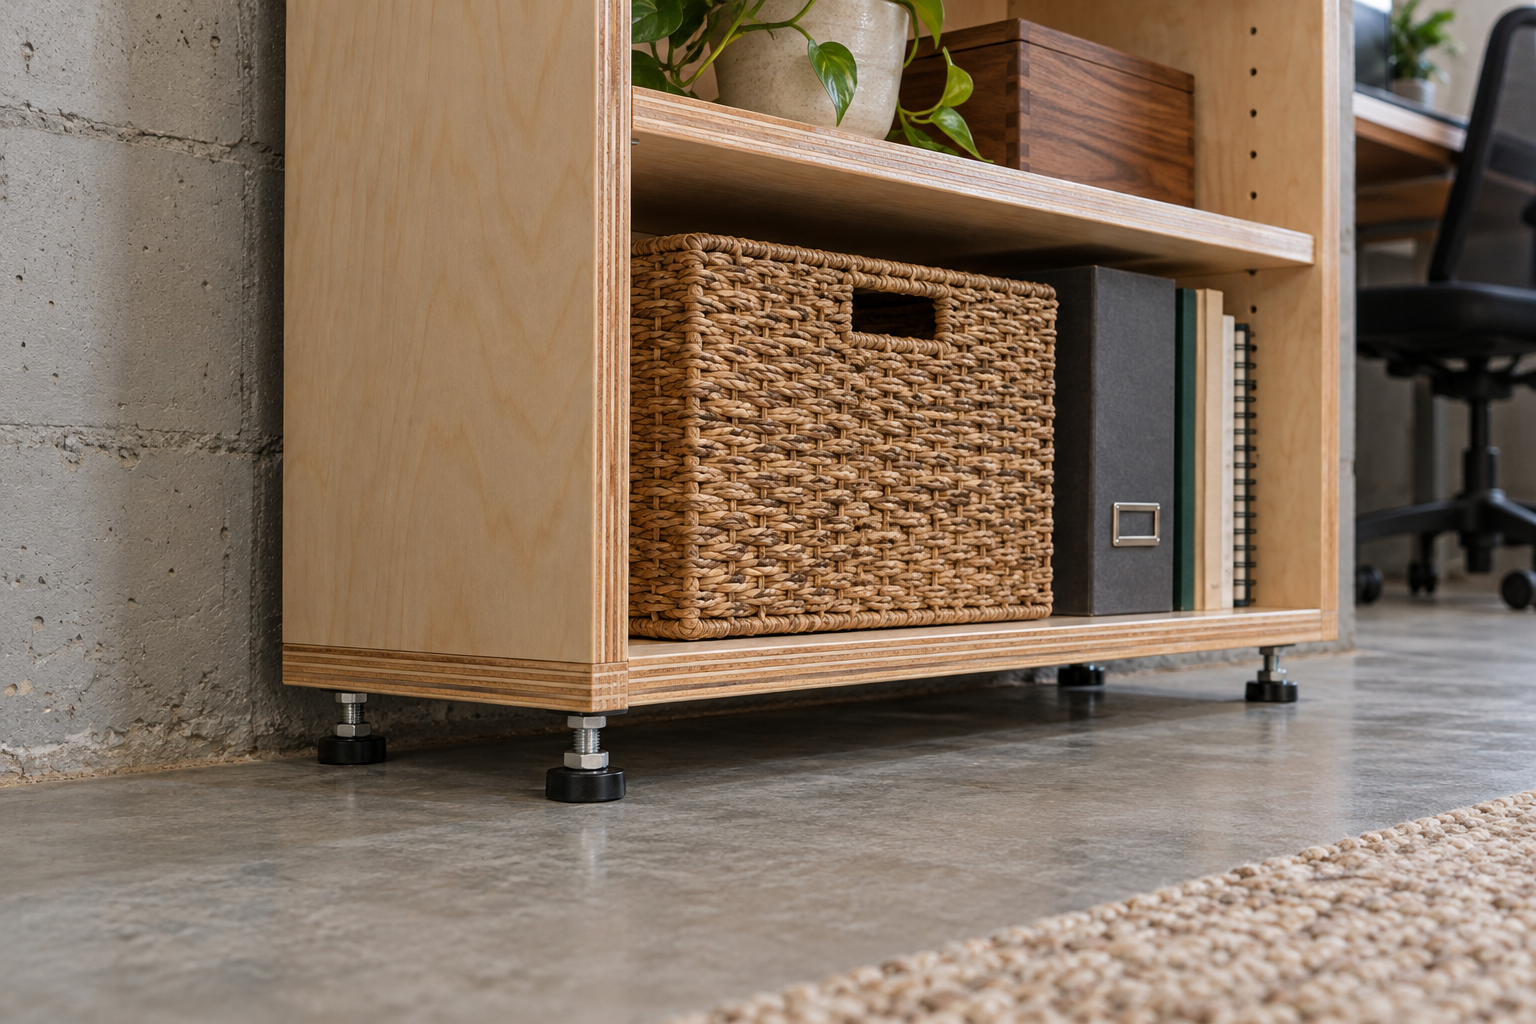
8 leveling feet or heavy furniture glides
4 shelf brackets rated for the load, plus fasteners suited to your wall
Wood glue, 1-1/4″ and 1-5/8″ screws (or pocket screws), a 2″ desk grommet
Water-based polyurethane or paint and primer
Plywood sold as 3/4″ is usually about 23/32″ thick. Measure your sheets before you cut. The part sizes below assume 23/32″. If yours are different, adjust the inner panel widths.
Sheet 1: Desktop and Wall Shelves
Rip the sheet to 30″ wide. This leaves a strip about 17-7/8″ × 96″.
Crosscut the 30″ piece to 72″ long for the desktop. The face grain runs the long way, which is the stiffer direction.
Rip the 30″ × ~23-7/8″ offcut in half: two wall shelves at 11-7/8″ × 30″.
Crosscut the 17-7/8″ strip into four pieces 23-3/4″ long, then rip each to 16-9/16″ wide. These are four of the six tower panels (tops, bottoms, shelves).
Sheet 2: Tower Sides
Rip the sheet into two strips and trim both to 23-3/4″ wide.
Crosscut each strip into three pieces at your tower height (28-1/4″ in the example below). That gives six pieces.
Use four pieces as the tower sides.
Cut the other two down to 16-9/16″ × 23-3/4″. These are the last two tower panels.
Cut List Summary
Part
Size
Qty
From
Desktop
30″ × 72″
1
Sheet 1
Wall shelves
11-7/8″ × 30″
2
Sheet 1 offcut
Tower sides
23-3/4″ × tower height
4
Sheet 2
Tower top/bottom/shelf
16-9/16″ × 23-3/4″
6
4 from Sheet 1 strip, 2 from Sheet 2
Tower backs
18″ × tower height
2
1/4″ sheet
Back stiffener
3/4″ × 3-1/2″ × 36″
1
1×4
Tower height formula: your target desk height, minus the desktop thickness, minus the height of your feet or glides. Example: 29″ − 23/32″ − 0″ (flat glides) ≈ 28-1/4″. If your leveling feet add 1/2″, cut the sides 27-3/4″.
The best number to plan around is your own elbow height while seated. Sit in the chair you’ll actually use, with your feet flat. OSHA’s keyboard guidance says your elbows should be about level with the keyboard.
Which Plywood to Buy for a Basement Desk
In a basement kept below 60% humidity, ordinary interior hardwood plywood works fine for furniture that isn’t attached to concrete. You don’t need Exterior-rated panels for a desk. The bond classification describes the glue, and the glue isn’t what fails in a basement desk. What ruins a desk is a damp room and raw edges sitting on the slab.
What does matter:
Veneer-core over MDF-core for the towers. MDF-core panels are flat and paint well, but they swell more readily if they get damp.
Face grade where it shows. A good face on the desktop and shelves, and a cheaper grade on the tower sides if you’re painting. Our ACX vs BCX vs CDX comparison explains what you’re paying for in the face grade.
More plies is better for the desktop. A 3/4″ panel with more, thinner plies is generally stiffer and has fewer core gaps than a 5-ply sheet. See our plywood thickness guide for furniture.
Skip CDX for the desktop. It’s sold for sheathing, and its rough faces take a lot of filling to look like furniture.
Budget Desk Options Compared
Option
Relative cost
Storage
Wobble
Basement watch-out
Plywood towers + plywood top (this plan)
$$
4 open cubbies + 2 wall shelves
Low: two boxed towers plus a back stiffener
Keep bottom edges off the slab and finished
Plywood top on sawhorses or trestle legs
$
None
Moderate: needs bracing
Leg feet sit right on the slab
Top on two filing cabinets
$–$$
Drawers
Low–moderate
Metal cabinets can rust in a damp room. Check the humidity.
Top on store-bought drawer units
–$
High
Low
Many units are particleboard, which swells if the floor gets damp
Flat-pack particleboard desk
$–$$
Varies
Often wobbles over time
Particleboard sags under load and swells at the bottom edges
Cost difference that matters: the sawhorse desk is the cheapest, but you’ll end up buying storage anyway. This plan puts the storage inside the desk legs, so the second sheet of plywood is doing two jobs.
How to Build It
1. Assemble the Towers
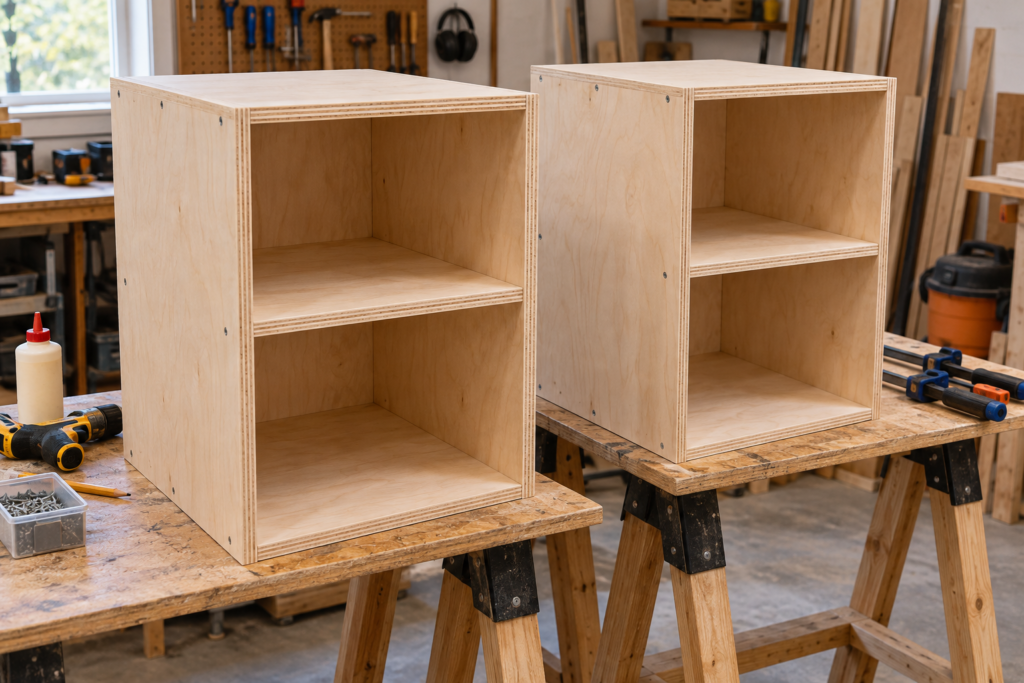
Glue and screw each tower box together: two sides, a bottom panel flush with the bottom edges, a top panel flush with the top edges, and a fixed shelf at mid-height. Pre-drill the screw holes so the plywood edges don’t split, or use pocket screws on the inside faces. Check that the box is square by measuring the diagonals before the glue sets.
2. Add the Backs
Glue and nail or screw the 1/4″ back to each tower. The back is what keeps the box from leaning out of square. Leave it off and the whole desk will wobble side to side.
3. Band the Edges
Iron on edge banding along every visible front edge: the tower fronts, the desktop front and ends, and the wall shelves. For a tougher desk front, glue on a strip of 1×2 hardwood instead.
4. Finish Every Surface
Apply the finish before final assembly, while you can reach everything. Coat every face and edge, including the underside of the desktop and the bottom edges of the tower sides. If you finish only the top, the two sides take on and lose moisture at different rates, and the panel can cup. Our plywood sealer guide compares water-based poly and the other options.
Install the leveling feet or glides under each tower. Place the towers flush with the back of the desktop, 36″ apart inside. Leave a small air gap between the desk and a bare concrete wall instead of pushing it tight.
6. Fit the Stiffener and Top
Screw the 36″ 1×4 between the towers at the back edge, flush with the tower tops. Set the desktop on top. The front will overhang the towers by about 6″. Screw up through each tower’s top panel into the desktop with 1-1/4″ screws, which are short enough not to come through the surface. Drill a 2″ grommet hole at a back corner for cables.
7. Hang the Wall Shelves
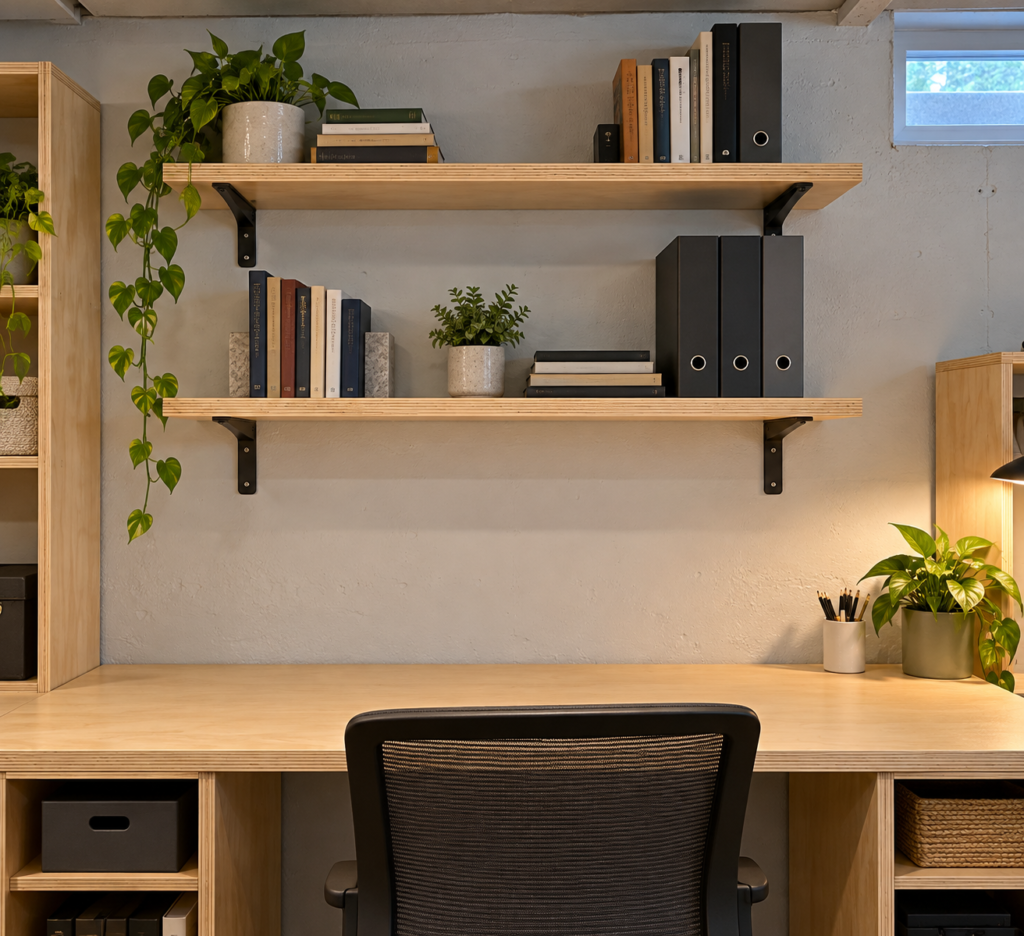
Mount each 30″ shelf on two brackets fastened into studs, or into concrete with masonry anchors rated for the load. Keep the span at 30″. A full row of books is heavier than it looks.
Keeping It Dry and Flat in a Basement
Watch the hygrometer, not the calendar. Basement humidity often climbs in summer. If the reading goes above 60%, run the dehumidifier.
Look at the tower bottoms twice a year. Dark edges or a rough, swollen feel along the bottom means moisture is getting in. Raise the towers higher and look for where the water is coming from.
Don’t store paper boxes on the floor beside the desk. Cardboard and paper soak up moisture and are what mold grows on first.
Mistakes That Cost You
1. Setting the towers directly on bare concrete. Concrete keeps moving moisture upward even when it feels dry, and plywood edges soak it up. You’ll see darkened, swollen bottom edges first. Prevent it with feet or glides and finished bottom edges.
2. Cutting parts as if the plywood were exactly 3/4″. Most “3/4-inch” sheets are thinner, so boxes come out narrower than planned and the desktop won’t line up. Measure the sheet, then cut.
3. Making the wall shelves longer than about 30″. A longer 3/4″ shelf loaded with books will slowly sag. If you want a longer shelf, add a bracket in the middle or glue a hardwood strip to the front edge to stiffen it. Our bookshelf build guide covers both fixes.
4. Finishing only the top face. Moisture gets in through the bare underside, and the desktop can cup. Finish both faces and every edge.
5. Building to a “standard” height that doesn’t fit you. A desk that’s too high makes you shrug your shoulders all day, and the fix is a new set of tower sides. The Massachusetts Department of Labor Standards gives 28.5–30″ as standard but notes that shorter people may do better at 25–27″. Measure your seated elbow height first. OSHA’s keyboard guidance says your elbows should be about level with the keyboard.
6. Skipping the tower backs. Without them, the towers lean out of square and the desk shakes when you type.
Recommended Tools and Supplies
Disclosure: ThePlywood.com earns from qualifying Amazon purchases. This doesn’t change what we recommend.
Digital hygrometer: the cheapest way to know whether your basement is dry enough before you build
Furniture leveling feet: keeps tower bottoms off the slab and evens out a floor that isn’t flat
Yes, if the space stays dry. Keep humidity below 60%, fix any water coming through the walls or slab, and keep the furniture off bare concrete. Lighting and fresh air are the other usual complaints, so plan those before you build.
What plywood is best for a basement desk?
For a freestanding desk in a basement kept below 60% humidity, veneer-core hardwood plywood or ACX with a good face works well for the top. Exterior bond ratings don’t make the wood rot-proof or mold-proof. Controlling the room’s moisture and finishing every surface do more.
How thick should a plywood desk top be?
Use 3/4″ plywood for a desktop over a 36″ opening, with a 1×4 stiffener along the back. If you’ll put heavy equipment in the middle of the span, glue two layers of 3/4″ together. Even doubled, that’s 1-1/2″, which is still within OSHA’s guidance of no more than 2″ for a work surface.
If your hygrometer regularly reads above 60%, yes. That’s the level where mold risk goes up for wood, paper and fabric. If the readings stay in the 30–50% range, you may not need one.
Should I attach the desk to the basement wall?
There’s no need with this design, because the boxed towers and stiffener keep it stable on their own. If the wall is bare concrete, leaving a small gap lets air move behind the desk instead of trapping damp air against it.
Bottom Line
Two sheets of 3/4″ plywood give you a 30 × 72-inch desk, four storage cubbies and two wall shelves. Check the humidity and the slab first, cut the towers to your seated elbow height, keep the tower bottoms off the concrete, and finish every surface. Do those things and this desk will outlast most store-bought particleboard desks in the same room.
DIY Plywood Desk: How to Build One at Home by Admin October 8, 2025 DIY I built my first plywood desk because I was tired of working hunched over the kitchen counter. It wasn’t some grand plan — I just…