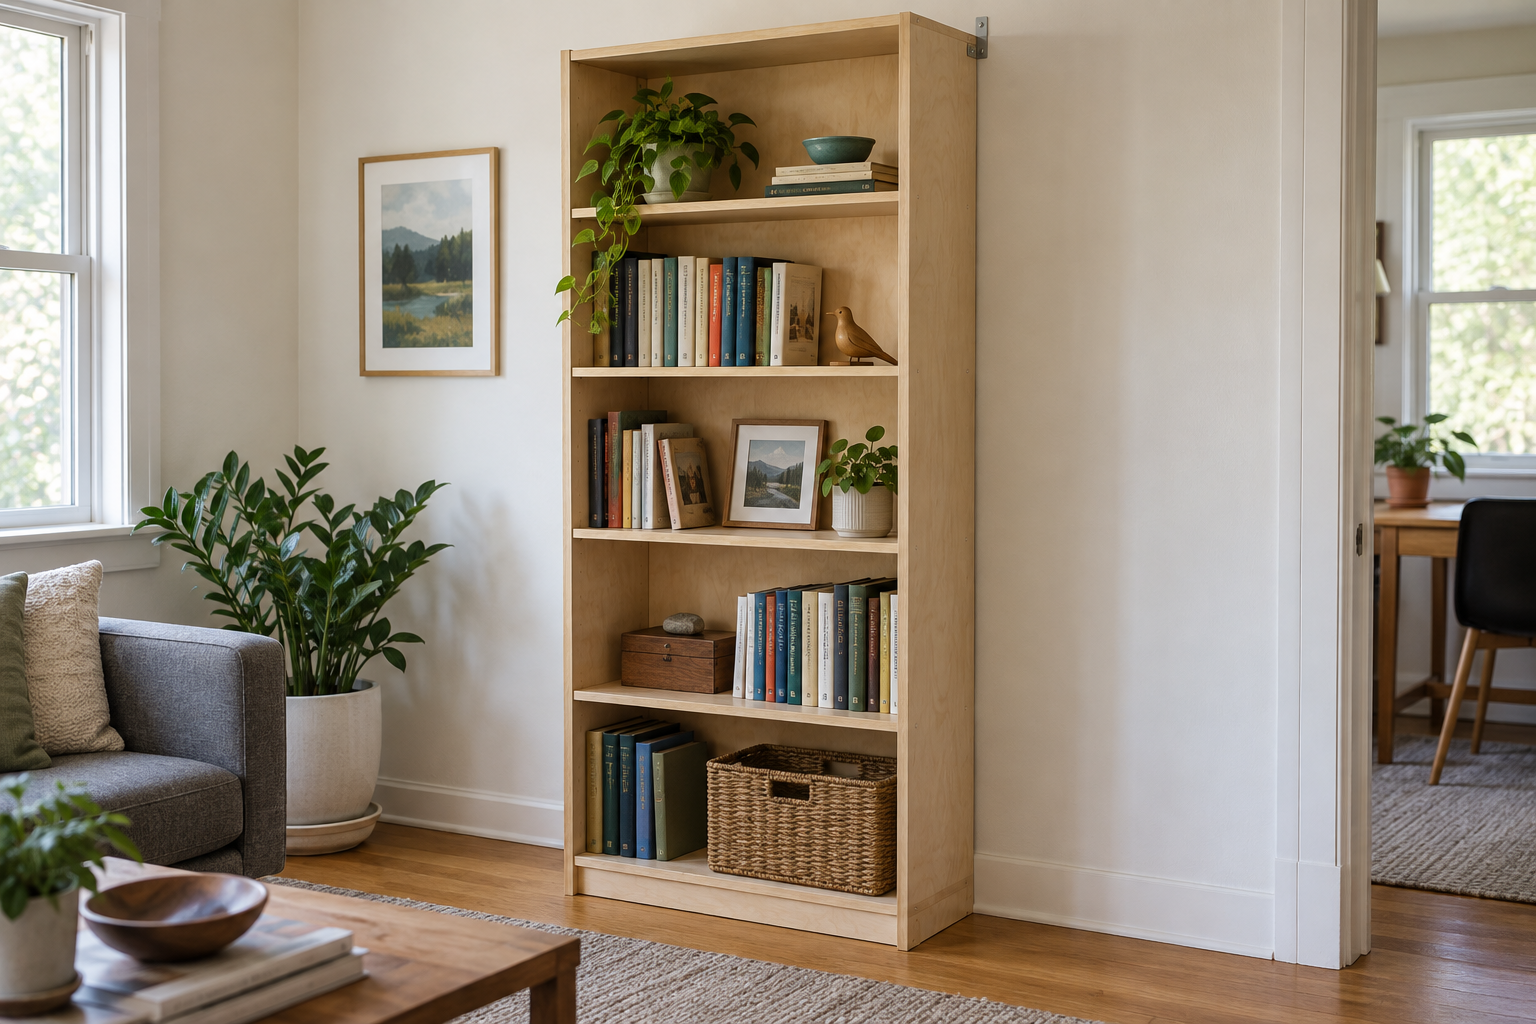
If you’ve never made a piece of furniture before, learning how to build a bookshelf is the right place to start. It’s mostly straight cuts, a few basic joints, and tolerances forgiving enough that small mistakes disappear once the thing is loaded with books. Spend a weekend on it and you’ll end up with a solid, custom bookshelf that costs a fraction of a comparable store-bought unit — and looks better, because you built it to fit your space.
This guide covers the whole build: the exact panel sizes, how to cut them cleanly, how to assemble the box so it stays square, and — the part most first-timers get wrong — how to keep the shelves from sagging under a full load. If you’re after shelving that’s fixed into a wall or alcove instead of a standalone piece, that’s a different job with its own steps; read our guide for that one.
TL;DR — the short version: Build a box from ¾” plywood (two sides, a top, a bottom), add fixed shelves, and close the back with a ¼” panel to lock it square. A standard unit runs about 30″ wide × 72″ tall × 11¼” deep. Use ¾” plywood for anything that holds weight, keep each shelf span to 30″ or less, and cover the front edges with banding or a face frame so the raw plywood doesn’t show. As of 2026, plan on roughly $110–$225 in materials.
Quick Cut List and Material Sizes
Everything below is sized for a simple 30″ × 72″ × 11¼” bookshelf with three fixed shelves between a fixed top and bottom. The measurements assume butt joints; if you decide to set the shelves into dados, cut the shelves slightly longer to fill the grooves.
Part
Material
Size (W × L)
Quantity
Sides
¾” plywood
11¼” × 72″
2
Top & bottom
¾” plywood
11¼” × 28½”
2
Fixed shelves
¾” plywood
11¼” × 28½”
3
Back panel
¼” plywood
29¾” × 71¾”
1
Face-frame stiles
1×2 poplar/pine
¾” × 1½” × 72″
2
Face-frame rails
1×2 poplar/pine
¾” × 1½” × ~27″
5
The math behind the widths matters here. The top, bottom, and shelves are 28½” wide because the two ¾” sides eat up 1½” of the 30″ overall width. And because plywood almost always measures a touch under its nominal thickness, measure your actual sheet before you commit to a cut — our plywood thickness guide explains why that gap trips up so many builders.
Tools You’ll Need
You don’t need a full shop for this. A circular saw with a straightedge guide (or a table saw) handles every cut, and our walkthrough on cutting plywood in a straight line shows how to get clean, splinter-free edges from a handheld saw. Beyond that: a cordless drill/driver, clamps, a level, a square, and a tape measure. A pocket-hole jig is optional but makes hidden, beginner-friendly joints — see drilling angled holes for pocket-hole joints if you go that route. Round out the kit with a random-orbital sander, wood glue, screws, and either ¼” edge banding or 1×2 stock for a face frame.
As an Amazon Associate, ThePlywood.com earns from qualifying purchases.
For a bookshelf, ¾” plywood is the default for every part that carries weight — the sides, top, bottom, and all the shelves. Anything thinner flexes under a row of books and bows over time, and no finish will hide a sagging shelf. A cabinet- or furniture-grade panel gives you a smooth, clean face that’s worth finishing; our furniture-grade plywood guide breaks down the grade letters and points out where a cheaper shop-grade sheet is perfectly fine, especially on a painted project.
The one exception is the back. Use ¼” plywood there — it doesn’t carry the book load, but it’s what holds the box square and stops it from racking, so it’s structurally important in its own way. Skipping it or under-fastening it is the fastest way to end up with a wobbly shelf.
💸 Where the money leaks: the instinct is to buy a single thickness for the whole project because it’s simpler at the checkout. Resist it. Putting ¾” on the back panel wastes material, and putting ½” on the shelves costs you later in sag. Match the thickness to the job and you spend less and build stronger.
Step-by-Step Assembly
Step 1 — Break down the sheets. Cut the two sides first, then the top, bottom, and shelves. Cut all the same-width parts without moving your saw guide so they come out identical; tiny differences at this stage are exactly what leave a finished box looking crooked. For the long rips, our notes on making long cuts will keep your line true.
Step 2 — Sand and pre-finish the inside faces. Take every panel to 220 grit now. Sanding — and even priming — the inner faces before assembly is far easier than reaching into a closed box later with a folded sheet of sandpaper.
Step 3 — Assemble the carcass. Stand the sides up and join the top and bottom between them with glue and screws, or pocket-hole screws driven from the outside where trim will later cover them. Build on a flat surface and check every corner with a square as you go — a box assembled out of square stays out of square. If you’d prefer a stronger joint, set the shelves into shallow dados; you can cut those cleanly even without a router using the technique in our guide to cutting a groove or channel.
Step 4 — Install the shelves. Space them for what you actually store. A common layout leaves the bottom opening taller — about 14″ to 16″ for large books or baskets — with the upper openings around 11″ to 12″. Glue and fasten each shelf, keeping it level front to back.
Step 5 — Attach the back. Lay the box face-down and fasten the ¼” back panel with glue and brad nails or screws all around the perimeter and into each shelf. This is the step that squares the whole unit and stiffens the shelves at the same time.
Step 6 — Finish the front edges. Covering the raw plywood edge is the difference between a shelf that looks homemade and one that looks built. Iron-on edge banding is the quick option; a 1×2 face frame glued and nailed to the front is sturdier and dressier. If you go with banding, our overview of edge and plastic edging options covers the choices.
How to Keep the Shelves From Sagging
Sag is the number-one bookshelf complaint, and it comes down to two variables: thickness and span. A ¾” plywood shelf holds a normal book load well across a span of about 30″ or less. Push past that and the shelf starts to bow.
So if you want a wider bookshelf, don’t just cut longer shelves. Instead, add a center vertical divider to halve each span, glue a hardwood strip along the front edge of each shelf to stiffen it, or make the shelves adjustable so weight can be spread around. A well-glued, well-fastened back panel does real work here too. Our breakdown of plywood weight capacity goes deeper on how thickness and span interact.
⚠️ Safety note: a tall, narrow freestanding bookshelf can tip — a genuine hazard with children around. Anchor it to a wall stud with an anti-tip strap or an L-bracket at the top. Our guide to nails vs. screws covers choosing the right fastener for that anchor.
Finishing
Plywood edges drink up finish, so seal them before you paint. For a painted bookshelf, prime first and follow with two thin coats of a durable enamel — the prep steps in our painting plywood guide are what prevent a blotchy result. For a stained or natural look, band the edges first, because stain won’t disguise raw plywood, then work through the steps in how to finish plywood. If you want to push the grain further, making plywood look nice has more options.
What It Costs
As of 2026, prices vary by region and by the plywood grade you pick, but a realistic range for this build:
One sheet of ¾” plywood (sides, top, bottom, shelves): ~$45–$110 depending on grade
¼” plywood back panel: ~$20–$35
1×2 face-frame stock: ~$15–$30
Screws, glue, banding, and finish: ~$30–$50
That puts most builds in the $110–$225 range — well under the price of a comparable solid-wood unit, and fully sized to your room. For current sheet pricing, see our plywood prices guide.
Frequently Asked Questions
How thick should plywood be for a bookshelf? Use ¾” plywood for the sides, top, bottom, and any shelf that holds books, and ¼” plywood for the back. Thinner shelf stock tends to bow under load over time.
What is the best wood for a bookshelf? Cabinet- or furniture-grade plywood is the most practical choice: stable, strong, and smooth enough to paint or stain. Solid hardwood works too, but it costs more and moves more with humidity.
How far can a bookshelf shelf span without sagging? About 30″ is a safe span for a ¾” plywood shelf under a normal book load. For wider shelves, add a center divider, stiffen the front edge, or shorten the span.
How long does it take to build a bookshelf? For a beginner, a simple freestanding unit like this is a weekend project — roughly a day to cut and assemble, plus finishing and dry time.
Should a bookshelf be anchored to the wall? Yes. A tall freestanding bookshelf can tip when loaded unevenly, especially in a home with children. Anchor it to a stud with an anti-tip strap or bracket.
How to Install Mobile Home Skirting: A Simple DIY Guide by Admin March 17, 2025 DIY Skirting is an essential feature for mobile homes, offering protection, insulation, and a polished appearance. Skirting is a valuable investment whether you're looking for an…