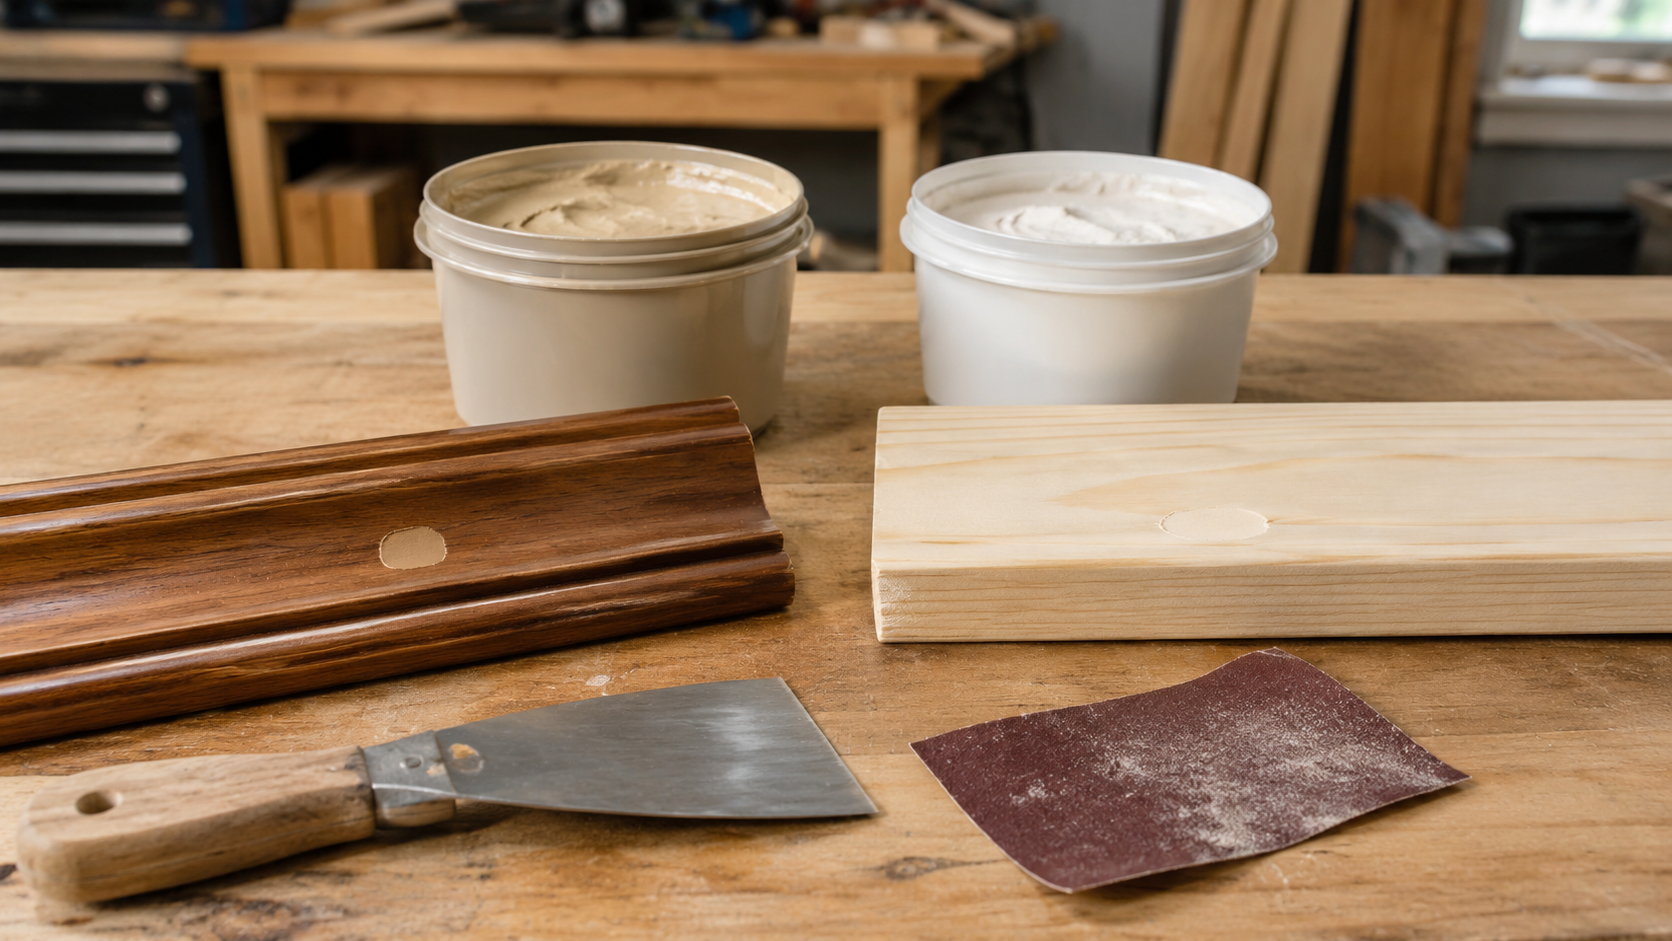
Here’s a repair failure that plays out on fences, decks, and exterior trim all the time: someone patches a weathered cedar post with an interior-only wood filler, paints over it, and calls it done. A season or two of rain, sun, and temperature swings later, the patches have cracked loose or popped out like corks — and the redo costs several times what the original repair did.
A common cause is using the wrong type of product — or using an interior-only formula outdoors. Wood putty and wood filler sound interchangeable, and they aren’t. As a practical rule, traditional non-hardening wood putty is usually applied after finishing, while hardening wood filler is usually applied before the final finish. Always confirm the individual product’s instructions — manufacturers use the terminology inconsistently, and the label on the specific tub in your hand outranks any general rule.
Quick Comparison: Wood Putty vs Wood Filler
Wood Putty
Wood Filler
When to apply
Usually after staining/finishing
Usually before staining/finishing
Cures hard?
No — stays pliable indefinitely
Yes — hardens for sanding
Sandable?
No (smears and gums up paper)
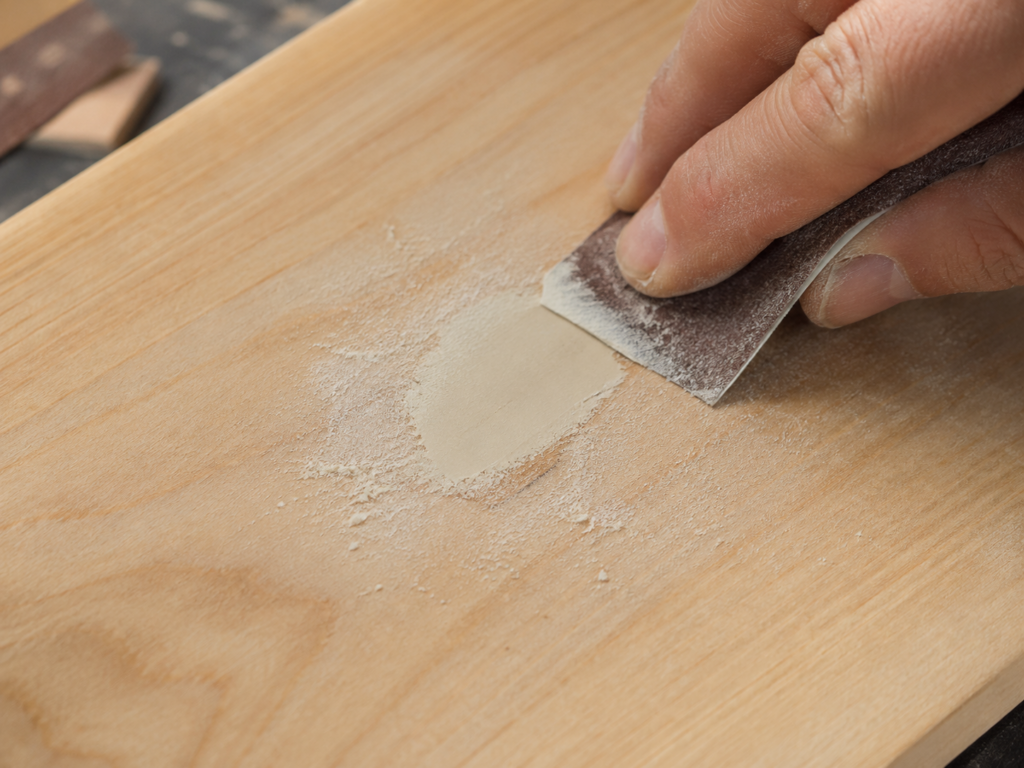
Yes — sand flush after curing
Stainable?
No — buy it pre-tinted to match
Yes (check the label — not all are)
Base
Oil/plasticizer
Water, solvent, or two-part reactive
Best for
Nail holes in finished trim, furniture dings
Gouges, rot repair prep, unfinished wood
Exterior use
Only when specifically rated for exterior use; generally limited to small cosmetic defects
Only exterior-rated formulas, protected with the required coating
Typical dry/cure time
Never fully cures (by design)
Roughly 15 minutes to 36 hours, depending on product, depth, temperature, and humidity
Typical cost
$4–$8 per small tub
$6–$15 (basic) / $15–$30 (two-part)
Storage after opening
Usually stores well when tightly sealed; check for contamination or separation
Can dry out after opening; reseal immediately and follow the manufacturer’s storage guidance
If you only remember one line from this article: putty usually goes on after the finish, filler before it — and the individual product label always wins.
What Wood Putty Actually Is (And Why It Never Hardens)
Wood putty — sometimes labeled “plastic wood putty” or sold as color-matched “fill sticks” — is an oil- or plasticizer-based compound that stays slightly soft forever. That’s not a defect. It’s the entire point.
Because it never fully cures, putty flexes with seasonal wood movement instead of cracking loose. Wood expands and contracts constantly across the grain between a humid August and a dry January, and a repair that can’t move with it eventually loses that fight.
The trade-off: you can’t sand it and you can’t stain it. Putty smears under sandpaper and rejects stain almost completely because the oils block absorption. That’s why manufacturers such as Minwax sell traditional putty in multiple pre-tinted shades (Golden Oak, Walnut, Ebony, and so on) — you match the color out of the tub, press it in with a finger or putty knife, wipe the excess, and you’re done.
⚠️ One warning before the use cases: “putty” is not a regulated term, and exterior suitability is a per-product question, not a category-wide guarantee. Minwax positions its traditional Wood Putty as a non-hardening product for finished surfaces — that does not mean every tub labeled “putty” belongs on a fence post in the weather. Read the label of the specific product in your hand before it goes outdoors.
Where Putty Wins
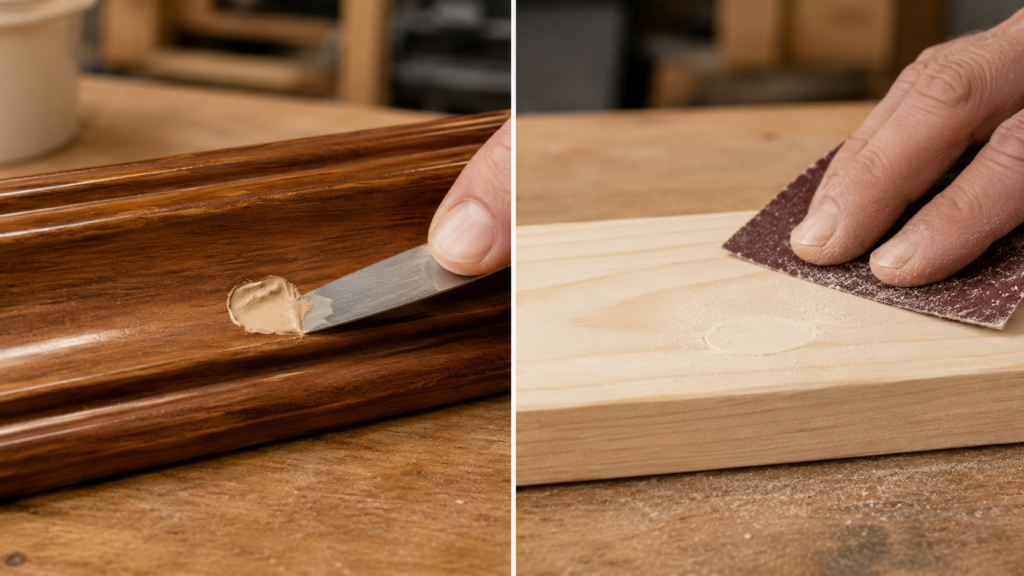
Nail holes in already-finished trim. This is the classic use. You’ve installed stained crown molding, you’ve got 200 brad holes, and the finish is done. Putty in a matching tint disappears into those holes in seconds.
Furniture touch-ups. Small dings and scratches on a finished tabletop.
Small cosmetic defects on finished exterior surfaces — if the product is rated for it. Because putty stays flexible, an exterior-rated putty can ride out wood movement in small finished-surface blemishes. It is not the tool for repairs that need to be shaped, sanded, primed, and painted — that’s exterior-rated filler territory, covered below.
What Wood Filler Actually Is (And Why It Must Harden)
Wood filler is designed to become part of the wood. You apply it to bare or stripped wood, it cures hard, and then you sand it flush and finish right over it. Cure times range from roughly 15 minutes for fast-set formulas to around 36 hours for deep fills with some water-based products — depth, temperature, and humidity all matter, so the number on the label is a starting point, not a promise.
There are three families worth knowing:
Water-Based Fillers
The everyday option (Elmer’s Carpenter’s Wood Filler, DAP Plastic Wood-X). Low odor, cleans up with water, sands easily. Some water-based fillers are interior-only while others — Plastic Wood-X among them — are rated for both interior and exterior repairs, provided exterior repairs get properly painted or coated afterward. Check the label; the base chemistry alone doesn’t tell you where it can live. Depth limits vary by product too — DAP, for example, instructs users to build Plastic Wood-X repairs deeper than 1/4 inch in layers, and deep single fills of water-based product tend to shrink and crack as the water evaporates.
Solvent-Based Fillers
Tougher, more moisture-resistant, slower to dry, and they smell like a hardware store’s back room. Many are rated for exterior use — again, look for the words “interior/exterior” on the specific product.
Two-Part Reactive Fillers
The heavy artillery. This category includes epoxy fillers such as Abatron WoodEpox and PC-Woody, along with fast-curing two-part resin fillers such as Bondo Wood Filler. You mix resin and hardener, and the cure is a chemical reaction — which means minimal shrinkage, and a patch that often ends up harder than the surrounding wood. Some of these products are designed to rebuild large or deep missing sections without the shrinkage common to water-based filler, but larger masses generate more heat and can cure faster than you expect, and reinforcement requirements vary — so follow the manufacturer’s instructions for maximum fill mass, prep, and cure time. This is the category most often used in decay repair; I walk through that full process in my guide to stopping and repairing wood rot.
Where Filler Wins
Gouges, cracks, and chewed-up edges on unfinished wood
Limited, nonstructural decay repair after the moisture source is fixed and unsound wood is removed
Anything that needs sanding flush — filler is the only one of the two that tolerates sandpaper
Repairs you plan to stain or paint over
A Quick Compatibility Test Before You Start
You don’t have to take any article’s word for how a product will behave on your wood — a scrap test tells you directly. Before committing to a visible repair:
Grab a scrap of the same wood (or the closest match you have).
Fill two or three small holes with the exact product you’re planning to use, following the label’s depth and layering instructions.
Finish the scrap the same way you’ll finish the real repair — stain, paint, or clear coat.
What this test reliably tells you: color matching, sanding behavior, stain absorption, finish compatibility, and any obvious early cracking or shrinkage. That covers the failures that show up in the first week — which are also the ugliest ones, because they’re the visible ones.
What it can’t tell you is long-term exterior durability. For that, rely primarily on the manufacturer’s exterior rating and application instructions — the rating exists because the manufacturer has tested exposure conditions a scrap board on your porch can’t replicate.
Sticker price says putty and basic filler are nearly the same — $4 to $8 for putty, $6 to $15 for a decent filler. Two-part fillers jump to $15–$30. So people grab whatever’s closest.
But the real cost is the redo. Run the math on the fence-post scenario from the top of this article:
Original repair: ~$8 tub of interior-only filler, about an hour of work
Failed patches: most or all of them within a season or two outdoors
Redo: ~$22 of exterior-rated two-part filler, fresh sandpaper, primer touch-up — call it $40 in materials, plus several more hours of grinding out the failed patches first
The “cheap” repair costs roughly 5x the materials and several times the labor of doing it right once. And that’s a fence. Make the same mistake on window trim or siding and water starts wicking behind the failed patch — at which point you’ve upgraded from a cosmetic problem to a decay problem, which is a much more expensive conversation, as anyone who’s dealt with rotten plywood siding or sheathing can tell you.
Warning: The Stain Trap
This is the mistake that produces the most visible regret, so it gets its own section.
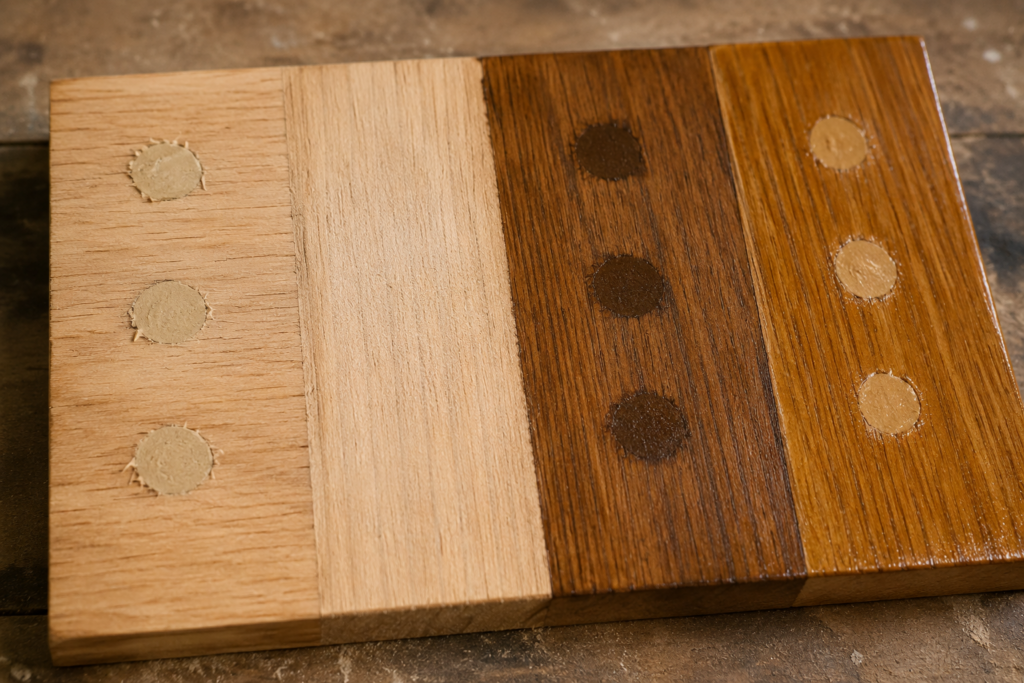
“Stainable” wood filler does not stain like wood. Even the best stainable fillers absorb stain at a different rate than the surrounding grain — usually darker and flatter, occasionally lighter and blotchy. You end up with a perfectly smooth patch that glows like a spotlight under finish.
If you’re staining, do this instead:
Test on scrap first. The compatibility test above exists for exactly this reason. Five minutes of staining a filled scrap saves a full refinish.
Or flip the sequence entirely: finish the wood first, then use color-matched putty afterward. On stained trim, this almost always looks better than stained filler.
For furniture-grade work, some woodworkers make their own filler from sanding dust and glue or CA — it matches the species by definition, though it still takes stain slightly differently than raw grain.
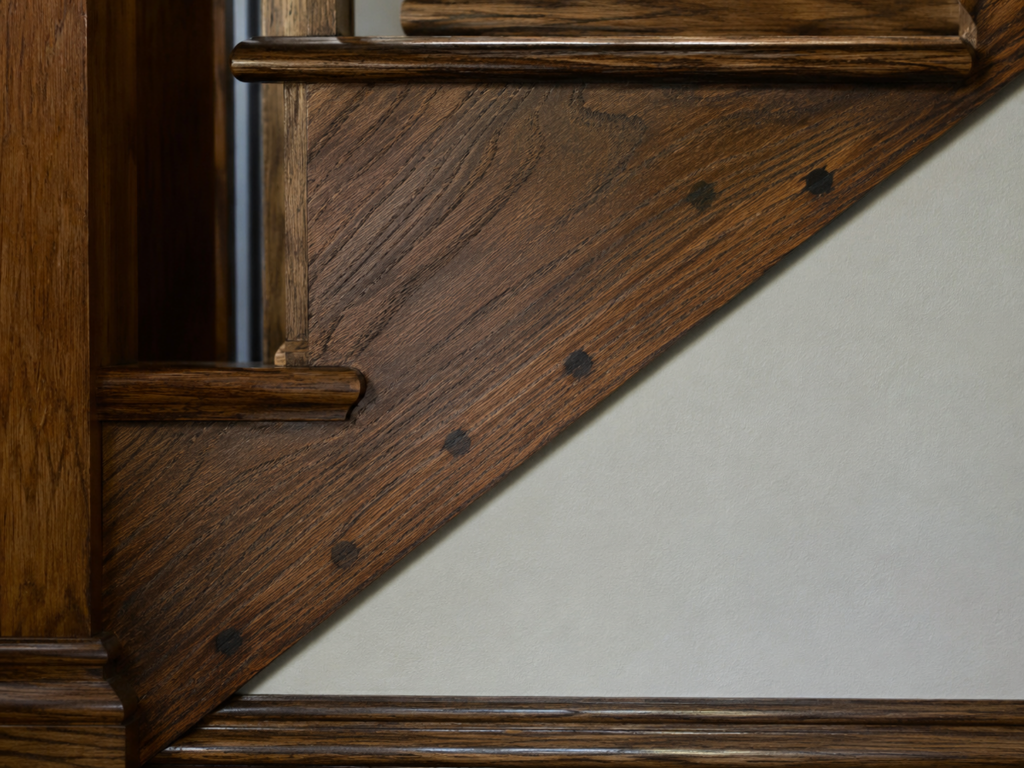
😬 The regret scenario that fills woodworking forums: someone fills 40 nail holes on a stained oak stair skirt with “stainable” filler, stains, seals, steps back — and every single hole is now a dark polka dot under polyurethane. At that point the fix is sanding back through the finish. Test first.
The 5 Mistakes That Make Repairs Fail
Interior-only products outdoors. The fence scenario above. An interior-only filler will crack out — the only question is which season. Exterior repairs need a product explicitly rated interior/exterior, protected with the coating the label requires.
Sanding putty. It gums, smears, and drags color across the surrounding finish. If it needs sanding, it needed to be filler.
Ignoring the product’s depth limits. Depth limits vary by product — DAP, for instance, directs users to build Plastic Wood-X repairs deeper than 1/4 inch in layers. Deep single fills of water-based filler shrink as they dry and either crack or sink below flush.
Filling decay without correcting the moisture source. Before repairing decayed wood, stop the water intrusion, remove loose and severely deteriorated material, and allow the area to dry. A wood hardener or consolidant may then be appropriate for limited nonstructural deterioration, followed by a compatible repair filler. Skipping the moisture fix means the decay comes back under your patch — the same sequence applies when you’re repairing rotten wood window frames.
Skipping the required coating over exterior filler. Many exterior-rated fillers still require primer and paint or another waterproof coating. Leaving the repair exposed can shorten its service life, so follow the product label.
Which One Do You Actually Need? (30-Second Decision)
Is the wood already stained/finished? → Putty, color-matched.
Will you sand the repair flush? → Filler. Putty can’t be sanded.
Is it outdoors? → Check the label first, always. Small cosmetic defects on a finished surface: an exterior-rated putty. Anything that gets shaped, sanded, primed, and painted: an exterior-rated filler.
Is it rot? → Correct the moisture source first. Limited nonstructural deterioration may be repaired with an appropriate consolidant and exterior filler. Extensive or load-bearing deterioration generally requires wood replacement or a specifically engineered structural repair.
Is it structural? → Do not assume ordinary wood putty or filler will restore load-bearing capacity. Structural damage usually requires replacement, sistering, or a repair system specifically engineered for that application. If the damage is in subflooring, start with an honest assessment like the one in my guide to basement subfloor plywood.
Recommended Products (What Belongs on the Shelf)
As an Amazon Associate I earn from qualifying purchases.
Four products cover the large majority of the situations this article describes:
Minwax Wood Putty— the after-finish nail hole standard, sold in pre-tinted shades. Buy the tint that matches your stain; buy two if you’re between shades and blend them with a finger. (Note: Minwax also sells a separate Color-Matched Wood Filler that hardens and sands — a different product for a different job.)
DAP Plastic Wood-X Wood Filler— a rated interior/exterior water-based filler (exterior repairs need paint or coating over top). It goes on pink and dries natural, which sounds like a gimmick until you stop guessing whether deep fills have cured. Build repairs deeper than 1/4″ in layers and allow up to ~36 hours on deep fills.
Bondo Wood Filler (two-part) — a fast-curing two-part resin filler for exterior repairs and larger nonstructural fills. Sands beautifully with minimal shrinkage. Mix small batches and follow the label on fill depth; it kicks fast, and bigger masses cure faster still.
Minwax High Performance Wood Hardener— a reinforcing step for limited nonstructural decay, used after the moisture source is corrected and unsound wood is removed. It soaks into softened fibers and firms them up so a compatible filler has something solid to grab.
FAQ: Wood Putty vs Wood Filler
Can I use wood filler instead of wood putty?
Only if the wood is unfinished and you can sand before finishing. On already-finished surfaces, filler is the wrong tool — you’d have to sand it flush, which destroys the surrounding finish. Use color-matched putty instead.
Does wood putty ever dry hard?
No — traditional oil-based putty stays pliable indefinitely by design. It firms up at the surface but never cures like filler. If a product labeled “putty” dries rock-hard and sandable, it’s functionally a filler regardless of the name on the tub (labeling in this category is genuinely inconsistent between brands).
Can you paint over wood putty?
Traditional non-hardening putty generally should not be painted or topcoated — Minwax states its non-hardening Wood Putty cannot be topcoated, and other oil-based putties behave similarly. For any repair that will be painted, use a filler specifically labeled paintable, and follow the individual product’s instructions.
It depends on the product. Many water-based fillers must be built up in layers — DAP directs users to layer Plastic Wood-X repairs deeper than 1/4 inch — and deep fills can take a day or more to fully cure. Some two-part fillers are designed to rebuild large or deep sections without shrinking, but follow the manufacturer’s limits on fill mass and any reinforcement requirements. For very large voids, glue in a wood block or dutchman first and fill only the seams.
Is wood filler strong enough for screws?
Screw-holding performance varies by product. Some hardened fillers can be drilled and provide limited screw anchoring, but filler should not be relied on for hinges, railings, or other heavily loaded fasteners. For those repairs, install a glued hardwood dowel, wood insert, or replacement wood section, and drive the screw into solid wood.
Which lasts longer outdoors?
It depends on the repair, not the category. For small cosmetic defects in finished surfaces, an exterior-rated flexible putty rides out wood movement well. For repairs that get sanded, primed, and painted, an exterior-rated filler under a maintained coating is the durable choice. Interior-only filler used outdoors typically fails within one to two seasons — check the label before anything goes outside.
Related Posts:
Marine Grade Plywood: Avoid This Costly Mistake by Admin April 7, 2026 DIY Marine grade plywood is a high-performance plywood made with waterproof phenolic glue, no internal voids, and multiple thin veneer layers. It is designed for high-moisture…