The best plywood for a basement subfloor is 3/4-inch tongue-and-groove plywood with an Exposure 1 bond classification (such as CDX or Sturd-I-Floor), installed over a vapor barrier and rigid foam insulation — never directly on the concrete slab. If any wood touches the concrete itself, such as sleepers or bottom plates, that wood must be pressure-treated. Get the moisture strategy right first, and the choice of plywood becomes simple.
Below is everything you need: which panels work, which fail, how thick to go, and the two installation methods that hold up in a below-grade room.
The Mistake I See Most Often
Homeowners treat a basement slab like a normal framed floor. It isn’t. Upstairs, you’re worried about joist spacing and deflection. Below grade, the slab itself is the problem — it can look bone-dry and still be moving water vapor into the wood above it, day after day, with no visible sign until the flooring starts cupping or the room starts to smell musty.
I’ve seen perfectly good 3/4″ plywood ruined in under two years because someone skipped the moisture test and glued it straight to the slab. The panel itself was never the weak point. The slab was.
Basement Subfloor Plywood Options Compared
Panel Type
Best Use in a Basement
Moisture Tolerance
Typical Thickness
Verdict
3/4″ T&G CDX plywood
Main subfloor layer over foam or sleepers
Good (Exposure 1 glue)
23/32″ (3/4″)
✅ Best all-around choice
3/4″ T&G Sturd-I-Floor
Single-layer subfloor rated for direct finish flooring
Good (Exposure 1)
23/32″
✅ Best if finish floor goes directly on top
Pressure-treated plywood
Sleepers and any wood in direct slab contact
Excellent
1/2″–3/4″
✅ Required at concrete contact points
Standard OSB
Budget subfloor layer over foam
Fair (edges swell when wet)
23/32″
⚠️ Acceptable, but plywood recovers from moisture better
Why a Basement Subfloor Is Different From Every Other Floor
A basement floor sits below grade on a concrete slab, and concrete is not waterproof — it continuously wicks up ground moisture as vapor, even in a basement that looks bone dry. Building science research on foundations confirms that a capillary break and vapor barrier belong under every basement floor slab, precisely because that upward moisture movement never fully stops on its own, according to Building Science Corporation’s basement insulation guidance. That single fact drives every decision in this guide.
An upstairs subfloor only has to be stiff enough for its joist spacing. A basement subfloor has to do three jobs at once:
Block moisture rising from the slab so it never reaches the wood or the finished floor
Break the thermal bridge between cold concrete and your living space, so the floor isn’t freezing and condensation doesn’t form under it
Provide a flat, rigid nailing surface for hardwood, laminate, vinyl plank, or carpet
If you’re still deciding on panel thickness for other areas of the house, the plywood thickness guide covers joist-spacing requirements in detail. In a basement over a slab, joist spacing usually isn’t the issue — moisture and headroom are. If you’re installing directly over a concrete floor rather than building up a floating assembly, the full walkthrough is installing plywood flooring over concrete.
Step 1: Test the Slab Before You Buy a Single Sheet
❌ Mistake #1: Skipping the moisture test. This is the error that ruins more basement floors than any other. A slab can look dry in July and sweat in April. Wood installed over an untested slab is a gamble with the entire flooring budget.
Two easy checks:
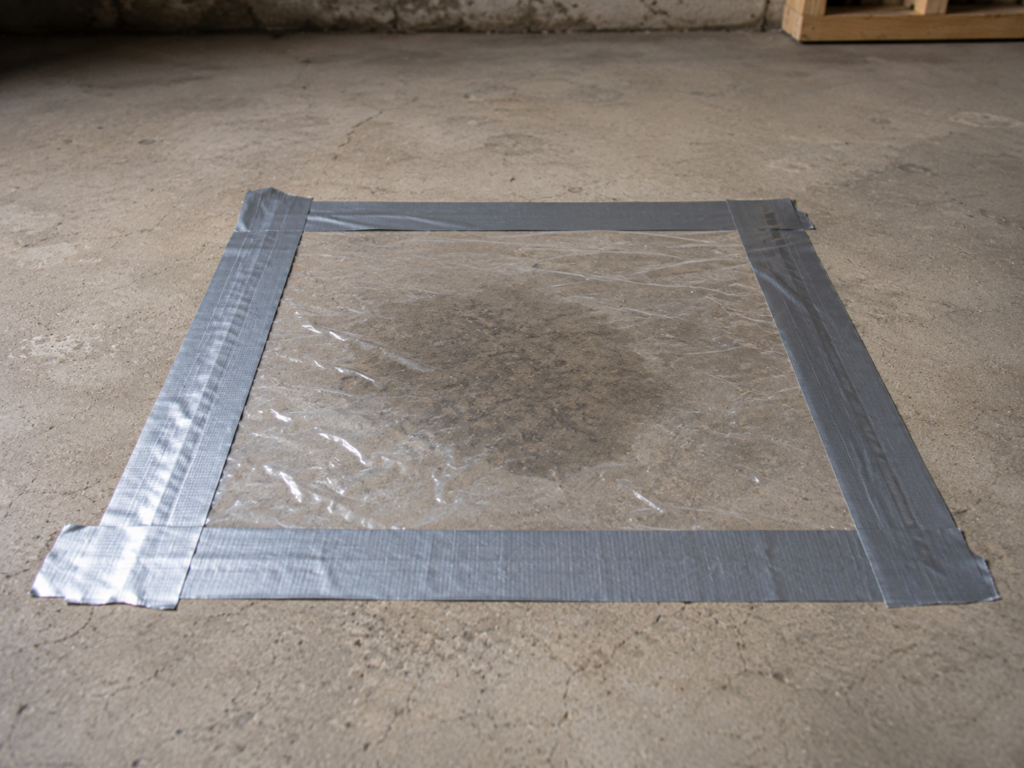
Plastic sheet test: Tape a 2′ × 2′ square of clear plastic sheeting to the slab, sealing all four edges with duct tape. Wait 24–72 hours. Condensation or a dark damp spot under the plastic means the slab is transmitting moisture. (This is a simplified version of the ASTM D4263 method.)
Moisture meter reading: A pinless concrete moisture meter gives you a fast relative reading across the whole slab so you can find problem zones near walls and corners.
If the slab shows active moisture, fix the water problem first — grading, gutters, downspout extensions, or interior drainage — before any subfloor goes in. No plywood system survives a slab that gets actively wet.
🛠 Recommended gear: A pinless moisture meter like the Klein Tools ET140 or General Tools MMD4E handles both the slab check and later checks on your plywood before installation. (Amazon affiliate link)
Step 2: Choose the Right Plywood
The Main Subfloor Layer: 3/4″ Tongue-and-Groove, Exposure 1
Panel classification is set by APA – The Engineered Wood Association, the industry testing and trademarking body for structural wood panels. Subfloor panels should carry an Exposure 1 bond classification, meaning the adhesive is waterproof and the panel tolerates moisture during construction and in service humidity. CDX is the most common Exposure 1 panel at the lumberyard — the full breakdown of what those letters mean is in the guide to what CDX plywood is.
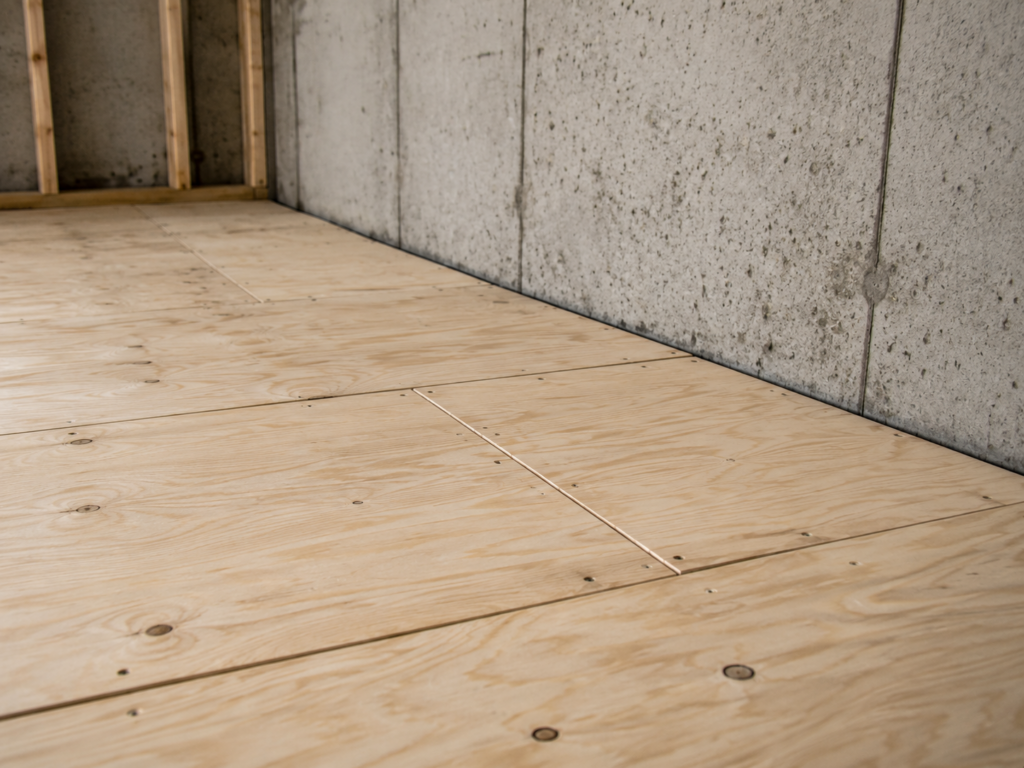
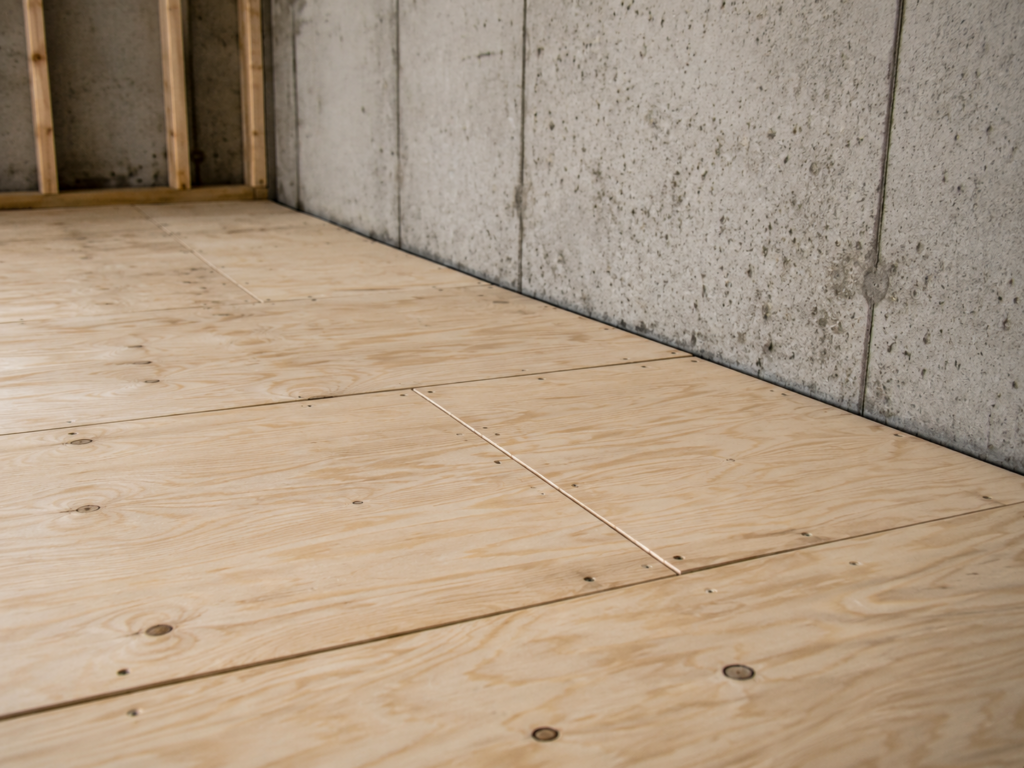
Why tongue-and-groove specifically: in a basement floating-floor assembly there are no joists under the panel edges. T&G edges lock adjacent sheets together so the seams don’t deflect independently underfoot. Square-edge panels over foam will eventually squeak and lip at the joints.
APA’s own product line explains this distinction directly: APA Rated Sturd-I-Floor panels are a combination subfloor-underlayment product engineered specifically for single-layer floor construction, with a plugged face so point loads (chair legs, appliance feet) don’t crush through the surface, per APA’s underlayment and subfloor specifications. If you’re installing vinyl plank or laminate directly over the subfloor with no separate underlayment panel, Sturd-I-Floor is worth the upgrade.
Where Pressure-Treated Is Non-Negotiable
❌ Mistake #2: Putting untreated wood directly on concrete. Under Section R317 of the International Residential Code, wood in direct contact with concrete that’s in contact with the ground must be pressure-preservative-treated wood suitable for ground contact, or a naturally durable species. In practice, that means:
Sleepers (the 2x4s or plywood strips laid on the slab in a sleeper system) — pressure-treated, always
Bottom plates of any basement wall framing — pressure-treated
The main subfloor sheets themselves do not need to be pressure-treated if they’re separated from the slab by a vapor barrier and foam — that separation is the whole point of the assembly
What to Skip
❌ Mistake #3: Using interior-grade or sanded appearance plywood. Interior panels use adhesive that isn’t rated for moisture. In basement humidity, the veneers delaminate — often within the first year or two. The smooth face isn’t worth it; the subfloor gets covered anyway.
Standard OSB is acceptable over a proper vapor barrier and many builders use it, but its edges swell when they take on moisture and don’t shrink back. Plywood absorbs a moisture event and largely recovers. In a below-grade room, that resilience is worth the modest price difference per sheet.
Step 3: Pick Your Assembly — The Two Methods That Work
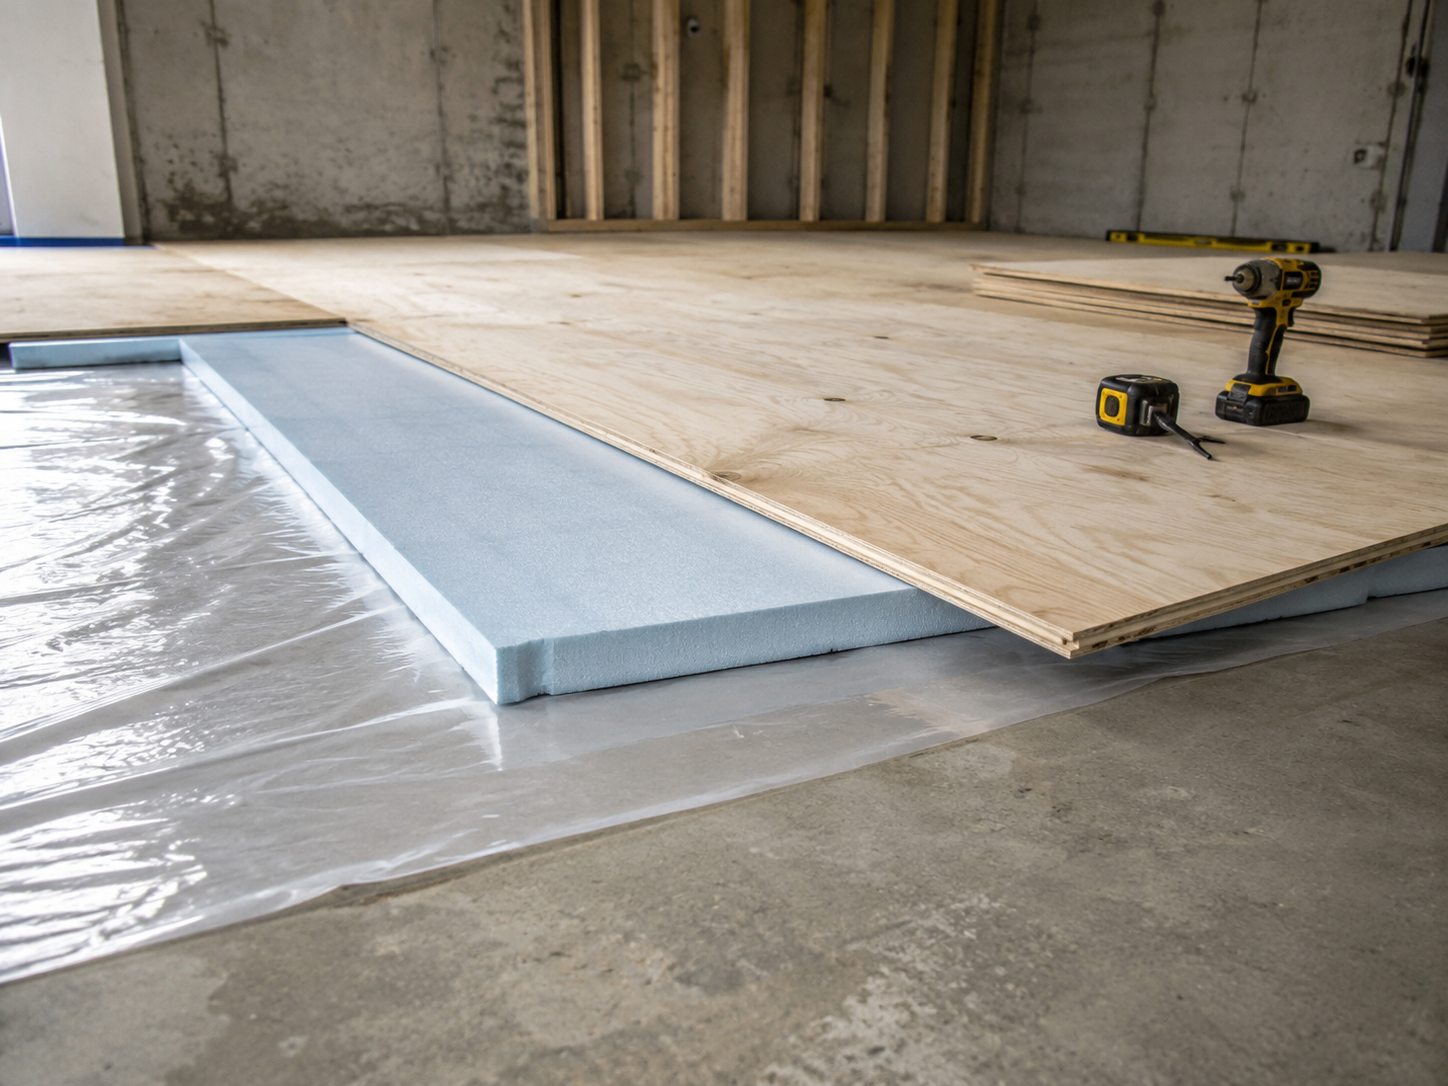
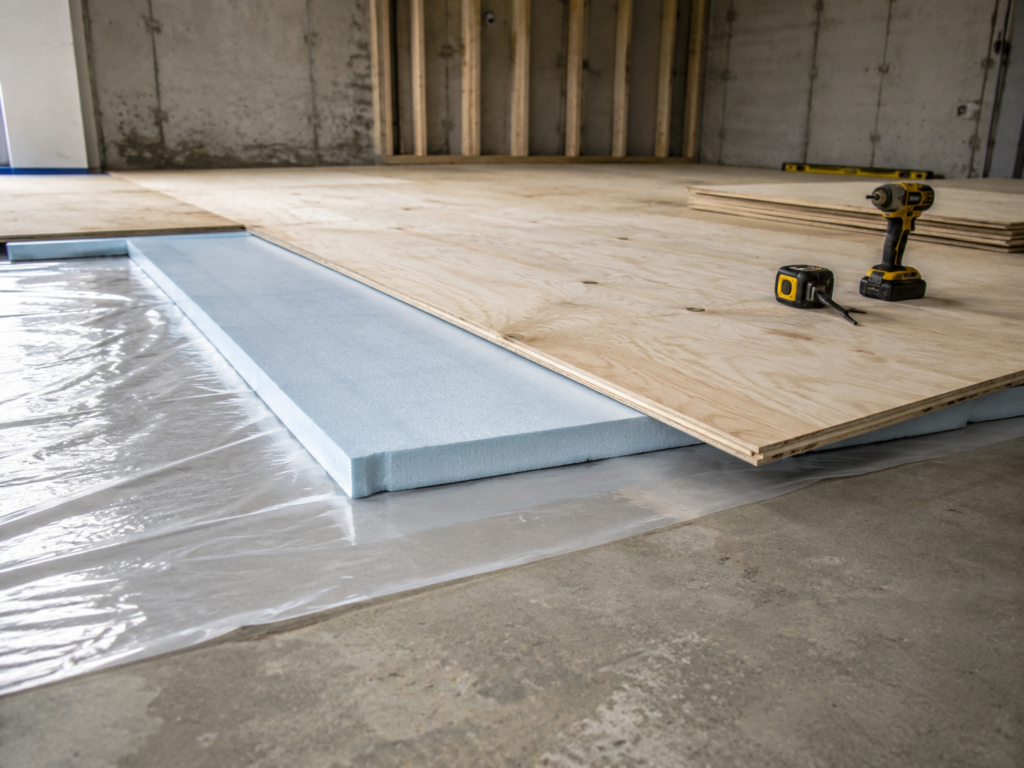
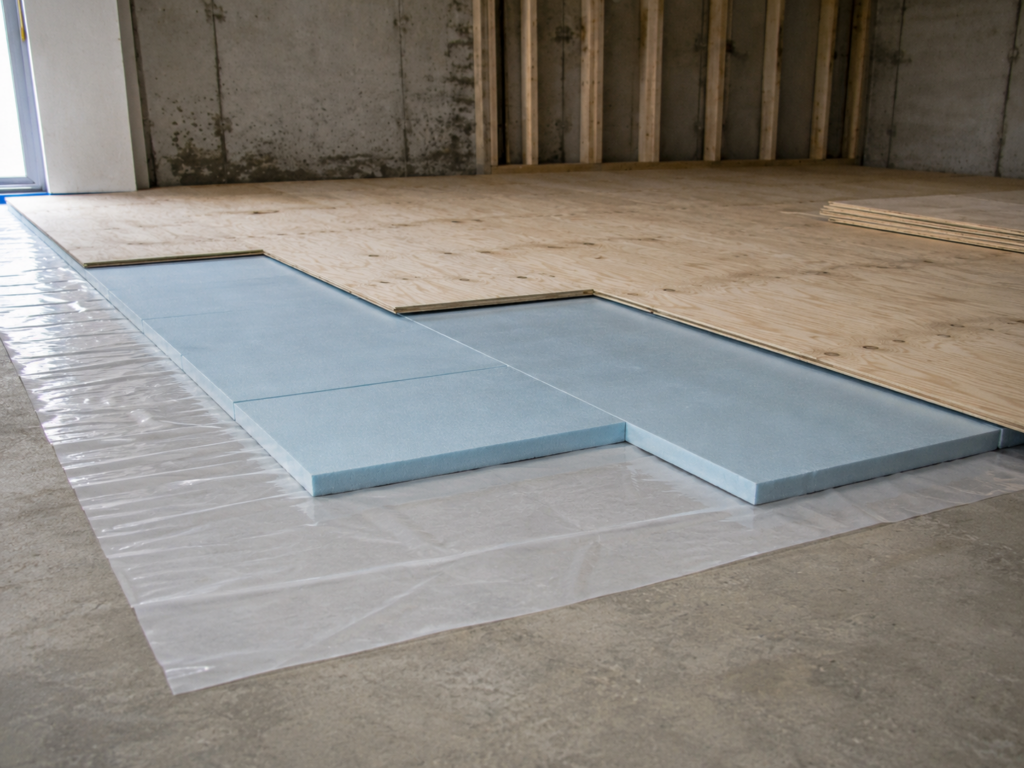
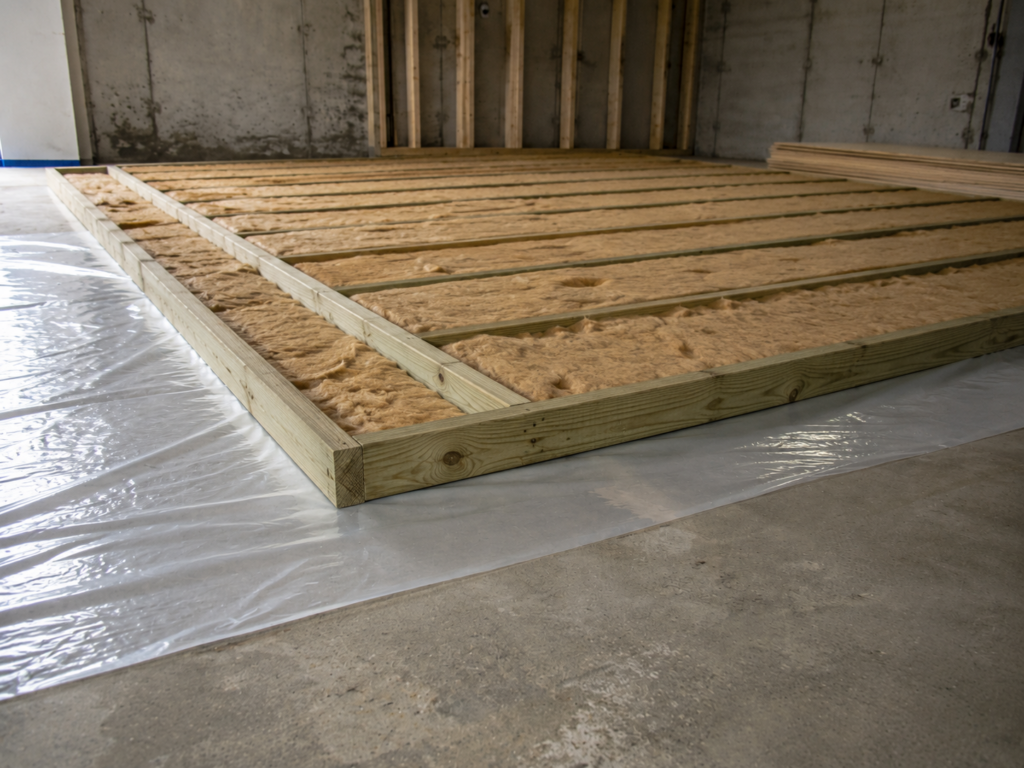
Method 1: Rigid Foam + Floating Plywood (Best for Most Basements)
This is the assembly most building-science sources recommend for a dry, insulated, low-headroom-loss basement floor:
Clean and flat-check the slab. Grind high spots; fill low spots with self-leveling compound. Flatness matters more than perfection — aim for no more than about 3/16″ of dip over 10 feet.
Lay the vapor barrier. Either 6-mil polyethylene sheeting with seams overlapped 6″+ and taped, or skip the poly and use foam with taped seams as the vapor control layer (XPS and foil-faced polyiso both qualify).
Lay rigid foam. 1″ XPS is the common choice — it adds insulation value and physically separates wood from concrete. Stagger the seams and tape them.
Float two layers of plywood, or one layer of 3/4″ T&G. The two-layer approach uses two courses of 1/2″ plywood laid perpendicular to each other, screwed to each other (not the slab) with the seams offset. The single-layer approach uses 3/4″ T&G, with panels glued at the tongues. Either way, leave a 1/4″–1/2″ expansion gap at all walls.
Fasten (only if required). A true floating system needs no slab fasteners. If your finish flooring manufacturer requires anchoring, use concrete screws through the assembly into the slab.
Headroom cost: roughly 1-3/4″ total (1″ foam + 3/4″ plywood). In a basement with 7-foot ceilings, every fraction of an inch counts — check your local code’s minimum ceiling height before you build up the floor.
🛠 For anchored installs:Tapcon 1/4″ x 2-3/4″ concrete screws with the matching carbide bit are the standard fastener for pinning a subfloor assembly through foam into a slab. (Amazon affiliate link)
Method 2: Pressure-Treated Sleepers + Plywood
The traditional approach, and still the right one when you need to level a badly out-of-flat slab or run plumbing/wiring under the floor:
Lay 6-mil poly over the slab.
Fasten pressure-treated 2×4 sleepers flat-side down, 16″ on center, shimmed to level.
Fit rigid foam or mineral wool between the sleepers (optional but strongly recommended — an uninsulated air gap breeds condensation).
Screw 3/4″ T&G plywood to the sleepers with deck screws, seams staggered, edges landing on sleeper centers.
Headroom cost: about 2-1/4″ or more. Sleepers eat ceiling height fast, which is why the foam method has become the default for basements that are already flat.
The Modular Panel Shortcut
Interlocking 2′ × 2′ subfloor panels — OSB bonded to a dimpled plastic underside — combine the vapor gap and subfloor in one product. They install quickly, lose only about an inch of headroom, and let minor slab moisture dry through the air channels underneath. The trade-off is cost: expect to pay noticeably more per square foot than a foam-and-plywood assembly. For a small basement or a fast weekend job, they’re a legitimate option; for a large basement, sheet goods win on price.
Fastening and Layout Rules That Prevent Squeaks
Stagger seams like brickwork — never let four corners meet at one point
Gap the panels: 1/8″ between sheet edges (a 16d nail is the classic spacer), 1/4″–1/2″ at walls
Screws, not nails, for anything fastened to sleepers — ring-shank nails work but screws don’t back out
Acclimate the plywood in the basement for 48–72 hours before installation so the sheets reach the room’s humidity before they’re locked in place
Run panels perpendicular to sleepers and land every edge on solid support
❌ Mistake #4: No expansion gap at the walls. Plywood expands across the panel as humidity rises. A floor installed tight to the foundation walls has nowhere to go — it buckles at the seams. The baseboard hides the gap; leave it.
What Goes on Top
Luxury vinyl plank / laminate: Over 3/4″ T&G plywood or Sturd-I-Floor, install per the flooring manufacturer’s flatness spec. Most floating floors are forgiving.
Engineered hardwood: Excellent basement choice; solid hardwood is generally not recommended below grade even over a perfect subfloor, per most flooring manufacturers.
Carpet: The most forgiving finish. Standard pad and tackless strips fasten to the plywood normally.
Tile: Tile over a wood basement subfloor requires additional stiffness and a cement board or uncoupling membrane layer. In most basements, tiling directly on the (sealed, flat) slab is the simpler, better-performing route.
Frequently Asked Questions
What is the best plywood for a basement subfloor?
Three-quarter-inch tongue-and-groove plywood with an Exposure 1 bond classification — CDX at minimum, APA Rated Sturd-I-Floor if the finish floor goes directly on top. Install it over a vapor barrier and rigid foam, not directly on the slab.
Does basement subfloor plywood need to be pressure-treated?
Only wood that touches the concrete directly — sleepers, shims, and framing bottom plates — must be pressure-treated. The subfloor sheets themselves don’t need treatment when a vapor barrier and foam separate them from the slab.
Can I lay plywood directly on a concrete basement floor?
No. Concrete transmits ground moisture as vapor, and plywood in direct slab contact will absorb it, cup, and eventually rot or grow mold. Always install a vapor barrier (6-mil poly or taped rigid foam) between the slab and any untreated wood.
Use 3/4″ (23/32″) tongue-and-groove panels for a single-layer floating floor, or two perpendicular layers of 1/2″ plywood screwed to each other. Thinner single layers flex at the seams over foam.
Is OSB or plywood better for a basement subfloor?
Both are code-approved, but plywood handles moisture events better — it dries out and largely returns to shape, while OSB edges swell permanently. In a below-grade room where moisture risk never fully goes away, plywood is the safer choice.
How much height does a basement subfloor add?
A foam-plus-plywood assembly adds roughly 1-3/4″. A sleeper system adds about 2-1/4″ or more. Modular subfloor panels add around 1″. Check your local code’s minimum ceiling height before choosing a method.
How to Prepare Subfloor for Tile (Step-by-Step DIY Guide) by Admin February 19, 2026 DIY To prepare a subfloor for tile installation, inspect the surface for damage, secure loose panels, test for moisture, level uneven areas, install cement board or…