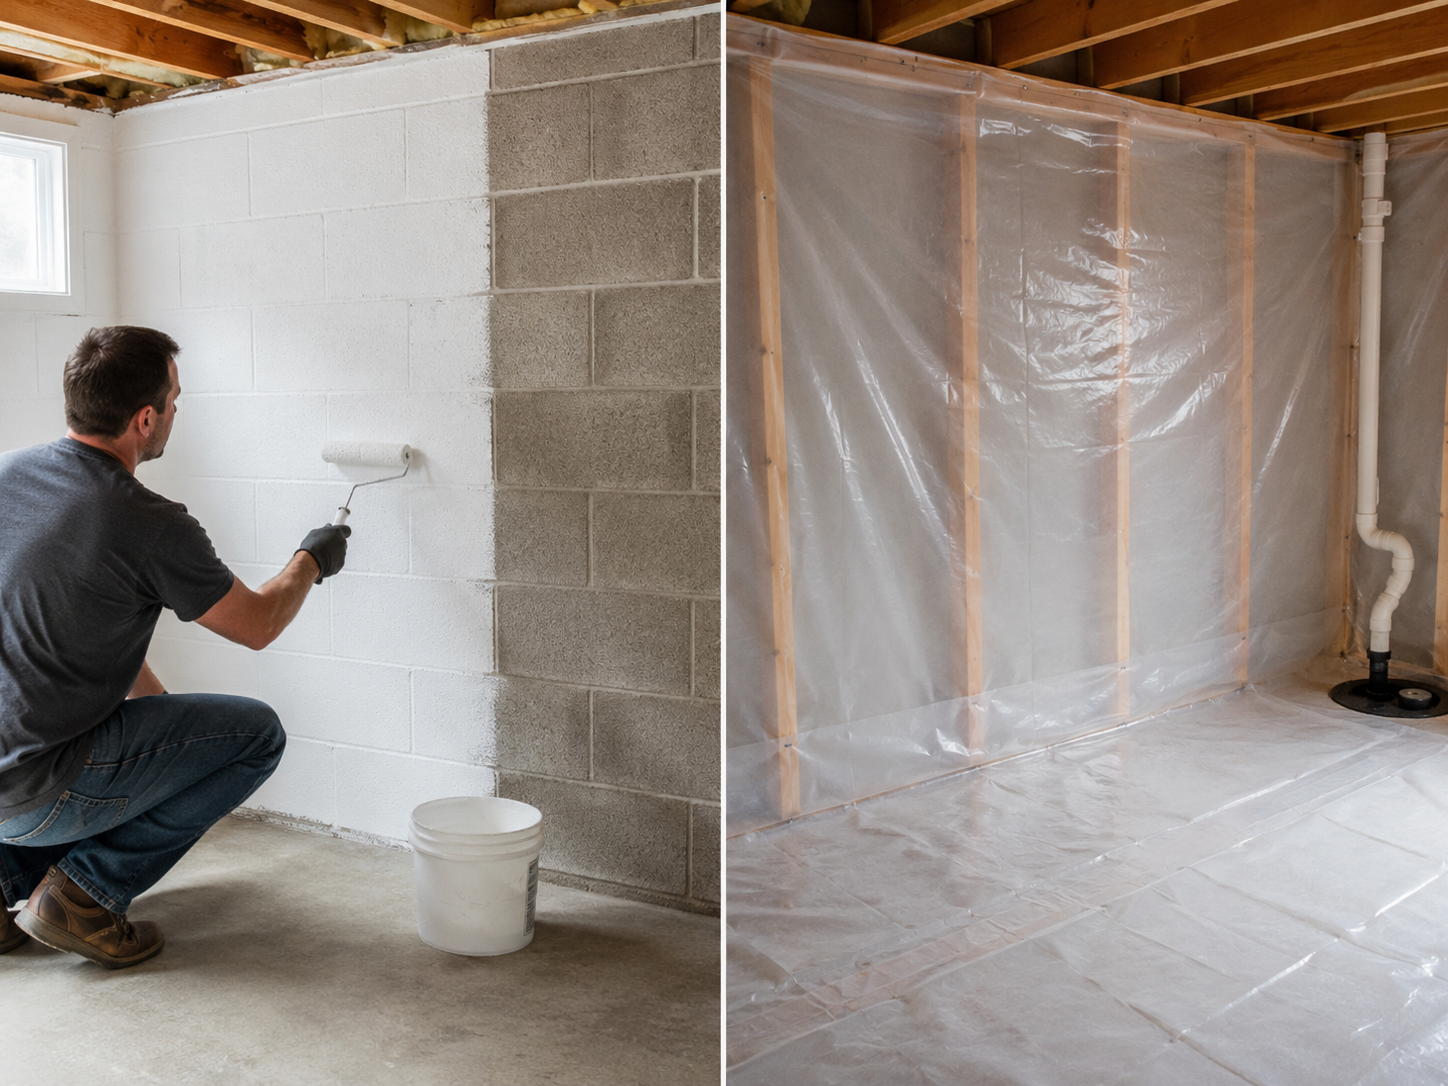
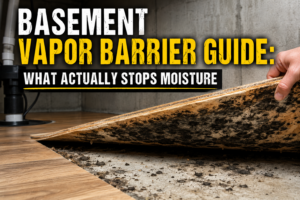
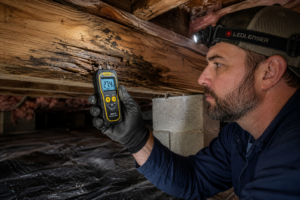
Drylok and a vapor barrier are not interchangeable — they solve two different moisture problems. Drylok is a waterproofing coating that seals the masonry wall itself, stopping liquid water and vapor at the surface. A vapor barrier is a plastic or foil membrane that controls moisture inside a wall assembly, floor, or crawl space — it does nothing to stop water coming through the wall. If your concrete or block wall is damp, you need Drylok (or a real drainage fix). If you’re framing, insulating, or installing flooring over dry masonry, that’s when a vapor barrier enters the conversation.
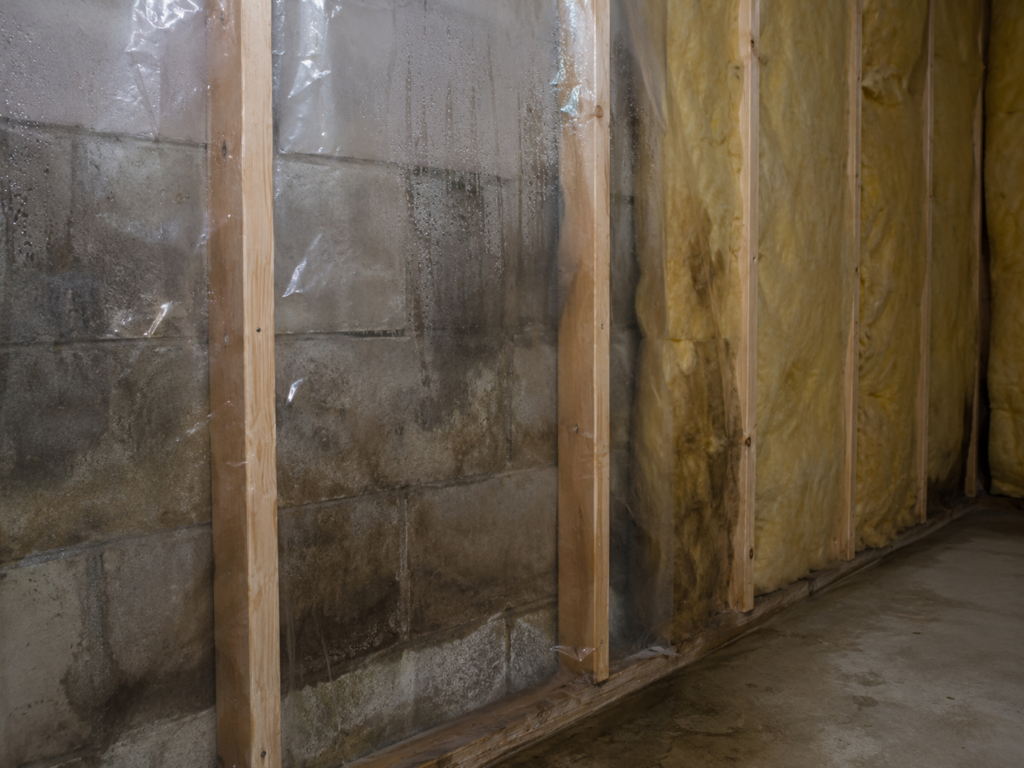
Most basement moisture disasters I’ve seen come from homeowners using one when the job called for the other — usually stapling plastic sheeting over a damp wall and framing right over it. We’ll get to why that’s a mold factory in a minute.
Drylok vs Vapor Barrier: Quick Comparison
Drylok
Vapor Barrier
What it is
Thick waterproofing paint/coating for masonry
Plastic sheeting or membrane (typically 6–20 mil poly)
What it stops
Liquid water + vapor coming through the wall
Vapor migrating within an assembly
Where it goes
Directly on bare concrete, block, or stone
Behind framing, under slabs, over crawl space soil, under flooring
Handles hydrostatic pressure
Yes — Original rated to 10 PSI, Extreme to 15 PSI
No — water pools behind it
Works on painted walls
No — must be bare masonry
N/A
Typical cost
Roughly $30–$45 per gallon (covers ~75–100 sq ft per coat)
Crawl space encapsulation, under laminate/LVP, under slabs
Worst use
Over paint, efflorescence, or active leaks with no drainage
Stapled over a damp basement wall before framing
What Drylok Actually Does
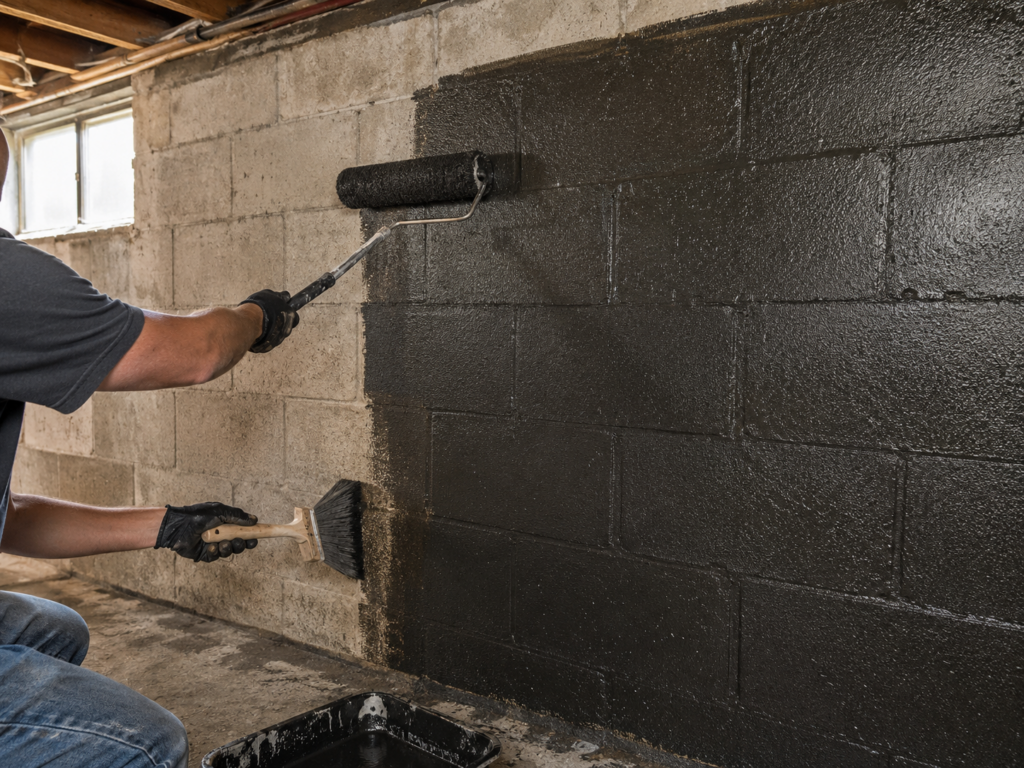
Drylok is a latex-based masonry waterproofer — much thicker and more purpose-built than paint, though it applies with a roller and brush the same way. When you roll it into bare concrete or block, it penetrates the pores and cures into a film that physically bonds with the masonry. Drylok Extreme is rated to stop water under hydrostatic pressure up to 15 PSI, and Drylok Original up to 10 PSI — that’s meaningful resistance from several feet of saturated soil pushing against the wall, but it’s a seepage rating, not a fix for water actively pouring through cracks.
That’s the key difference from every other product in this conversation: Drylok treats the wall. Everything else works around the wall.
Three things Drylok will not do, no matter what the label implies:
It will not stick to painted or previously sealed masonry. It bonds to pores. Paint fills the pores.
It will not fix a drainage problem. If water is pouring in through a crack or the floor-wall joint, coating the wall just moves the water somewhere else.
It will not adhere over efflorescence — that white, powdery mineral deposit is a sign of water moving through the concrete, and it has to be scrubbed or etched off first, or the coating will peel within a season.
What a Vapor Barrier Actually Does
A vapor barrier (technically a vapor retarder in most residential cases) is a membrane that slows the migration of water vapor from a wet side to a dry side. The classic version is 6-mil polyethylene sheeting. Heavier 12–20-mil reinforced liners are used for crawl space encapsulation.
A vapor barrier belongs in three places in a typical home:
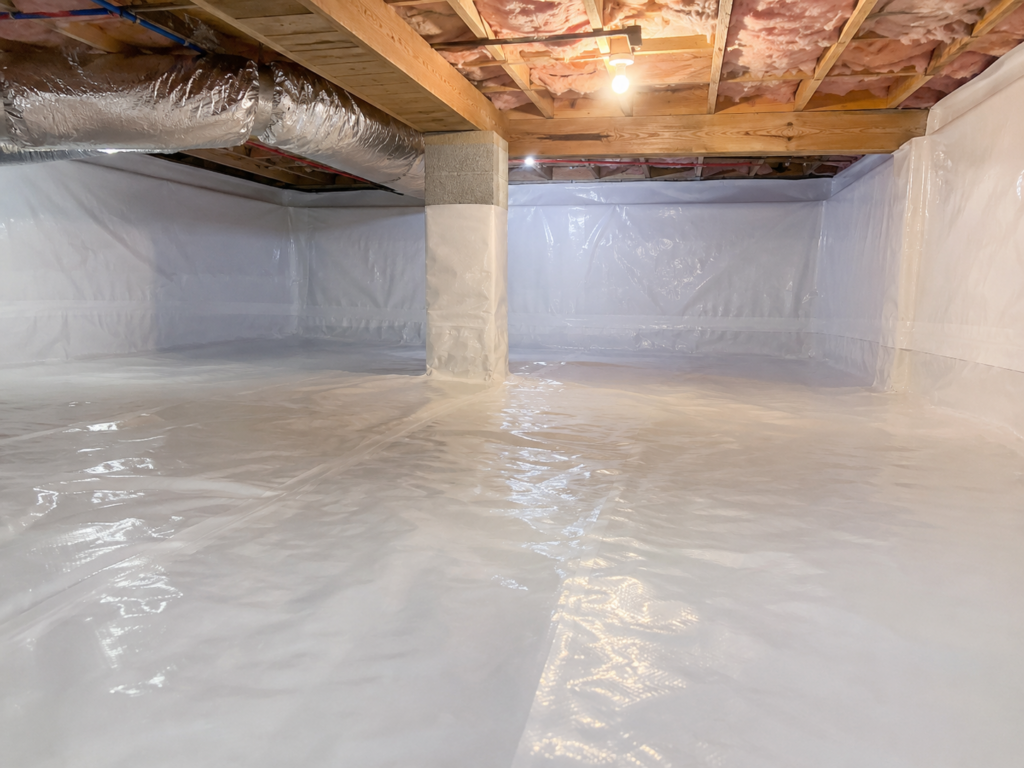
Over crawl space soil, where ground moisture constantly evaporates upward into the framing
Under concrete slabs during new pours
Under floating floors like laminate or LVP installed over concrete
Notice what’s not on that list: draped over a basement wall. Modern building science has moved firmly away from using poly sheeting against interior basement walls because concrete always carries some moisture, and the plastic gives that moisture nowhere to go. If you’re planning to frame and insulate, rigid foam board glued directly to the masonry acts as its own vapor retarder and keeps the wall able to dry. The layout and prep side of that job — including checking the walls for moisture before a single stud goes up — is covered in our guide to framing a basement.
❌ The Mistake That Ruins Finished Basements
Here’s the sequence I’ve seen play out more times than I can count:
Homeowner has a slightly damp block wall.
They staple 6-mil plastic over it “to be safe.”
They frame a 2×4 wall, stuff it with fiberglass, hang drywall.
Eighteen months later, the basement smells like a gym bag.
The plastic trapped moisture in the wall against the fiberglass. Fiberglass holds moisture like a sponge. The framing wicked it up. Behind that drywall is now black mold, rusted screws, and insulation you could wring out like a towel.
This isn’t just field experience talking — Building Science Corporation specifically warns that framed basement walls with cavity insulation and interior plastic vapor barriers often lead to odor, mold, decay, and corrosion.
The correct order of operations is the opposite: seal or dry the wall first (Drylok, drainage repair, or both), then build an assembly that breathes or uses foam instead of fiberglass. If you’re deciding between wall materials for the finish stage, our breakdown of basement walls without drywall covers which options tolerate masonry moisture and which don’t.
🧪 The 48-Hour Plastic Test (Do This Before Buying Anything)
Before you spend a dollar on either product, run this test — it tells you exactly which problem you have.
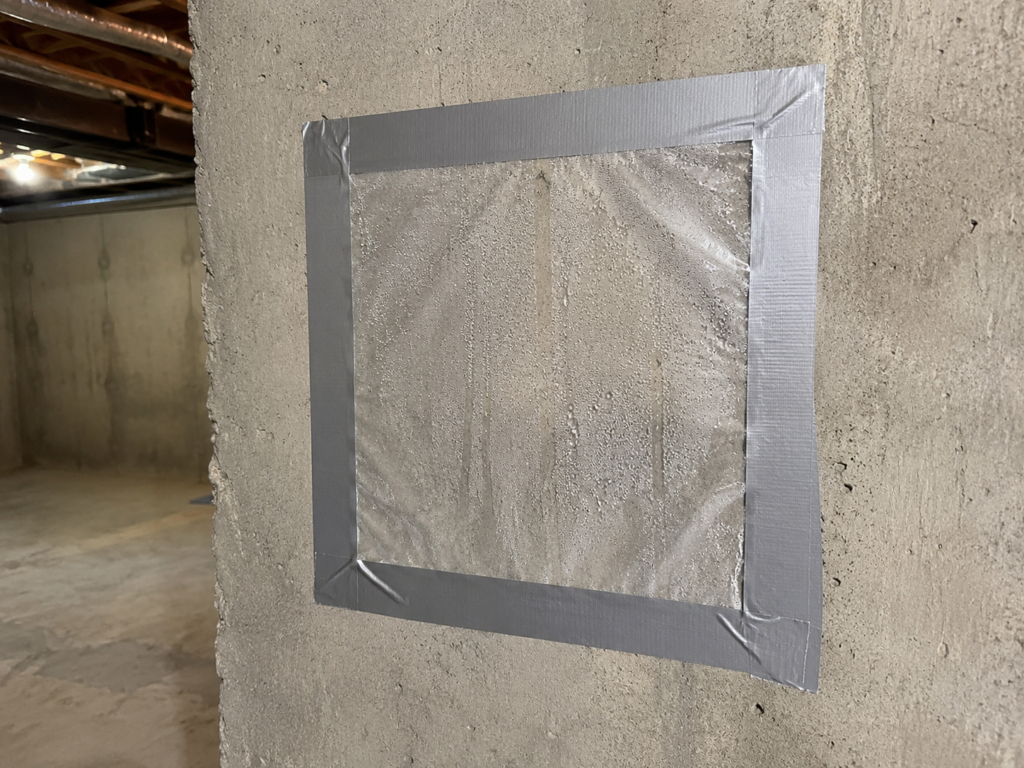
Tape a 12″ x 12″ square of plastic sheeting (a cut-up freezer bag works) to your bare basement wall. Seal all four edges completely with duct tape or Gorilla tape. Leave it for 48 hours.
Condensation on the wall side of the plastic → moisture is coming through the wall. That’s a Drylok situation (or an exterior drainage problem if it’s heavy).
Condensation on the room side of the plastic → your wall is fine; the moisture is humidity in the basement air condensing on cool masonry. Drylok won’t help — you need a dehumidifier and possibly better ventilation. An open sump pit is one of the most common hidden humidity sources, and our sump pump cover guide covers how sealing one can drop basement humidity on its own.
Bone dry on both sides → your wall is dry. Skip the Drylok, and only use a vapor barrier where the flooring or crawl space calls for it.
I ran this test on a 1960s block foundation before a finishing project a few years back — three squares on three different walls. Two came back dry; one (the wall facing the downspout side of the house) fogged up on the wall side within a day. We Drylok’d that one wall, extended the downspout, left the other two bare behind foam board, and the basement has stayed dry through several wet springs since. Testing first saved two-thirds of the coating cost.
💸 Cost Difference: What You’ll Actually Spend
For a typical 30′ x 25′ basement with 8-foot walls (~880 sq ft of wall area):
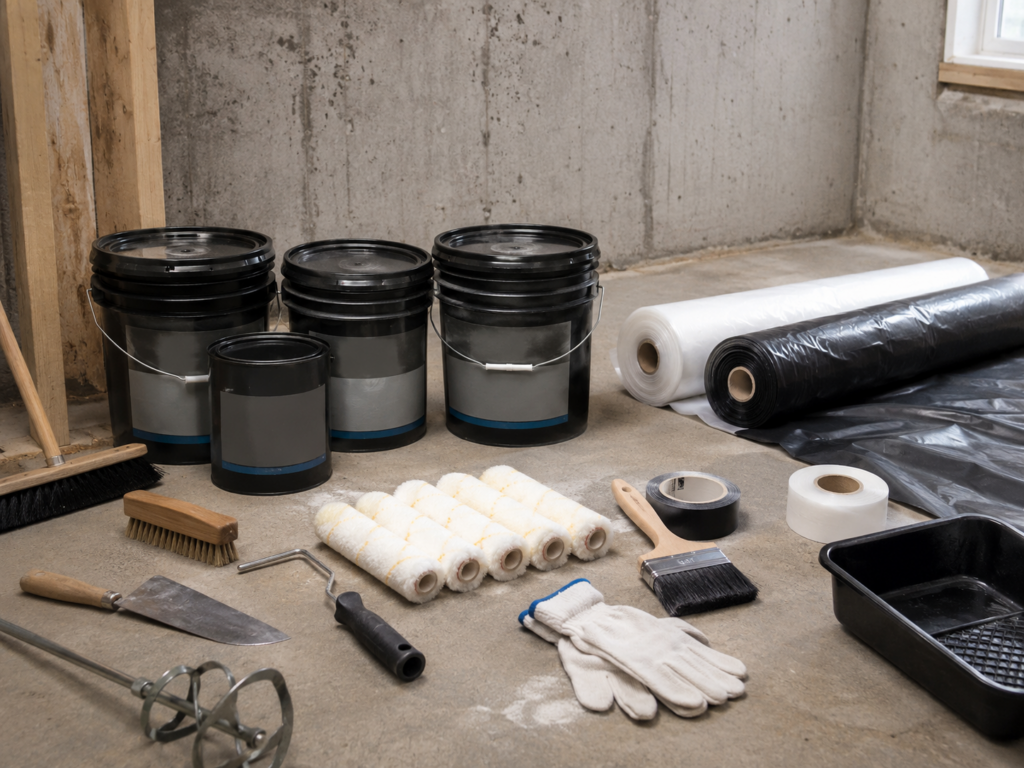
Drylok route: Two coats are mandatory for the warranty, so figure real coverage around 40–50 sq ft per gallon total. That’s roughly 18–22 gallons — in the ballpark of $600–$900 in materials, plus rollers, mortar-joint brushes, and prep supplies. It’s a full weekend of arm workout, minimum.
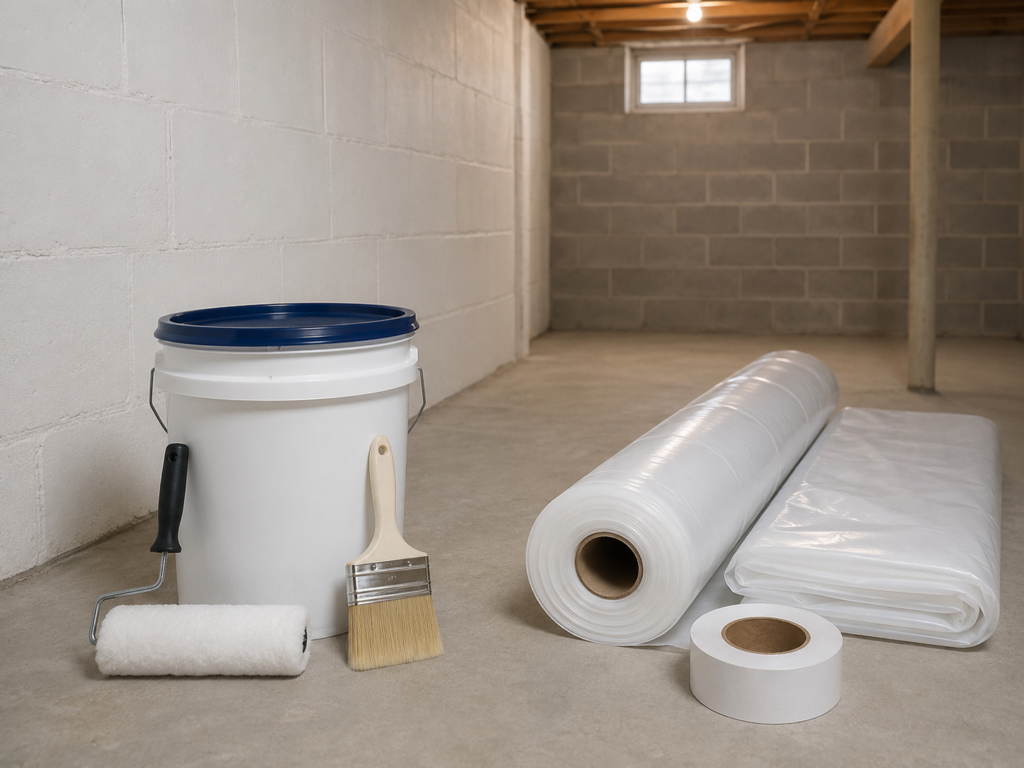
Vapor barrier route: A couple rolls of 6-mil poly plus seam tape typically lands in the $100–$250 range for the same footprint. A heavy 12-mil crawl space liner with proper tape and fasteners costs more but is a different job entirely.
😬 Here’s the regret math, though: the cheap option applied to the wrong problem is the most expensive choice available. A moldy finished-basement teardown — drywall, insulation, framing inspection, and remediation — routinely runs into five figures. The $700 of Drylok you skipped becomes the least of it. Spend based on what the plastic test told you, not on which product costs less at checkout.
When to Use Drylok
Bare concrete, block, or stone walls showing dampness, seepage, or the wall-side test result
Block foundations where the hollow cores wick ground moisture
Basements you plan to finish, before any framing goes up
Retaining walls and root cellars
⚠️ One warning before you roll: if you have standing water, active leaks during rain, or water coming up through the floor-wall joint, Drylok is not your first move. Coating a wall under real hydrostatic pressure without addressing drainage (grading, gutters, downspouts, or interior drain tile) can push water to the floor joint or blow the coating off in sheets. Fix the water’s path first; seal second. Wet, deteriorating masonry can also point to bigger issues — if you’re seeing crumbling or soft framing where wood meets that wall, start with our guide on how to stop wood rot before it spreads.
When to Use a Vapor Barrier
Crawl space encapsulation over exposed soil (12-mil minimum, seams taped, run up the walls)
Under laminate, LVP, or engineered flooring going over any concrete slab
Under new slab pours
Behind exterior walls in cold climates per local code — this is framing-cavity territory, not basements
If your project is a subfloor over concrete, the vapor barrier question ties directly into panel selection and slab moisture testing — that full process is in our guide to installing plywood flooring over concrete.
Can You Use Both Together?
Yes — and in a finished basement, the best assemblies often do. The sequence that works:
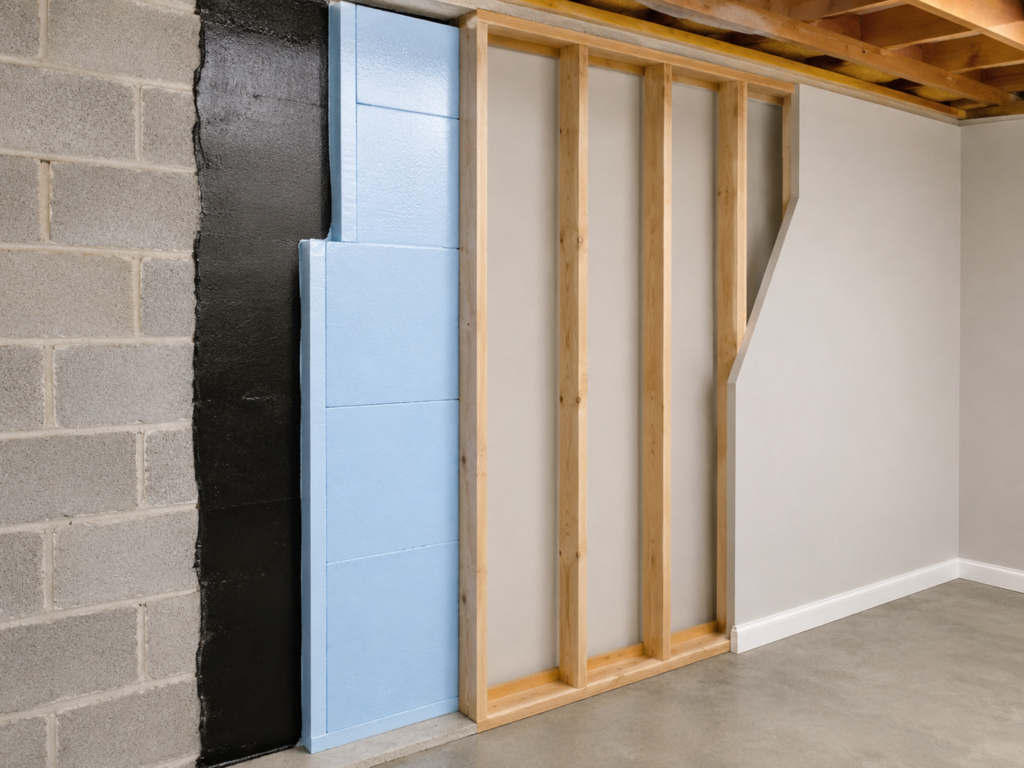
Drylok on the bare masonry (both coats, cured fully — give it a week)
Rigid foam board glued to the coated wall (XPS or foil-faced polyiso — the foam acts as the vapor retarder when the seams are sealed)
Framing in front of the foam, drywall, done
What you never do is Drylok the wall and then add poly sheeting over framing with fiberglass. That creates a double vapor barrier with insulation sandwiched between two impermeable layers — any moisture that gets in (and some always does) can never leave.
Recommended Products
As an Amazon Associate, we earn from qualifying purchases at no extra cost to you.
For sealing damp masonry walls:
Drylok Extreme Masonry Waterproofer (1-gallon for small jobs, 5-gallon for full basements — Extreme is rated to 15 PSI with a 15-year warranty vs. 10 PSI and 10 years for Original, and it’s worth the difference for below-grade walls)
Drylok Etch (for prepping walls with efflorescence before coating)
Digital hygrometer (if basement humidity reads over ~55–60%, condensation is part of your problem regardless of what the wall is doing)
FAQ
Is Drylok a vapor barrier?
Functionally, a properly applied double coat of Drylok acts as a vapor retarder on the wall surface — but it’s a waterproofing coating first. It stops liquid water under pressure, which no plastic sheet on the interior side can do.
Can I put a vapor barrier over Drylok?
Directly on the wall behind rigid foam, you don’t need to — the Drylok and the foam each handle vapor. What you should never do is add poly sheeting on the warm side of the insulation after Dryloking the wall. Two vapor barriers with insulation between them trap moisture permanently.
Will Drylok stop water coming through basement walls?
It stops seepage and dampness through the wall face — Drylok Extreme is rated to resist up to 15 PSI of hydrostatic pressure and Original up to 10 PSI. It will not stop water from entering through active cracks, the floor-wall joint, or window wells — those need drainage or crack repair first, and no coating can substitute for fixing the water’s path.
Do I need a vapor barrier on basement walls before framing?
In most cases, no — and it’s often the wrong move. Rigid foam board against the masonry (with sealed seams) insulates and retards vapor while letting the assembly stay dry. Poly sheeting against a basement wall traps concrete moisture against your framing.
How long does Drylok last?
Drylok Extreme carries a 15-year warranty and Drylok Original a 10-year warranty when applied at two coats to properly prepped bare masonry. Real-world failures almost always trace back to prep: painting over old paint, coating efflorescence, or applying a single thin coat.
Which is cheaper, Drylok or a vapor barrier?
Vapor barrier material is far cheaper — often a fifth of the cost of coating the same wall area with Drylok. But they aren’t substitutes. Using the cheap one for the wrong problem is how finished basements end up demolished.