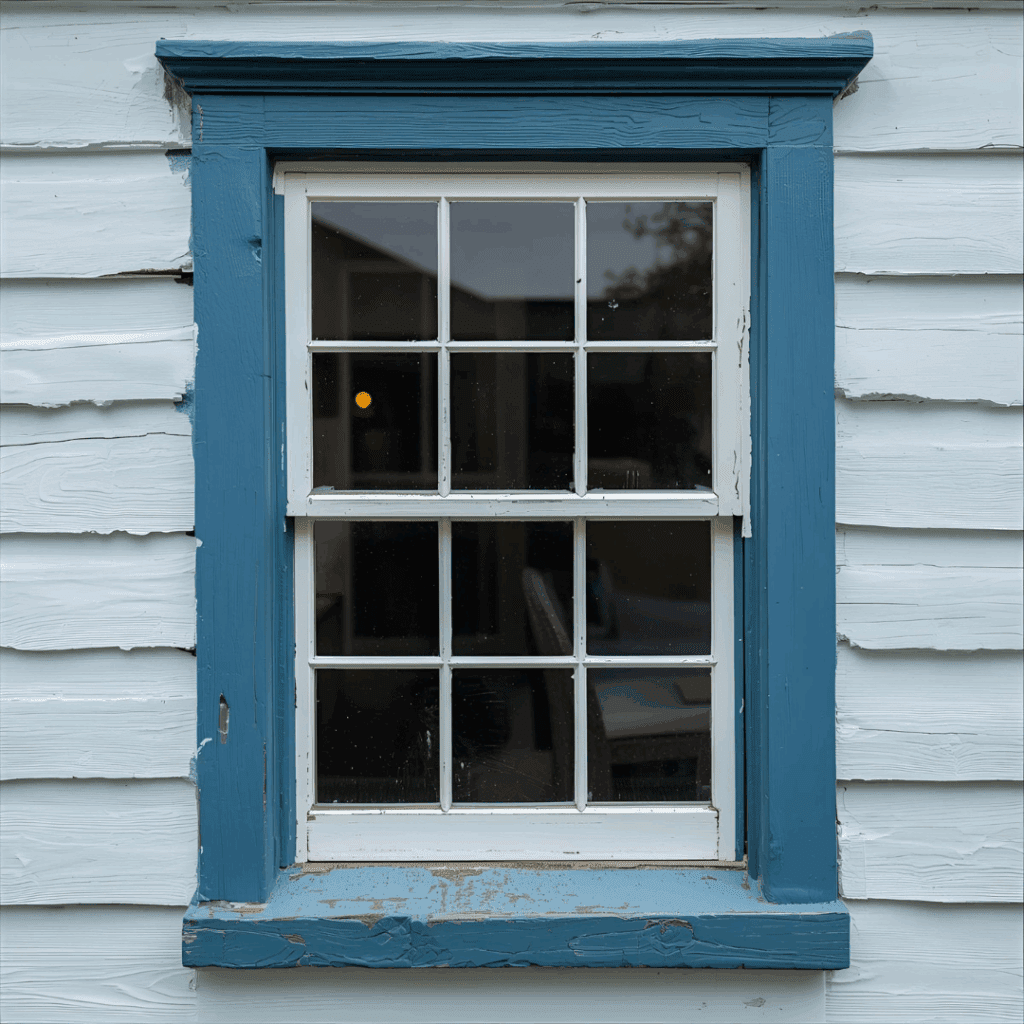
When I bought my first house, I assumed the wooden windows would last forever as long as I kept them painted. A few years later, I learned the hard way that water has other plans. The bottom corner of my dining room window looked fine under a coat of white paint, but when I pressed it with my thumb, the wood sank in like a sponge. That’s when I went down the rabbit hole of learning how to repair rotten wood window frames without replacing the entire unit.
If you’ve spotted soft, discolored, or crumbling sections around your windows, don’t panic. In most cases, you don’t need to hire a contractor or buy new windows—you just need to dig out the damaged wood, strengthen what’s left, and rebuild the missing parts. I’ll walk you through exactly how I did it, along with the tools, products, and little tricks that made the repair last. In this guide, I’ll show you exactly how to repair rotten wood window frames using affordable tools and materials.
Rot sneaks up slowly. It doesn’t always start with a dramatic leak—sometimes it’s just years of damp mornings, condensation rolling down glass, or a tiny crack in old caulk.
Here are the biggest culprits I’ve noticed in my repairs:
Water pooling on sills: Flat surfaces collect rain and snow.
Sun damage: Paint and sealant break down faster on sun-facing windows.
Condensation: Warm indoor air hitting cold glass drips down into corners.
Neglected paint: Once the protective layer chips off, bare wood becomes a sponge.
If you’ve ever seen mushrooms sprouting near an old sill, that’s advanced rot. The trick is catching it early, before it spreads to the studs inside your wall.
How to Spot Rotten Frames Before It’s Too Late
A good test is to take a screwdriver and press gently into the wood. If it sinks in more than a millimeter or two, you’re dealing with rot.
Other clues:
Peeling or bubbling paint in the corners
Dark stains that don’t sand off
Drafts even when the window is shut
Musty smell near the frame
When more than half of a frame is gone, you’ll probably save time and money by replacing the whole unit. But if the damage is limited to a few inches here and there, repairing it is totally worth it.
Tools and Supplies for Repairing Rotten Wood Window Frames
I’ll be honest—nothing makes a repair more frustrating than fighting with the wrong tools. I learned that the hard way. The first time I tried fixing a rotten sill, I went in with a dull chisel, no mask, and a half-broken shop brush. Ten minutes later, I was covered in dust, cursing at the wood, and wondering if I should have just called a contractor. Now? I keep a proper kit ready, and the difference is night and day.
Here’s what I actually reach for:
Safety gear. Gloves, glasses, and a dust mask. I used to think masks were overkill until I inhaled a lungful of crumbly wood dust. Lesson learned.
A pry bar and a sharp chisel. These two have been my faithful companions. They don’t need to be fancy—just sharp enough to carve out rotten chunks cleanly.
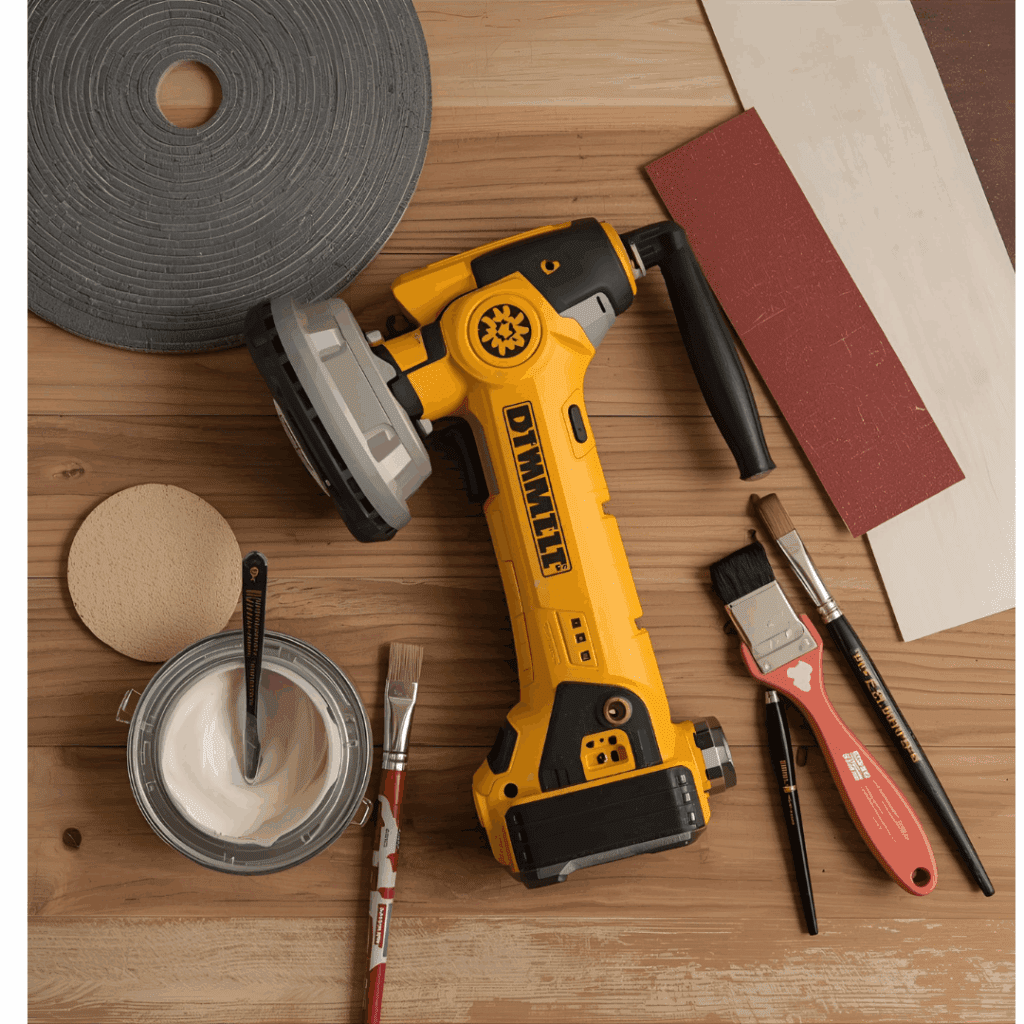
An oscillating tool. I finally splurged on the DEWALT Oscillating Tool. Worth every penny. It slices out bad wood without chewing up the good trim around it.
A cordless drill. Great for sinking screws when I splice in fresh wood, and handy for sanding attachments when I don’t feel like doing everything by hand.
Wood hardener. I stick with Minwax Wood Hardener. It’s like liquid armor for soft fibers—soaks in, stiffens up, and gives you a solid base to build on.
Epoxy filler. I swear by Bondo Wood Filler. Once it sets, it sands smooth and takes paint so well you’d never know there was a repair there.
Sandpaper in a few grits. I start with a rough 80 to knock things down, then work through 150 and finish with 220. (I used to cheap out and just use one grit. Big mistake.)
Primer and paint. KILZ Exterior Primer has saved me from having to redo jobs a year later. Once that’s on, any good exterior paint finish will complete the job.
Exterior caulk.DAP Dynaflex Ultra is my go-to. Flexible, easy to smooth, and it keeps the water out.
Paintbrushes and a shop vac. Because nothing ruins a repair faster than dust under your paint.
With this kit, I can patch a small soft spot or rebuild an entire corner. Once you’ve gone through the process a couple of times, it stops feeling like “fixing rot” and starts feeling like routine maintenance—just one more way to keep your house solid.
How to Repair Rotten Wood Window Frames: Step-by-Step DIY Guide
Step 1: Dig Out the Damage in Rotten Wood Window Frames
The first time I tried this, I thought I could just skim filler over soft spots. Rookie mistake—the rot kept spreading underneath. You need to cut out everything that feels spongy.
Use a chisel or oscillating tool to scrape away the bad wood.
Keep digging until your screwdriver only meets solid resistance.
Vacuum out the dust and chips so the cavity is clean.
It’s messy work, but getting every bit of soft wood out now saves you from redoing the repair later.
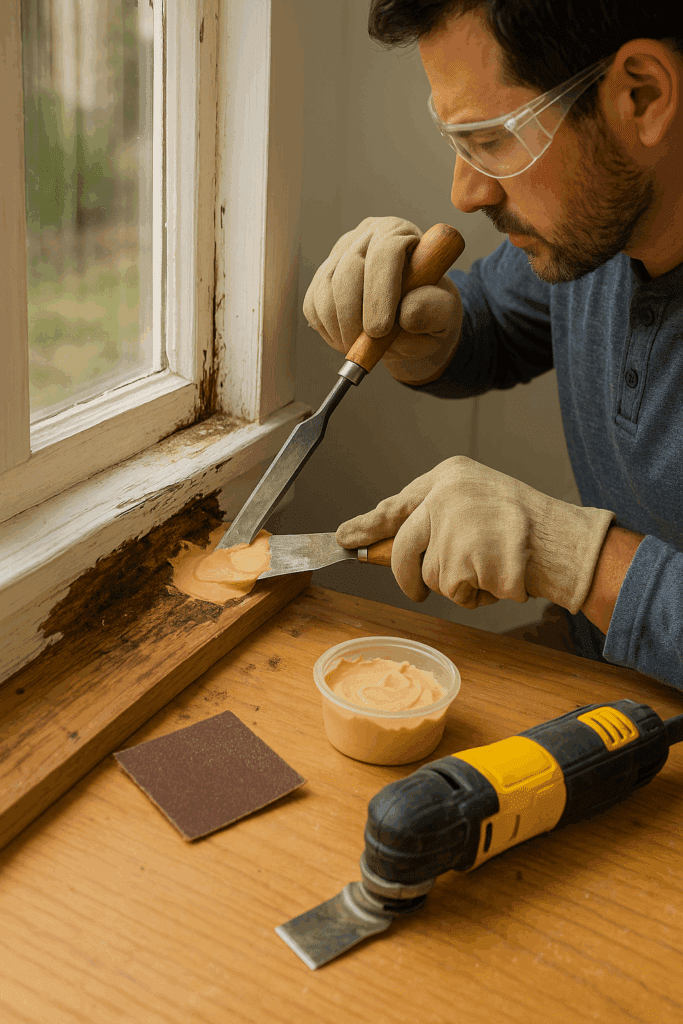
Step 2: Strengthen What’s Left
Once you’ve exposed the cavity, brush in a wood hardener. This stuff soaks into weakened fibers and makes them solid again.
I like to apply two coats, letting it dry for a few hours between.
If the frame feels crumbly after the first coat, add more.
You’ll actually hear the difference when you tap it—the wood goes from sounding hollow to feeling firm again.
Step 3: Fill the Gaps When Repairing Rotten Wood Window Frames
Here’s where the magic happens. Two-part epoxy filler acts like clay when fresh, but cures rock-hard.
The last line of defense is caulk. I run a bead along the edge where the frame meets the siding and glass. Smooth it with a damp finger, and you’ll stop 90% of future leaks.
It’s a small detail, but this final bead of caulk often buys you years before another repair is needed.
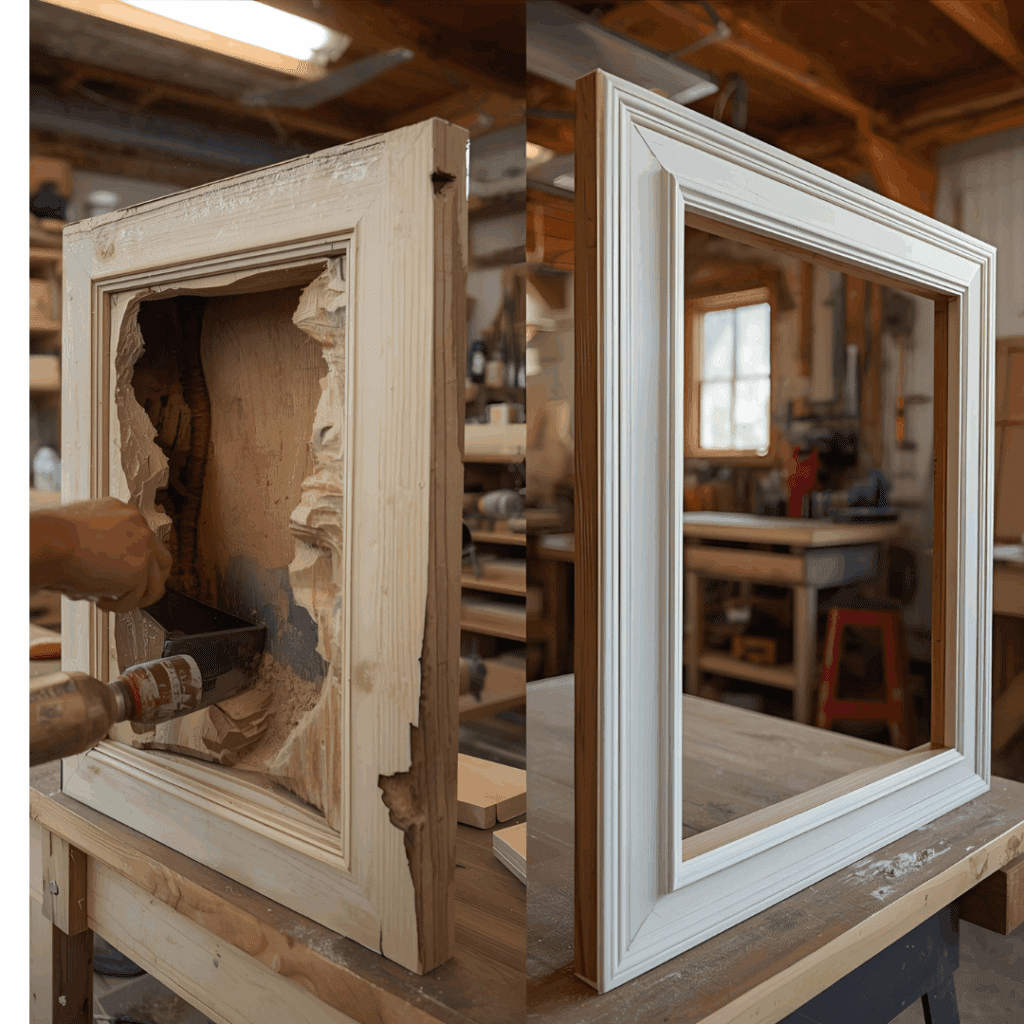
When Epoxy Isn’t Enough: Splicing in New Wood
Sometimes the rot is too large for filler. On one of my windows, the bottom sill corner was gone. In that case:
Cut the entire damaged section out square. This ensures you’re removing all traces of rot and creating a clean, solid surface to work with.
Use a matching piece of cedar or treated pine. Choosing a durable, rot-resistant wood helps prevent the problem from coming back.
Fit it snug and screw or glue it in place. A tight fit keeps moisture out and makes the repair blend seamlessly with the existing frame.
Sand, prime, and paint like normal. Once sealed and finished, the repair will be nearly invisible and just as strong as the original wood.
This method takes longer but is stronger for major repairs.
Safety Notes You Shouldn’t Skip
Always wear gloves and a dust mask—rotted wood can hide mold spores. A simple mask and pair of gloves can save you from days of coughing or itching later.
Tape your glass panes before chiseling near them. It only takes one slip to send a crack across the pane, and tape is cheap insurance against that.
If your home was built before 1978, test paint for lead before sanding. Lead dust is nothing to play around with, so a quick test kit can give you peace of mind.
Learning how to repair rotten wood window frames saved me thousands of dollars over the years. It’s a project that looks intimidating at first, but once you try it, the steps are straightforward: remove, harden, fill, sand, paint, and seal.
With the right products and a Saturday afternoon, you can give your old windows another decade of life. Just remember: don’t cut corners on sealing and maintenance. A little paint and caulk each year beats starting the repair cycle over again.
RV Paneling: Repair, Replacement, and Maintenance Guide by Admin September 14, 2025 Installing Owning a recreational vehicle brings freedom and adventure, but it also comes with upkeep. One of the biggest hidden problems RV owners encounter is RV…


")

")

