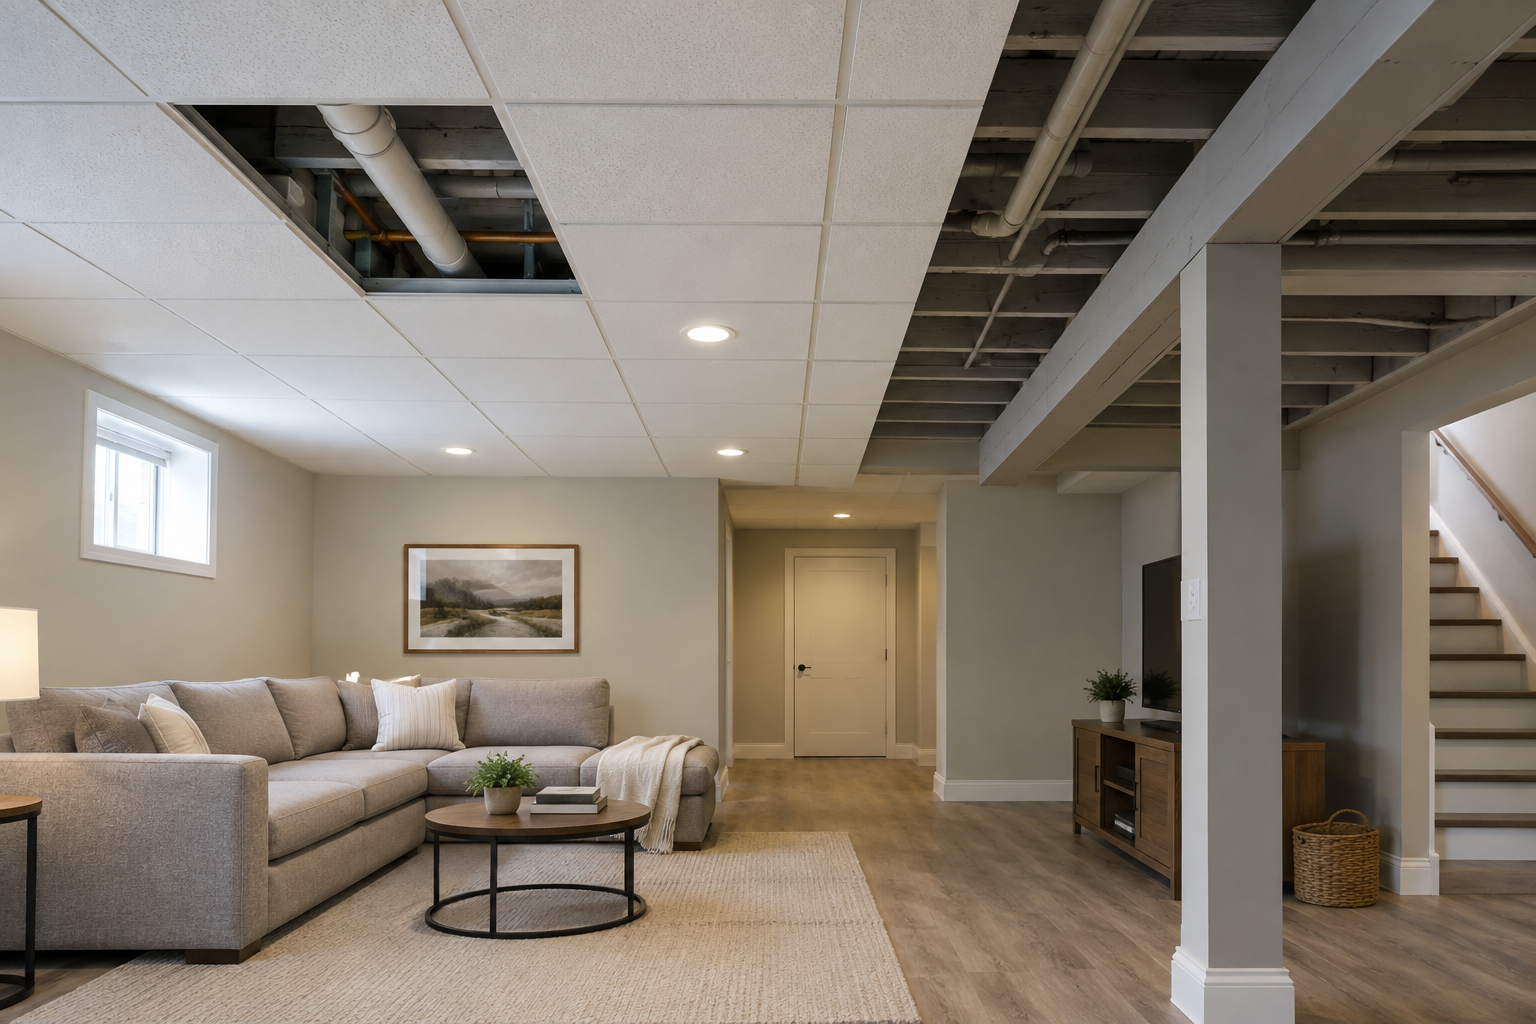
Finishing a basement usually stalls on the same question: what do you do about that mess of joists, ducts, wires, and pipes overhead? The ceiling is where most basement remodels either preserve headroom or quietly waste it, and it’s where a lot of budgets get spent on the wrong finish for a below-grade space.
This guide compares the realistic basement ceiling options by the things that actually matter down there: cost, how much height you lose, how easy it is to reach utilities later, and how each one holds up to basement humidity. The cost figures below are current, commonly reported ranges for materials and labor drawn from contractor-cost data; they move with region, ceiling size, mechanical complexity, and how much you do yourself, so treat them as planning numbers rather than quotes.
Measure your ceiling height before you choose anything
Height is the filter that removes options before cost ever enters the picture. Under IRC Section R305.1, habitable basement space (a bedroom, office, family room, or the hallway serving them) generally needs a finished ceiling height of at least 7 feet. Beams, girders, ducts, and similar obstructions are treated as specific, limited exceptions — the code allows them to project below the general minimum only at the spots where they actually occur, not across the whole room. The exact allowances differ by code edition, and local amendments and existing-basement rules can shift the numbers, so confirm the code your jurisdiction has actually adopted before you finalize a design.
Why this comes first: a lot of older housing stock sits in the 7-foot-even to 7-foot-8 range at the joists. Give up 4 to 6 inches to a suspended grid and a legal, comfortable room can become a cramped or non-compliant one. If your joists are low, flush-mounted finishes aren’t a preference — they’re the only options that keep the space usable.
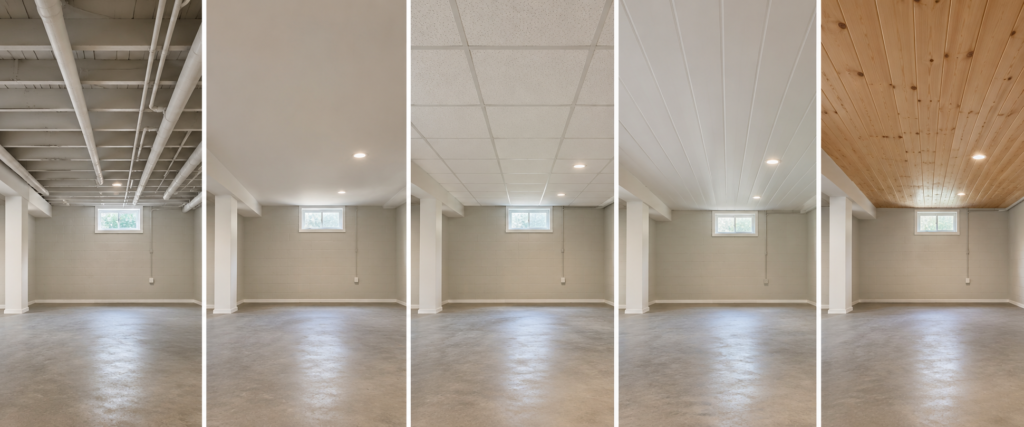
Basement ceiling options at a glance
Option
Typical cost, $/sq ft
Height lost
Utility access later
Moisture behavior
Exposed / painted
$1.50–$3.00
None
Full, always open
Little to fail but the paint
Drywall
$2.00–$6.00
~½″–1″ (more with furring)
Poor — and boxes must stay accessible
Paper-faced board fails if it gets wet
Suspended (drop)
$5.00–$13.00 (premium higher)
3″–6″
Excellent — lift a tile
Standard tiles sag/discolor in humidity
PVC / vinyl panels
$1.50–$3.50 (DIY materials)
Minimal, flush
Poor without planned access
Panel resists water; assembly still needs a dry basement
Wood plank / tongue-and-groove
$4.00–$10.00
Minimal, flush
Poor — fixed
Needs sealing; moves with humidity
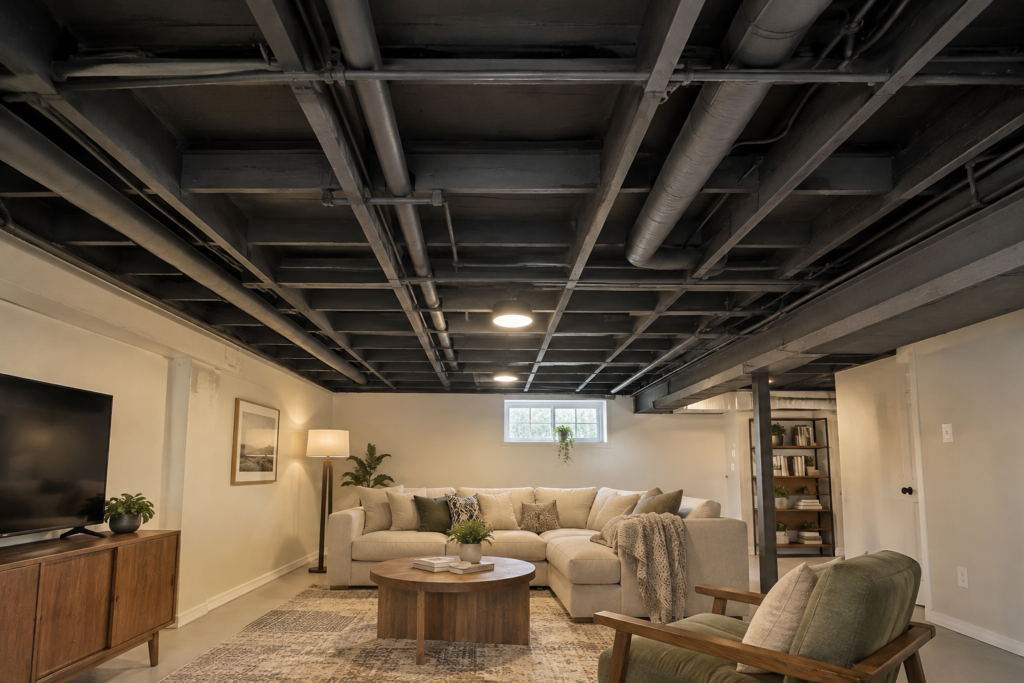
Exposed (painted) ceiling
Leaving the structure open and spraying everything — joists, ducts, wiring, pipes — a single flat color is the cheapest finished look in a basement, and the only one that gives you height instead of taking it. Cost is mostly paint and labor, commonly around $1.50 to $3.00 per square foot, and less than that if you do the spraying yourself.
Pros: No height loss, full permanent access to everything above, low material cost, and a modern or industrial look that reads intentional rather than unfinished when it’s done cleanly in one dark, uniform color.
Cons: It only looks good if the mechanical up there is genuinely tidy. Crossing ducts, sagging wire runs, and stubbed pipes all stay visible. If you’d need to reroute runs to make it presentable, that rerouting cost can erase the savings. It also does nothing for sound between floors.
Best for: Tight ceiling height, clean and well-organized mechanical, and homeowners who want an industrial aesthetic without giving up an inch. If you’re framing the space around this look, plan the runs before they’re buried — our basement framing guide covers sequencing the mechanical before you commit to a finish.
Drywall ceiling
Drywall attached to the joists (or to furring strips), then taped, mudded, and painted, gives the seamless finish that matches the rest of the house. It’s the finish appraisers and buyers tend to read as “fully finished,” and it’s the standard when the goal is for the basement to feel like real living space rather than a converted basement. Installed cost commonly runs about $2.00 to $6.00 per square foot; materials-only is cheaper, and the top of the range reflects furring, a proper level-of-finish taping job, and paint.
Pros: Barely touches your headroom — figure roughly half an inch to an inch below the joists. Seamless, high-resale appearance. Long service life when it stays dry. It’s also the better choice for blocking sound transmission between floors compared to an open ceiling.
Cons: Once it’s up, every future plumbing or electrical change means cutting, patching, taping, sanding, priming, and repainting — a real cost and a real mess each time you need to get above it. Just as important, you can’t simply bury what’s up there: IRC’s electrical provisions require junction and outlet boxes to stay accessible without removing part of the building finish, so any box that will sit above the ceiling has to be relocated or kept reachable before you close it in — not drywalled over and cut back to later. Hanging a ceiling is also the physically hardest drywall work, and finishing is a skill-intensive multi-step job, so it’s the least forgiving DIY option here.
The moisture caveat that matters: standard paper-faced drywall is organic food for mold if it ever gets damp. In a basement, use a moisture-resistant or paperless board, and understand that the board choice is damage control, not a moisture fix — the fix happens at the walls and floor. Our roundup of mold-resistant basement materials covers where paper-faced, fiberglass-faced, and cement board each belong.
Best for: Basements with clean, accessible mechanical, adequate height, newer plumbing and wiring you won’t need to revisit, and any project where a finished, resale-grade look is the priority.
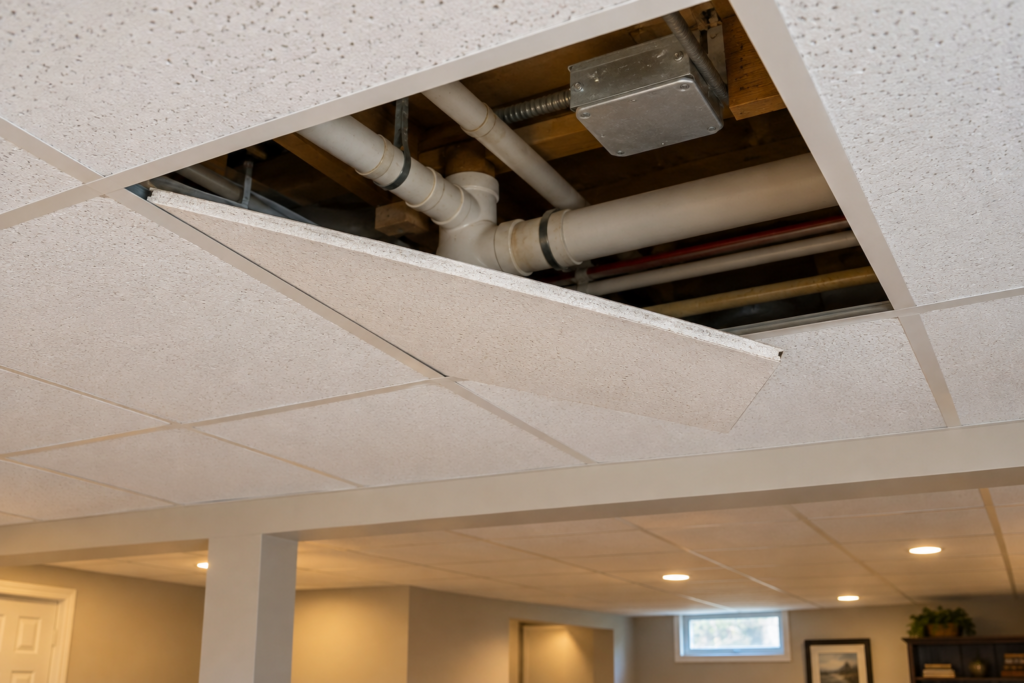
Suspended (drop) ceiling
A drop ceiling — also called a suspended or T-bar ceiling — hangs a metal grid from the joists on wires and drops removable tiles into it. It’s the classic basement answer, and for one reason above all: access. Installed cost commonly lands around $5 to $13 per square foot including grid, standard tiles, and basic light integration, and climbs well past that for premium tiles, add-ons, or insulation.
Pros: Hard to beat for utility access. Every valve, junction box, cleanout, and cable stays reachable — lift a tile, do the work, drop it back, no patching. That access also keeps electrical boxes above the grid compliant, since they’re never sealed behind a finish. A stained or damaged tile swaps out for a few dollars instead of a repaint. Acoustic tiles absorb far more sound than a hard ceiling, which matters for a theater, office, or music room. And the grid is genuinely DIY-friendly: a laser level, tin snips, and a drill get most people there without any taping or mudding.
Cons: The grid needs several inches of clearance below the lowest obstruction, which is exactly the headroom low basements can’t spare. Standard white tiles can read office-like and may register as a budget finish to resale buyers, though better tile styles narrow that gap. In a damp basement, ordinary mineral-fiber tiles can sag and discolor over time — plan on vinyl-faced or fiberglass tiles rated for humidity, and expect a shorter service life than drywall regardless.
Best for: Basements with height to spare and mechanical you’ll realistically need to reach again — which, in an older home, is most of them.
PVC and vinyl panel ceilings
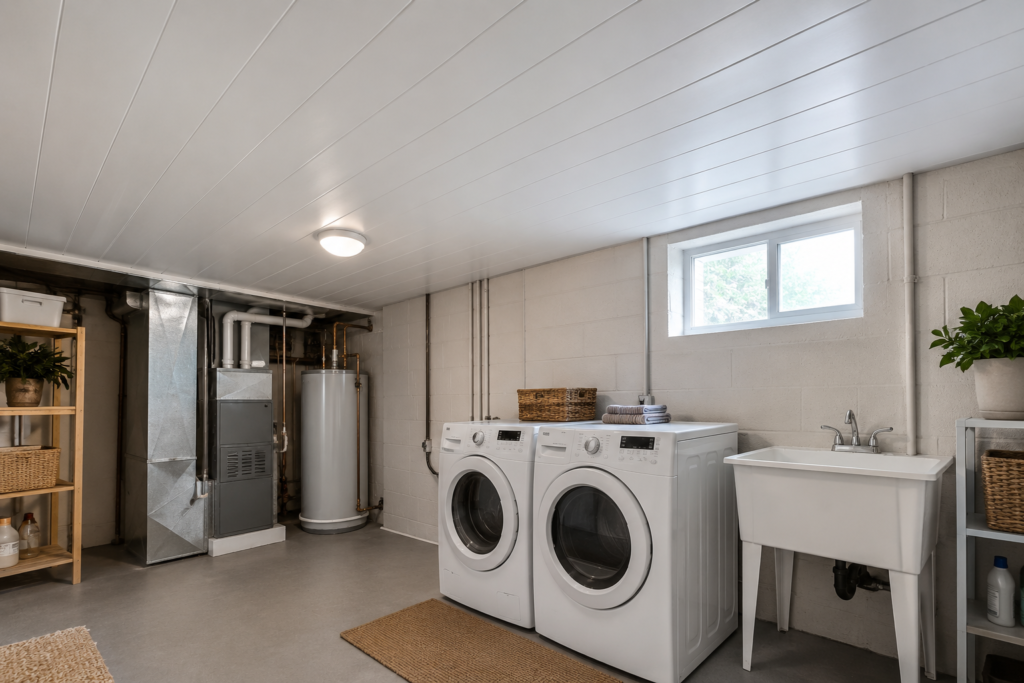
Interlocking PVC or vinyl panels (tongue-and-groove systems designed to install flush to the joists or to furring) are aimed at the one thing basements do that upstairs rooms don’t: hold moisture. DIY-oriented systems commonly run about $1.50 to $3.50 per square foot in materials, with professionally installed and premium lines higher.
Pros: The panels don’t absorb water, and the material itself doesn’t feed mold, sag, or rot — which makes them one of the more humidity-tolerant finishes and a strong long-term value in a damp basement. They mount flush, so headroom loss is minimal, and tongue-and-groove systems go up fast with basic tools and wipe clean, which suits utility spaces, laundry areas, and workshops. What they can’t do is make a wet basement dry: moisture can still collect above any fixed finish, so the panel’s water resistance is a durability advantage, not a substitute for controlling the moisture itself.
Cons: Like any fixed ceiling, access above is poor unless you plan it in — and the same rule applies here as with drywall, so keep electrical boxes reachable rather than sealed behind the panels. The look is more utilitarian than warm wood or seamless drywall, and buyer taste varies. Quality ranges widely, so cheap panels can look cheap.
Best for: Damp basements, laundry and utility rooms, and anyone who wants a wipeable, low-maintenance surface that tolerates humidity well.
Wood plank, tongue-and-groove, and beadboard ceilings
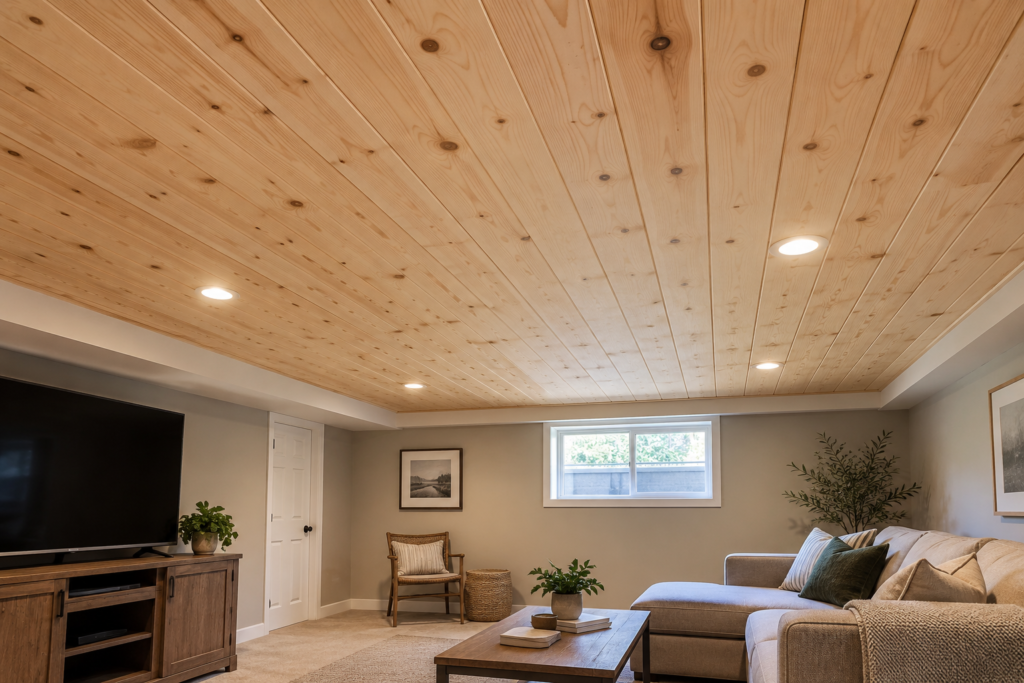
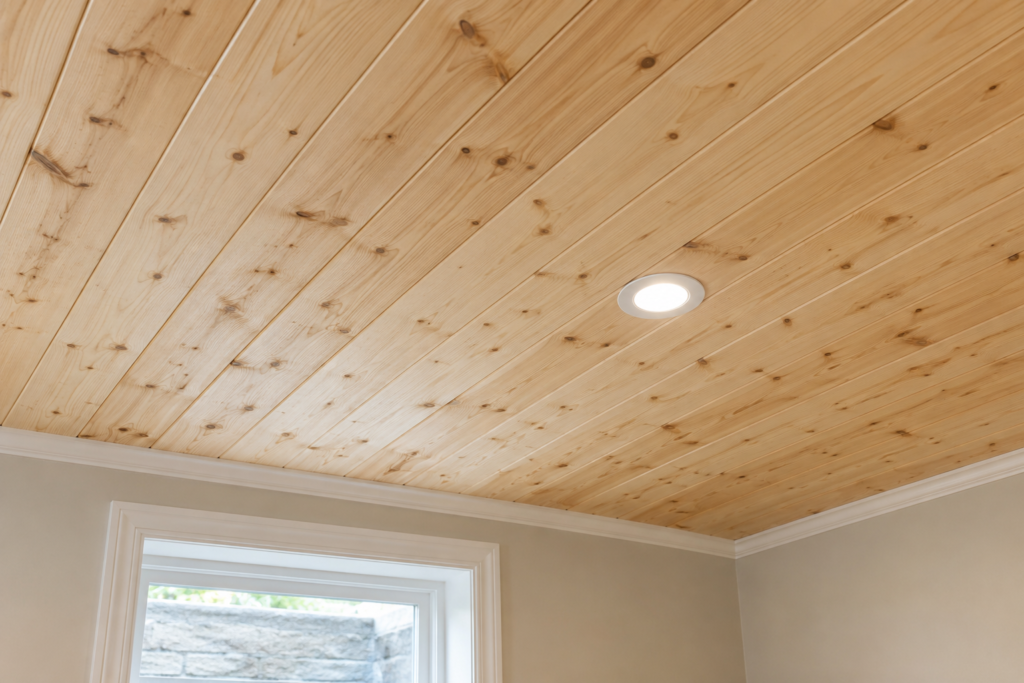
Real wood overhead — tongue-and-groove pine planks, beadboard, or plywood beadboard-style panels — is the warm, characterful end of the range. Installed cost commonly runs about $4 to $10 per square foot; plank materials alone are roughly $2 to $6, with premium hardwoods higher, plus stain, finish, and sealing.
Pros: Distinctive, high-end appearance with a cottage or modern-rustic feel that no tile or flat paint matches. Flush-mounted, so it protects headroom. Tongue-and-groove edges make the installation approachable for a patient DIYer working overhead.
Cons: Utility access is essentially gone once it’s up, so plan around keeping boxes and valves reachable before you install. Wood moves with humidity, so it needs sealing and can cup or gap in a basement that isn’t moisture-controlled. It sits at the higher-cost end of the practical options.
If you use plywood or plywood-faced panels here, specify an Exposure 1 bond classification — that’s a rating of the glue line, meaning the adhesive is waterproof and the panel tolerates construction moisture and in-service humidity. Keep that separate in your head from decay resistance: Exposure 1 describes the glue, not the wood’s ability to resist rot, and it is not a license for standing water or a leaking basement. In a chronically wet space, a wood ceiling will degrade no matter how good the glue line is — which is why the moisture work below matters. (CDX is the most common Exposure 1 panel at the lumberyard; the same bond classification is why it shows up in floor assemblies, as our basement subfloor guide explains.)
As an Amazon Associate, ThePlywood.com earns from qualifying purchases. For a plank ceiling you’ll want quality tongue-and-groove boards and a finish rated for interior use — pine tongue-and-groove planks and a penetrating interior wood sealer are the two line items to price first.
Best for: Feature ceilings, cottage and craftsman looks, and basements that are already dry and well-conditioned.
The factor that quietly kills basement ceilings: moisture
Here’s the mistake that costs people a second ceiling: treating the ceiling as the place to solve a moisture problem. It isn’t. A basement’s water and vapor load is managed at the grade, the foundation walls, and the floor slab — the ceiling only ever pays the price for failures below it.
Concrete moves moisture upward and inward continuously, even when the slab and walls feel bone dry, and warm humid air condensing on cold below-grade surfaces is what actually grows mold. That’s a floor-and-wall problem, and the right detailing depends on your specific assembly and climate: a Class I, II, or III vapor retarder that’s correct for one wall can trap moisture in another, which is why interior polyethylene taped tight against a below-grade wall is a known failure in many assemblies. This is a spot to follow current building-science and EPA moisture guidance for your construction and climate rather than a blanket rule. Our basement moisture and vapor guide and basement wall insulation guide cover what tends to work and what fails in year two.
How well any of these ceilings holds up comes down to the actual conditions in your basement, not the finish alone. A PVC ceiling can shrug off humidity and still sit over a moisture problem that’s quietly developing above it. Get the water and vapor control right for your space first, and the ceiling becomes a finish decision instead of a future teardown. If you’re choosing wall finishes at the same time, the drywall-alternative wall options follow the same moisture logic as the ceiling choices here.
How to choose, in one pass
Lowest ceiling / need every inch: exposed and painted, or drywall. Skip the drop grid.
Tightest budget, dry basement: exposed and painted if the mechanical is clean; drywall if you want the finished look.
You’ll need to reach pipes and wiring again: drop ceiling — the access pays for itself the first time, and it keeps electrical boxes compliant without extra planning.
Damp or humidity-prone space: PVC/vinyl panels, or a drop ceiling with vinyl-faced tiles.
Resale and “matches the house”: drywall.
Feature look, dry and conditioned space: wood plank or tongue-and-groove.
Frequently asked questions
What is the cheapest basement ceiling option?
Leaving the structure exposed and spraying it a uniform color is usually the least expensive finished look, commonly around $1.50 to $3.00 per square foot and lower as a DIY job, because there’s little material beyond paint. Drywall is the next step up when you want a smooth, matching ceiling.
What is the minimum ceiling height for a finished basement?
Under IRC Section R305.1, habitable basement space generally needs at least 7 feet of finished height, with beams, girders, and ducts treated as specific exceptions allowed to project lower only where they occur. Code editions differ on the exact obstruction allowance, and local amendments and existing-basement rules vary, so confirm the code your jurisdiction has adopted before designing around a drop ceiling.
Do I need a drop ceiling to access plumbing and wiring?
A drop ceiling gives you tool-free access to everything above it, which is its main advantage. A fixed ceiling doesn’t — and electrical junction and outlet boxes legally have to stay accessible without removing the finish, so they can’t simply be drywalled or paneled over and cut back to later. With any fixed ceiling, plan box locations and any needed access before you close it in, and keep plumbing valves and cleanouts reachable the same way.
Which basement ceiling holds up best to moisture?
PVC and vinyl panels resist water and don’t feed mold, so they tolerate humidity better than most finishes. If you prefer a drop ceiling, choose vinyl-faced or fiberglass tiles rated for humidity, and avoid paper-faced drywall unless it’s a moisture-resistant board. No ceiling makes a damp basement dry, though — the real moisture control happens at the walls and floor, matched to your specific assembly.
Can I use plywood as a basement ceiling?
Yes, as beadboard-style panels or a plank finish, but specify an Exposure 1 bond classification so the glue line tolerates construction moisture and service humidity, and seal the wood. That bond rating is about the adhesive, not rot resistance, so it doesn’t make plywood suitable for a leaking or chronically wet basement — control the moisture first.
Can You Use Plywood for a Deck? Pros, Cons & Costs by Admin June 2, 2026 DIY Choosing the right material for a deck determines how long the structure will last, how much maintenance it will require, and how safe it will…