Buying a home is one of the biggest financial goals of many couples. There’s something special about owning your own home and fixing it up the way you want, reflecting your personality. While there is always work that we do to our homes because it is necessary, that’s not the work we enjoy doing. What we enjoy is fixing up our homes to be the way we want them.
For those of us who are woodworkers, fixing up a home can include a lot. After all, one of the things that makes a home stand out is the woodwork in the home. Architectural trim, hardwood floors, six-panel doors, fancy closet inserts and a host of other projects all make a home look like more than it is, while increasing the value of the home. Even if we never get back everything that we put into our homes, we still manage to get back a good portion of it; and besides, we have the value of having enjoyed all the work we did on our homes and how that made them look.
Often, the only difference between a high-dollar house and an average house is the woodwork. Take a look at any of the old, historic mansions around and you’ll see some of the most beautiful woodwork ever done. While ours today may not match up with that level, you still find fancier woodwork in upscale homes, than you do in your run of the mill tract homes.
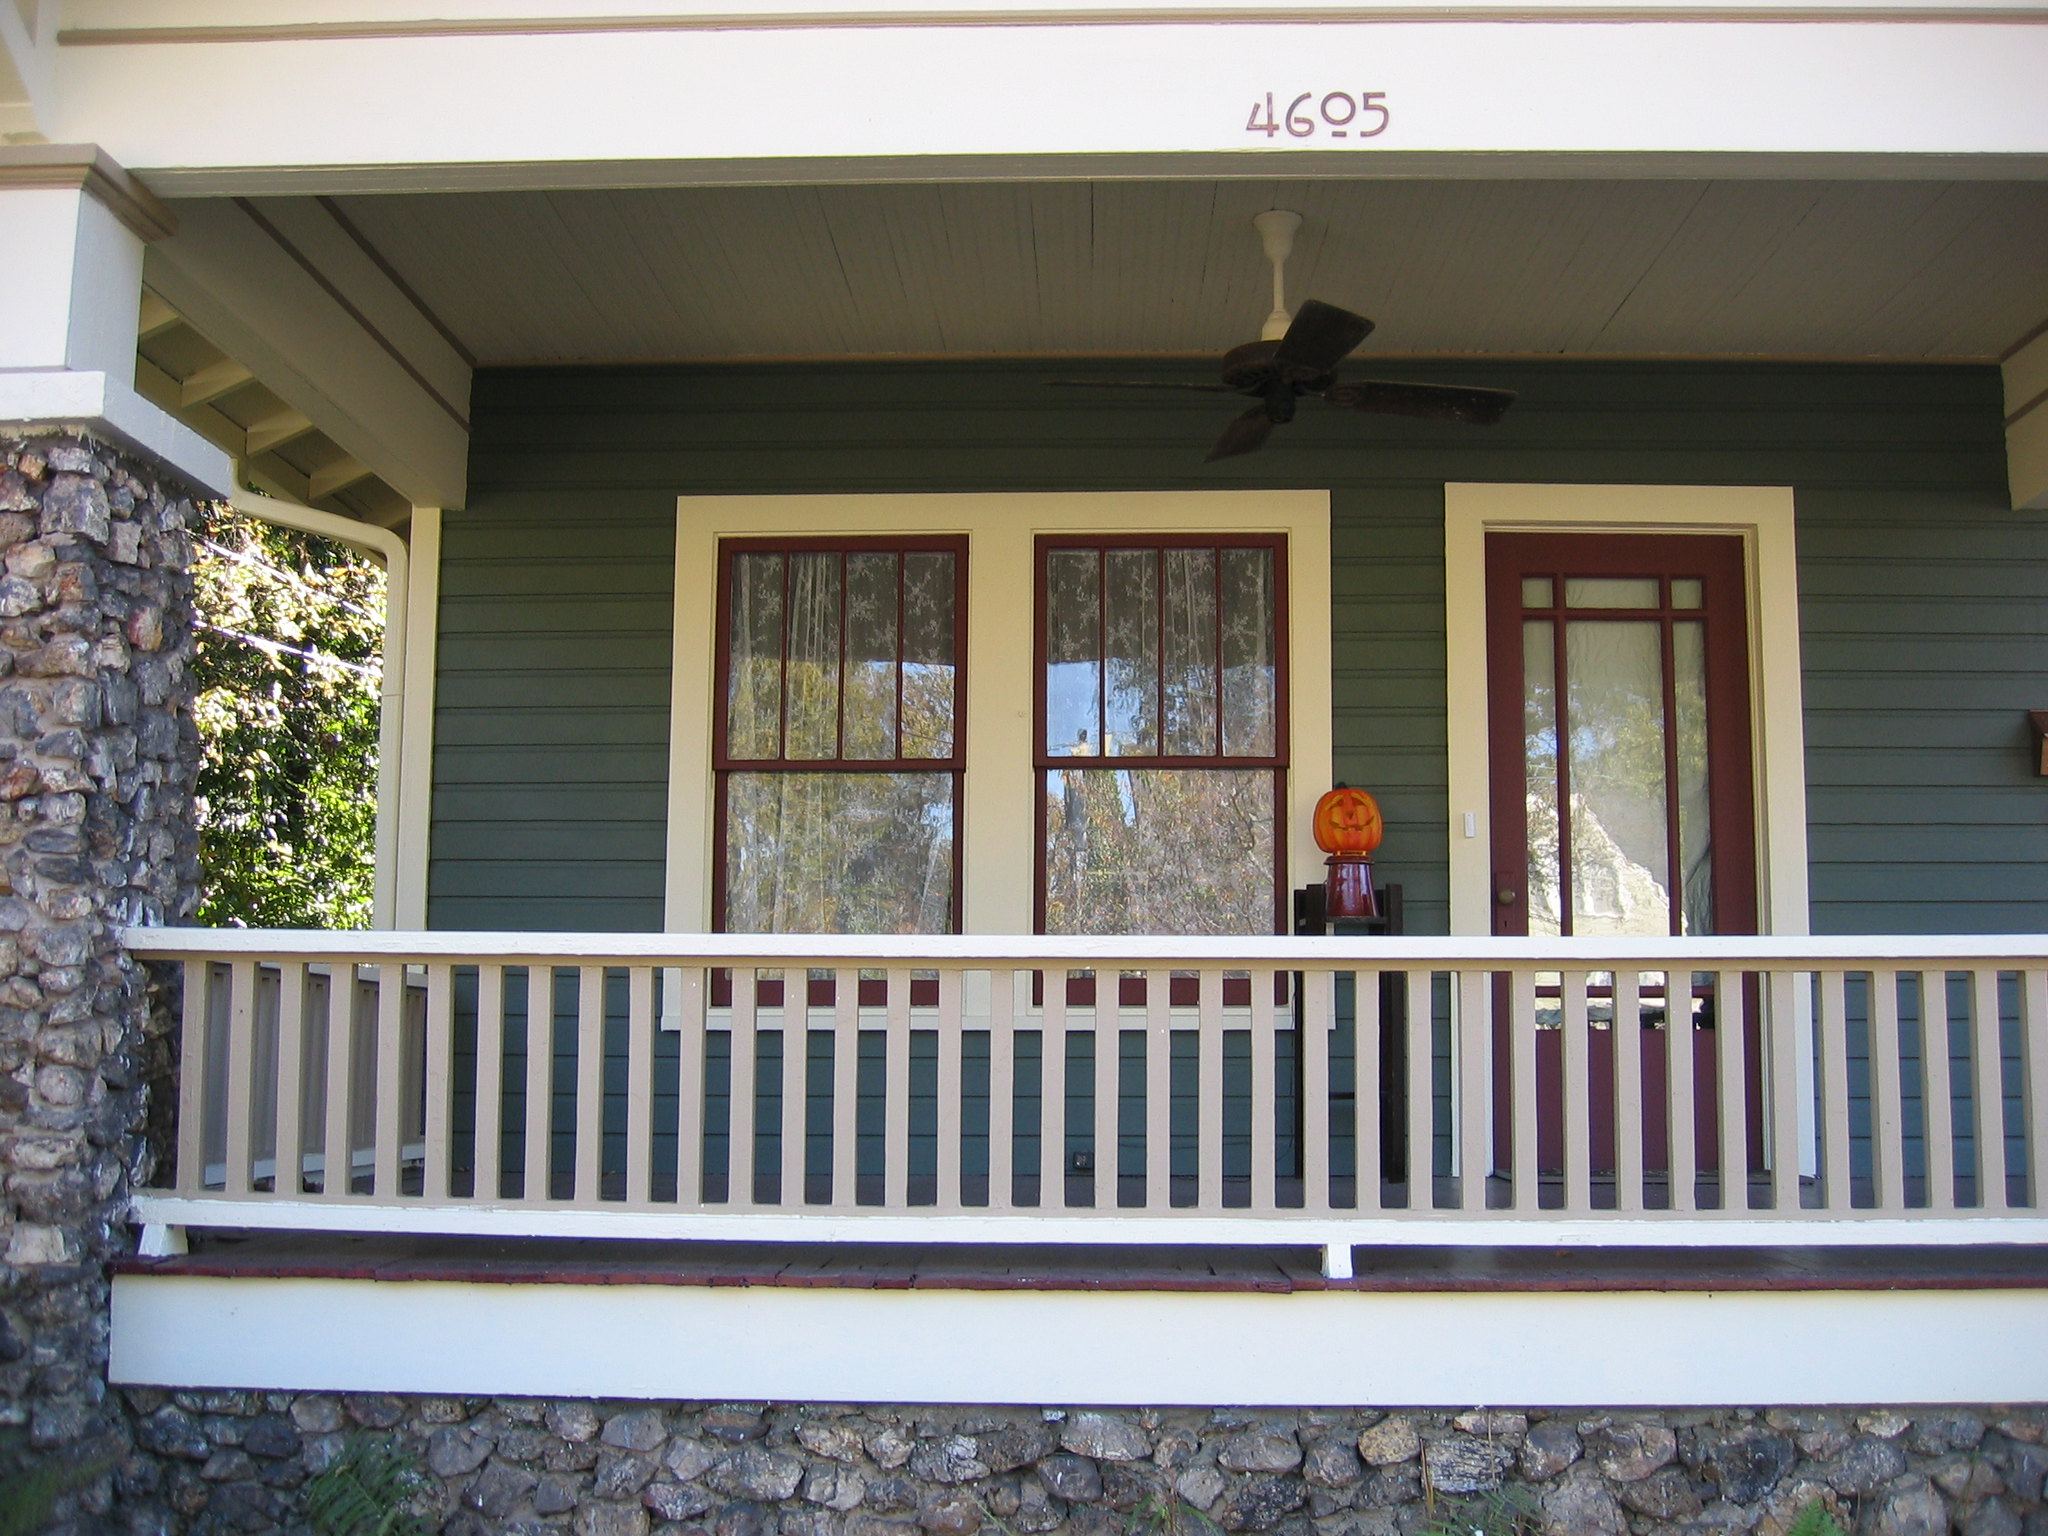
One of the many places where woodwork makes a difference is on the ceilings of porches. Technically, there’s really no reason why we need any sort of ceiling on a porch, just like a home doesn’t have to have soffits. Even so, most homes do have soffits and there is usually a ceiling installed over the porch. That ceiling is probably just thin plywood, but it is there nonetheless.
But is a plywood ceiling enough over the roof? That all depends on the look the homeowner wants to achieve. Anyone who spends much time sitting on a rocker on their porch will quickly become tired of that bare plywood ceiling. Painting it isn’t enough either. They’ve done that for years in the south, often painting the porch ceiling blue. Some say that’s to help keep bugs at bay, while others will claim that it’s a mechanism for keeping something much more nefarious away… evil spirits.
The best looking porches will actually have wood ceilings installed, just like the best looking rooms in a home will usually have hardwood floors. Even if it ends up being painted, installing a proper ceiling over the plywood will make the porch look much more attractive, just like putting hardwood flooring over a plywood subfloor makes it look more attractive. It’s just that doing a wood porch roof is one of those things that is often overlooked on a home, while installing flooring isn’t.
Possible Materials for Porch Ceiling
As we all know, plywood can be used as a ceiling over porches, just like it can be used to make soffits. However, while we do want plywood as an underlayment on our ceilings, so that we have something to nail the decorative ceiling to, we don’t want it to be there as the not-so-decorative, decorative ceiling. We want to cover it with something else. The question is, what?
Beadboard – One of the more common ceilings used over porches is beadboard. This attractive real wood paneling is making a comeback, especially in remodeling older homes. Beadboard is attractive and easy to install, as it comes in 4’x 8’ sheets. However, most beadboard is MDF, so some people may choose not to go with it.
Beaded Plywood – Similar to beadboard, this is actual ¼” thick hardwood plywood, with the beading cut into it. As hardwood plywood, it is available in a variety of finishes, with the face veneer being the hardwood of your choice. That makes it an ideal choice where a varnished wood ceiling is desired. The panels are generally 2’x 8’ which are easier to work with than 4’ wide panels.
Beaded Tongue & Groove Planking – As an alternative to MDF beadboard, it’s possible to buy beaded tongue-and-groove paneling. This is usually pine, although it is available in other types of wood as well. Considerably more expensive, this provides a more original look, as each 3 5/8” wide board has two beads, providing the appearance of narrower boards. The tongue and groove hides any gaps that come from inconsistencies in your porch’s roof much better than working with beadboard panels. It can also be stained, unlike beadboard which comes pre-primed.
Shiplap – Although it is not common, shiplap siding can be used for porch ceilings. The one problem is the weight, as shiplap tends to come only in ¾” thick boards. Shiplap differs from clapboard or tongue and groove paneling in that it has a lap joint. That means that the edges of the boards are cut in such a way as to allow the edge of one board to overlap the edge of the previous board.
Hardwood Flooring – Another uncommon option that some people choose is to use hardwood flooring for their porch ceiling. While this seems unusual, the two applications are actually similar, so it makes a lot of sense. Today’s hardwood flooring is usually a laminate and is made with a molded edge that snaps together, making installation rather simple.
Boards – One of the simpler ceilings that can be put up is to just install a bunch of 1”x 4” boards, using them as paneling. This can provide a “knotty pine” appearance, once finished. Beveling the edges of the boards is a good idea, as it provides for more visual texture, making the ceiling more attractive.
Board & Batten – Perhaps the cheapest way of turning that plywood into something special is to install strips of wood, perhaps 1”x 4”s or 1”x 3”s to make a board and batten ceiling.
As it’s easy to see from this list, there are many different ways of installing a wood ceiling over a home’s porch. A lot depends on the style desired and how much one wants to spend on the project. Typically, the cost of materials to create that wood ceiling works out to somewhere between $5 and $20 per square foot.
A Cheaper Alternative
If budget is a major concern, then there is an alternative to spending that much money on the porch ceiling. That’s to create fake siding to install. This can easily be done from 1/4” thick Luan siding, which is commonly used as underlayment for linoleum floors. The luan is nicely finished on the face side and has an attractive grain which can be stained and varnished, producing an attractive finish that looks like it costs much more than it actually does.
To make that Luan plywood into an attractive ceiling, start by cutting it into strips on the table saw. Ideally, those strips should match up with the size of normal boards, so make them 3-1/2” wide to look like 1”x 4”s or 5-1/2” wide to look like 1”x 6”s. Once the boards are cut, set your table saw blade to 45 degrees and run them back through two more times, beveling the edges. When beveling those edges, it’s a good idea to have the strips of luan plywood face down, so that they don’t try and edge their way under the fence on the second cut.
It is easier to stain and varnish the strips of wood before installing them, just as it would be with any other type of wood. painting and working overhead is never easy, so anything that can be done to make it easier is worth the effort.
These strips can now be installed onto the ceiling of the porch, over the existing plywood, just like any beaded plywood or planking. The only difference is that the brads can’t be hidden in the joints of the tongue & groove or the grooves created by cutting the beading. Rather, they’ll have to go through the face of the board and be filled with putty.
Before installing any wood ceiling over a porch, it’s a good idea to check the condition of the existing plywood. There’s a chance that it has become water damaged, without that damage yet being visible. If that’s the case, then it may be necessary to repair the roof above the porch and the existing plywood ceiling before proceeding.
Always buy a little extra material when planning a project like this. It’s not unusual to have some unusual cuts that waste material and there’s always the possibility of making a mistake and having to cut a piece over. So when measuring how much material is needed, add 10 percent.
As mentioned above, it’s a good idea to finish the material, whether that be staining, varnishing or painting, before installing it. That’s a common practice on new construction, because of the labor it will save. Saving overhead labor, which is hard on the arms, is even more important.
When cutting and installing the material, leave a ¼” gap all the way around for expansion. That way, if the wood soaks up some moisture somewhere down the pike, it won’t cause the material to bubble and pull away from the walls. That ¼” will be covered up with trim later, so don’t worry about the gap.
Wood ceilings need to be installed so that the boards go across the direction of any joists or trusses that are located above the plywood ceiling. This will allow nailing through the existing ceiling and into those supports. While it is possible to nail into the plywood alone, we must remember that we’re talking about thin plywood, which is not able to support a lot of weight.
Cut the first board or panel to length. If tongue-in-groove boards are being used, cut 1/2” off of the wall side of that board to eliminate the tongue or groove that is there. Then attach the strip to the ceiling, maintaining it ¼” from the wall. Use a pneumatic finish nailer or brad nailer with 2” finish nails to secure the board, nailing it every 12 to 16 inches. To avoid splitting, keep the nails at least ½” from the edges of the board.
Continue adding additional boards or panels to the ceiling, until the opposite edge is reached. If the porch is longer than the length of the boards being used, then the ends of the boards should be staggered, just as they are with hardwood flooring. If hardwood flooring or tongue-and-groove planking is being used to cover the ceiling, then it is best to toe nail the pieces in the joint, so as to hide the nails and eliminate the need to putty all those hole.
As with the first board, the last board will probably need to be cut, so that the edge of that board can be held ¼” from the opposite wall.
It may be necessary to trim your wood around lights, vents or other openings that already exist in the plywood ceiling. If that’s the case, it is best to do that trimming while the pieces are being cut and fitted. Waiting and then trying to cut them to fit later is a guaranteed way of missing the existing hole and offsetting the new one to one side or another, no matter how carefully measurements are taken. It just seems to work out that way.
Some sort of trim will need to be added all the way around, covering up the ¼” gap and finish off the ceiling. This can be just about any wood trim, from simple lath to crown molding. For a more elegant look, a small crown molding is best. By small, I’m referring to something that doesn’t have a space behind it, say 1-3/4” molding. Save the fancier crown moldings for use indoors.
To finish off the ceiling, putty in any nail holes that are visible and apply a final coat of whatever finish is being used.