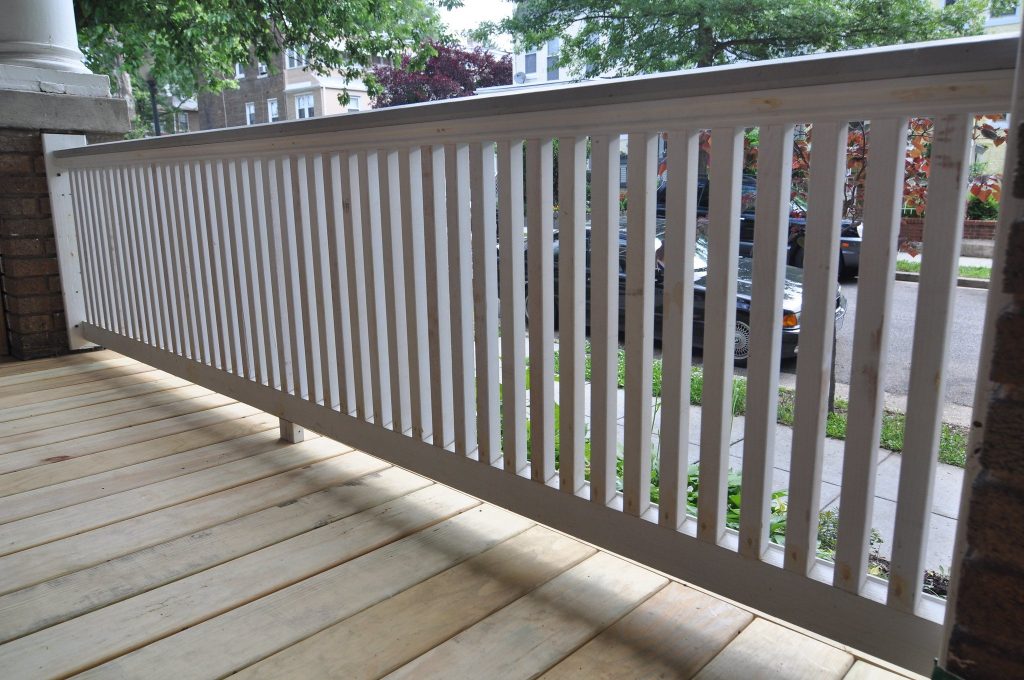
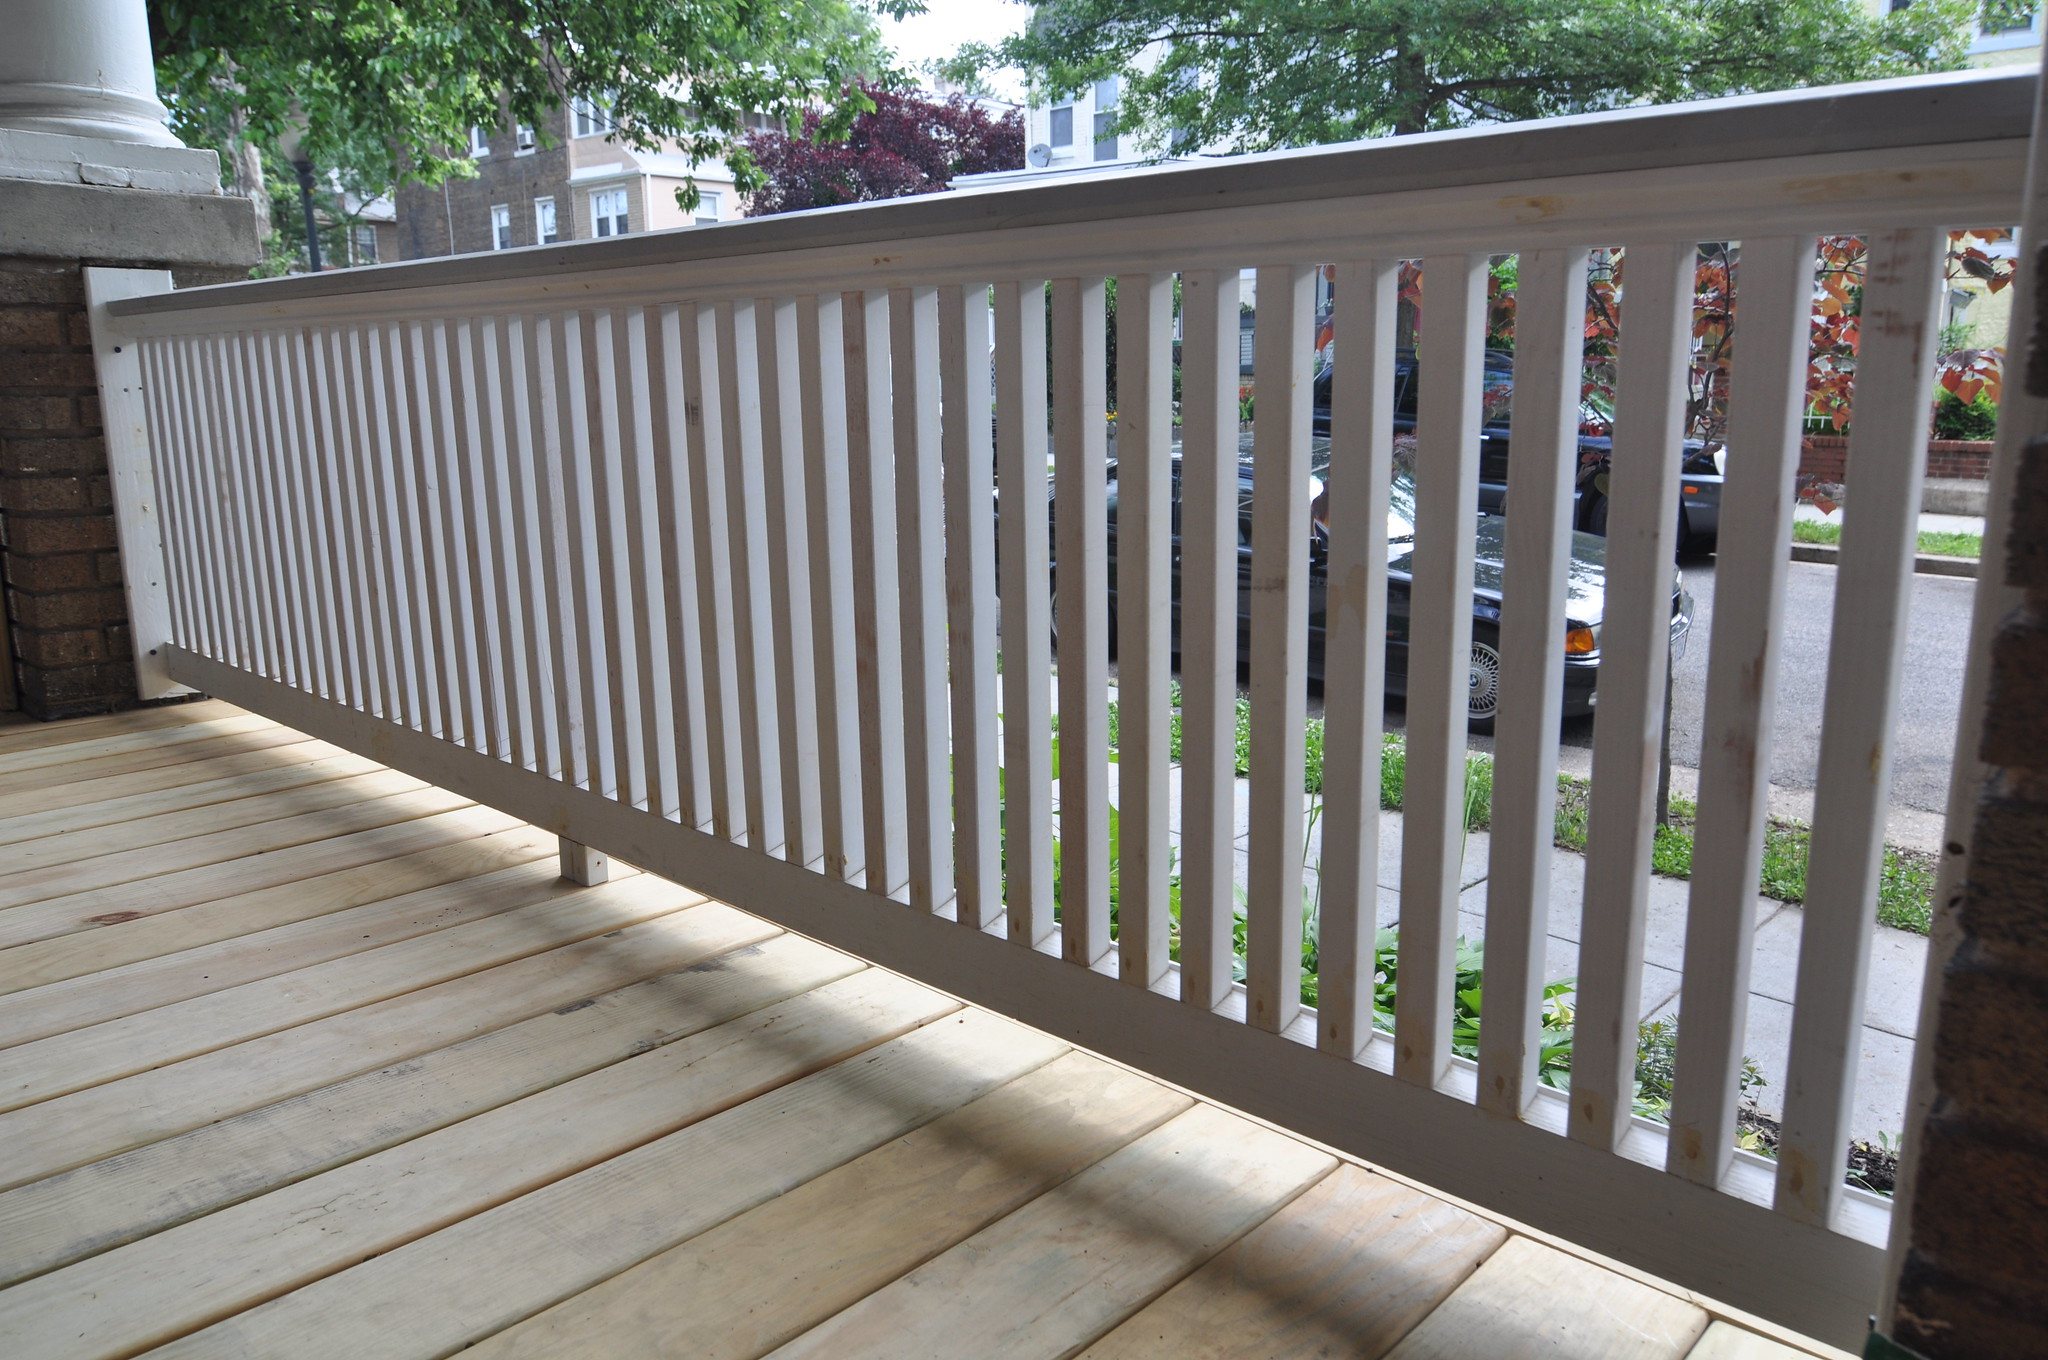
Any porch or deck over 30” off the ground requires some sort of railing, according to the Universal Building Code. If there are small children in the home, it might be a good idea to install such a railing, even if the porch isn’t that high off the ground. Children are accident prone and need protect.
There are two basic material choices and an infinite variety of designs for these railings. As for materials, they can be made of wood or metal. Since this is a woodworking website, we’ll be discussing making a wood railing. Metal railings are generally made by a welding shop and merely need to be installed. But even with limiting ourselves to wood railings, specifically wood spindled railings, there are still many styles to choose from and many ways of installing them. Many manufacturers have developed their own systems, in an attempt to make the process easier for the do-it-yourselfer.
Before going any further, let’s clarify something. The terms spindles and balusters are used pretty much interchangeably, with the term spindles being the more popular, as it is easier to remember. But in reality, there is a difference between the two. Balusters are designed for attachment to a handrail, with the bottom end attached directly to the floor. Spindles, on the other hand, have some sort of a bottom rail as well. This one difference greatly changes how they are installed.
Spindles or balusters must be installed so that the space between them is less than 4”. This is to prevent small children from putting their heads between them and getting stuck. Having experienced this when I was about four years old, I would highly recommend installing the spindles closer together, keeping children safe. There are calculators available online for determining the spacing between the spindles, based upon the size of spindles and the length of the railing.
It’s important to pick a railing style that goes well with the exterior of the home, whether that is a turned style of spindle or a more modern, plain spindle. Pressure treated wood spindles are available, if the railing is not going to be painted. But if it is, then machine after treated wood is better, as it can be painted right away. Normal pressure treated woods need to age for at least six months, allowing the wood to totally dry before painting.
First, the Corner Posts
The most challenging part of this process is installing and securing the corner posts. Installing these correctly is critical, both to ensure that the railing is plumb and strong. Improperly installed corner posts are weak and could allow the railing to break away, if someone were to fall against the railing.
No posts are needed where the railing will connect to the home, but a rosette or plate may be needed to ensure secure attachment.
If the porch is made of wood, like a deck, then the corner posts can be attached directly to the understructure of the porch. Depending upon the design, they can go on the outside of the existing decking, attaching to the sides of the floor joist headers with lag bolts. This is the easiest way of attaching the posts. Even so, use a level to ensure that the posts are exactly plum and that they end up the right height. Having an assistant may be useful for this part.
Things become a little more complicated in the case of a concrete porch, as it’s considerably harder to put screws or bolts into the concrete. If the railing is being installed in a new porch being built, the posts can actually be set into the concrete. But if not, it will be necessary to use some sort of anchor to attach them to the surface of the concrete. Fortunately, there are a number of different types of post anchors on the market.
The type of anchor needed is one that is designed for bolting to the concrete floor of the porch. There are a number of different post bases, which have spikes on the bottom of them. These are intended for pounding into the ground, as an anchor for building a deck. They aren’t the kind needed for this project.
The anchors which are bolted to the surface of the concrete are designed to use with either tap set screw or sleeve anchors that go into the concrete. Holes will need to be drilled into the concrete to hold the post. Regardless of the type used, the base will need to be firmly attached to the concrete floor of the porch, before the post is set.
There are two basic ways that the post can be attached to the anchor, depending on the design of the anchor. One is more like a square cup, with the post set down into the anchor and then screw run through the anchor into the post. These come in plastic and cast metal versions, with the cast metal ones being obviously stronger and less prone to breaking.
The other type of concrete anchor is shaped more like a plate, with a rod or pipe that sticks up in the middle. In the case of these anchors, a hole must be bored into the center of the bottom of the post to slip over the rod or pipe. While a little harder to work with, these have the advantage of being invisible, looking like the post is anchored directly into the concrete, rather than being held in place by a mount or anchor of some sort.

Building the Railing
With the corner posts in place, it’s time to measure the distance between them, top and bottom and cut the handrail and bottom rail to fit. Each should be measured and cut individually, as there’s a good chance of minor differences in distance between the posts, even if the intent was to make them equal. Once cut, the ends should be sealed, as that’s where moisture is most likely to seep in. This applies to pressure-treated lumber as well, since the chemicals from the pressure treating may not go all the way to the center of the wood.
Different manufacturers of spindles and rails have different systems of assembly, but they are all fairly similar. Both the top and bottom rails will consist of two pieces, the railing itself and a thin strip of wood to facilitate the attachment. This may or may not have cutouts for the spindles to set into. If it has cutouts, it’s main purpose is to help space the spindles out evenly. But if it does not have them, it’s more useful, as it can be used for attaching the spindles to the rails.
Spacing of the spindles should be even. I’d recommend cutting a block of scrap wood off, to be used as a spacer between the spindles, when attaching them. Using that will help ensure even spacing. It doesn’t matter if the top rail or bottom rail is installed first. Starting from one end of the insert and using the spacer block to measure the distance, nail or screw through the attachment strip into the end of the spindle. A pneumatic finish nailer is extremely useful for this, followed up by screws.
With the strip attached, press the railing onto the strip and nail through the strip into the railing with a pneumatic brad nailer. Repeat the installation of the attachment strip and then the railing to the other end of the spindles, completing the railing section.
There are several different ways of attaching the railing to the posts, including some rather creative hardware that has been designed specifically for that purpose. But the easiest way is to use a bracket for the bottom rail and finish nails for the top rail. These brackets look essentially like a wide angle bracket. The big advantage of these is that they can be attached to the posts, then used to support the weight of the railing while it is being attached. The brackets have hole in the sides, allowing them to be attached to the edges of the top and bottom railing.
The other, more common way of attaching the railings is to either nail or screw them to the posts. This is done by essentially toe nailing them to the posts, especially from the underside of the top railing. Two galvanized finish nails or wood screws, angled at opposite angles from below the railing and into the corner post is sufficient to hold the railing in place, if they are well seated. Considering that the screws are going into a 4”x 4” post, length is not an issue, so use 3” or longer screws to ensure that they are well anchored into the posts.
If pressure-treated wood spindles, rails and posts were used for making the railing, and it is to be painted, it should be allowed to cure for six months before painting. bare wood spindles and rails that are not pressure-treated should be primed and painted immediately to protect them from moisture. Likewise, machine after treated wood should be painted right away to protect it.


