If you’ve ever torn into an old floor or wall expecting a quick fix, only to find sagging joists, cracked studs, or worse, you’re not alone. I’ve been there plenty of times. Sistering joists isn’t just a patch job; it’s become one of my go-to methods when a total replacement isn’t necessary. I’ve worked in homes from the 1920s to new builds, where framing shortcuts left floors uneven and unstable. Sistering joists gives me a reliable fix that keeps the structure strong without a full demo.
This isn’t some copy-paste guide. What you’re getting here is the result of me crawling through tight crawlspaces, pulling up old subfloors, and working late nights on uneven framing. I’ve tried dimensional lumber, plywood, heavy screws, bolts, adhesives—you name it. After trial, error, and lots of fine-tuning, I’ve figured out what holds up to the test of time and what looks good for a few weeks.
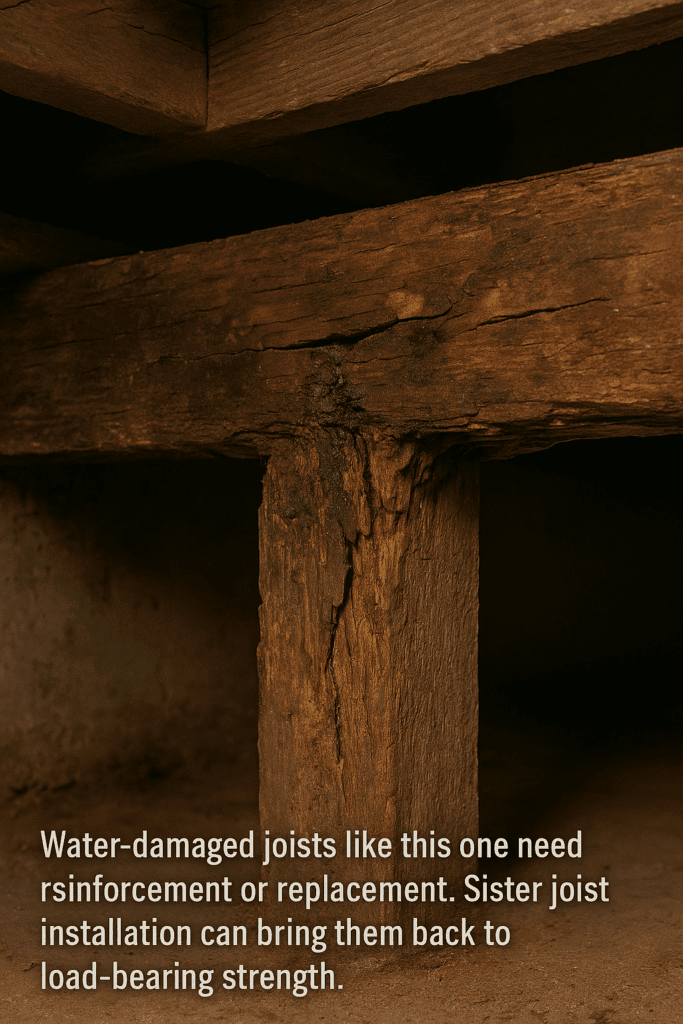
Almost every damaged joist I’ve worked on had the same enemies: water and time. I’ve pulled up bathroom floors to find joists that crumbled in my hand from old toilet leaks. I once found a stretch of joists under a tub where every board was black with mold and had deep termite grooves running through them.
In a few older homes, I found twisted joists that weren’t even sized properly for their span. One had 2x6s running 14 feet unsupported—that’s just asking for bounce and sag. I’ve even encountered joists installed upside-down (yes, really) and others notched halfway through at their weakest point.
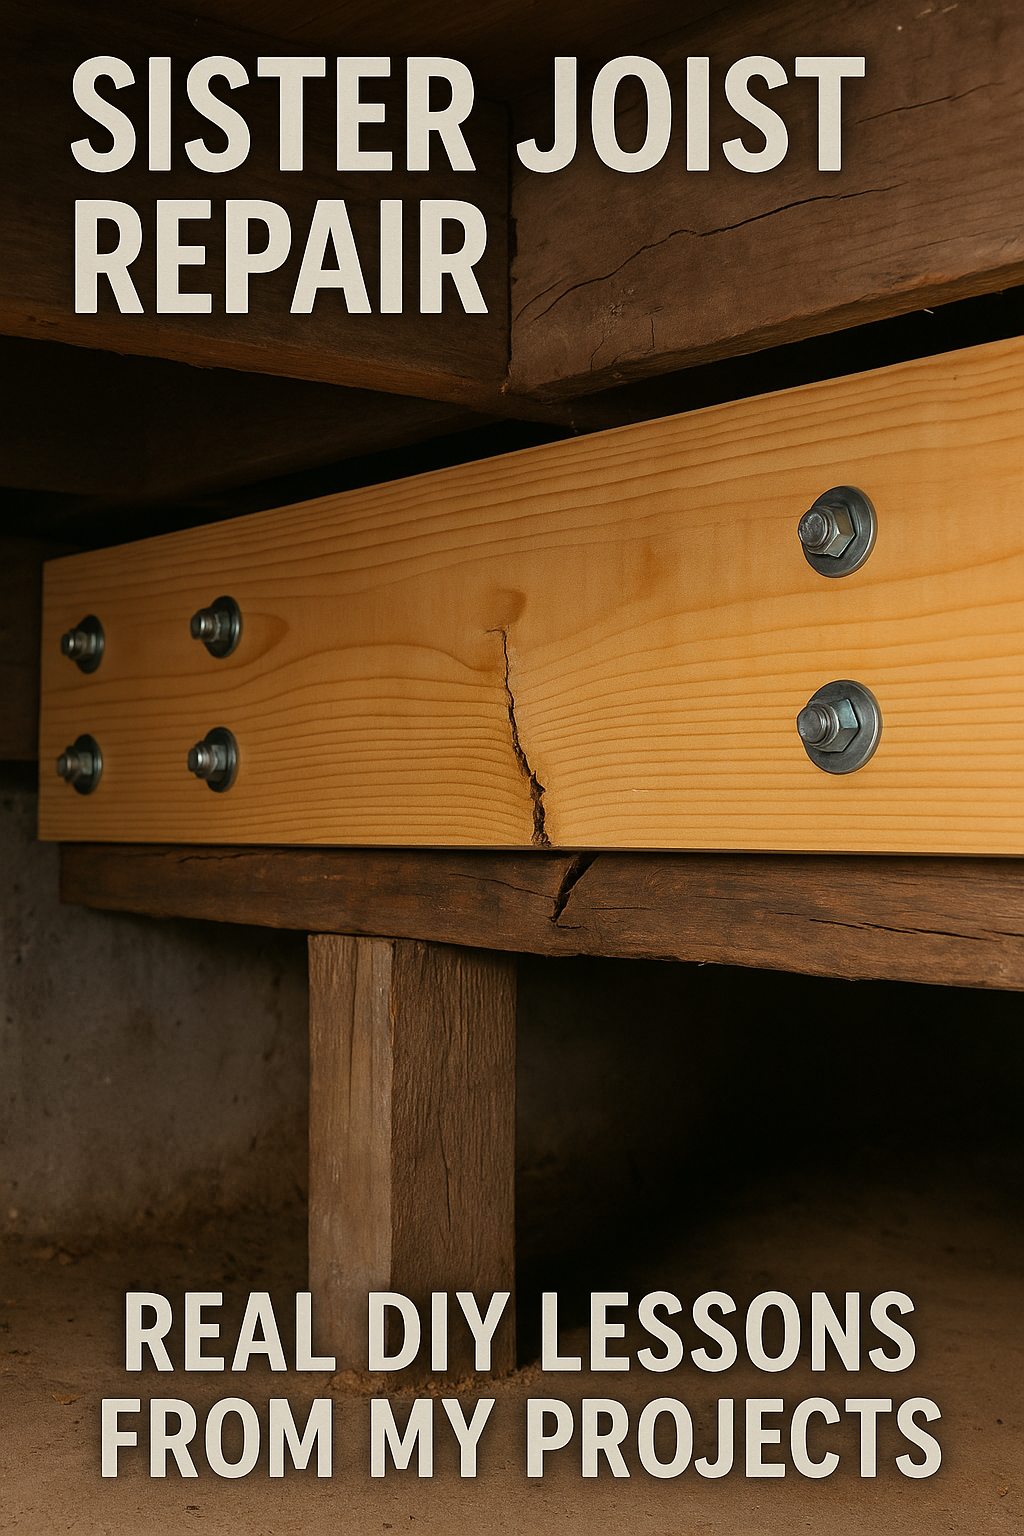
🧱 What Is a Sister Joist and Why I Use It So Often
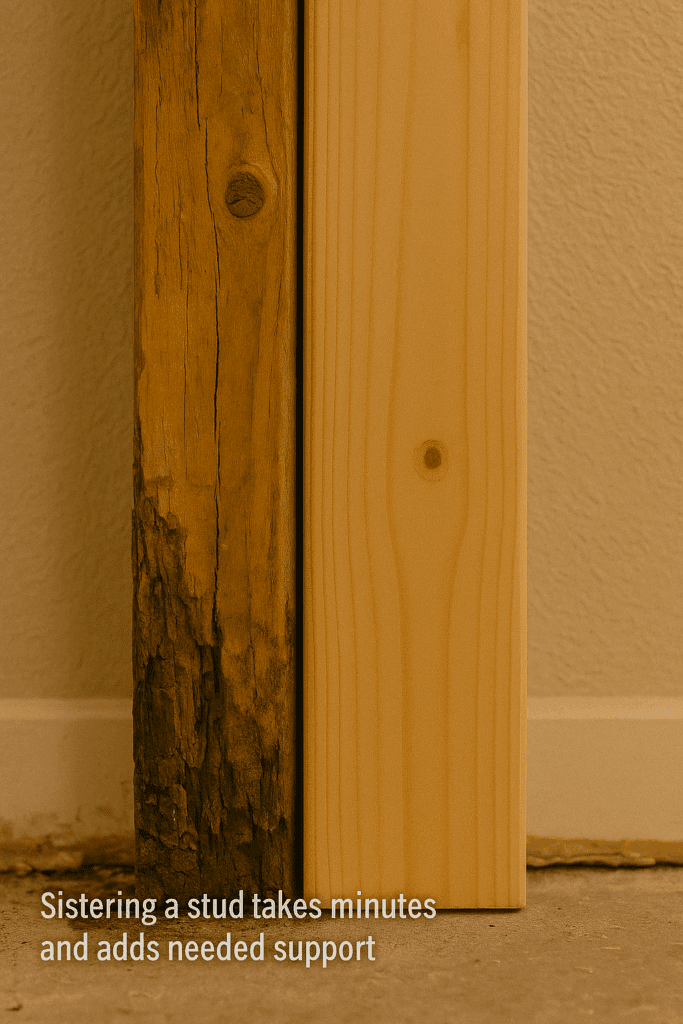
Sistering a joist is just a fancy way of saying “doubling up.” You fasten a new board next to the old one to take on the load. I’ve used this technique on everything from floor joists under sagging bathrooms to wall studs behind cracked drywall. It’s efficient, cost-effective, and best of all—it works.
There was a time I tried shimming and patching instead. That led to more floor bounce, creaking, and a redo six months later. Sistering a joist, when done properly, gives peace of mind. It turns a sketchy floor into something solid enough to walk across without second-guessing every step.
It’s like giving your framing a second chance without tearing everything down—and without gutting your budget.
🛠️ When I Choose a Sister Joist Over a Full Replacement
Here’s how I decide. If the original joist still has some structural integrity, I go for it. If it’s soft, punky, or missing chunks? Not worth it. That’s a full replacement. No amount of glue or bolts can salvage wood that turns to dust when you touch it.
I use a sister joist repair when:
There’s a visible crack, but it’s not rotted through
The floor is spongy or sagging slightly
I’m reinforcing for tile, stone, or heavy furniture
I’ve sistered entire rooms during remodels just for peace of mind. When I’m already in there, it makes sense to strengthen the system, especially before finishing floors or installing cabinetry that demands precision and stability.
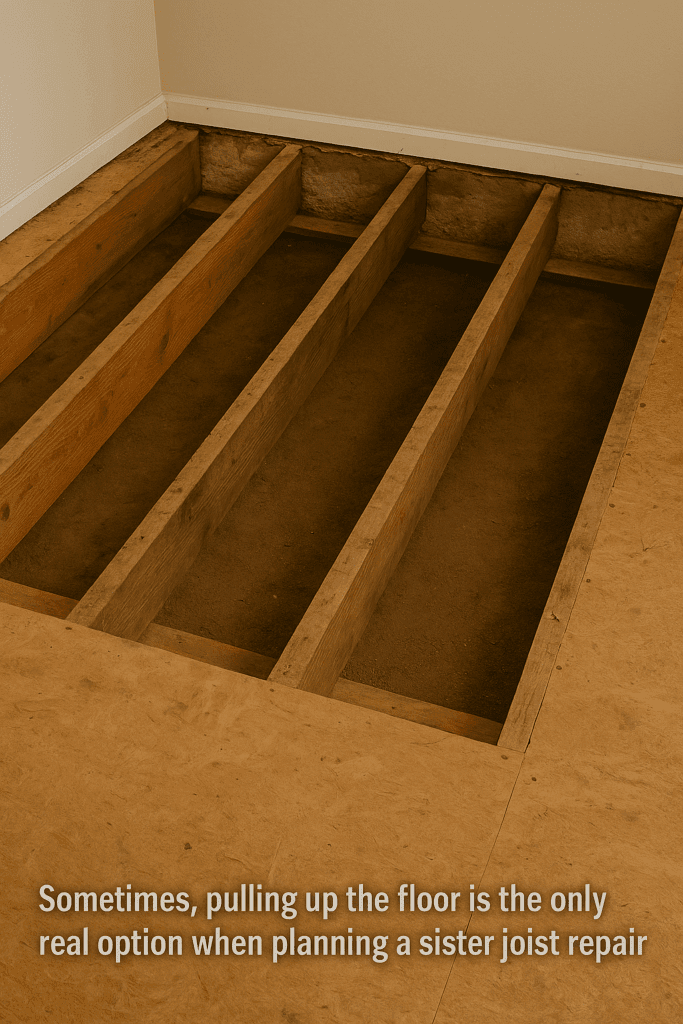
🧗 Accessing Joists for Sistering: The Hidden Challenge
Getting to the joists is often harder than the fix. In houses with full basements, it’s a breeze. But I’ve had jobs where I had to cut access hatches or dig under a post-and-beam crawlspace just to reach the problem. One project had less than 18 inches of clearance—I spent two days belly-crawling with tools strapped to my arms.
Expect awkward body angles, dirt in your face, and plenty of back-and-forth between measuring, cutting, and re-checking your level in cramped conditions.
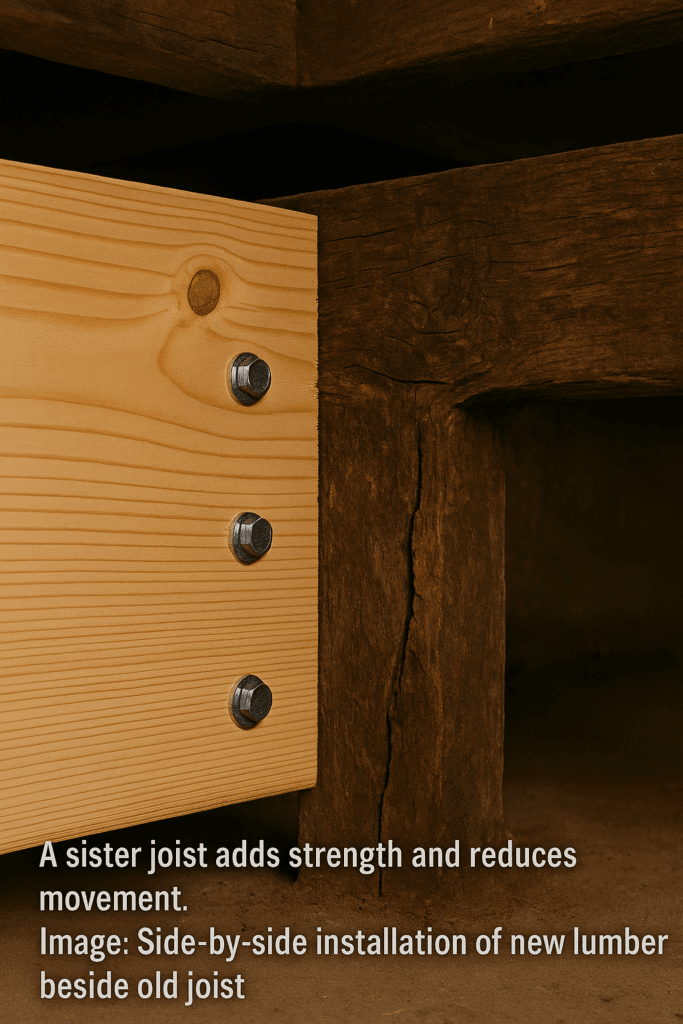
📏 How I Install a Sister Joist (My Go-To Process)
This is the part that makes or breaks the repair. After dozens of sister joist installations, here’s the method I now follow religiously:
Match the existing joist in size and species as closely as possible (usually a 2×8 or 2×10).
Cut the sister joist to span at least 3 feet beyond the damaged area—or even full length if space allows.
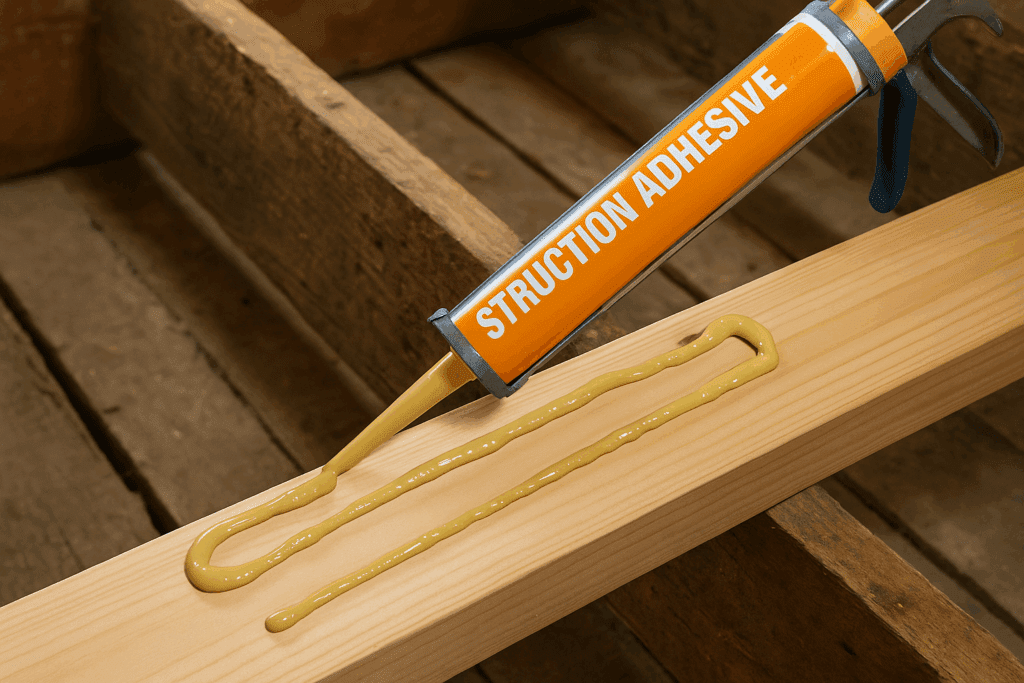
Apply Loctite PL Premium adhesive along the mating surface.
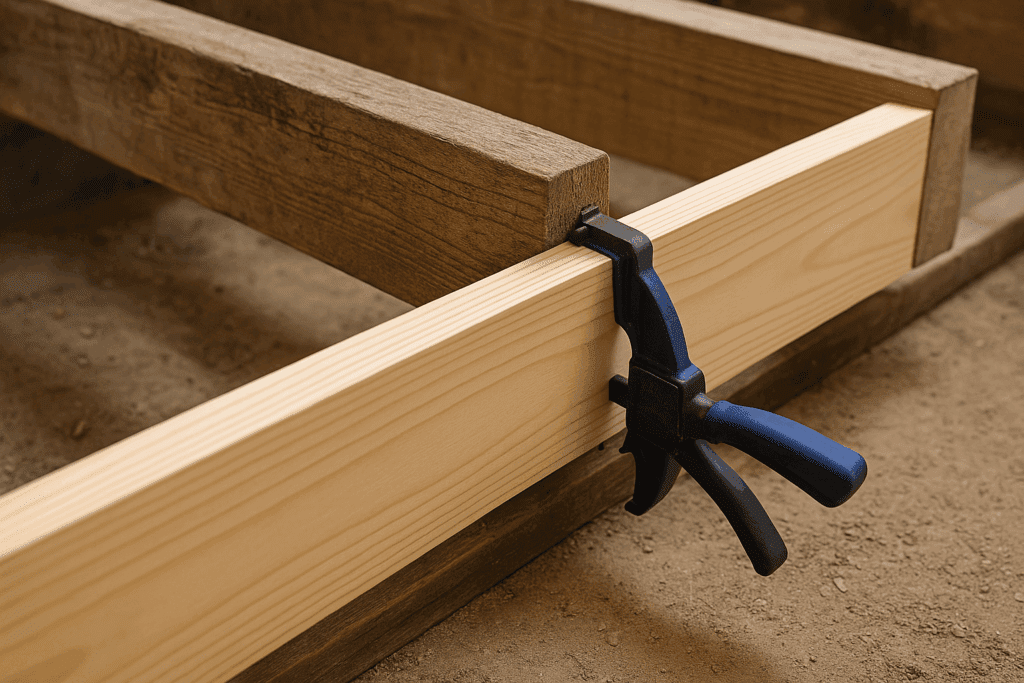
Clamp the new board tightly against the original to eliminate any gaps.
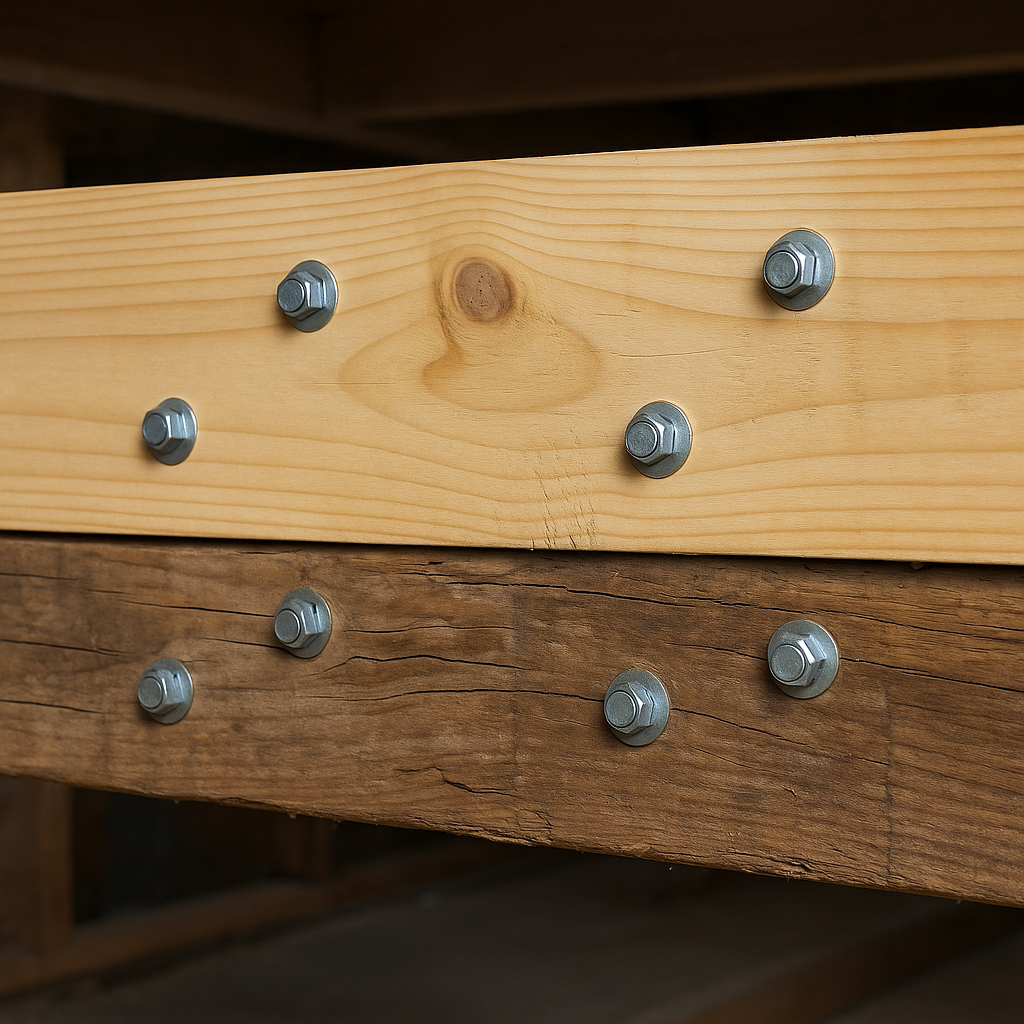
Drill and bolt using 3/8″ carriage bolts in a zig-zag pattern every 8–10 inches.
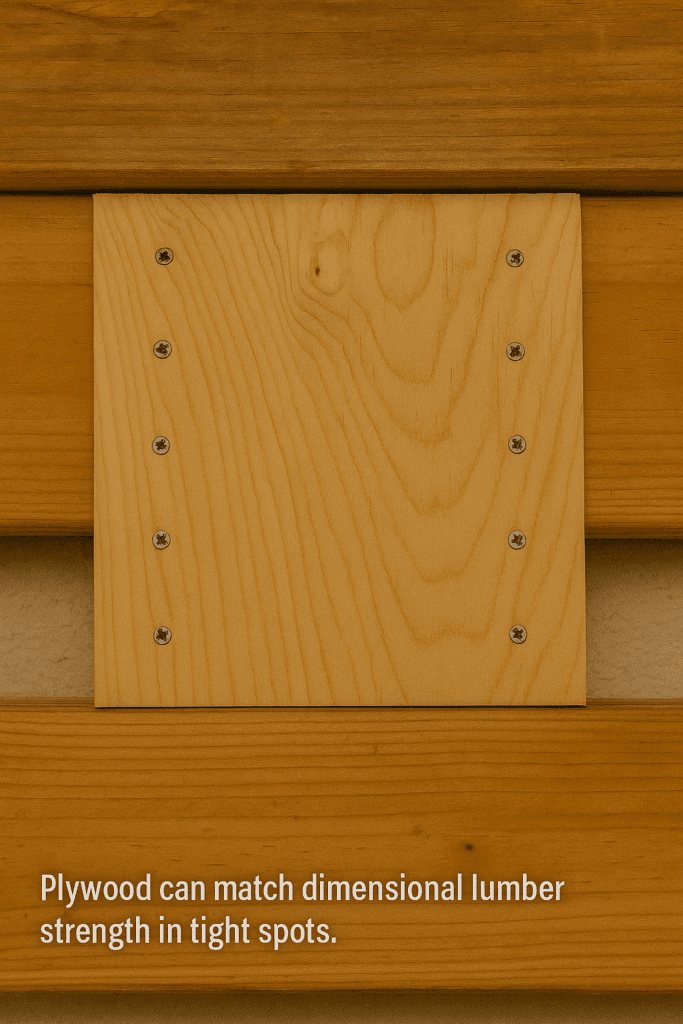
🧪 Why I Sometimes Choose Plywood for Sister Joists
In tight spaces, full lumber won’t fit. In one tight crawlspace, I used two 1/2″ sheets of CDX plywood—one on each side of the damaged joist. With strong adhesive and staggered GRK screws, it held like a champ.
If I can’t get dimensional lumber in, or if I’m dealing with slight bowing and not rot, plywood is a solid backup. It’s strong, especially when doubled up and glued correctly.
🏠 Sistering Wall Studs (The Quick Fix I Rely On)
Wall studs are easier for sisters than joists. For cracked studs, I run a new stud beside the old one, glue it, and screw them together. If the original is rotted, I remove it entirely and install a full-height replacement. Sometimes I’ll use plywood strips when materials are tight, but nothing beats a fresh 2×4 with solid contact from top to bottom plate.
📐 Level Everything or Regret It Later
If you attach a sister joist to a sagging original, you’ll just lock in the dip. I’ve made that mistake, and it caused tile cracks six months later. Now I check every joist with a laser level or long straight edge. If needed, I jack the joist up gently with a bottle jack and support it with temporary blocking until the adhesive sets.
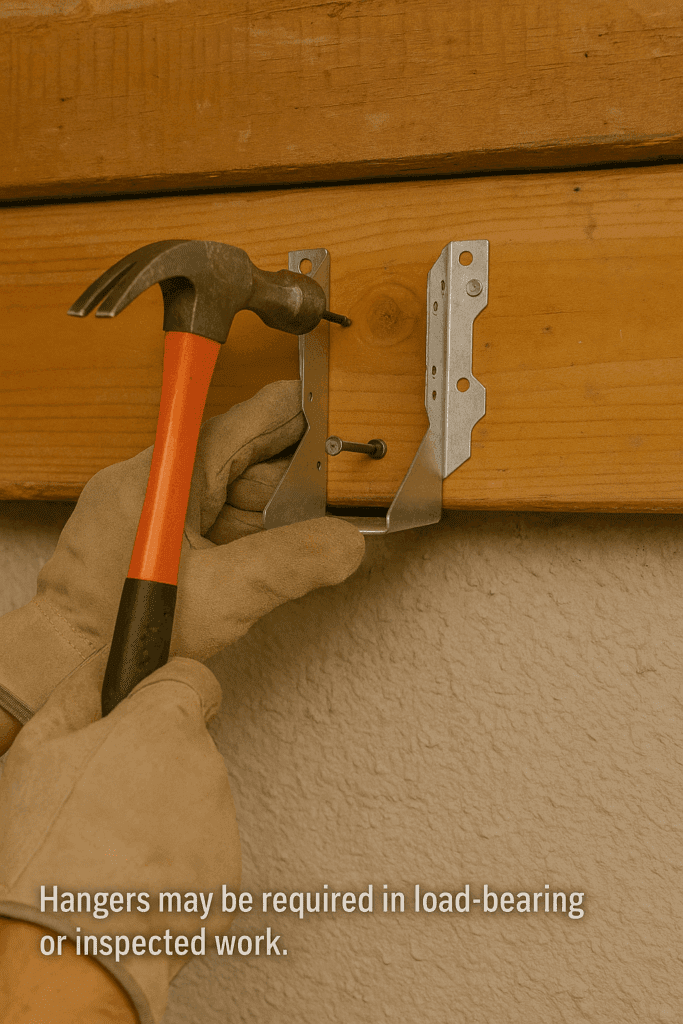
📊 Follow Code and Stay Safe
Always check your local building code. Some jurisdictions require sisters to span midpoints, and others need joist hangers or an inspector’s sign-off. Don’t skip PPE either—gloves, glasses, and a dust mask are essential. I also always check for hidden wires and plumbing before drilling, after a close call with a copper pipe and a paddle bit.
3/4″ CDX Plywood – If I can’t fit full lumber, this is my backup
✅ Final Thoughts on Sistering Joists
Sistering joists and studs has saved me thousands over the years—and saved plenty of old houses from more invasive repairs. If you take your time, use quality tools, and follow the right steps, you’ll get a floor that’s strong, level, and ready for anything. It’s dusty, awkward work, but the results last for decades.
RV Paneling: Repair, Replacement, and Maintenance Guide by Admin September 14, 2025 Installing Owning a recreational vehicle brings freedom and adventure, but it also comes with upkeep. One of the biggest hidden problems RV owners encounter is RV…
Oven Base Cabinet: A Real DIY & Buying Guide by Admin September 23, 2025 Installing Why I Care About Oven Base Cabinets When I first decided to redo my kitchen, I figured cabinets were just boxes with doors. Easy, right?…