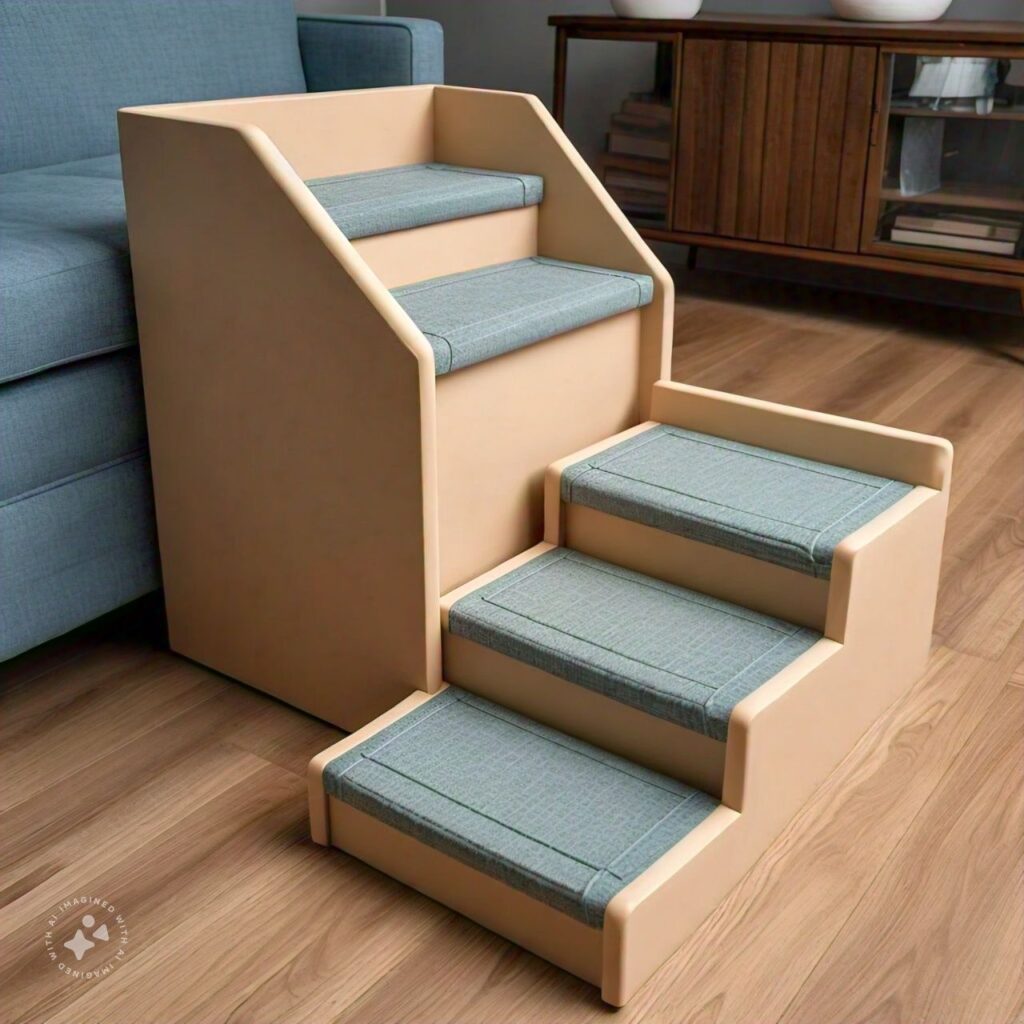
Not all people treat their pets the same. While some will let their dogs and cats up on the furniture with them, even allowing their pets to sleep in their beds, others think that pets belong on the floor. A lot of that has to do with where the pet is in the family relationship. Some people see their pets as mere animals, while others see them as family members. Those are the people more likely to allow their pets on the furniture.
But what does one do if they’ve got a small dog? Or, maybe I should ask, what’s the dog to do? Some dogs are natural jumpers, able to make it onto even a high bed, while others can’t quite get there. That becomes even more of a problem as the dog ages, with arthritis preventing them from jumping as well as they could when they were younger.
Some people pick their dogs up, helping them get on the furniture. But that can get tedious after a while. It’s a whole lot easier for them to have their way to climb up there. That’s where the idea of some doggie stairs comes in.
Stairs or Ramps?
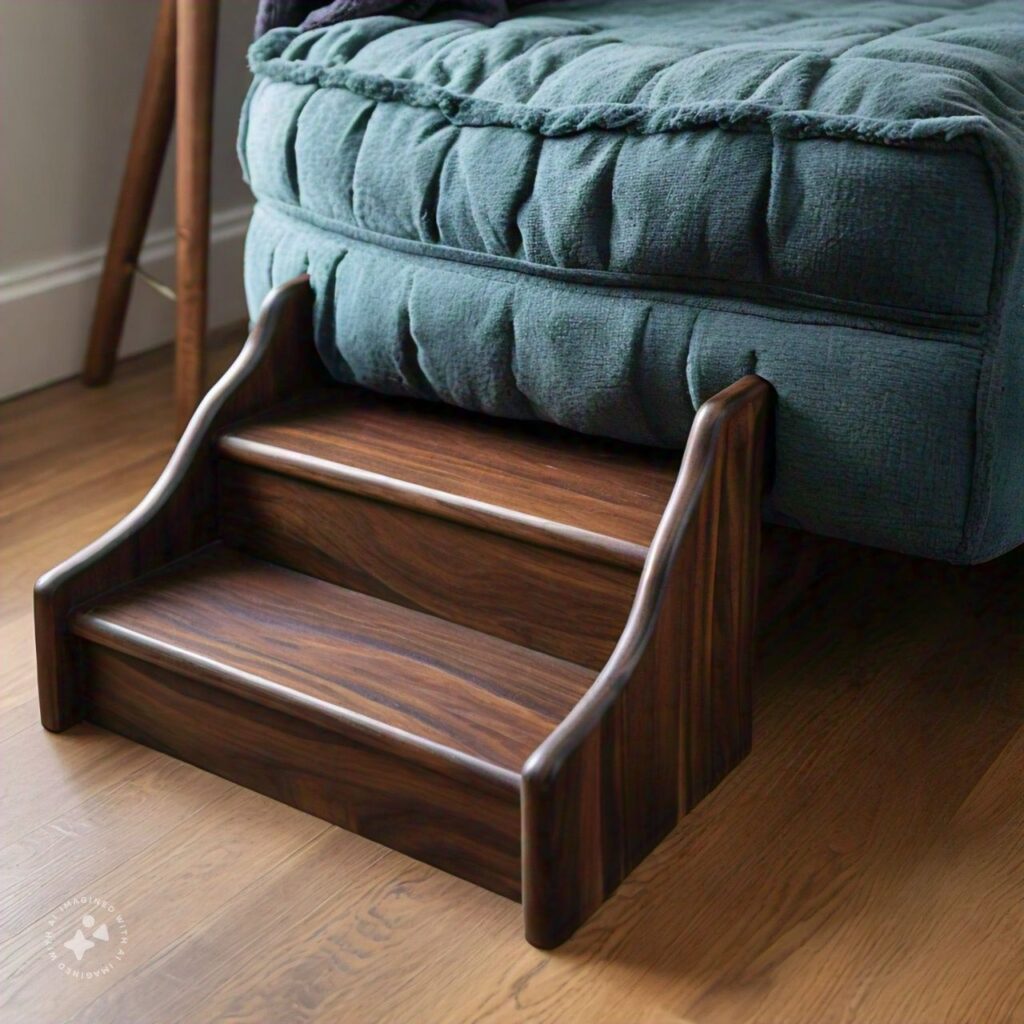
One of the big questions is whether to build stairs or ramps for pets to climb. On the surface, ramps would seem easier for dogs to navigate as they are more natural. But dogs don’t seem to have any trouble getting used to climbing the stairs in a home.
Stairs aren’t much different for dogs than climbing up rocks or hillsides. Their bodies are designed so that the hind legs give them a lot of push, allowing them to climb even steep grades. While they’ll never be able to compete with mountain goats, they can wear a human out going up a hill.
The other advantage of stairs is that they take up less floor space. The ramp’s angle needs to be considerably shallower than the stairs to make a ramp navigable. So, the ramp needs to be longer than the stairs would be. So, while having stairs for an older dog with trouble climbing the stairs might be necessary, that’s not necessary in most cases.
It is necessary to ensure that the steps or ramp have a surface that the dogs can grip well with their pads and claws. A slick surface can be dangerous to a dog, especially an older one. Carpeting the stairs is a great way to ensure that they are safe for our four-footed friends.
Making a Plywood Stair
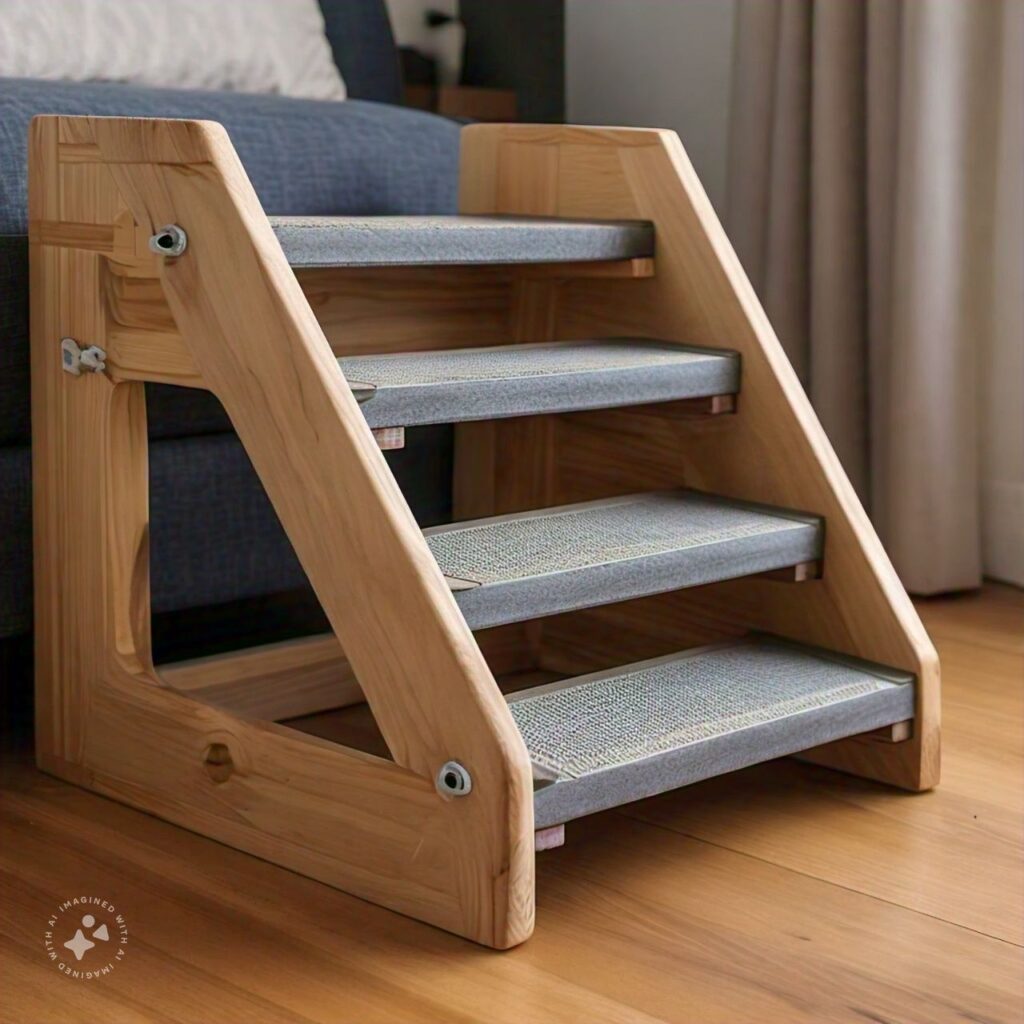
There are many possible designs for dog stairs, including some relatively modern, abstract designs. But going to great lengths to make a fancy staircase is unnecessary. That won’t impress the dogs; anyone who sees any doggie stairs will probably be impressed by it.
The other thing to consider is that the dogs we’re talking about are much lighter than we are. Whereas a standard staircase is designed to hold at least 1,000 pounds, we’re talking about small dogs here. That 1,000 pounds is calculated at five times the expected live load, so five times the weight of a 20-pound dog is only 100 pounds.
That may even seem like a lot when we look at what the internet says about plywood’s load capacity. Many websites say that ¾” plywood can support only 50 pounds, which is over a 3-foot span. But that figure is based upon how much load it can support, without support, and without sagging over time—in other words, how much it can support an unsupported bookshelf.
If ¾” plywood could only support 50 pounds, then we’re all in trouble. Except for the ground floor on homes built on a slab, pretty much all homes are built with a ¾” plywood or OSB subfloor. The average weight of American men over 20 is just shy of 200 pounds. So, if 50 pounds were the most that our floors could support, many of us would fall through the floor.
The building code requires that floors be built to support a life load of 40 pounds per square foot. In one way, that seems even worse. But that number is based upon averaging the weight over the entire floor. When someone stands on that floor, their feet may be within only one square foot, but their body weight is being spread out over a much bigger area due to the materials used and manner of construction of that floor.
What that means for our current conversation is that we don’t need to use heavyweight materials for the doggie stairs. We don’t need regular stair treads or even ¾” thick plywood if we support the steps correctly. Half-inch plywood should be sufficient. We can use that for everything, but the step supports.
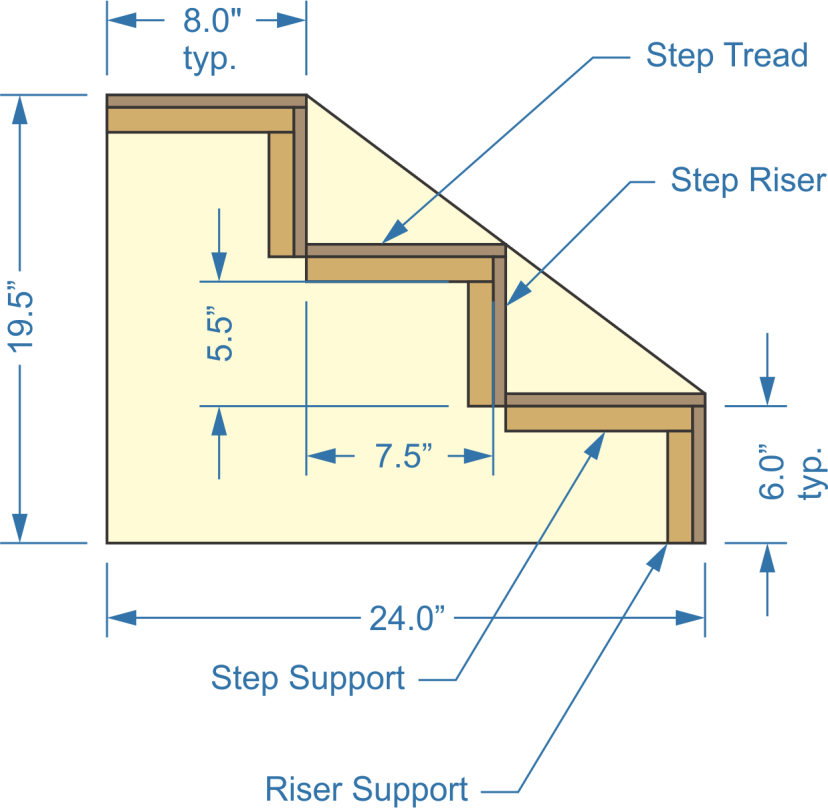
Start by cutting the sides of the stairs out of ½” plywood. The type of plywood isn’t essential if the entire thing is painted or covered with carpeting. But if a nice furniture finish is desired for the sides, they should be cut out of hardwood plywood. Just lay out the outline dimensions in the diagram above and cut the sides.
The step treads and risers will also be made out of ½” plywood. How wide they’re going to be depends on the dog’s size. If the stairs are for a small dog, then 12” wide is sufficient. If it’s for a giant dog, then it should probably be 18” wide. For a 12” wide staircase, the step treads will be 8” x 12”, and the risers will be 6”x 12”. Three of each are needed.
The only other piece required is the step support. For things like this, I usually rip a piece of 1”x 4” pine into ¾” wide strips, giving me a stick with a square cross-section. It’s possible to buy material like that, but it is cheaper to cut it from a 1”x 4”.
There are three step supports, 7.5” long, and two riser supports, 5.5” long, on the inside of each side. It’s possible to screw or nail through the sides into the treads and risers, but with ½” material, it’s easy to miss the mark. Using the supports provides a broader area to nail or screw into, as well as a wider surface for gluing. It is easy to lay out the location of these supports from the dimensions and attach them to the inside of the two sides.
Attach the step treads and risers to these supports, gluing and screwing them in place. When doing something like this, I have a couple of supports I’ve made out of plywood, which act as large squares. These can be clamped to the workbench, and pieces can be clamped to them. In this case, that would be the sides of the stairs, helping to ensure that the whole thing is square when assembled. See the drawing below.
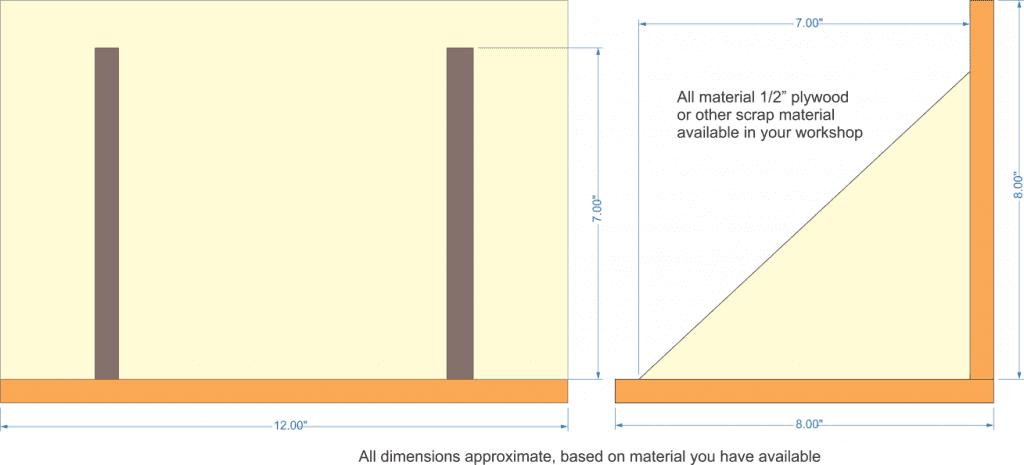
It isn’t necessary, but depending on the décor in the room. Whether it will require the stairs to be moved around, a bottom and a back can be attached to the unit, also made out of 1/4” plywood. To install them, I’d measure the opening and cut them to fit. Then I would add support blocks to the inside of the sides, 1/4” inside of the edge, so that when the panels are attached to them, they will sit flush with the edge of the sides.
If the stairs are going to be painted or stained, it would be best to do that now, before the carpeting is installed. Depending on the plywood used, there may be some need to fill and sand it before painting it, especially if it doesn’t have a smooth finish (such as B-C softwood plywood). If that’s the case, it might be a good idea to do that before assembly.
At a minimum, I’d recommend covering the step treads with carpeting to give Fido a good grip while climbing the stairs. One long strip of carpeting can be cut and then wrapped around all the stairs, starting underneath the top step and ending behind the bottom riser, stapling it so it is snug up against the step treads and risers.
Making a Modern Stair
Aluminum staircase stringers, available from the local home improvement warehouse, can make a more modern staircase for the family dog. They are meant for use singly or in pairs and are designed to make installing stairs easy. However, we’ll need to provide them with some support to use them for this project.
The basic problem is that the stair stringer is designed to be bolted in place, so it doesn’t have a wide base to give it support or much support up against the wall, either. But by starting with the step tread and mounting it to some dimensional lumber, those problems can be overcome. Then, all that needs to be done is to add the step treads.
In the diagram above, standard 1”x 10 or 1”x 12” material is used to make a right angle to mount the stair stringer. Some sort of bracing is needed on the sides, as demonstrated by the triangular piece of plywood shown. This combination provides something solid and stable to mount the stringer, too. Regular step treads can then be cut down to 12” to 18” long and mounted to the supports on the staircase stringer.
As with the stairs made of plywood, it’s a good idea to cover the step treads with plywood here as well, helping canine friends keep their footing. It would also be a good idea to round the cut edges of the step treads, preventing them from hurting themselves if they miss the step.
Making a Temporary Dog Stair
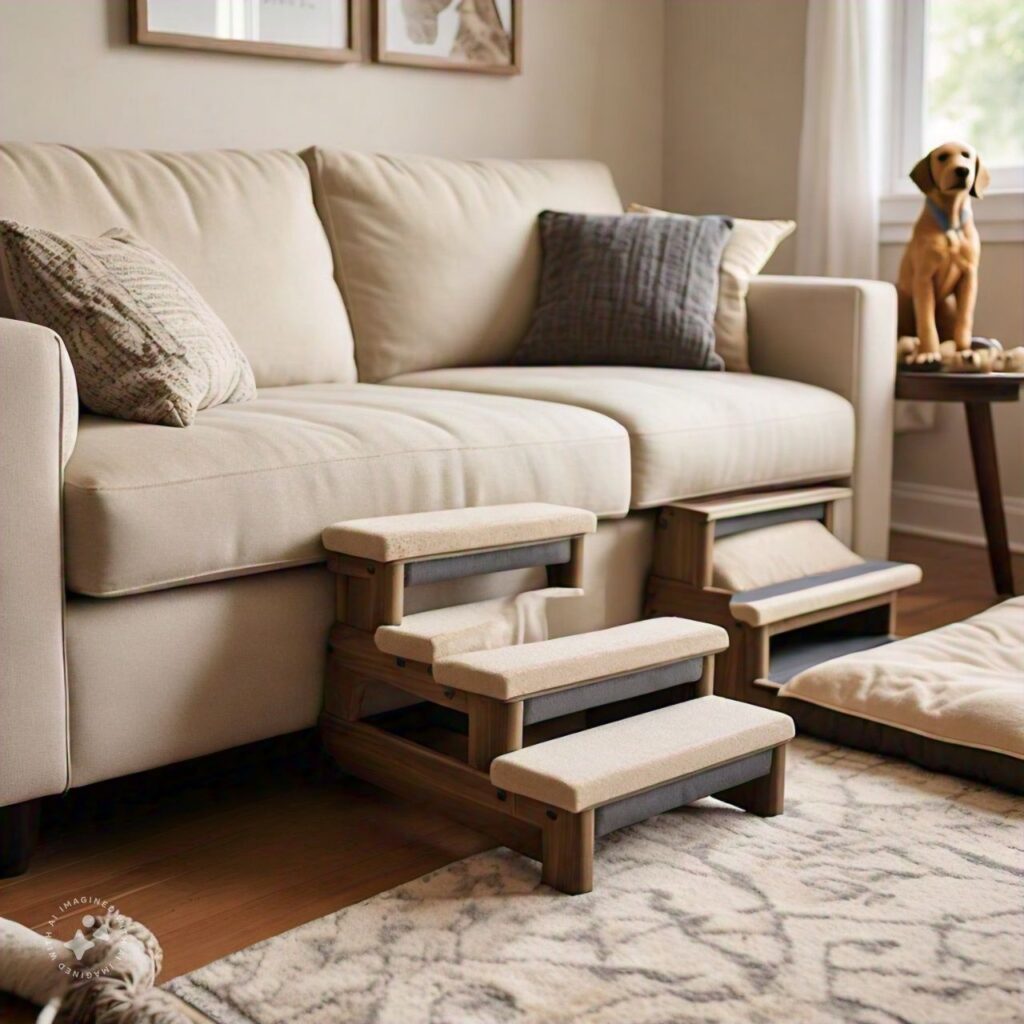
If someone needs something quickly or doesn’t have the necessary tools to make a plywood staircase, an easy option is to stack up some sturdy cardboard boxes and tape them together. We all seem to be getting a lot of deliveries these days, so chances are it won’t be hard to save a few boxes that will work well and be of the right dimensions.
Besides being easy, the nice thing about this is that it can be configured however it works best with the available boxes. For smaller dogs, it won’t be necessary to provide any additional support, but if the dog in question is a bit overweight or chunky, it might be a good idea to fill the boxes with packing peanuts or bubble wrap, providing extra support for its weight.
The real key to making this work is taping the boxes together, using plenty of packing tape, and pressing that tape down onto the cardboard well. It’s best to go overboard, wrapping the tape around the boxes and sticking it back to itself, as that provides the most secure adhesion for the tape. Sometimes, packing tape doesn’t stick all that well to the cardboard of the box, especially if the cardboard isn’t all that clean.
In this case, no carpeting is needed because the surface isn’t as slick. If necessary, the dog’s claws can dig slightly into the cardboard to give them a more secure grip on the stairs. It’s not a perfect solution, though, as the boxes will only last so long before they need to be replaced with something sturdier. However, this is the fastest answer when a quick staircase is necessary.
Making a Ramp
As the dog ages and has more difficulty moving around, replacing the stairs with a ramp may be necessary. This is especially true if the dog ends up having a severe problem with arthritis. Some dog breeds do, especially when they’re purebreds. In that case, where it might be hard for them to make it up the stairs, a ramp would be more accessible for them to use.
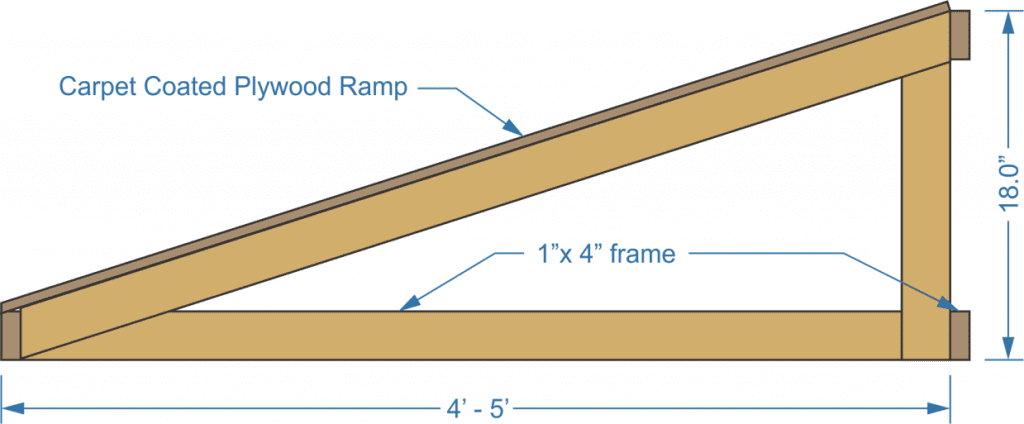
Making the ramp is just about as easy as making the stairs. In this case, though, I’m using 1”x 4” dimensional lumber for the structure rather than having the plywood sides hold it up. That’s mostly due to the length, which makes it stable while moving. The framework, as shown in the diagram above, can be covered with plywood to make the ramp more attractive.
As shown in the diagram, all that’s needed is a low, flat triangle to fit the space. It’s essential that the triangle is not too steep, or an older dog may not be able to navigate it. The darker brown pieces are crossbars, going from the near frame to the far one. Once the frame is built, the top side is covered with ½” plywood and then carpeted.


