Pull up the carpeting in any home, and you’ll find either hardwood flooring, a concrete slab, or plywood. A lot of that depends on when the house was built, who it was built by, and how upscale the home was when it was built. Many modern homes use OSB, often mistakenly called chipboard, to save money. However, in reality, OSB and chipboard are not the same, even though they look similar.
Regardless of what’s under there, it has to provide a smooth surface without ridges. Otherwise, the underlayment or subfloor will damage the carpet backing, causing premature failure. Carpet installers usually look for these potential pitfalls and deal with them before installing the carpet, so they’re not likely to be encountered unless the owner installs the carpet.
Concrete is only found under the carpet when the home is built on a slab or when carpeting is installed in a finished basement. It’s not uncommon to be installed over hardwood in older homes, as plywood didn’t become common for subflooring until the 1940s or 50s. OSB wasn’t used as subflooring until a change in the building code allowed it in the 1980s.
According to the building code, both ¾” thick plywood and ¾” thick OSB are equally acceptable as subflooring. This has led many homebuilders to switch over to OSB as their standard, especially for tract homes. OSB is as strong as plywood, and it saves the contractor a couple of dollars per sheet used. That can add up to substantial savings. However, fine home builders still use plywood, not OSB, for the perceived benefit and because it is more durable.
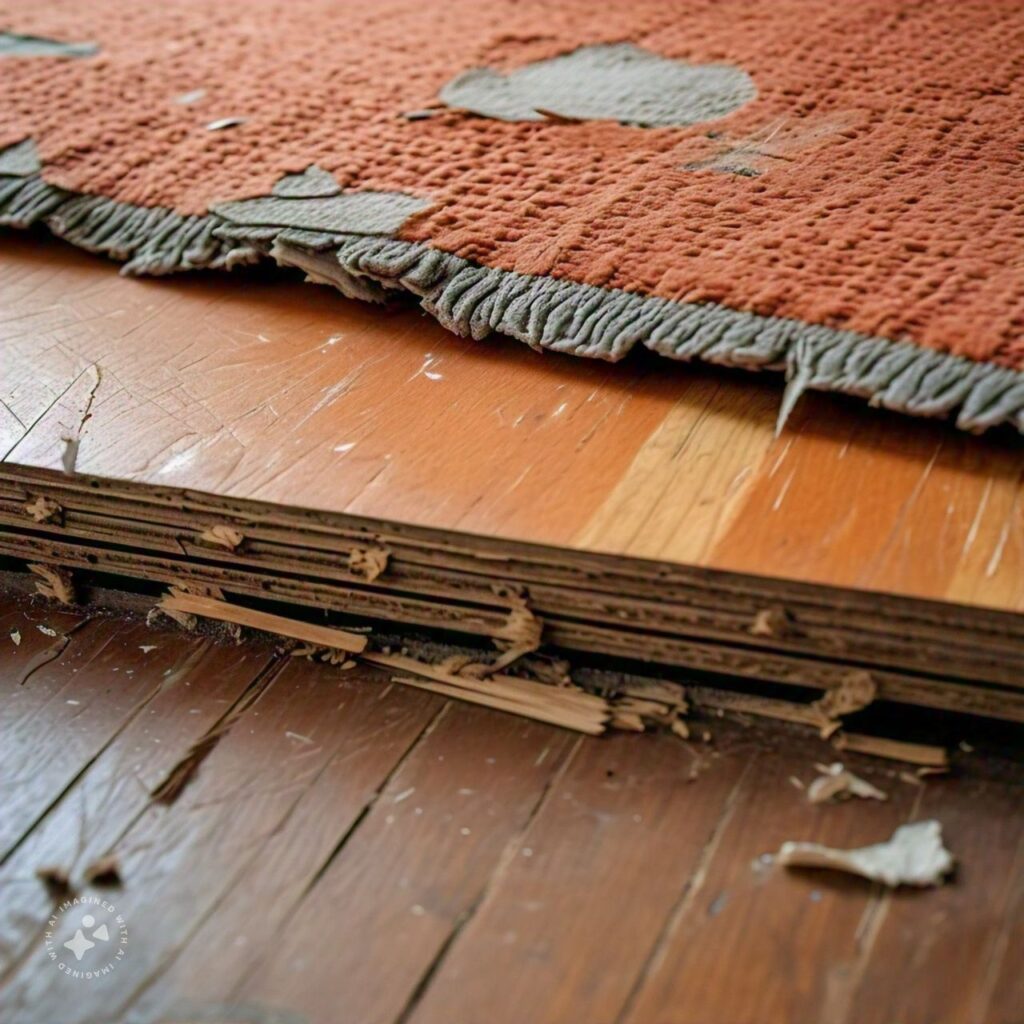
The potential risk with OSB is that it becomes more easily damaged when wet. The many edge-grain edges exposed in a sheet, especially at the edges, soak up water much quicker than typical construction-grade softwood plywood does. This soaking up of water is worse on the edges, where OSB may have as many as 50 layers exposed.
If you’ve ever seen a roof where the edges curl upwards, you can see what happens to OSB when it becomes wet. The water causes the layers to expand along the edges. But they don’t return to their original form once dried unless put under pressure. This can happen with a floor, just like it can for a roof, if it receives many spills.
While plywood is an excellent flooring material, pressure-treated plywood should not be used. By and large, pressure-treated plywood is still wet when it arrives at the lumberyard. It takes six months in the sun after it is installed for it to dry out. During that time, it shrinks slightly. So, if it is used for subflooring, small cracks will form between the sheets as the plywood dries. Like any other exposed edge or ridge, these will become abrasion points for the carpet backing or pad.

When Replacing Carpeting
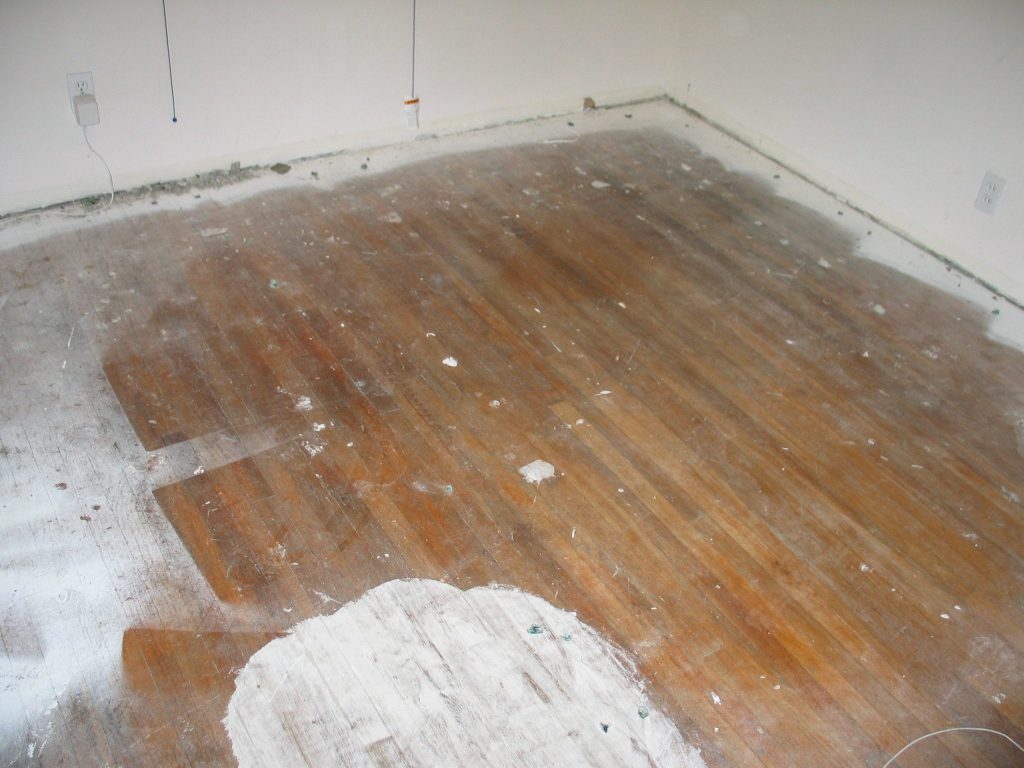
The first part of replacing carpeting in any home is removing the existing carpet and pad. There are two basic types of carpet construction: one with a built-in foam pad backing or one with a cloth backing with a separate foam pad underneath. In either case, the foam will most likely be glued to the floor. However, it is not well glued all the way across the surface. Rather, it is glued in spots or a single glue line near the edges.
While the carpet can be pulled up, it’s better to use a scraper to remove the glue along with it. A razor scraper will leave a smooth, flat surface ready for the new carpeting.
Before installing new carpeting on that floor, it’s essential to ensure a smooth, flat surface. This might require filling in some damaged areas where the glue was removed. In that case, overfill the damaged areas and then sand it down flush with the surface once the wood putty has had time to dry. That will prevent shrinkage from making the filled area end up below the surface of the plywood.
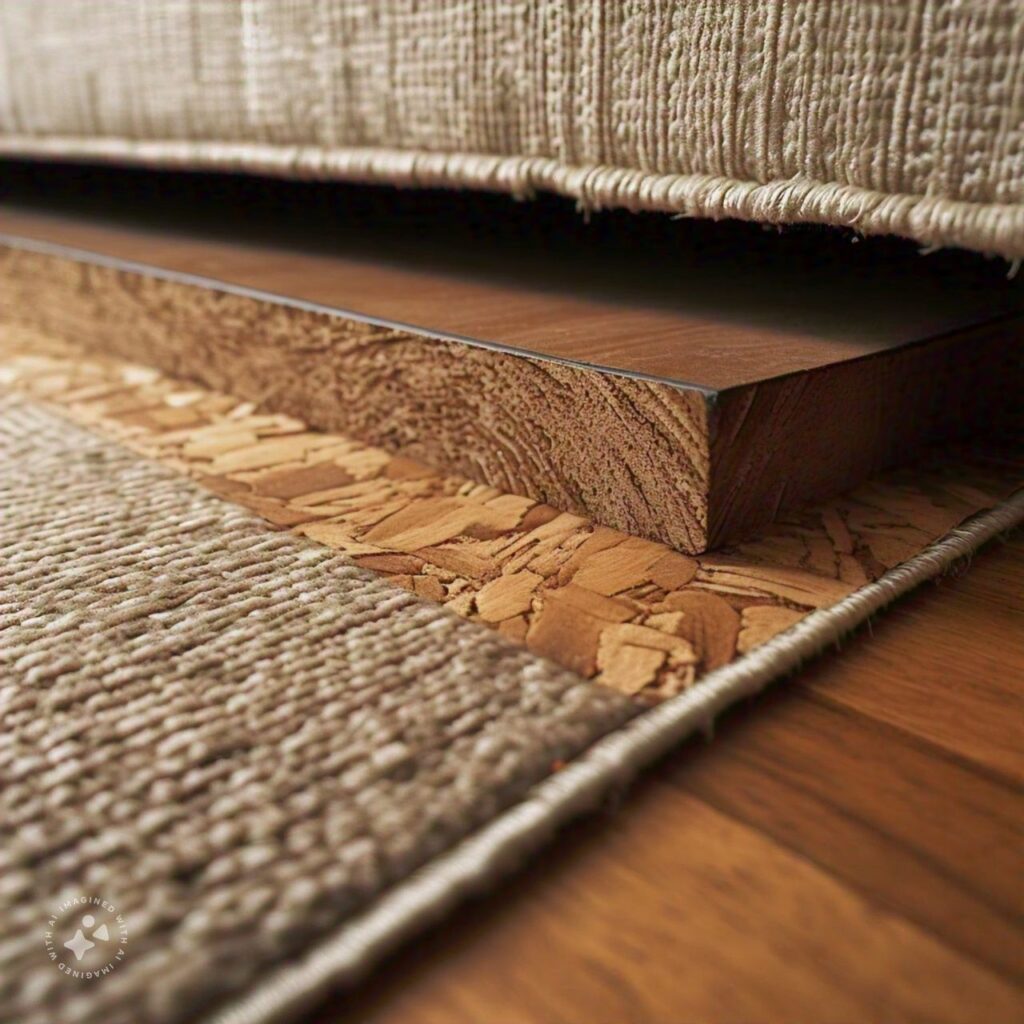
If the existing floor is damaged enough or there is too much adhesive to clean it off, leaving a smooth surface, adding a layer of underlayment might be necessary. While several different types of specialty underlayment materials are on the market, the most common for use under carpeting is ¼” thick plywood. The main purpose of this underlayment is to ensure a smooth surface, so take extra care to ensure that there are no edges that are higher or lower than others.
Carpet tack strips are normally used for stretching and holding the edges of the carpeting in place. If they are undamaged, they can usually be reused. However, if an underlayment is added, it is necessary to remove those carpet strips before installing the underlayment and then either reinstall them or install new tack strips on top of the underlayment.

Attaching Carpet to Plywood Pieces
There are times when it might be necessary to attach carpeting directly to a piece of plywood other than a floor. Many equipment cases used for sound systems and traveling shows are made of plywood and covered with low-pile carpeting. While some specialty carpeting is used, homemade cases are usually covered with the cheapest of the cheap carpeting.
The main reason this type of carpeting is used is that it is thin, making it easy to install around corners. The thin carpeting also works well with the hardware usually installed on these cases. If you are not purchasing specialty carpeting for cases, check to see that the carpet purchased is capable of making a tight radius around a corner.
In this application, the carpeting is installed with spray adhesive. The corners are normally covered with plastic or metal bumpers. In some cases, the entire edge is covered with an aluminum angle, making it even more dent-resistant.
Rather than cutting the carpet to fit, always cut it oversize. The adhesive used for this does not allow for repositioning the carpet if it is not in perfect alignment the first time. By cutting it oversized, extra material is available to make up for that.
The spray adhesive used is a form of contact adhesive. Therefore, it is necessary to spray a good coating on the plywood’s surface and the back of the carpet. Allow the adhesive to tack before connecting the two. In most cases, the cabinet is then laid upside-down onto the rug, with the adhesive side of the carpet up. The carpet is then wrapped around the case, ending with the seam on the bottom.
One of the beauties of using this sort of cement, with instant adhesion, is that it makes it easier to go around the corner. Smooth the carpet onto the first surface, all the way to the edge, ensuring no bubbles. Then, stretch the carpet and lay it on the adjacent surface. Use a hand to smooth the carpet, starting from the corner and working towards the opposite end. This ensures a nice, tight corner.
Depending on the case design, there will usually be excess material to cut off. On the bottom of the case, cut one side first, then bring the other end of the carpet up to that point, then cut the other edge to match, smoothing the two ends together.
For other corners, such as those going around the face and meeting up with mounting rails, it will be necessary to miter cut the carpet. Bring the two sides together, forming the miter, then cut it off flush at the plywood. Then, wrap the ends around the inside of the case.

It may not be necessary for the case being constructed, but if any seams or ends are close to the edge of the piece of plywood or are near an outside corner, it can be helpful to staple the edge of the carpet to the plywood with 5/16” staples. Hammer the staples down without collapsing them to ensure they are fully inserted into the wood. This will also help hide them within the nap of the carpet.
Other cabinet hardware, such as corners, handles, and feet, are attached to the cabinet once the carpet is applied all the way around. Take care when drilling through the carpet so that the carpet doesn’t get caught in the drill bit and unravel.


